Everyone probably has one in their home. I know I do. Frosting containers can easily be repurposed without letting them go to the landfill. So, today I am going to show you how repurposing frosting containers is super easy. Since I have repurposed several soup cans, I figured it would be great to try something new. Visit our collection of soup upcycling craft projects.
Jump to:
- What supplies did I use to make this repurposing frosting container?
- How much did it cost to make this repurposing frosting container?
- How long did it take for me to make this repurposing frosting container project?
- How did I make this repurposing frosting container?
- The Big Reveal
- What other decoration could you put on this frosting container?
- Popular DIY posts:
What supplies did I use to make this repurposing frosting container?
This list is pretty short.
Supplies used:
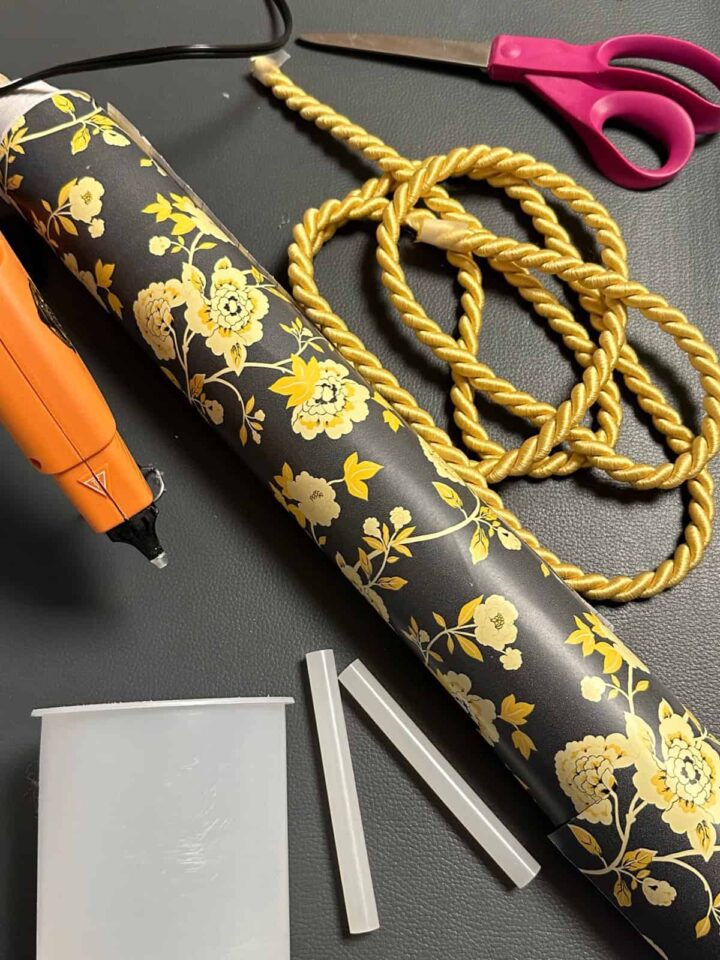
- Frosting container - Clean and remove the label (affiliate).
- Self-stick Shelf Paper
- Gold Rope ½ inch in diameter
- Hot glue gun and glue stick
- Fabric and regular scissors
How much did it cost to make this repurposing frosting container?
Well, this project didn’t cost me much. The container was about four dollars, and the rope was leftover from another craft project. The self-stick shelf paper was leftover from my power room vanity shelf. The total cost was $5.00.
How long did it take for me to make this repurposing frosting container project?
After I gathered the supplies together, it only took me about 15 minutes to make. Try it and see for yourself.
How did I make this repurposing frosting container?
First, clean the container and remove the label (affiliate). Make sure the container is free of any glue left over.
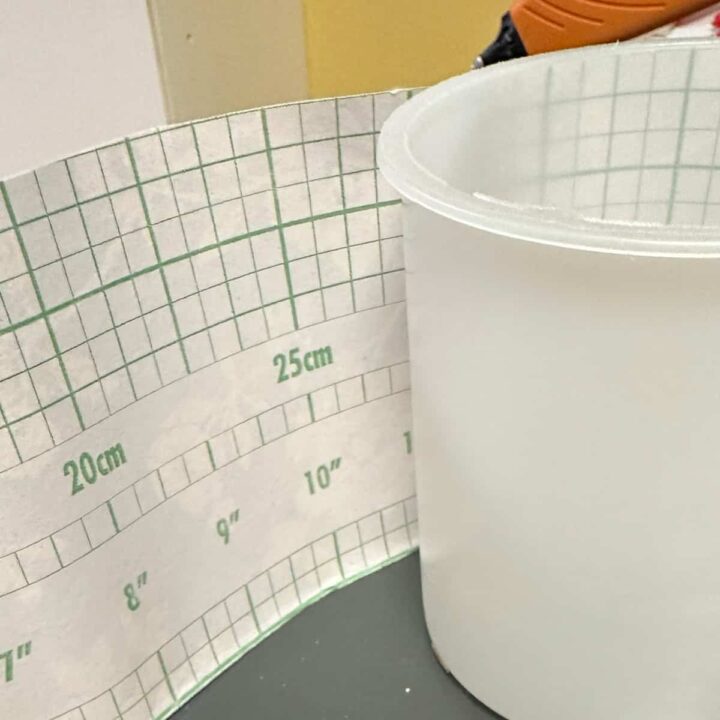
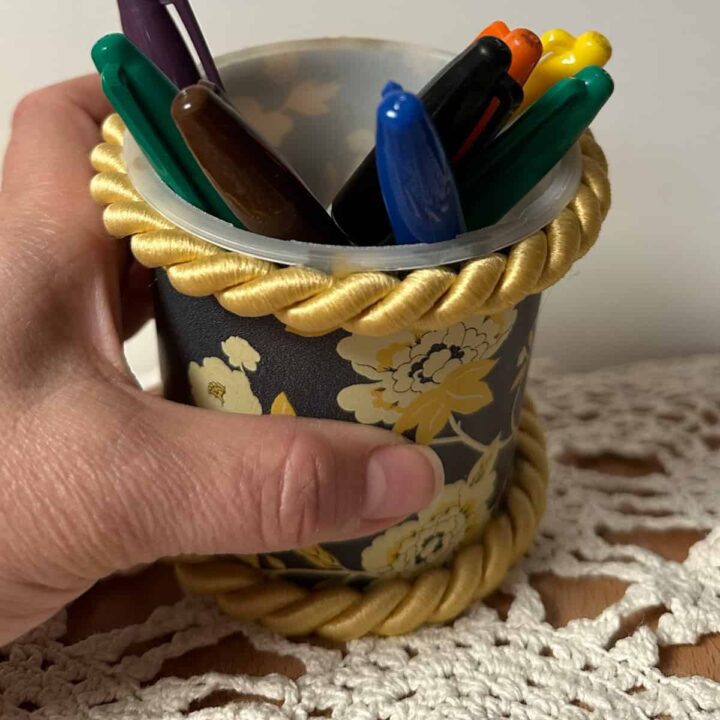
Then, measure your frosting container with the self-stick shelf paper. There are usually lines on the back you can follow. Cut on the line enough to overlap the plastic container. Then, adhere the shelf liner (affiliate) to the container by removing the back. Rub the bubbles out of the liner as you stick them to the container.
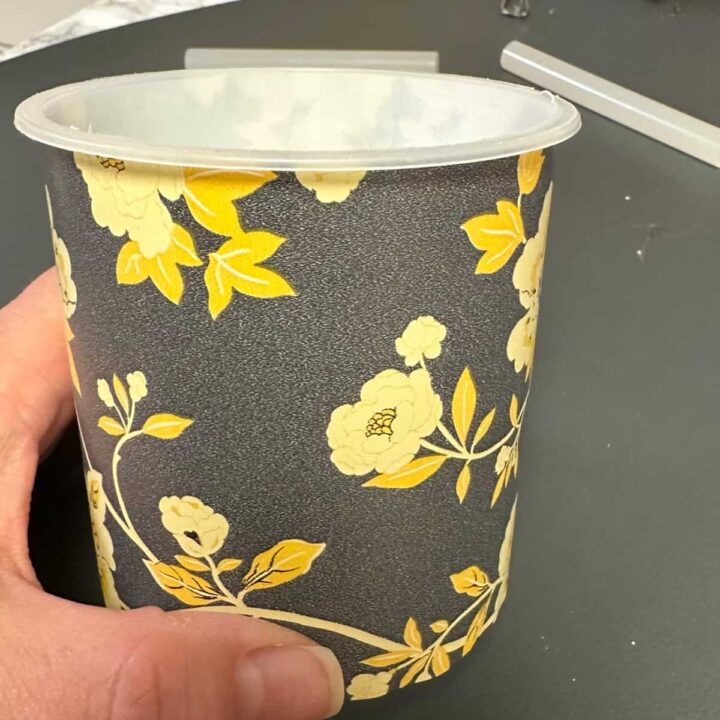
Now, heat up the hot glue gun (affiliate). Then add a bit to the end of the rope to seal the end. Then add a bead of hot glue around the top edge of the frosting container - gluing and pressing the rope as you go. Be sure to seal the end after you cut the rope.
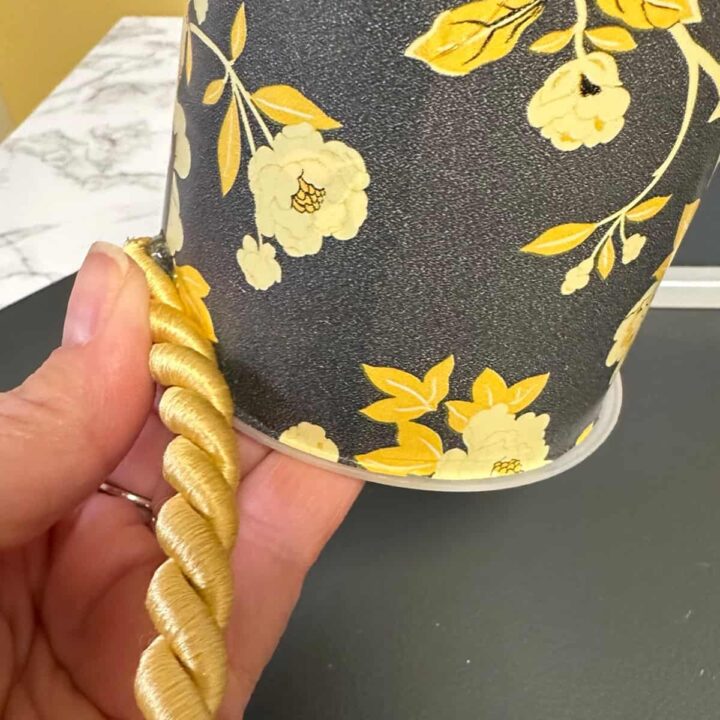
Next, do the same with the rope on the other end of the container. Be sure to seal both ends of the room with hot glue so it doesn’t fray.
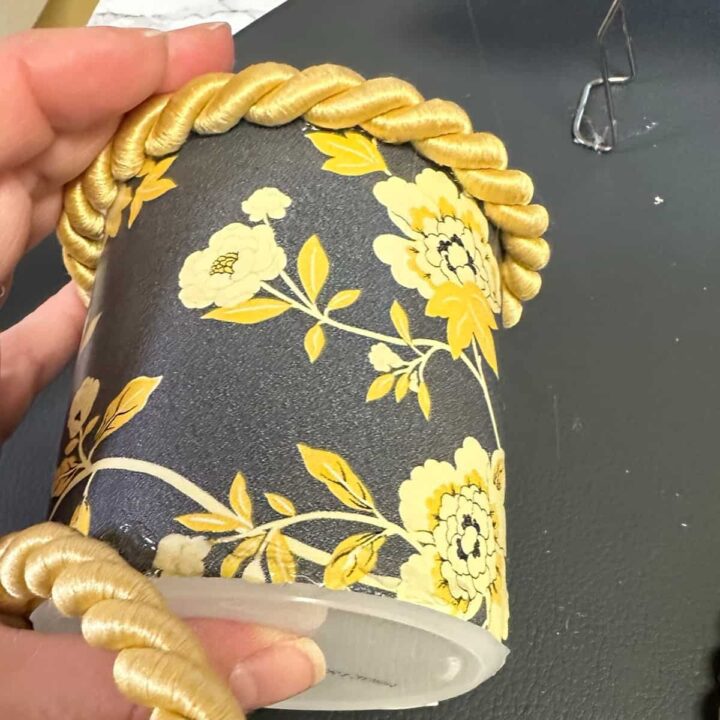
The Big Reveal
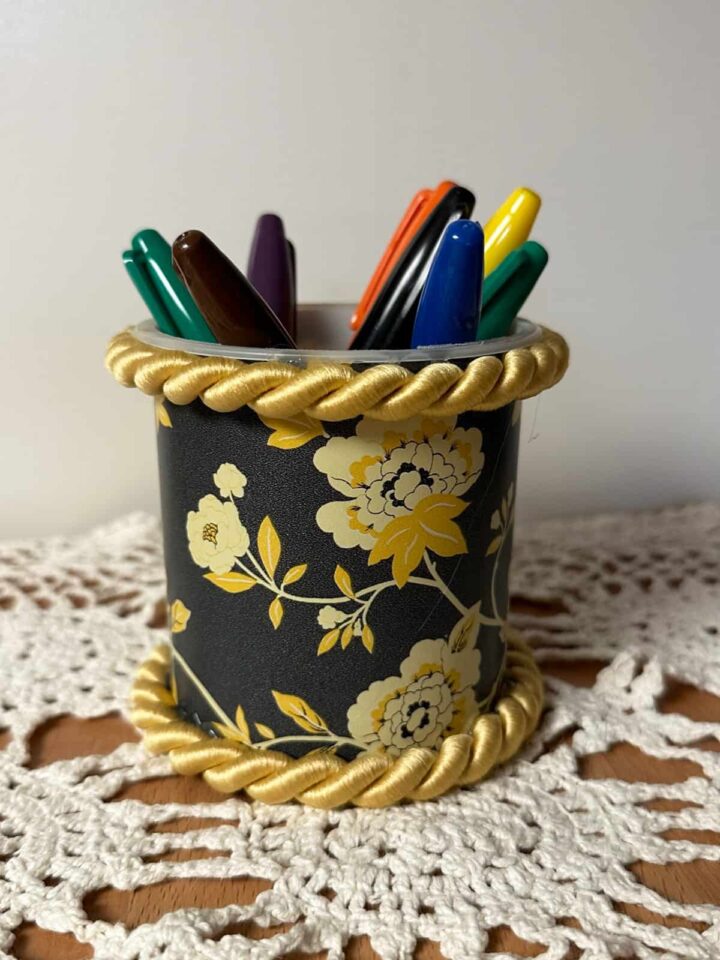
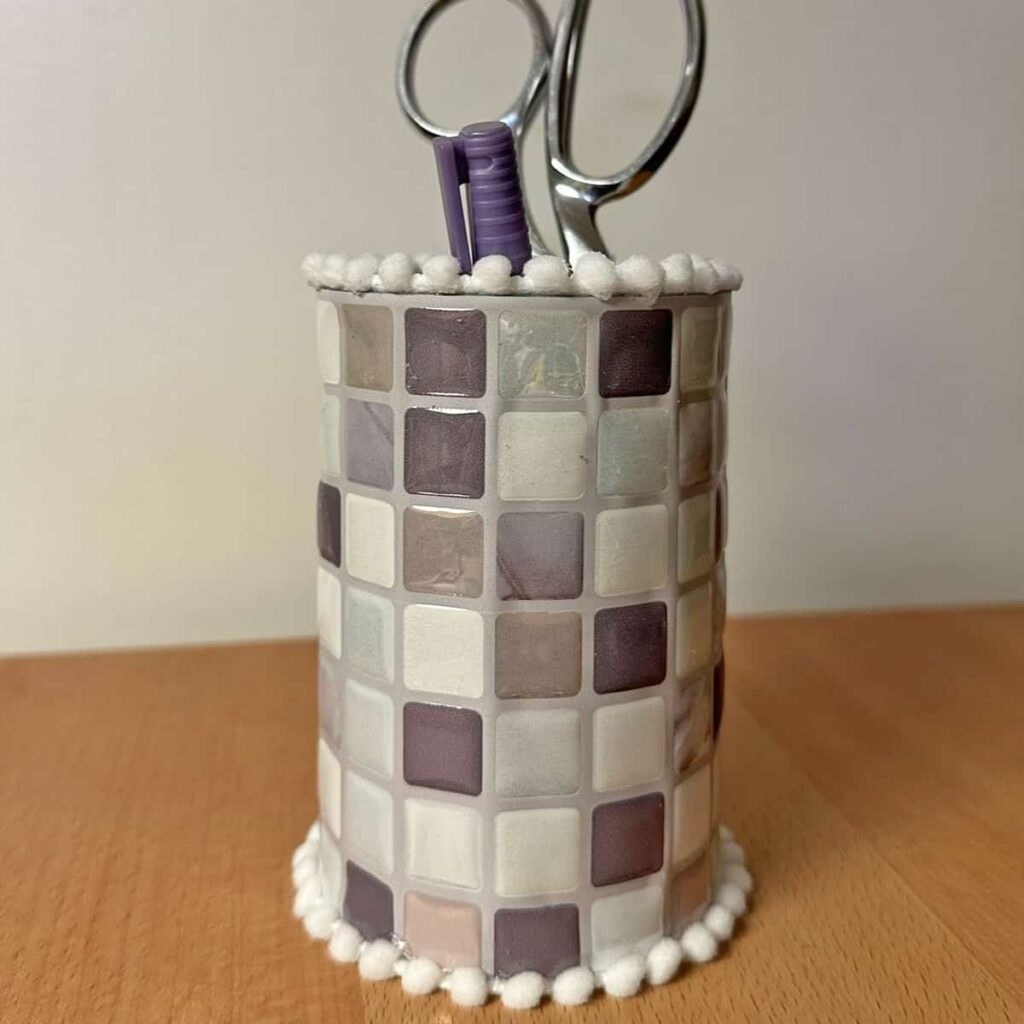
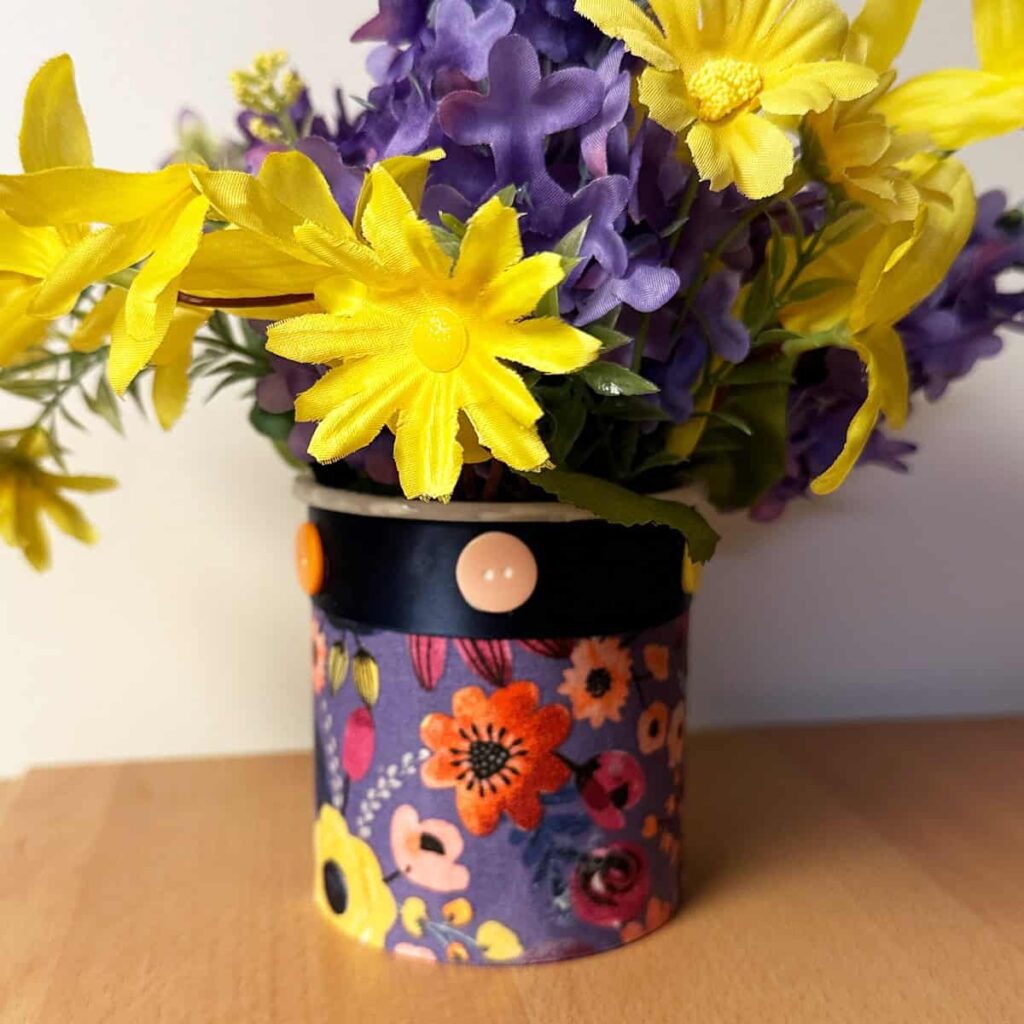
This frosting container is now transformed. Doesn’t it look so cute? I love it, and it was so easy.
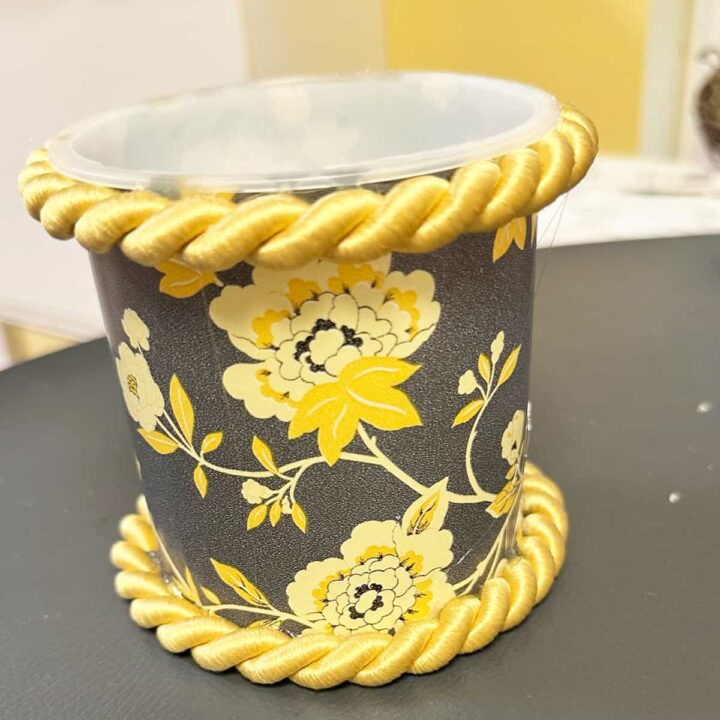
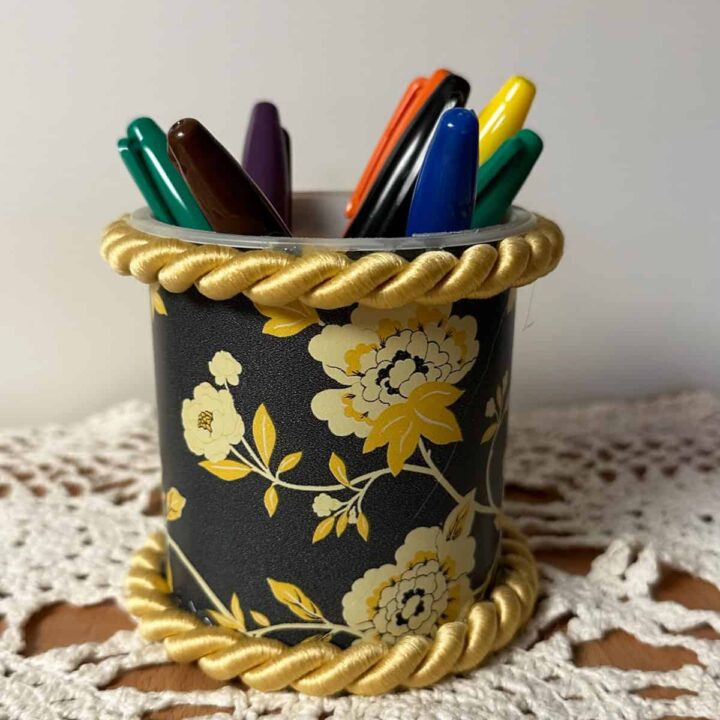
Feel free to visit the video and subscribe to my YouTube channel.
What other decoration could you put on this frosting container?
There are several things you could add to the frosting container to personalize it.
- Add a liner using felt that matches the self-stick liner.
- Add a flower instead of a rope.
- Place the rope on the top edge of the frosting container.
I hope this easy DIY craft project using a frosting container inspires you to repurpose them to make adorable organizers. Please leave a comment if tried this one.
Popular DIY posts:

Leave a Reply