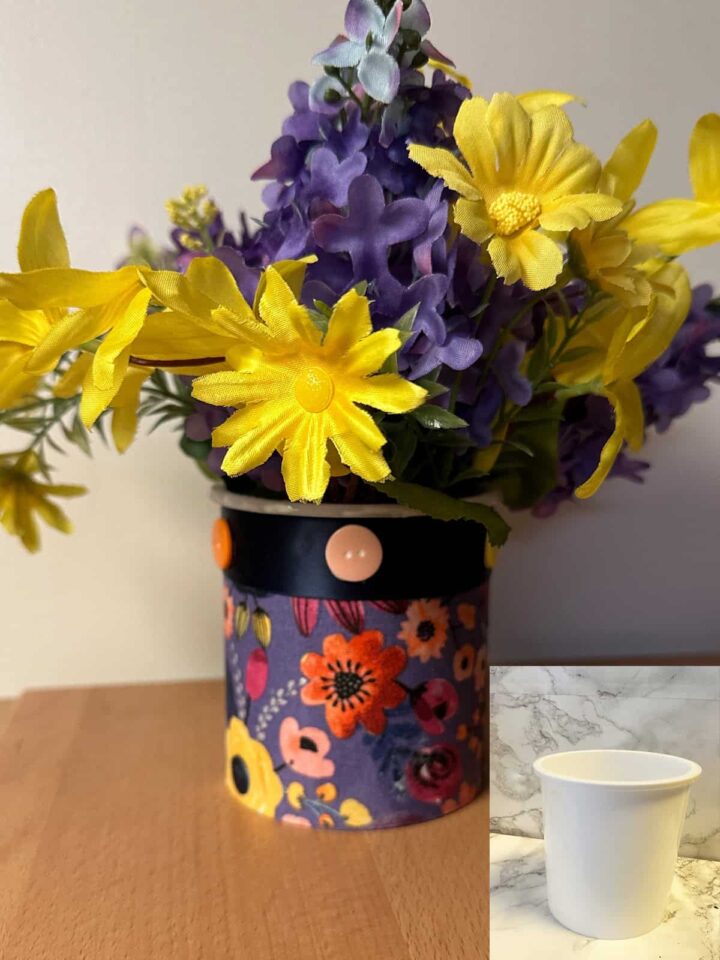
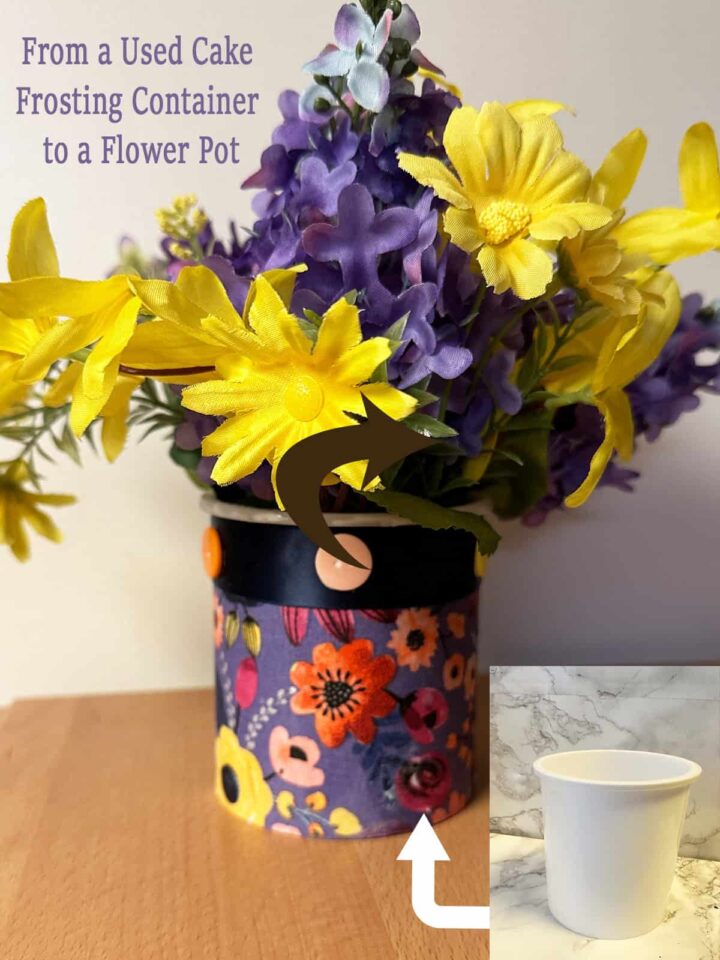
Do you ever wonder what you can do with a cake frosting container? The shape of the container is usually easy to cover, and with the lip at the top, it allows for some fun ropes and ribbons (affiliate) to embellish the top without showing the inside of the bin. Today, I am going to show you how I changed this used Cake Frosting Container to a Flower Pot. Follow along and repurpose instead of recycling a container to help you decorate or organize your home.
Jump to:
- What inspired me to do this, from icing containers to flower pot DIY tutorial?
- What supplies did I use to make this DIY tutorial, from an Icing Container to a Flower Pot?
- How much did it cost to make this Cake Frosting Container to a Flower Pot project?
- How long did it take to make the Cake Frosting Container into a Flower Pot project?
- How did I make this flower pot from a cake frosting container?
- The Big Reveal
- Tips on Making this Icing Container to Flower Pot DIY Tutorial
What inspired me to do this, from icing containers to flower pot DIY tutorial?
I do not eat cake icing often, but when I do, I always use the container. This past Easter, I brought a cake to my in-laws, so I had a container available. Yay! I was excited to make something new to help organize/decorate my house.
What supplies did I use to make this DIY tutorial, from an Icing Container to a Flower Pot?
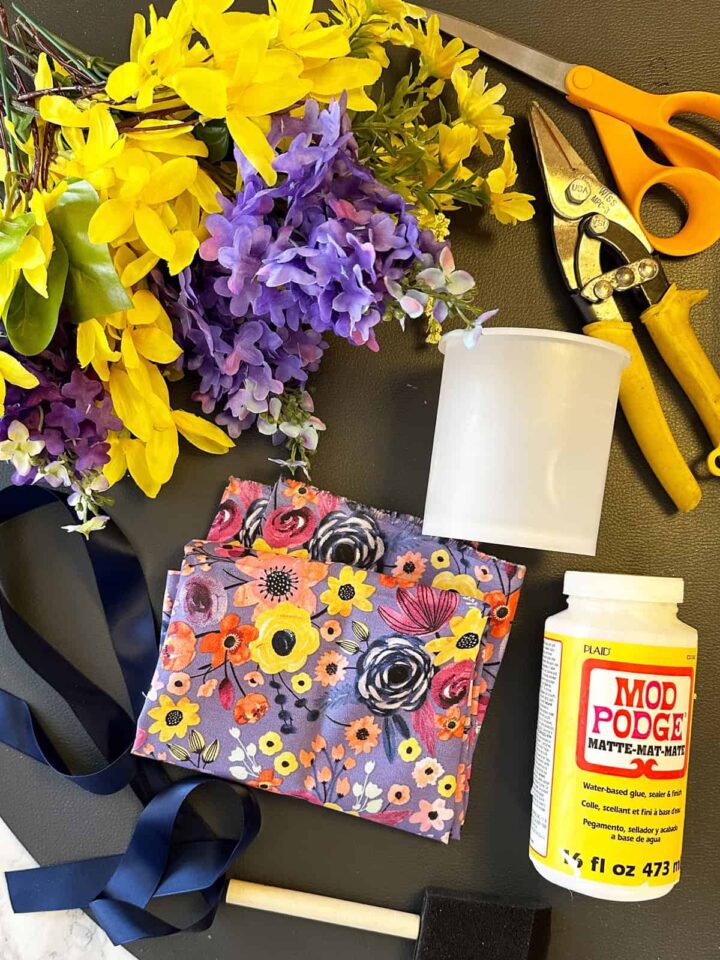
The supplies were not complicated, and I had everything I needed in my craft area, so it was a super-easy project to make.
Supplies used:
- 1 Cleaned Cake Frosting Container
- One bottle of Mod Podge Matte finish
- Disposable Foam brush
- Quilt fabric remnant - Get fabric at least the perimeter of the container
- Fabric Scissors
- 1-inch Navy Blue satin ribbon
- 6 Colorful Buttons (½ inch in diameter)
- Optional: Tin snips
- Optional: Faux flower bouquet (springtime or summertime style)
Please note that these are affiliate links through Amazon (affiliate), and I will earn an affiliate commission if you decide to make a purchase.
How much did it cost to make this Cake Frosting Container to a Flower Pot project?
The only money I spent on this project was the cost of the cake frosting container, which was about $6.00.
How long did it take to make the Cake Frosting Container into a Flower Pot project?
This took me about 4 hours to make, including two hours for the Mod Podge (affiliate) to dry.
How did I make this flower pot from a cake frosting container?
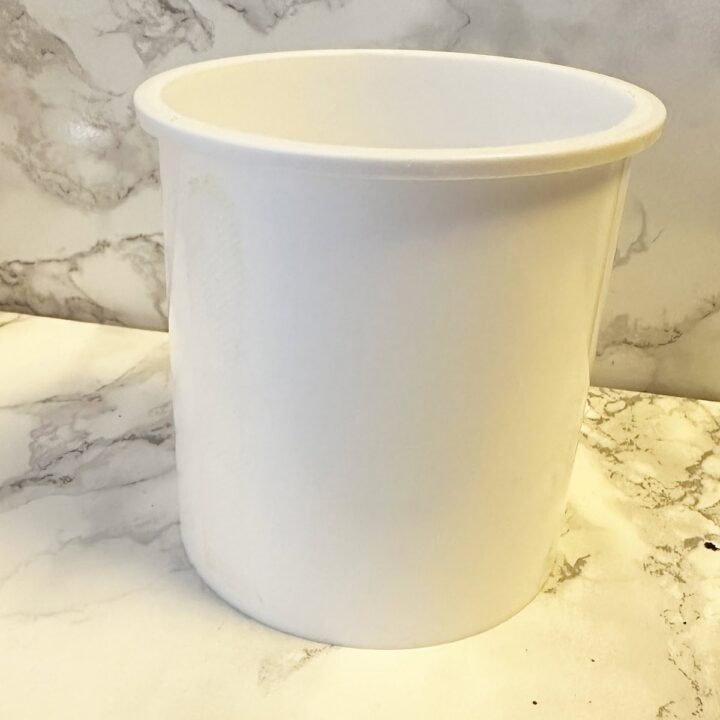
First, clean the cake frosting container and make sure it is dry inside and out. Ensure you get all the glue off the outside of the container, or the fabric will get lumpy after it is glued on.
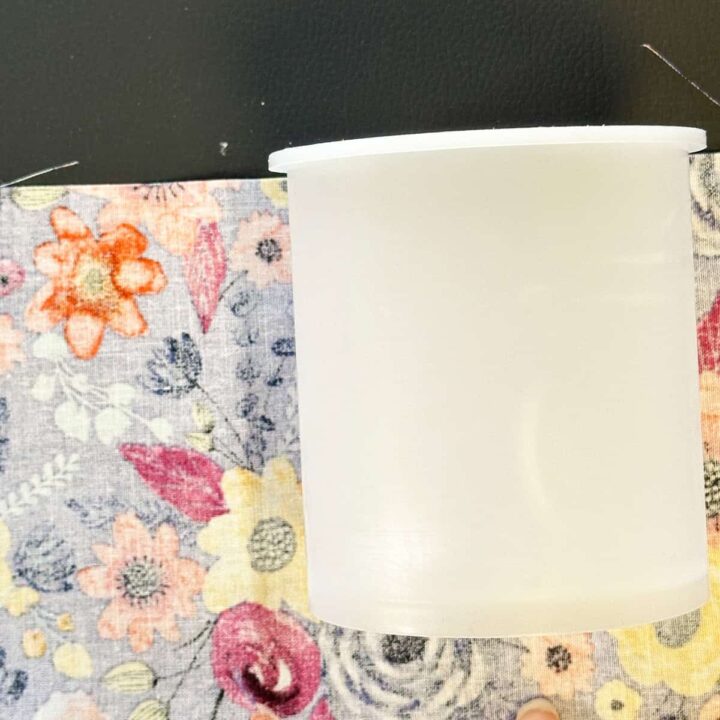
Then, open the fabric and lay down the container right below the top lip. Make a few lines and cut to size. You do not need extra length at the bottom. Wrap the fabric around and determine where it overlaps with the beginning, marking that length. Cut off and discard the excess fabric.
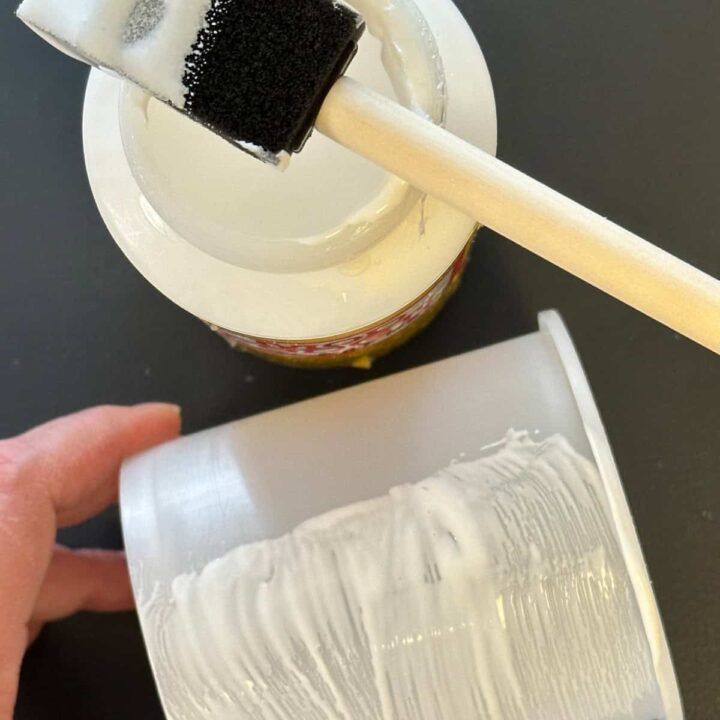
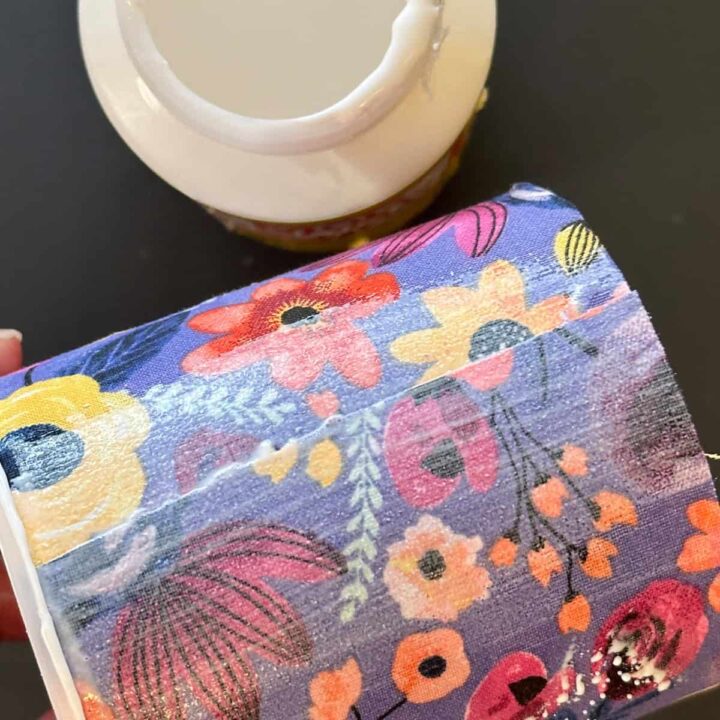
Now, with the foam brush, add the Mod Podge (affiliate) to the icing container and start applying the backside of the fabric to the container, working your way around by adding Mod Podge (affiliate) and affixing the fabric until you overlap the fabric a little bit. Let dry for an hour or dry to the touch.
Next, add a coat of Mod Podge (affiliate) to the fabric to set the fabric completely all the way around the icing container. Let dry to the touch. This may take an hour.
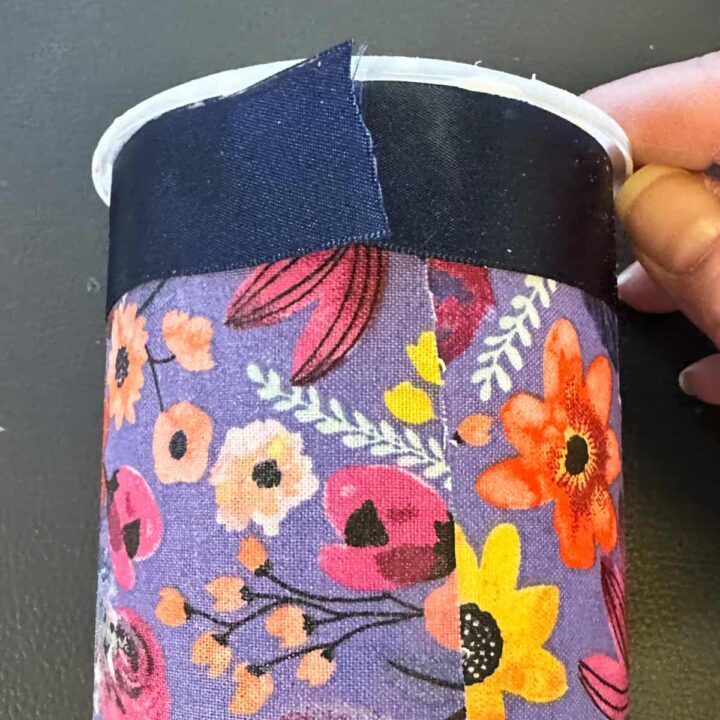
Now, to add the finishing touches, wrap the ribbon around just below the top edge and cut a little over the length. Then, add a little Mod Podge (affiliate) to the fabric and apply the ribbon around the top edge, as seen below.
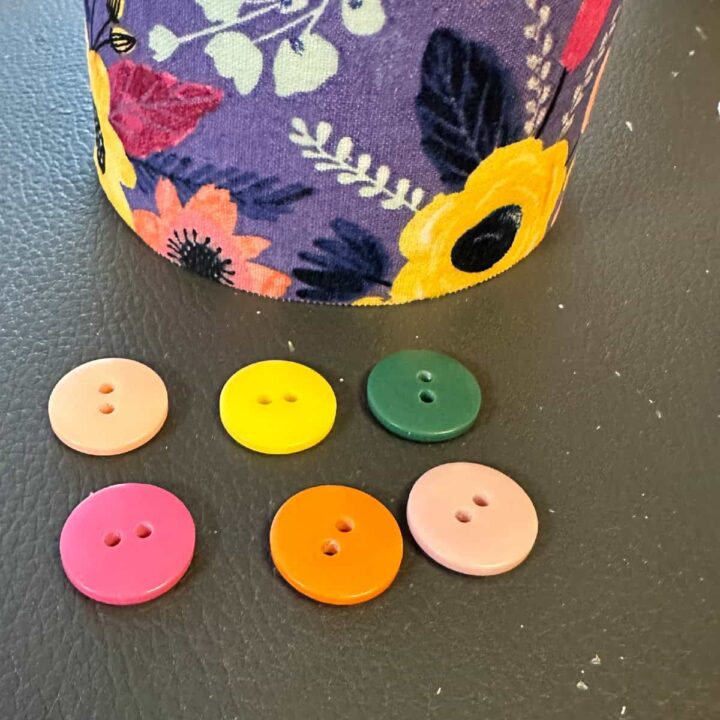
Now, add the buttons by adding a little Mod Podge to the back and adhere them to the ribbon, keeping them separate.
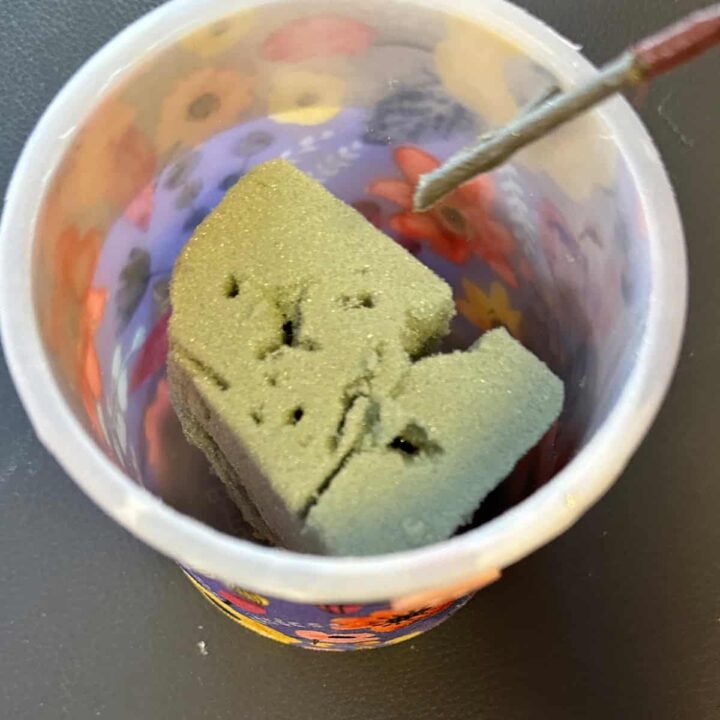
OPTIONAL: Add a faux flower foam insert and cut the faux flowers with tin snips to the right length to fit in the icing container. Arrange the flowers and display them!
The Big Reveal
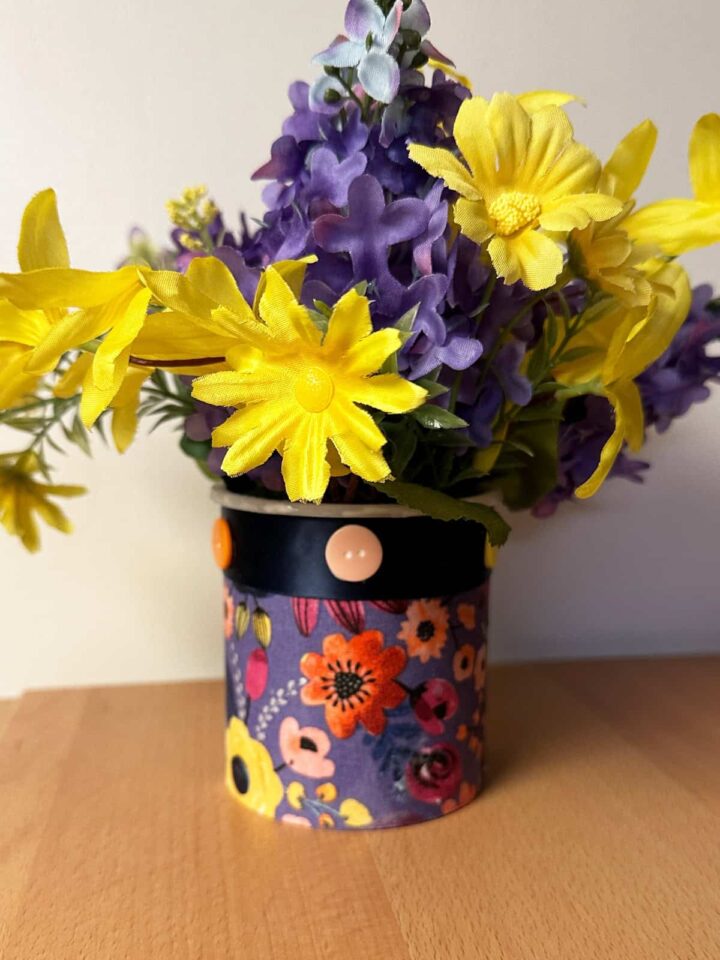
This Cake Frosting Container is now super lovely and usable in so many ways. It doesn't have to be a flower pot for faux flowers; it can also be a storage container for pens, pencils, scissors, or anything else you want to use it. What would you do with this container? Leave a comment below. I would love to hear from you.
Tips on Making this Icing Container to Flower Pot DIY Tutorial
There are a few tips I would recommend.
- Pick a dark quilted fabric if your icing container is opaque. This will cover the container better, and you will not see through the fabric.
- Allow for the drying time for the first round of Mod Podge before adding the next layer to the fabric. Two hours or more would work best so the fabric sets on the container.
I hope this icing container project inspires you to organize on a small budget. Feel free to check out my other upcycling projects.
DIY Upcycling Back to School posts:


Leave a Reply