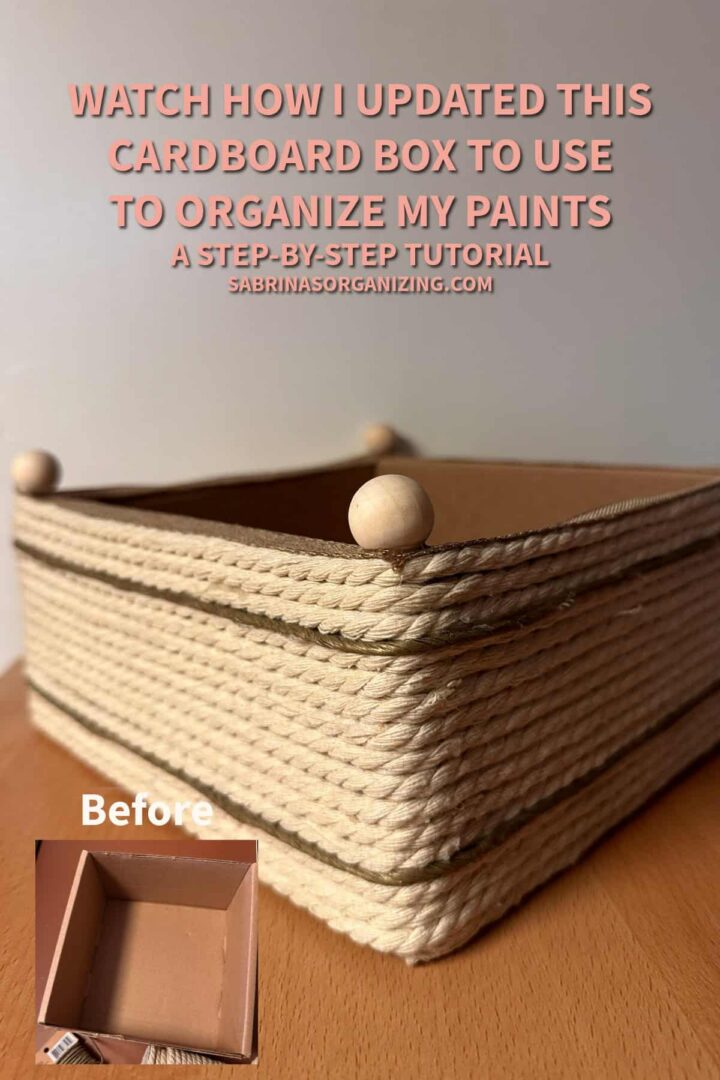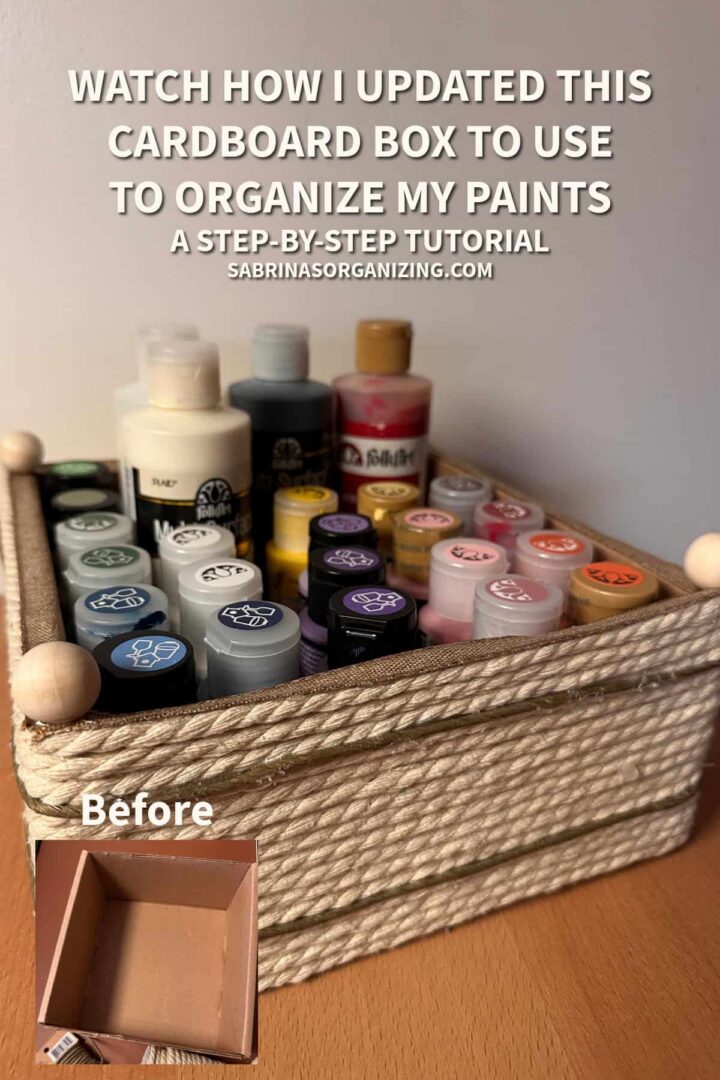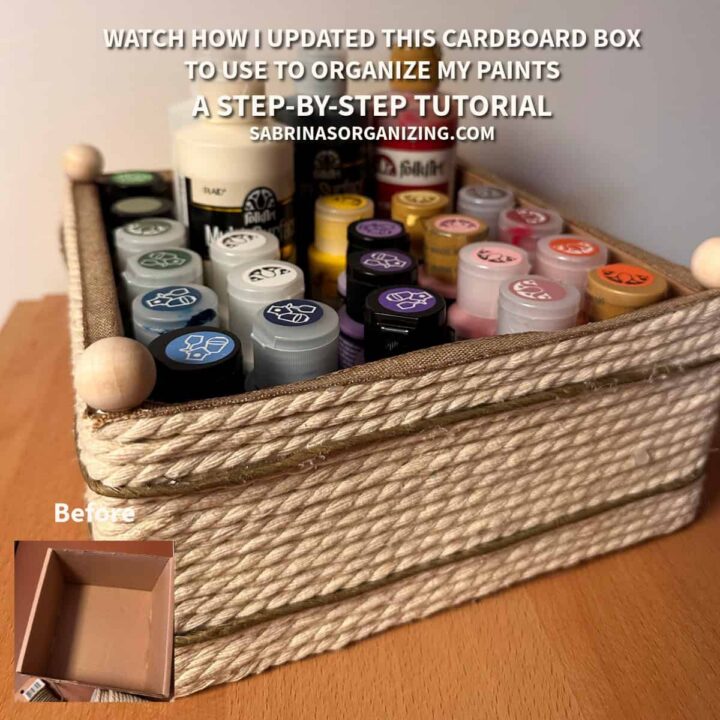
Upcycle everyday cardboard boxes into stylish, functional home storage for a budget-friendly way to get organized without spending a fortune. This DIY Cardboard Box project transforms a plain, square, sturdy cardboard box (affiliate) into a chic, rustic storage basket using thick twisted rope, decorative metallic wire trim, and sleek wooden bead feet.
Estimated reading time: 7 minutes
Key Takeaways
- Transform a plain cardboard box (affiliate) into a stylish storage solution using a DIY Cardboard Box (affiliate) project with rope and wooden feet.
- Gather supplies like a square cardboard box (affiliate), thick rope, wooden beads, and a hot glue gun.
- This project costs around $5.00 and takes about 85 minutes to complete.
- Use this versatile basket to organize items like craft supplies, desk accessories, or toiletries (affiliate) in your home.
- Follow hot glue gun safety tips, such as working in sections and protecting your fingers from burns.
Jump to:
Things to know before trying this project
Below are things you should know about this project.
What inspired me to do this DIY Cardboard Box project?
I've been seeing a lot of cardboard box (affiliate) upcycling projects lately on Pinterest, and I was waiting for one sturdy enough to update and use to help me organize my acrylic paints. One came in the mail from a purchase I made, and it fit the bill, so I was excited to try it. I am going to try these cardboard upcycling projects again soon.
What supplies did I use to make this Project?
To create this project, gather the following supplies:
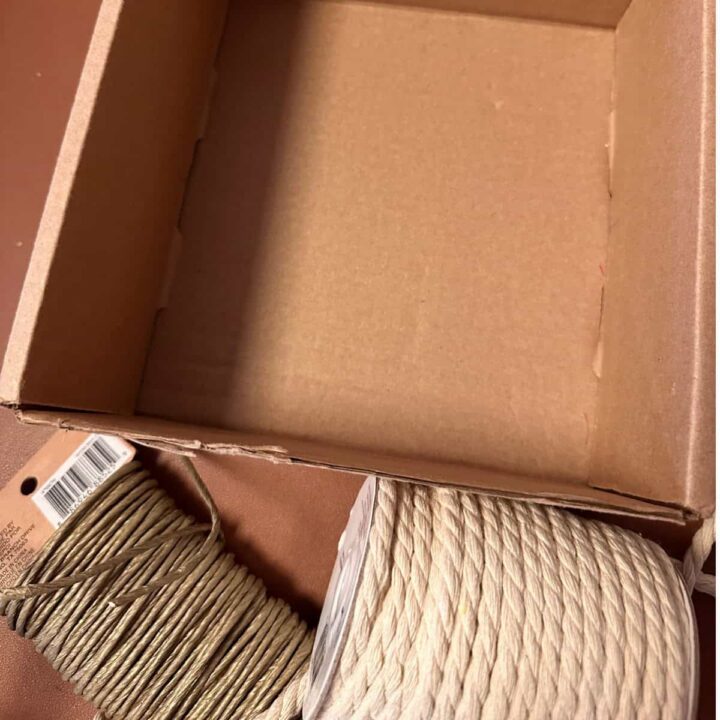
Square Cardboard Box (such as a sturdy small shipping or product box). If it has a lid, cut it off.
Thick Natural Cotton/Sisal Rope (cream or off-white)
Thin Metallic/Jute Cord Trim (gold or bronze) - I used a wire version, which is not available anymore
Wooden Craft Balls (4 round beads for the feet) - no holes
Hot Glue Gun & Extra Glue Sticks
Fabric or Decorative Ribbon Liner - jute material ¼ inch wide (optional, for finishing the upper rim) - here is one ribbon I found that is burlap on Amazon.
Scissors (affiliate)
Measuring Tape
Please note these are affiliate links through Amazon (affiliate), and at no additional cost to you, I will earn an affiliate commission if you decide to make a purchase.
How much did this DIY Cardboard Box project cost?
This project cost $5.00. I already had all the supplies, and I got the shipping box (affiliate) after I purchased something.
How long did it take to make the DIY Cardboard Box project?
It took me about 85 minutes. Because I used a hot glue gun, it was a pretty quick process, but adding the rope took some time.
Tips on How to Use a Hot Glue Gun Safely and Effectively
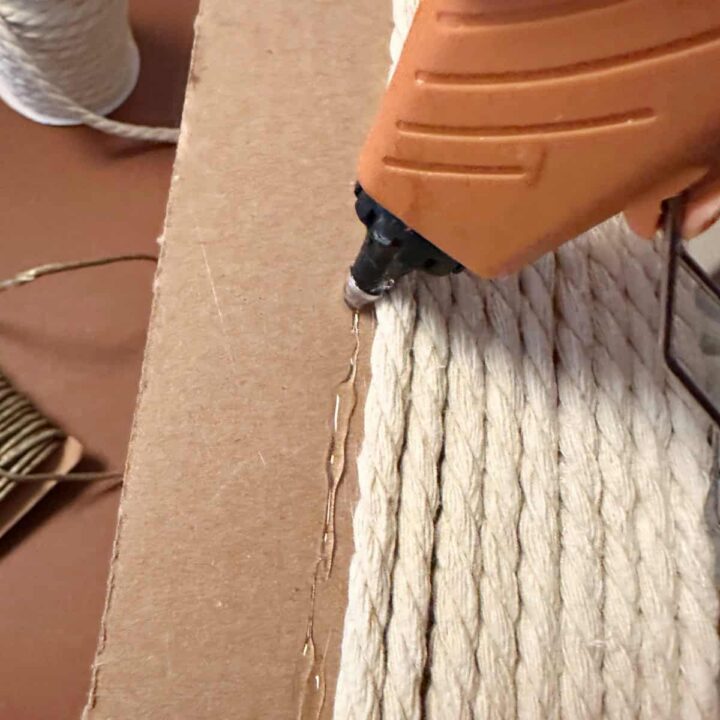
- Work in Sections: When wrapping rope around a large (affiliate) surface like a box, apply glue a few inches at a time rather than all at once so the glue doesn't dry before you press the rope down.
- Watch Out for Strings: Hot glue often leaves thin "spider web" strings. Keep a toothpick or craft stick nearby to easily sweep them away once your project cools.
- Protect Your Fingers: Because rope is porous, hot glue can seep through the fibers and burn your fingertips. Consider using a silicone finger protector or the flat side of your scissors (affiliate) to press the rope firmly into the glue.
- Keep Extra Glue Sticks (affiliate) Handy: Wrapping a box in thick rope consumes a surprising amount of glue, so make sure you have a full pack ready before you start!
Feel free to check out my How to Make a DIY Spray Bottles Organizer project with a glassware cardboard box.
Steps
Below are step-by-step instructions for this cute DIY Cardboard Box (affiliate) project. Feel free to check them out.
Print
DIY Cardboard Box Transformation Project with rope and wooden balls
- Prep Time: 10 minutes
- Total Time: 85 minutes
- Yield: 1-12 inches x 12 inches box
- Category: cardboard DIY, DIY
- Method: Step-by-Step
Description
Upcycling everyday cardboard boxes (affiliate) into stylish, functional home storage is a fantastic, budget-friendly way to get organized without spending a fortune. This DIY project transforms a plain, square cardboard box into a chic, rustic storage basket using thick twisted rope, decorative metallic trim, and sleek wooden bead feet.
Materials
- Square Cardboard Box (such as a small shipping or product box)
- Thick Natural Cotton/Sisal Rope (cream or off-white)
- Thin Metallic/Jute Cord Trim (gold (affiliate) or bronze)
- Wooden Craft Beads (4 round beads for the feet)
- Fabric or Decorative Ribbon Liner (optional, for finishing the top rim)
- Measuring Tape
- Hot Glue Gun & Extra Glue Sticks (affiliate)
- Scissors (affiliate)
Instructions
Step 1: Prep the Box
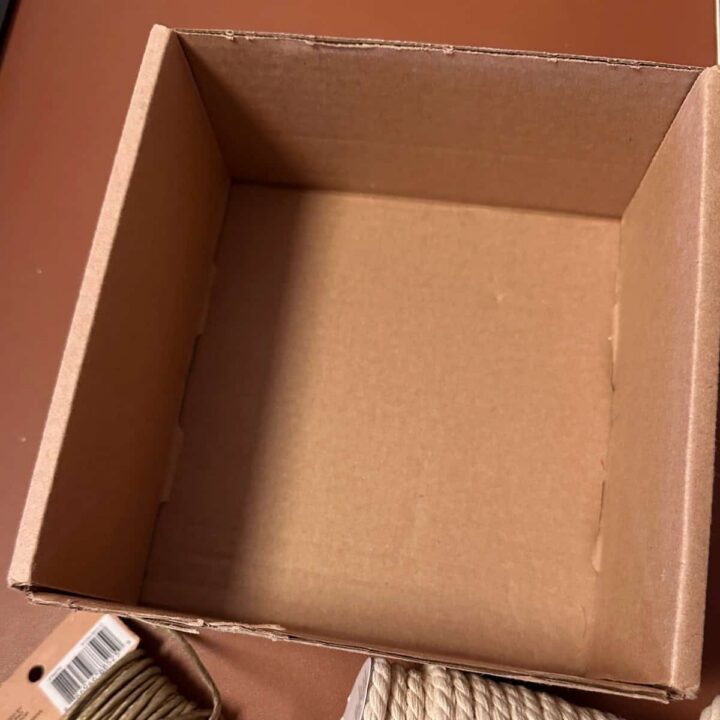
- Start with a clean, sturdy square cardboard box. If it has a lid, cut it off with scissors (affiliate).

- Trim any damaged flaps from the top edges for an open-top basket look.
Step 2: Wrap the Base with Rope
- Plug in your hot glue gun and let it heat up.
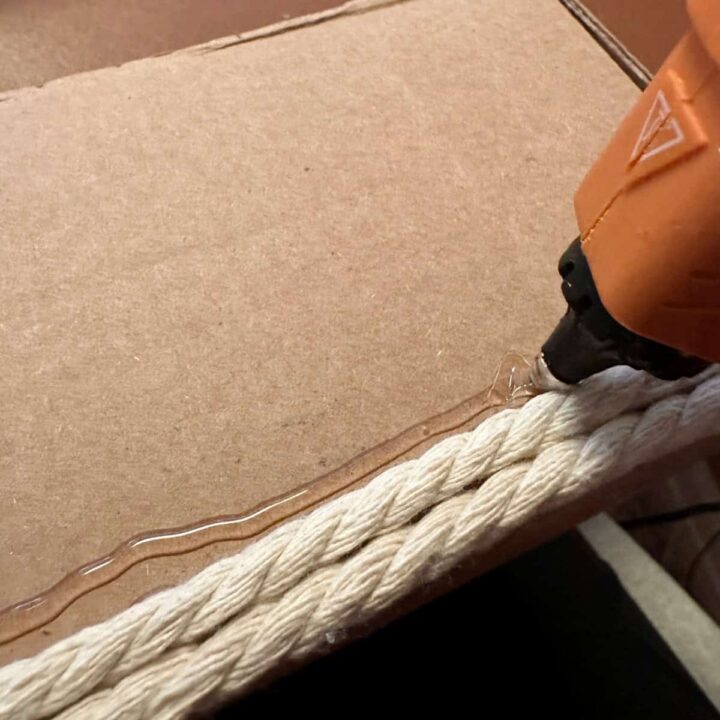
- Apply a horizontal line of hot glue along one outside corner of the box. Press the end of your thick cream rope into the glue to anchor it securely.
- Begin wrapping the rope tightly and evenly around the box, row by row.
- Add small beads of hot glue along each side as you wrap to keep the rope taut, ensuring no visible gaps between the rows.
Step 3: Add Accent Stripes
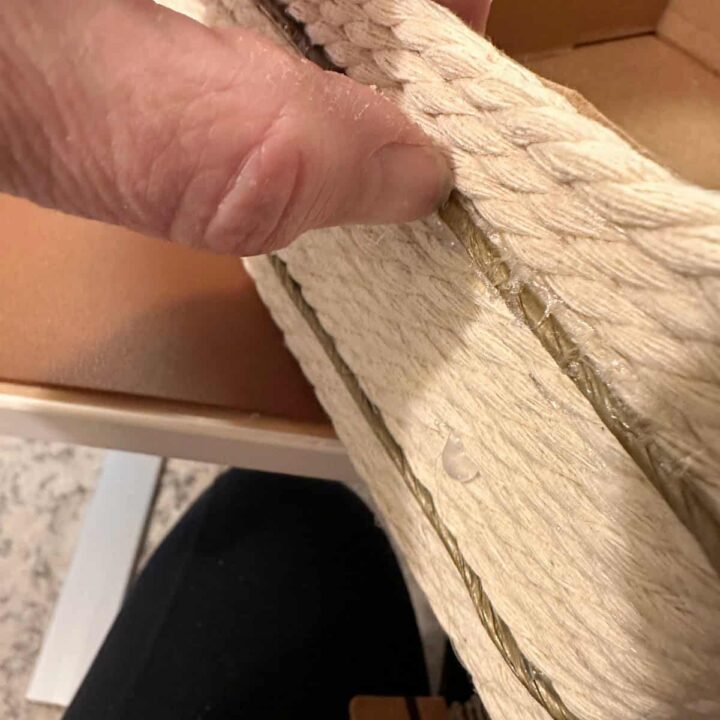
- To add a custom designer touch, switch to your thin metallic or colored cord trim after a few rows of cream rope. I added two of them between the existing rows of rope.
- Glue one or two rows of the metallic cord between the rope rows around the box to create a clean visual break.
Step 4: Finish the Top Rim
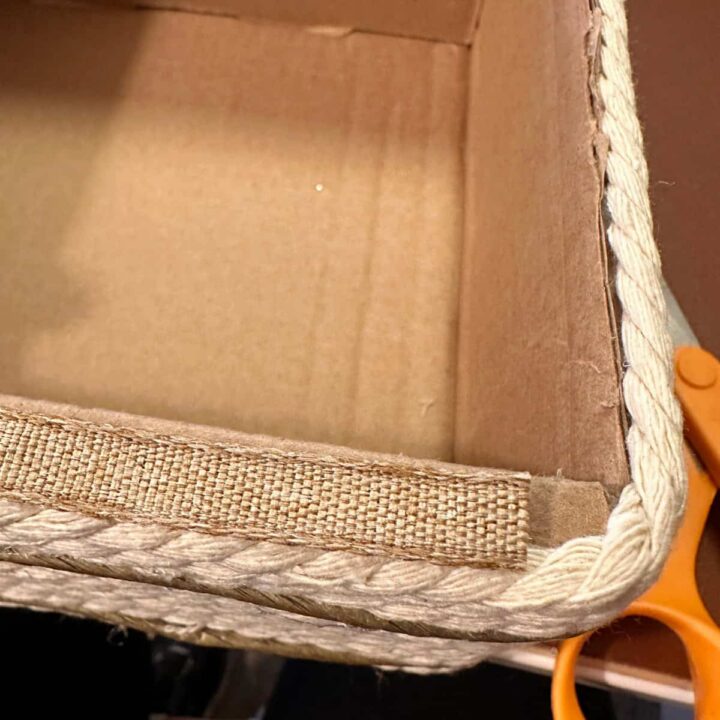
- Neatly trim the thick rope once you reach the box's top edge.
- Glue a piece of decorative ribbon or fabric trim along the very top inner and outer rims to cover any raw cardboard edges and give it a polished, professional finish.
Step 5: Attach Wooden Bead Feet
- Turn the finished box right side up on a flat surface.
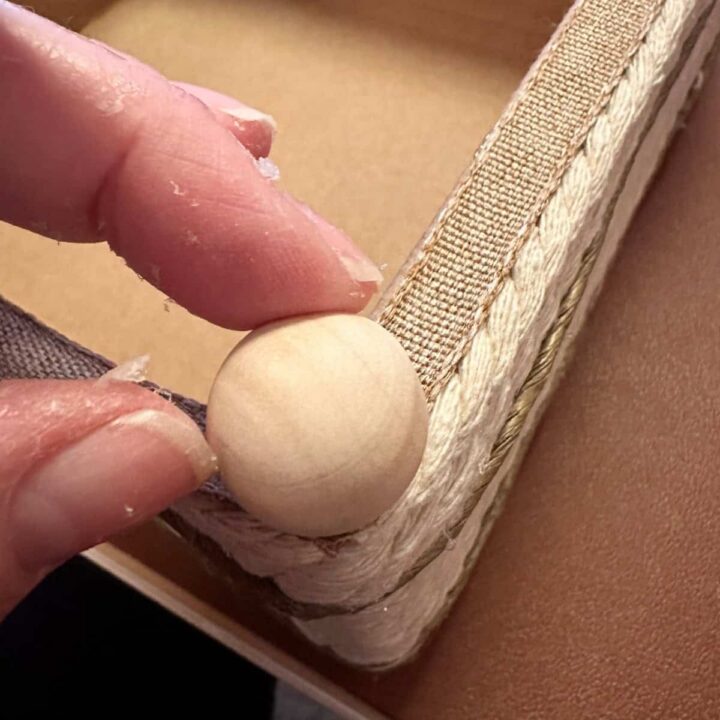
- Apply a dab of hot glue to the box's top four corners. Then, apply one wooden ball to each corner. Hold them in place until the glue sets completely.
- Remove any hot-glue spider webs around the rope and top ribbon area.
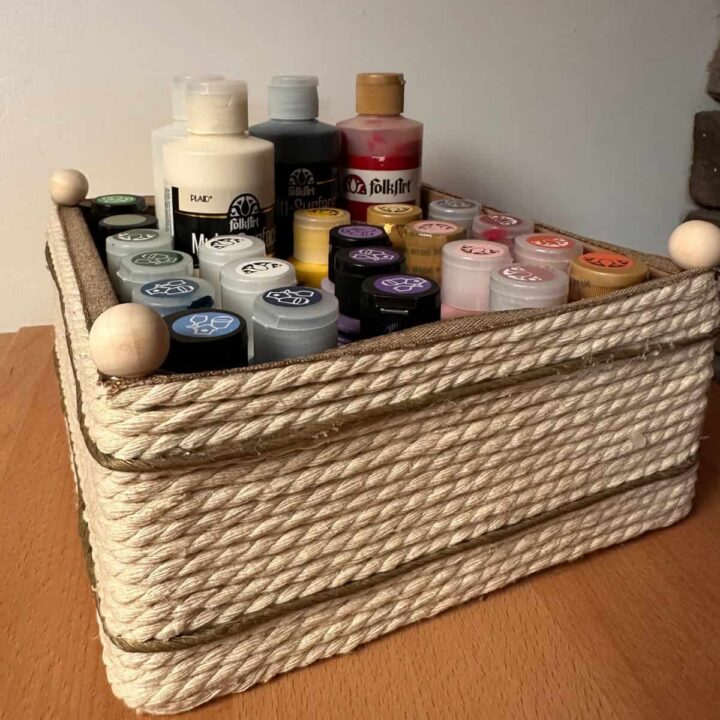
The Big Reveal
This is what the cardboard box looks like now. I am so glad I found a sturdy box for this project. It will last for years. What do you think? Do you have any questions? Please leave a comment below. I would love to hear from you.
Check out my Wooden Shadow Box Makeover with Rose Gold Foil Craft Project!
What to Organize with This Finished Craft Project
This versatile, stylish rope basket works all around the house to wrangle clutter. Here are 5 great things to organize in this box:
- Acrylic Paint Bottles & Craft Supplies: Perfect for holding small paint bottles, brushes, and markers right on your craft table.
- Desk Accessories: Keep staplers, sticky notes (affiliate), scissors (affiliate), and pens neatly contained on your office desk.
- Guest Bathroom Toiletries (affiliate): Fill it with rolled-up hand towels, guest soaps, and lotion (affiliate) bottles for a spa-like presentation.
- Living Room Remotes & Media: Corral TV remotes, coasters, and small electronic chargers on your coffee table (affiliate).
- Makeup & Skincare: Set it on your vanity to organize daily skincare bottles, compacts, and cosmetic brushes.
Want some more ideas? Check out my DIY Upcycle Tin Can with Jute Rope Organizer.
FAQs
Feel free to check out these additional questions for answers. If you have more questions, please leave a comment below, and I will get back to you as soon as possible.
No, regular school glue or liquid PVA glue is not strong or fast-drying enough to hold heavy twisted rope tightly against cardboard. Hot glue is essential for a secure, instant hold.
If you don't like the look of plain brown cardboard on the inside, you can line the interior with patterned cardstock, felt, or leftover fabric using a liquid craft glue before wrapping the outside.
Wooden craft beads between 20mm and 25mm in diameter work best for small-to-medium boxes, providing just enough elevation without making the basket tippy.
While this upcycled box is great for lightweight clutter like craft supplies, remotes, or cosmetics, the structural strength depends on the thickness of the original cardboard, so avoid using it for heavy items like tools or books.
You can easily clean dust off the rope exterior by using a soft-bristled brush attachment on your vacuum cleaner or by gently wiping it with a slightly damp microfiber cloth. Avoid submerging the box in water.
Closing
Add something motivating her.
Sharing is caring! If you enjoyed my post, please share it with your friends via email or social media and use the hashtag #sabrinasorganizingDIY. Thank you!
DIY posts
Feel free to get inspired and visit our other cardboard posts.