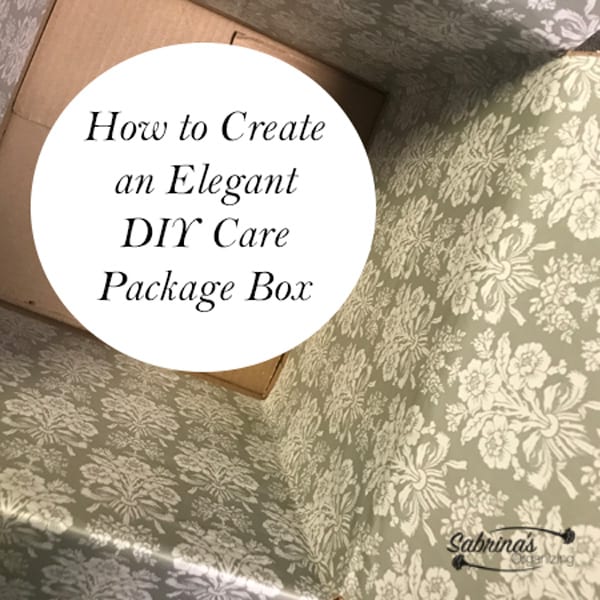
Are you shipping gifts this season? If you want to make your plain brown cardboard box (affiliate) decorative, this post is for you! I recently had to send a baby shower present to my niece because we couldn't make the shower. I purchased various practical baby shower gifts from multiple stores and brought them together to get shipped. Feel free to check out the useful post about baby shower gift ideas. Then, I thought, how can I make all these items look pretty when it is shipped? I decided to decorate the inside of the box, so when she opens it, it will be a pleasant surprise. See below for how I created this decorative DIY Care Package Box. Your recipient will be surprised!
Jump to:
Follow the steps below to make this adorable presentation arrive in person. It's super easy to make this shipping gift box.
Supplies you will need to decorate the inside of the shipping box
There are only a few things you need for this shipping box (affiliate) besides the gift for the recipient.
- Shipping box (affiliate)
- Self-adhesive floral paper (Affiliate Link)
- Exacto knife (affiliate)
Steps on how to decorate inside a shipping box
Step 1: Pick the right box that holds all the items you plan on sending. I picked a box that was 18 inches x 18 inches x 18 inches.
Pick a pretty showstopper self-adhesive paper
Step 2: Pick Contact Paper or Drawer liner self-adhesive paper in a roll. I even found some rolls at Marshalls and TJMaxx. Here are some I found on Amazon (affiliate).com (This is an affiliate link. I will receive a commission if you click through and purchase these items from Amazon (affiliate). This will not increase your cost.)

Wallpaper Peel and Stick Floral:Boho Textured Wall Paper
Buy Now →(affiliate)
Cut to the size of the box
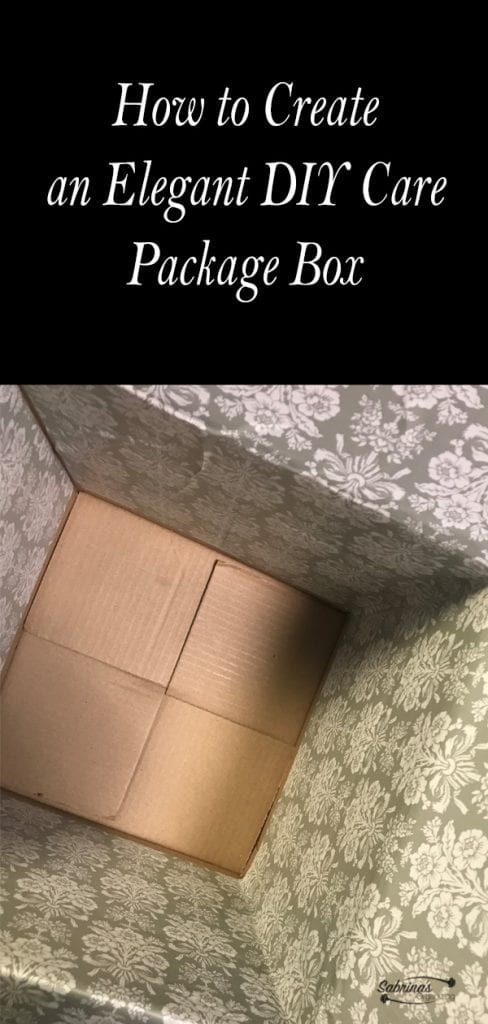
Step 3: Using an Exacto knife (affiliate) and scissors, cut the size of each side so that it goes into the box close to the bottom. You can cover the bottom if you want, but you don't have to since the items will be covering the bottom of the box.
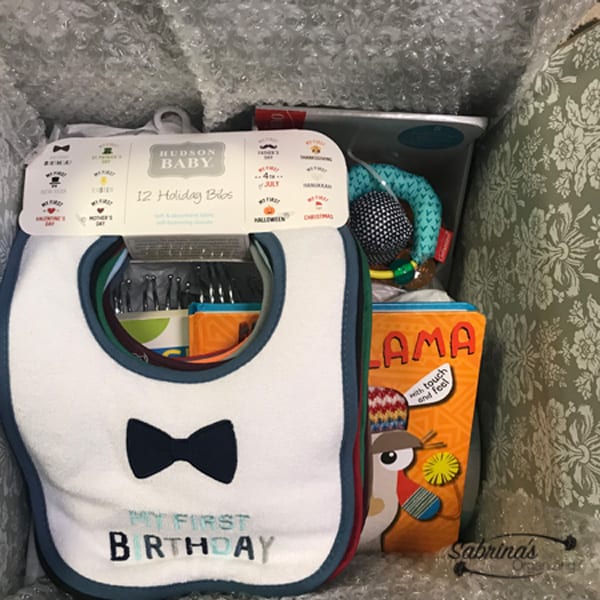
Layer bubble wrap
Step 4: Start with some bubble wrap (affiliate) sheets to protect the items. Then, add tissue paper (affiliate) to fill the bottom. The tissue paper (affiliate) will help cover the areas that you didn't use the self-adhesive paper. Then, start layering the gifts. Start with the heavy things, then add the lighter stuff on top. Filling in with tissue paper (affiliate). Make sure you fill in the gaps so the items don't shift in transit.
Optional
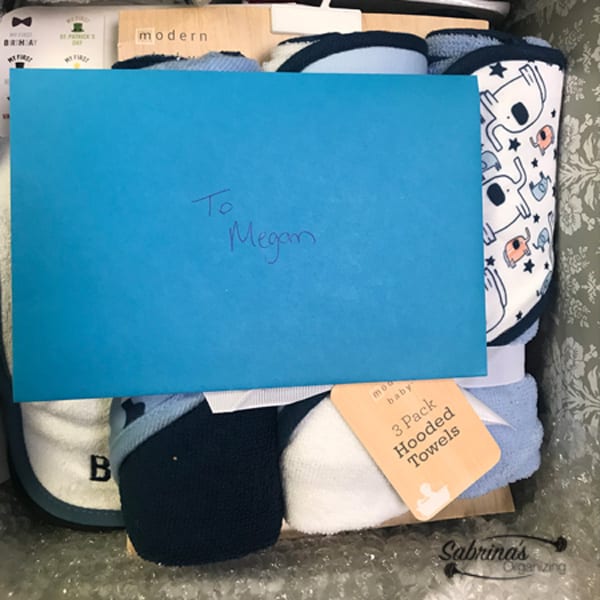
Step 5: If you are going to add a greeting card, lay it on top of the wrapped tissue paper (affiliate) and bubble-wrapped gifts. You can tape it to the top of your box so as not to allow it to shift if your box is not completely full.
That's it! It's time to bring it to the post office and ship it out to your recipient. Here's an image of the box completed when it was ready to go. By decorating the inside of the box makes the stuff look less like a pile of things and more like a well-thought-out present.
Reveal
Other Bloggers DIY Care Package Box Options:
Here are some additional posts I found online that could also give you other options for decorating a DIY care package box.
How to Wrap the Inside of a Box to Make the Coolest Care Package Ever!
How to Wrap the Inside of a Box
Here's a perfect image for sharing on social media!



Leave a Reply