
My wooden folding card table was given to me when my mom passed away over 10 years ago. The table was very nice for a small home like mine. It allowed me to use it for a foyer catch-all table where I would keep my charging station (affiliate). But, over the years I found that it was getting a little shabby. The back legs were separating from the base. The veneer was chipping off the top and the back legs were never the right height to make the table level when closed and opened. This post talks about how I updated this great little folding card table and how I helped correct the issues it had for many years.
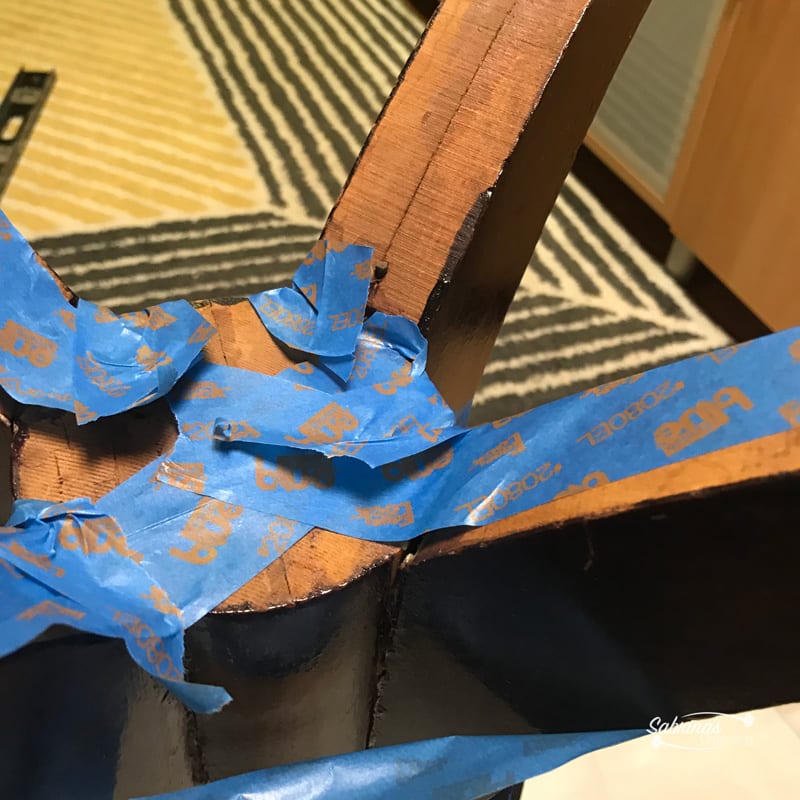
First, I started out with repairing the legs. They needed to be pushed back into the base. But there was no way for me to make sure they were going to stay over time. Before hammering the wooded tenon joint back into the base, I added glue around the tenon joint then hammered it into the base. To keep it in place till it dried, I used painters tape (affiliate) around the leg to try to keep it still.
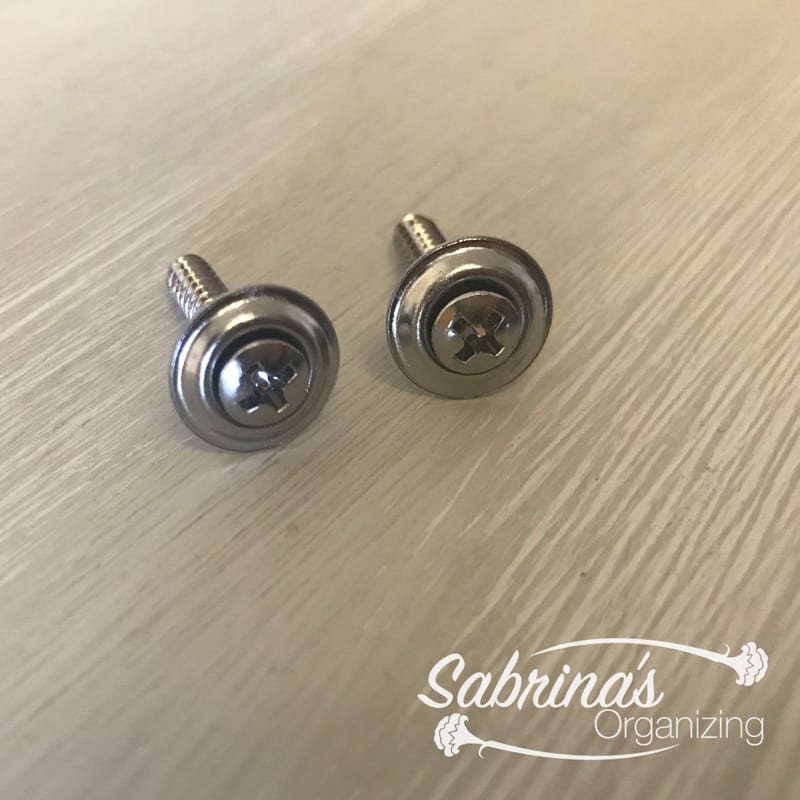
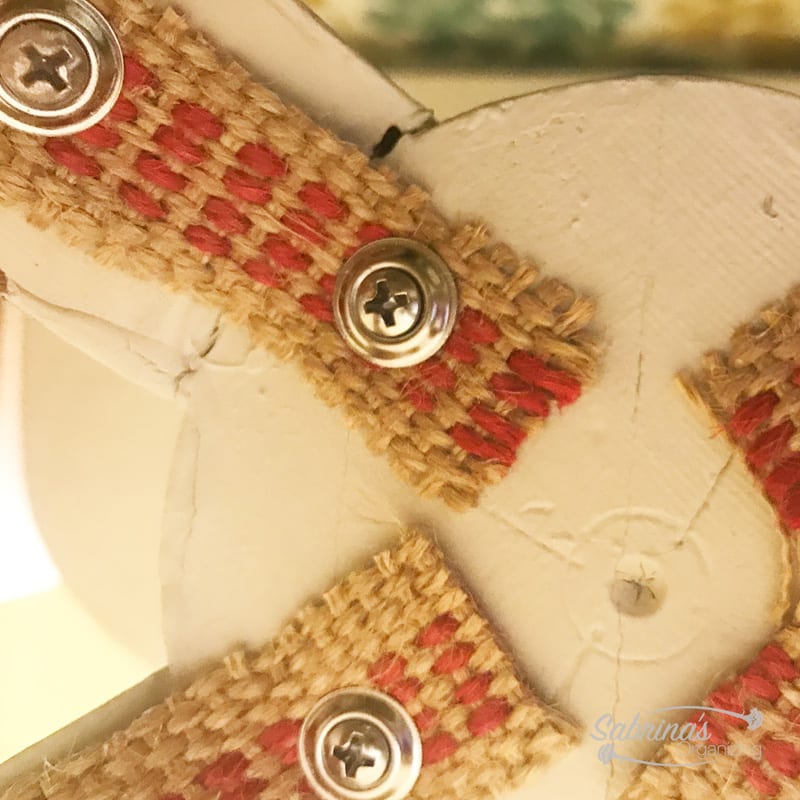
Because of all the angles on the base and legs, it was quite hard to keep it tight. So, to reinforce it even more, after I painted the base, I added jute webbing cut in half or you can use earthquake straps (affiliate) with 1-inch long screws with washers attached to keep the fabric from fraying at the hole. See below for a visual.
Then, I painted the entire table with Magnolia Home by Joanna Gaines(R) Chalk Style Color Yarn by Kilz. I started from the bottom and painted everything two times. Let it dry for a day. Then, I turned it over and painted the inside of the table twice. After that, I let it dry for a day or so.
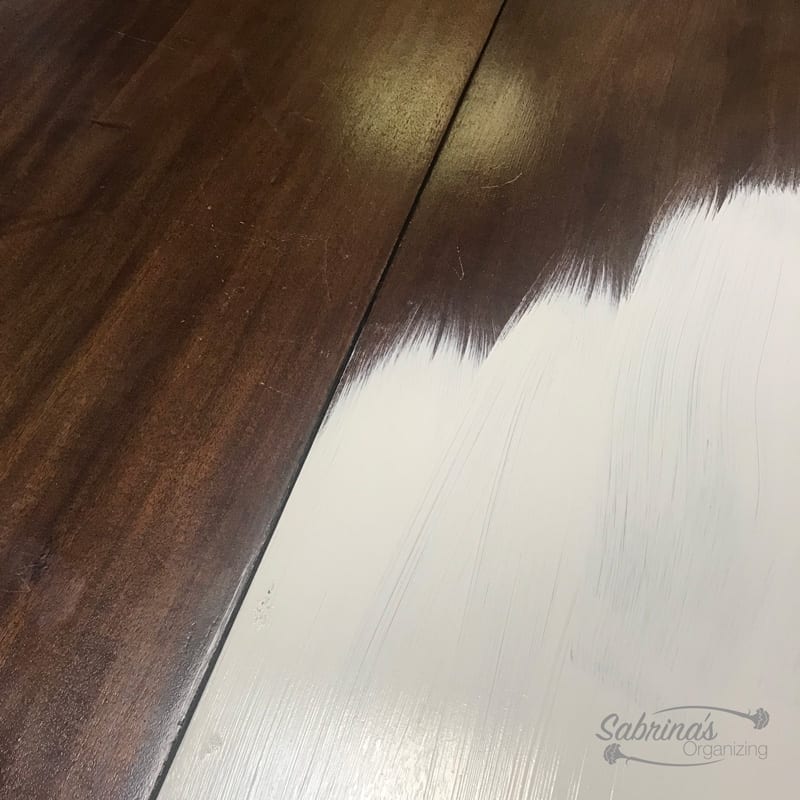
Now it was time to do the dark aged look to be added. I used Dark Wax by Magnolia Home by Joanna Gains(R). With a
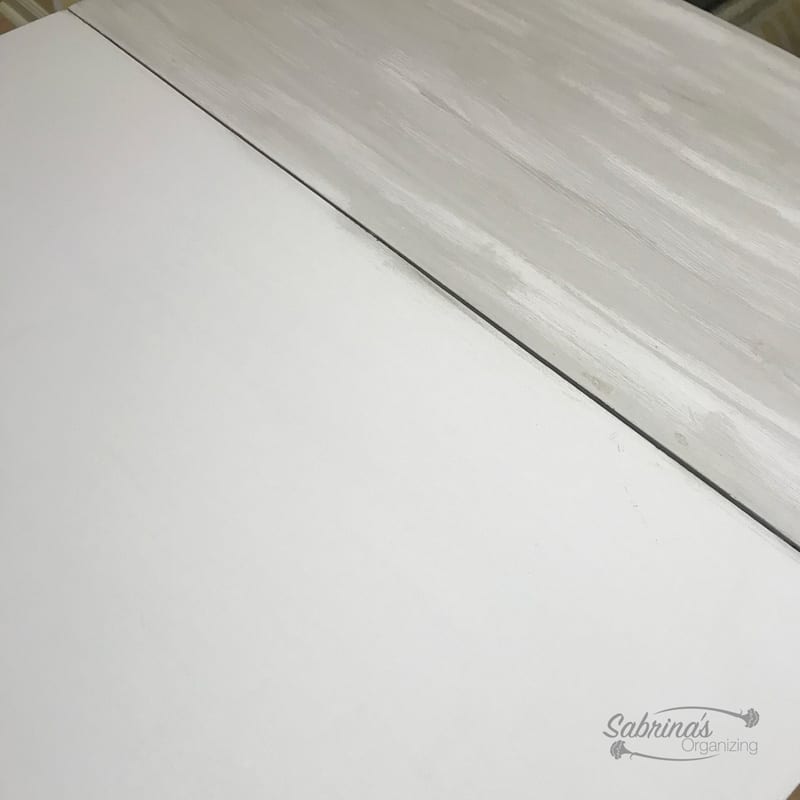
Here's a close up of the side of the table after I applied the dark wax with a rag.
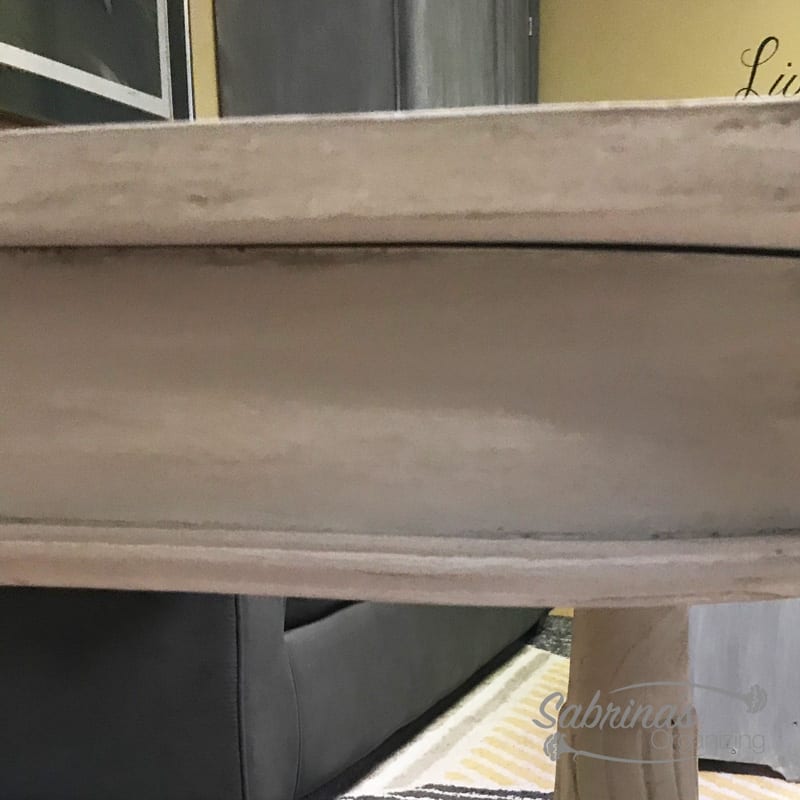
Here are some tips for chalk painting this folding card table.
- Be patient. It takes as long as it takes.
- Assess what needs to be done before you start painting. It's just easier that way.
- Know when to repair and when to leave it. I found that some areas would take too much time and money to fix so, I picked the ones that wouldn't take the longest.
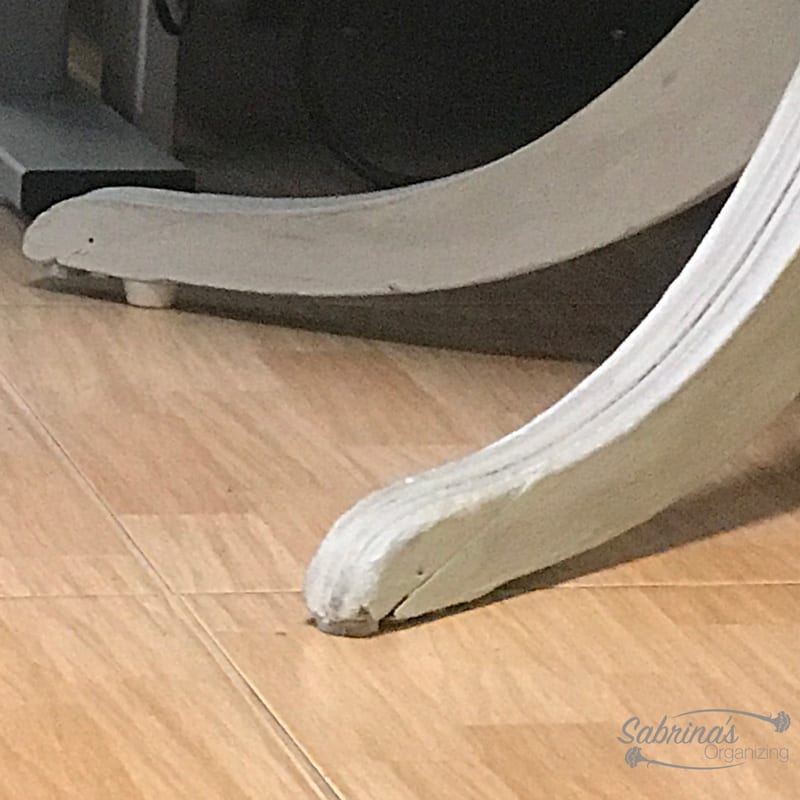
To level the table, I added ½ inch feet to the back legs of the table. I didn't remove the other feet because the wood leg was too delicate. As you can see, the wood leg has a crack it it.
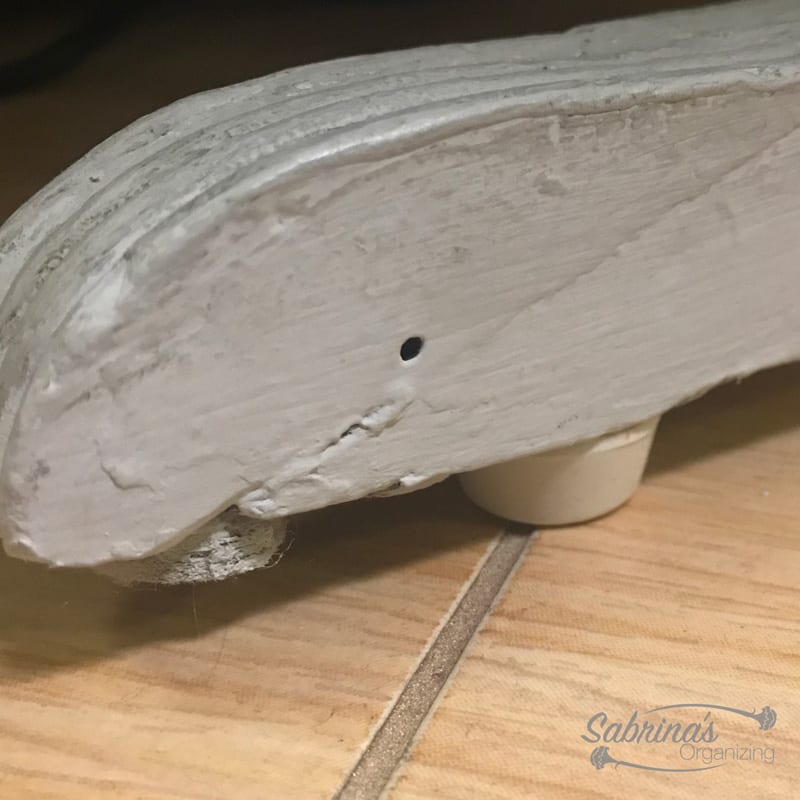
Here's another angle of the table leg. It may look a little off from the picture above, but it is actually level now. It was the easiest and quickest way to get this table level.
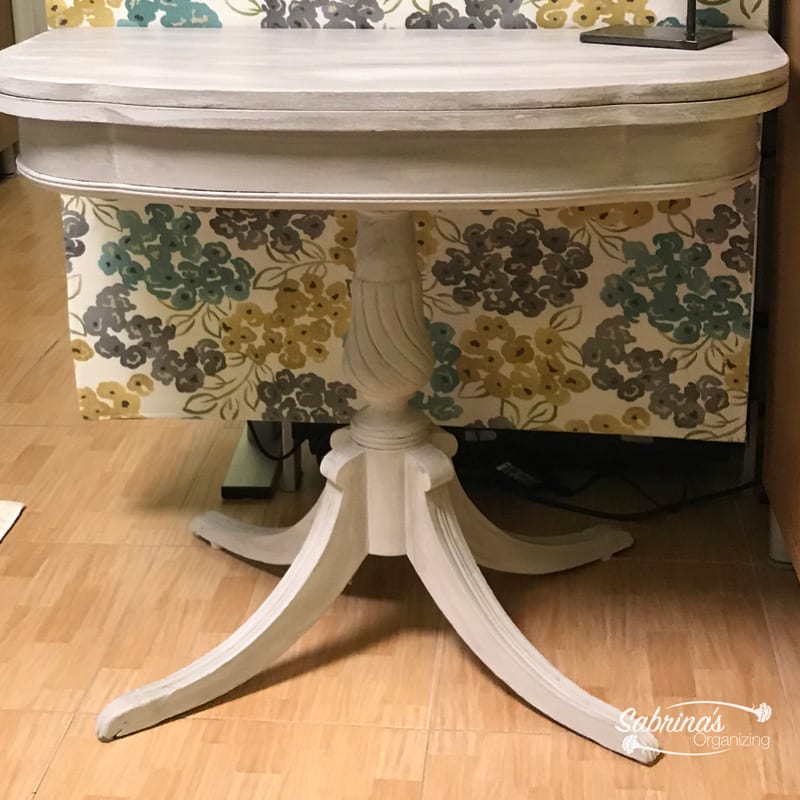
Here is the finished wooden folding table. What do you think? I love it. I am especially happy that it is level now. Since my mom purchased it in the nineties, it was not level. What a quick and easy fix to level it! Yay! Feel free to visit my other chalk paint furniture projects.



Leave a Reply