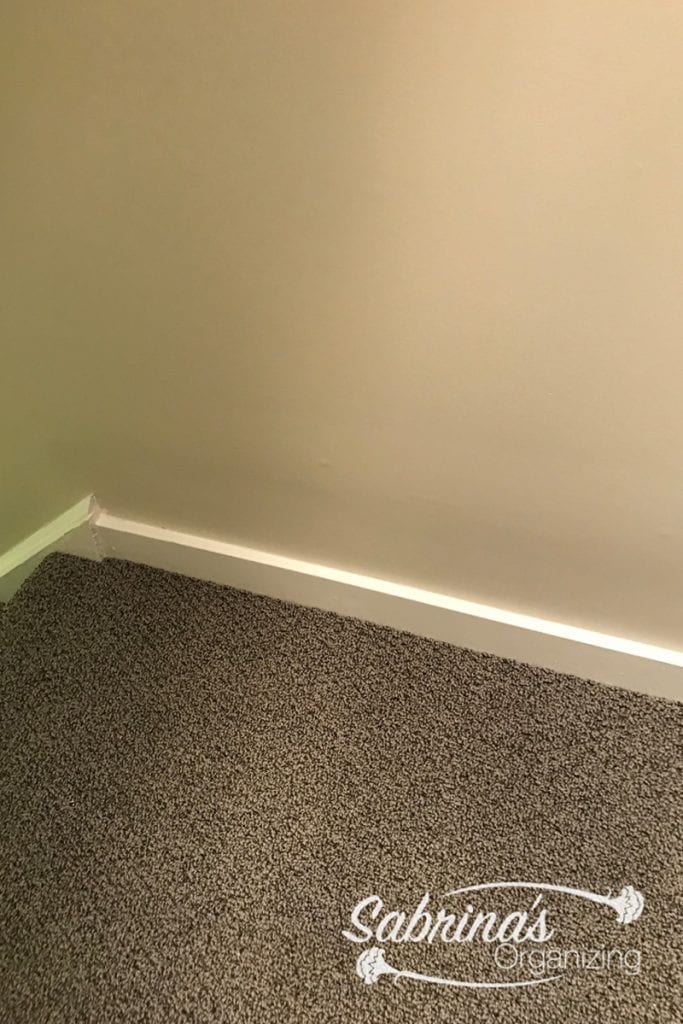
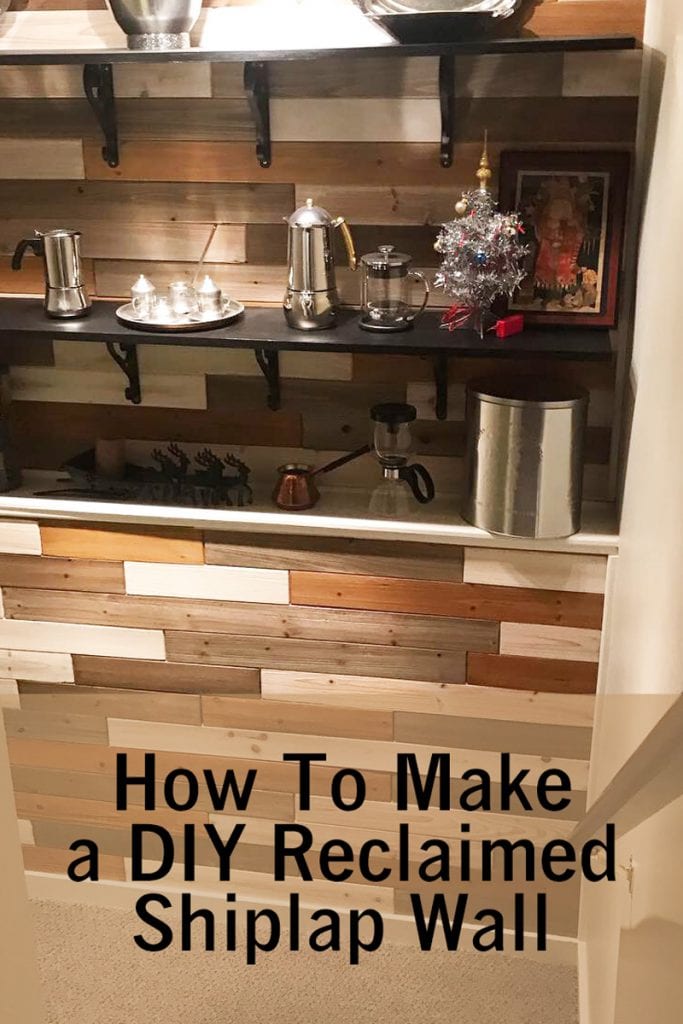
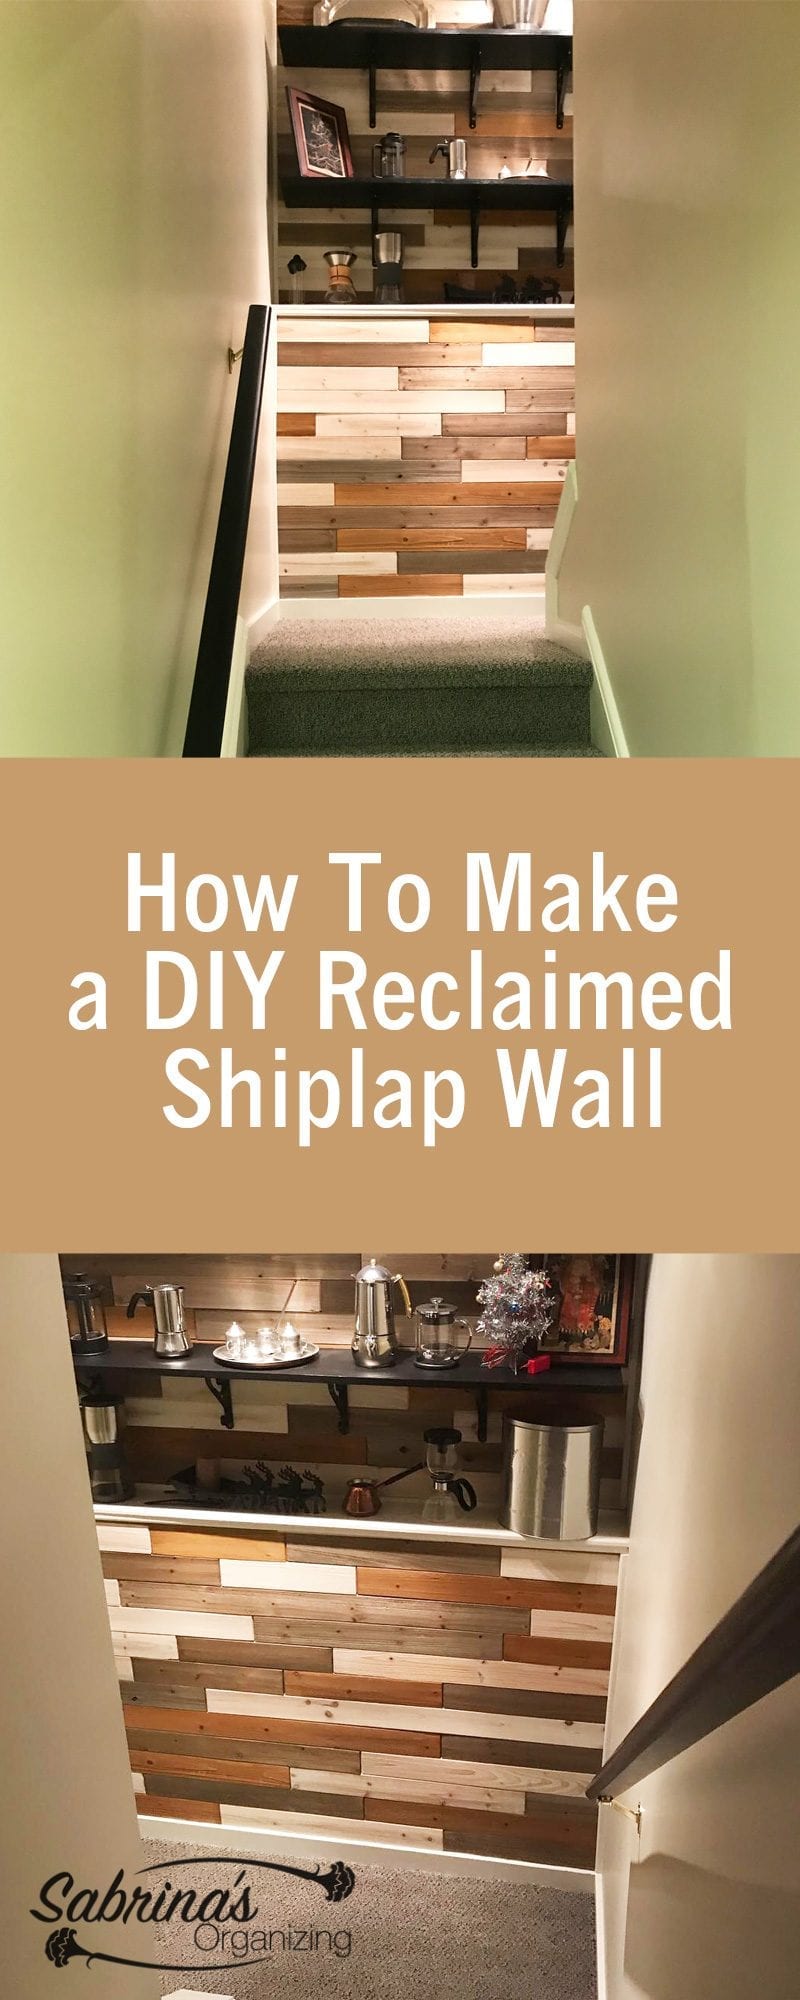
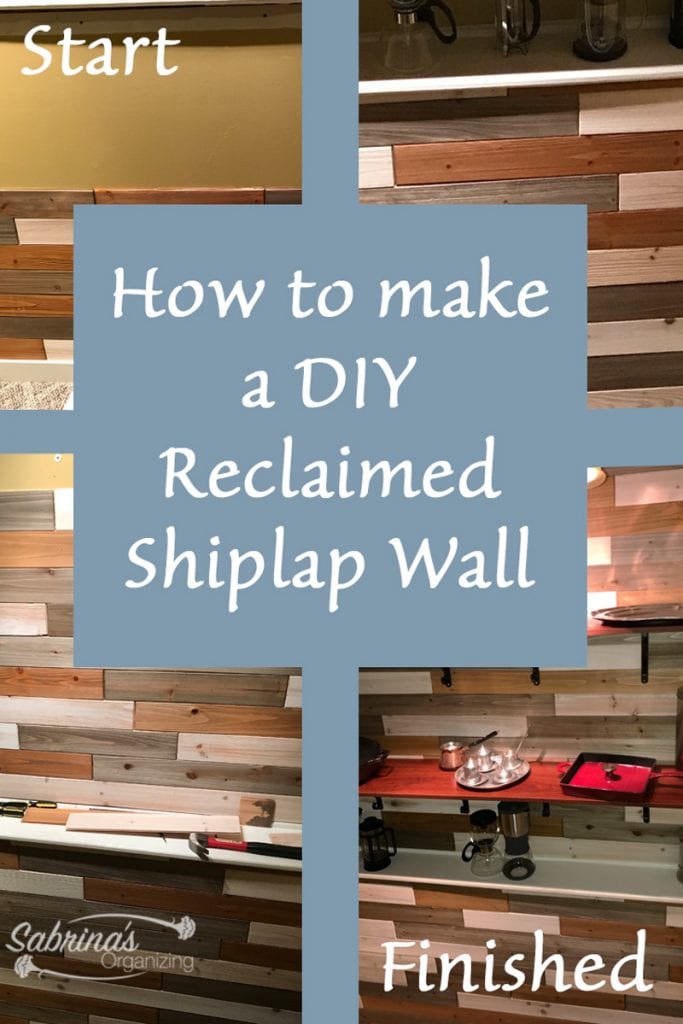
Since we started working from home over 15 years ago, the steps to the offices are used A LOT. I mean we use it even more than the bedrooms on the third floor. To make them look a little more appealing, I wanted to add some character to the focal point wall on the landing. Over the years, this area was used to store our extra supplies, then turned into a place to store my decorative serving platters (affiliate) from my mother and my husband's extensive collection of coffee makers. The wall was very dull and only held two shelves (affiliate) on it. So we decided to do a DIY shiplap wall to make it more inviting.
I wanted the wall to have some texture and be the focal point for anyone who walked down to the offices. To my surprise, I found affordable reclaimed cedar shiplap wall wood planks that were tongue and groove to quickly add to the wall. Here is how I created my very own DIY shiplap wall. And, the existing wall just didn't do it for me at all.
Jump to:
- Below is what I used to create this reclaimed shiplap wall.
- Determined the amount of material I needed.
- Make sure the wall is horizontally level.
- Start from the bottom up.
- Continue the installation of reclaimed shiplap.
- Reveal
- Additional products used for this part of the DIY Shiplap Wall project:
- How to Finish a Shiplap wall
(NOTE: I use the word "I" and "we" throughout this post. When I use the word "I" that means one person can do it themselves. When I use the word "we," it means that two people needed to do this part of the project.)
Below is what I used to create this reclaimed shiplap wall.
Product used:
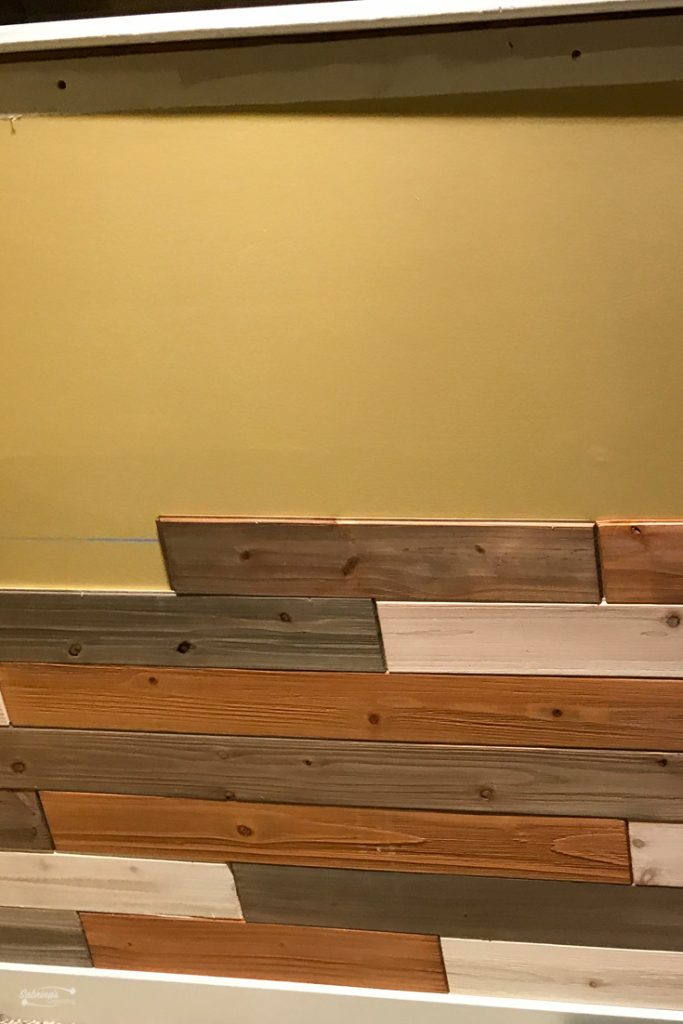
Design innovation reclaimed cedar wood planks in white, gray, and brown
Five boxes (affiliate) $129.85
2 white
2 gray
1 brown
Tools needed:
Electric Finishing nail gun with finishing nails.
Level
Chalk line
Small hammer
A nail remover to help remove nails that didn't go straight into the wood.
Determined the amount of material I needed.
The space I needed to cover was 28 square feet above the shelf and 35 sq ft below the shelf. I decided to start from the bottom up in both sections. This method would help keep the tongue and groove aligned properly. I decided to run it horizontally, but it can run vertically or diagonally if you wish. It will probably take more products to do it diagonally though.
Make sure the wall is horizontally level.
I took a self-leveler laser beam and placed it on the steps and marked a point on the wall. Then created a chalk line from one end to the other that lined up with all the points I indicated on the wall. I then measured from the moulding to the chalk line. I wanted to see if the wall was straight from the end of the moulding. And it was off by ¼ inch. This step helped me determine that I needed to add a little more spacing on the left side when I insert the planks so that it will look straight. I did the same with the top portion of the wall when I did that part later.
Note: we replaced the moulding to create a flat surface as well and wrapped it all the way around the side walls as well.
Start from the bottom up.
As I mentioned above, I started from the bottom and installed this product because it was a tongue and groove install. To apply the first row, I used my nail gun and placed the nails on the ends of the tongue side about 1 foot apart from each other. Note: if you used wood glue, add the glue first, then use the nail gun. I preferred not to use the glue because I wanted to be able to remove it from the wall easily if I choose to do so.
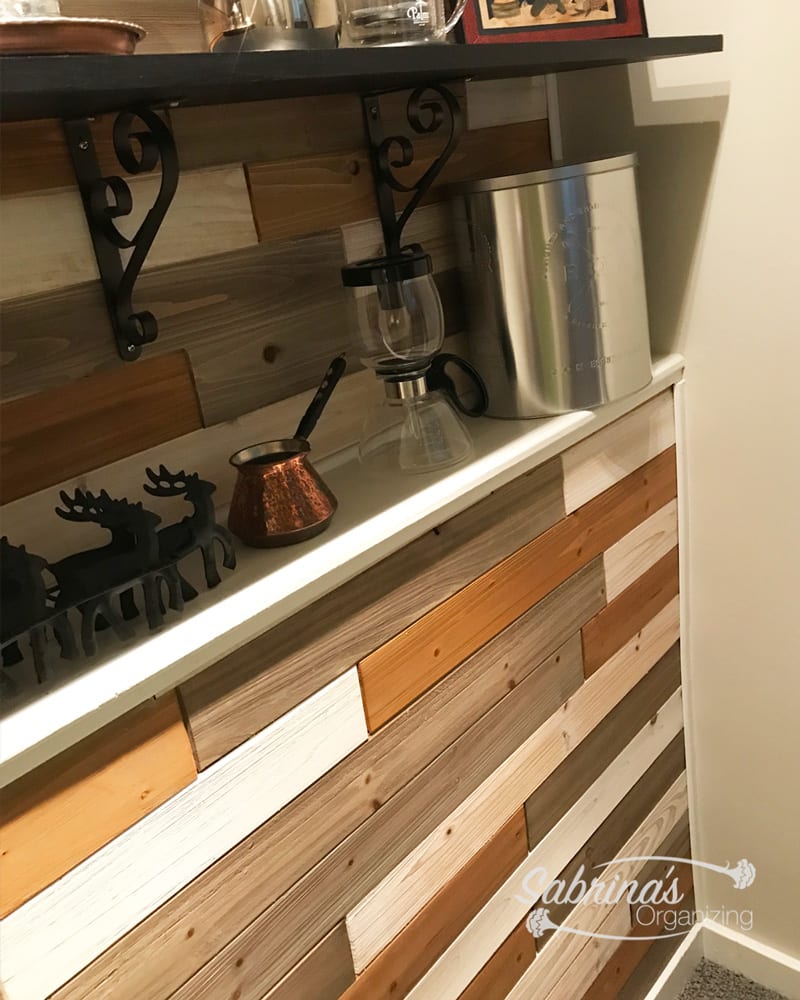
As you can see below, we removed the moulding from the shelf. This step allowed us to add the planks right up to the shelf. It looked a lot more professional that way.
I continued up the wall slowly. Making sure I did slide the planks onto one another correctly. Some of the products were a little rough on the surface, so be sure to wear gloves to protect yourself from splinters. It didn't happen often, but it's better to be safe (affiliate) than sorry.
Continue the installation of reclaimed shiplap.
We choose to leave the corner round molding on the top half of the shelf because it didn't look bad. And we continued up the shelf.
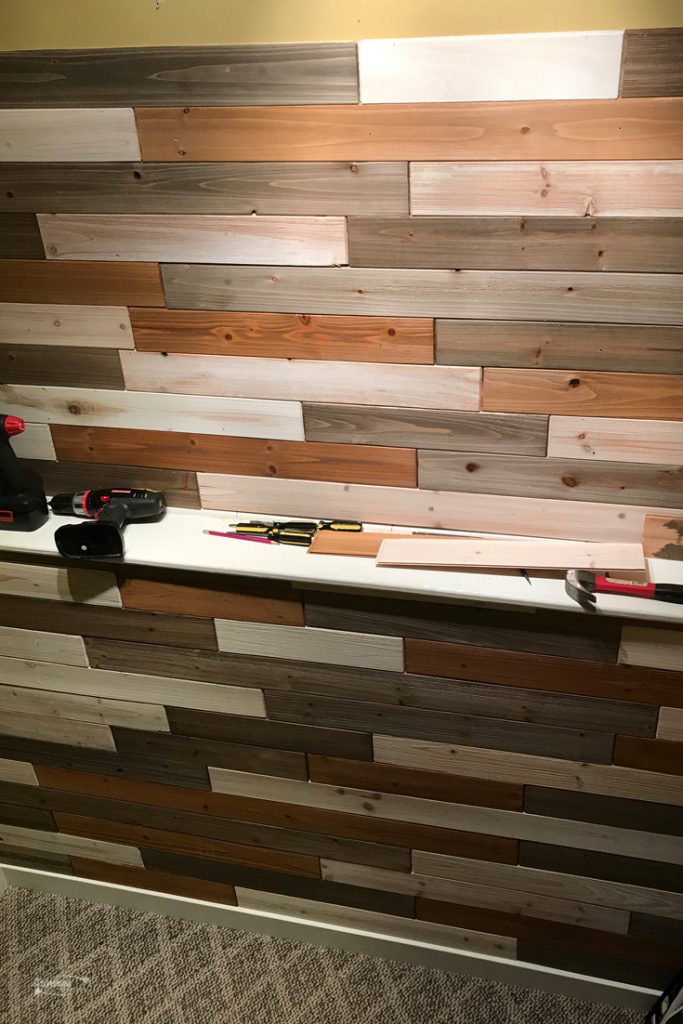
By the time we reached the very top, we had only about ½ to ¼ inch of opening left. We added a quarter-round moulding piece at the top.
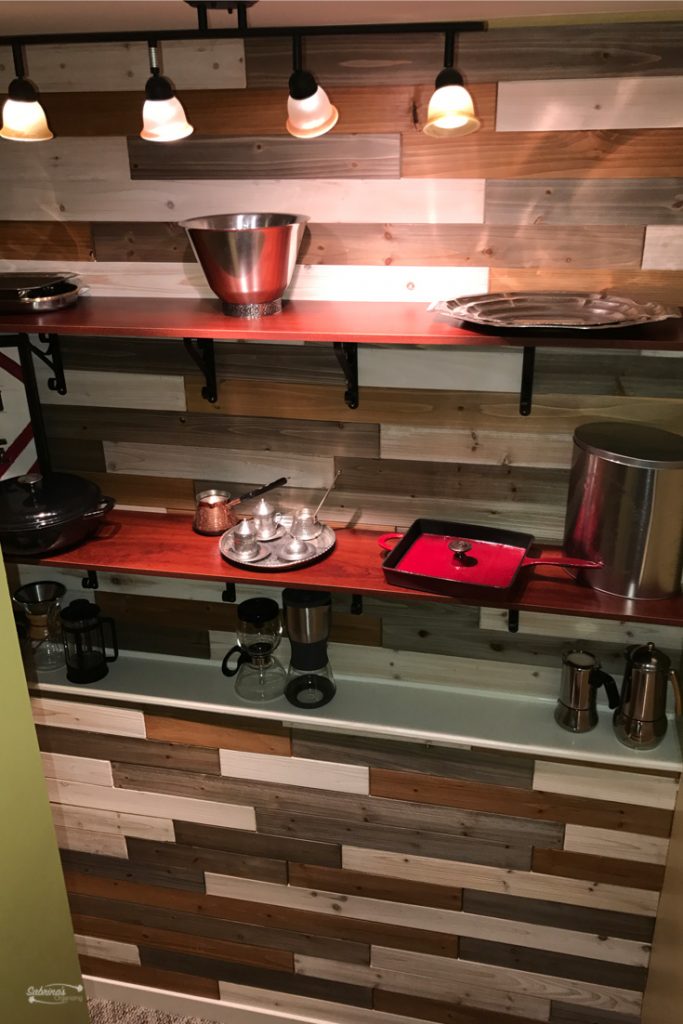
We added the shelves (affiliate) to the wall, and this is the finished wall. What do you think? It took about 8 hours total with everything and installed the shelves (affiliate) over a few weekends. We could have finished it all in one weekend but were so busy we just didn't want to rush the process.
Reveal
The picture above was completed a year ago. The following image is what the finished shiplap wall looks like now. Notice how the wood shelves (affiliate) blend with the wall. If you want, you could even paint the white shelve black (affiliate). We choose not to do that shelf black (affiliate) because the shoe moulding underneath the shelf would stand out.
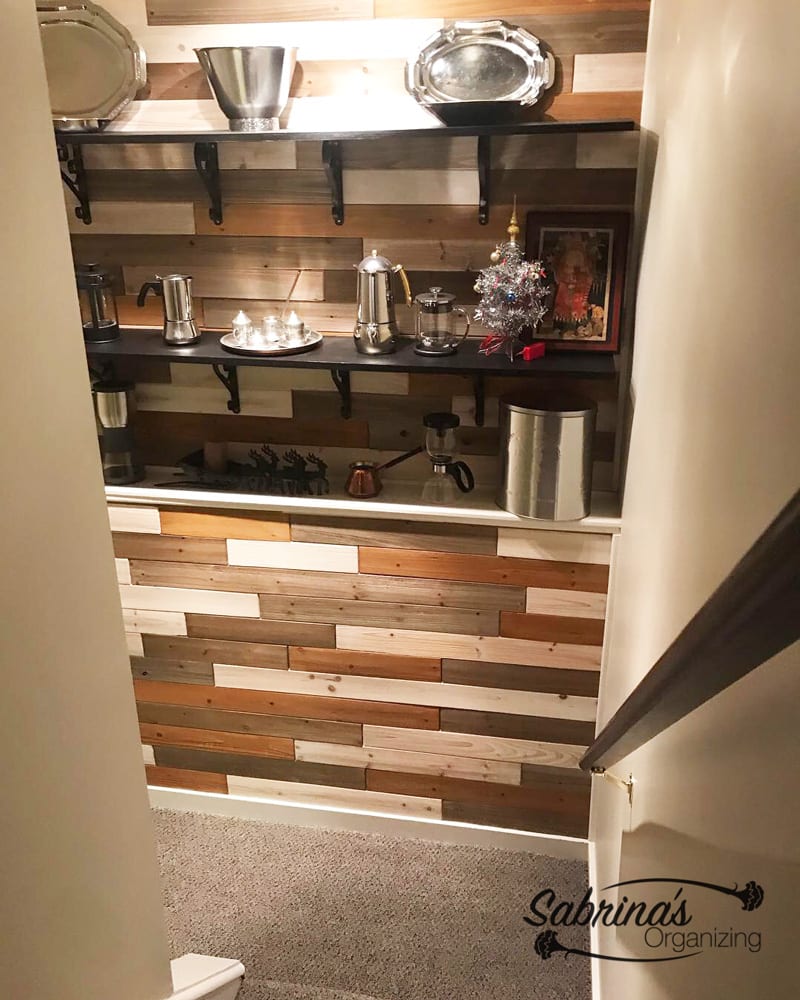
What a difference. Details do matter! Read below to see how we finished the rest of this shiplap wall project.
Additional products used for this part of the DIY Shiplap Wall project:
Products needed:
Shoe moulding
Wood shevlves 5 feet in lenght
Tools needed:
Spray paint (black (affiliate))
Polyurethane
Caulk (affiliate) (white)
Nail Gun
How to Finish a Shiplap wall
To finish the project, here is what we did. We painted the walls a lighter color. The shelves (affiliate) were replaced and painted black (affiliate). Then, I sanded off the white paint and painted the railings black (affiliate) as well. I added a polyurethane coating on top. Then, we got the carpet replaced to a gray color to match the gray in the wall.

We added trim around the shiplap for a finished look. Shoe moulding worked nicely because of the thin material. It doesn't take away from the shiplap. The shoe moulding also was added under the white shelf. I went back and caulked the holes and the seams to make it blend more cohesively with the wall. We added a feature to the wall as well to bring some black (affiliate) in a different area.
Would this be a DIY project you would do in your how? If so, what room would you add this feature? Please leave a comment below. Feel free to share with others to inspire them as well. We would really appreciate it.
Please note these are affiliate links through Amazon (affiliate) and at no additional cost to you, I will earn affiliate fees if you decide to make a purchase.


Janet Barclay says
This looks amazing, Sabrina! I really admire (maybe even envy) your DIY skills.
Sabrina Quairoli says
Ah, thanks, Janet. I love transforming my home.
Sabrina Quairoli says
This area was finally finished by us recently and I wanted to share it with all of you to show that stairs can also have character too! I hope this inspires you to look at your steps differently.
Helena Alkhas says
What a gorgeous wall, Sabrina! Great talent and skills needed to make it look so beautiful.
I did consider installing one behind my bed to anchor the room but I totally "chickened out" out of fear to messing it up.
Sabrina Quairoli says
Go for it! The product is so easy to use. Much easier than tongue and groove flooring. If you want to go more conservative, you can pick the whitewashed planks only to make the wall more textured with less drama.
Diane Quintana says
Lovely! I'm a big DIYer and often dive head first into projects without great instructions. Your step by step instructions are wonderful.
Sabrina Quairoli says
Thanks, Diane. It was one of the easier projects we have done in recent years.
Seana Turner says
How fun! Many people have a large wall in their staircase, and that is a tricky spot to decorate. I love the texture. So rewarding to bring a vision to completion, isn't it?
Sabrina Quairoli says
I totally agree. It's fun when I can envision something and then it turns out exactly how I wanted it.
Linda Samuels says
Impressive! Isn't it fun to transform a space? You're a superstar with that nail gun and level!
Sabrina Quairoli says
We bought a new home years ago which didn't have a lot of character so adding the character to each room has been a blast.