Jewelry (affiliate) is usually used as an accessory to our outfits. But, where do you place them when you get home? My mom used to always lose one of her earrings in her purse because she never had a place to put them near her changing area. If you are similar to her, you can make this to remind you where to place these precious items. Below is the step by step instructions on how to make a DIY Earring Organizer Picture Frame. Feel free to share and try it today. It's a great gift (affiliate) for college student dorms or Mother's Day (affiliate).
Jump to:
What you need to make this Earring Organizer Picture Frame.
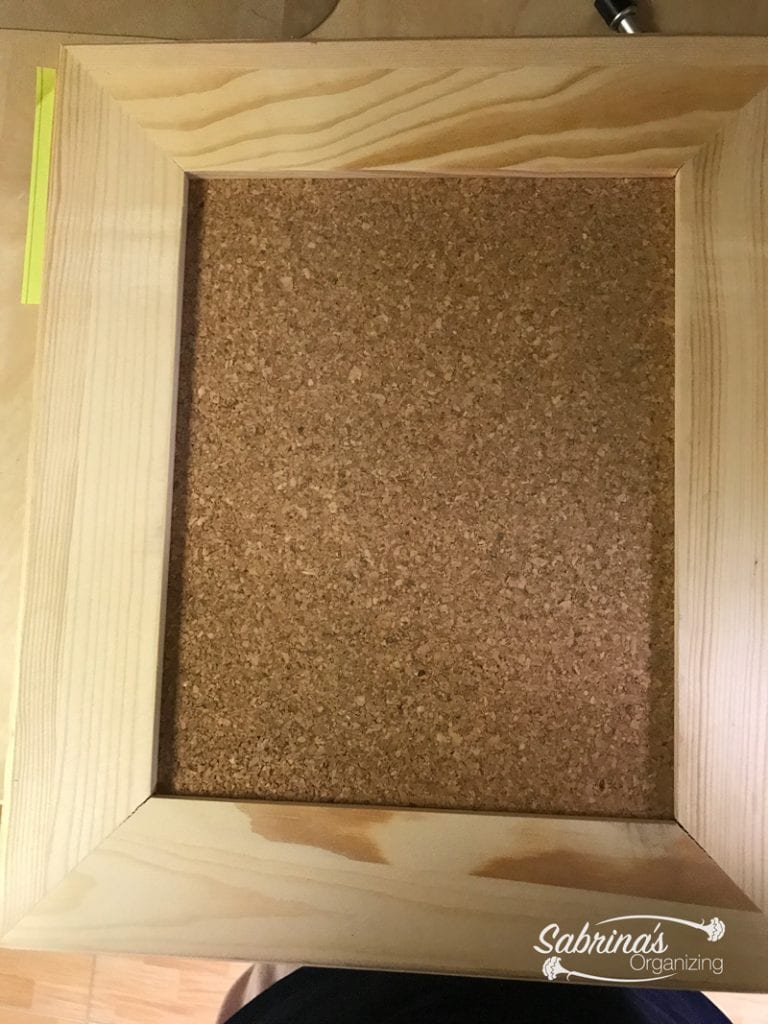
8 x 10 opening wooden unfinished picture frame with a stand
12 x 12 cork square cut down to 8 x 10
5 Pins (cut short to about ½ inch)
5 Jewelry (affiliate) gems
76 plastic half-moon beads
2 hot glue stick (affiliate)
Hot Glue Gun (affiliate)
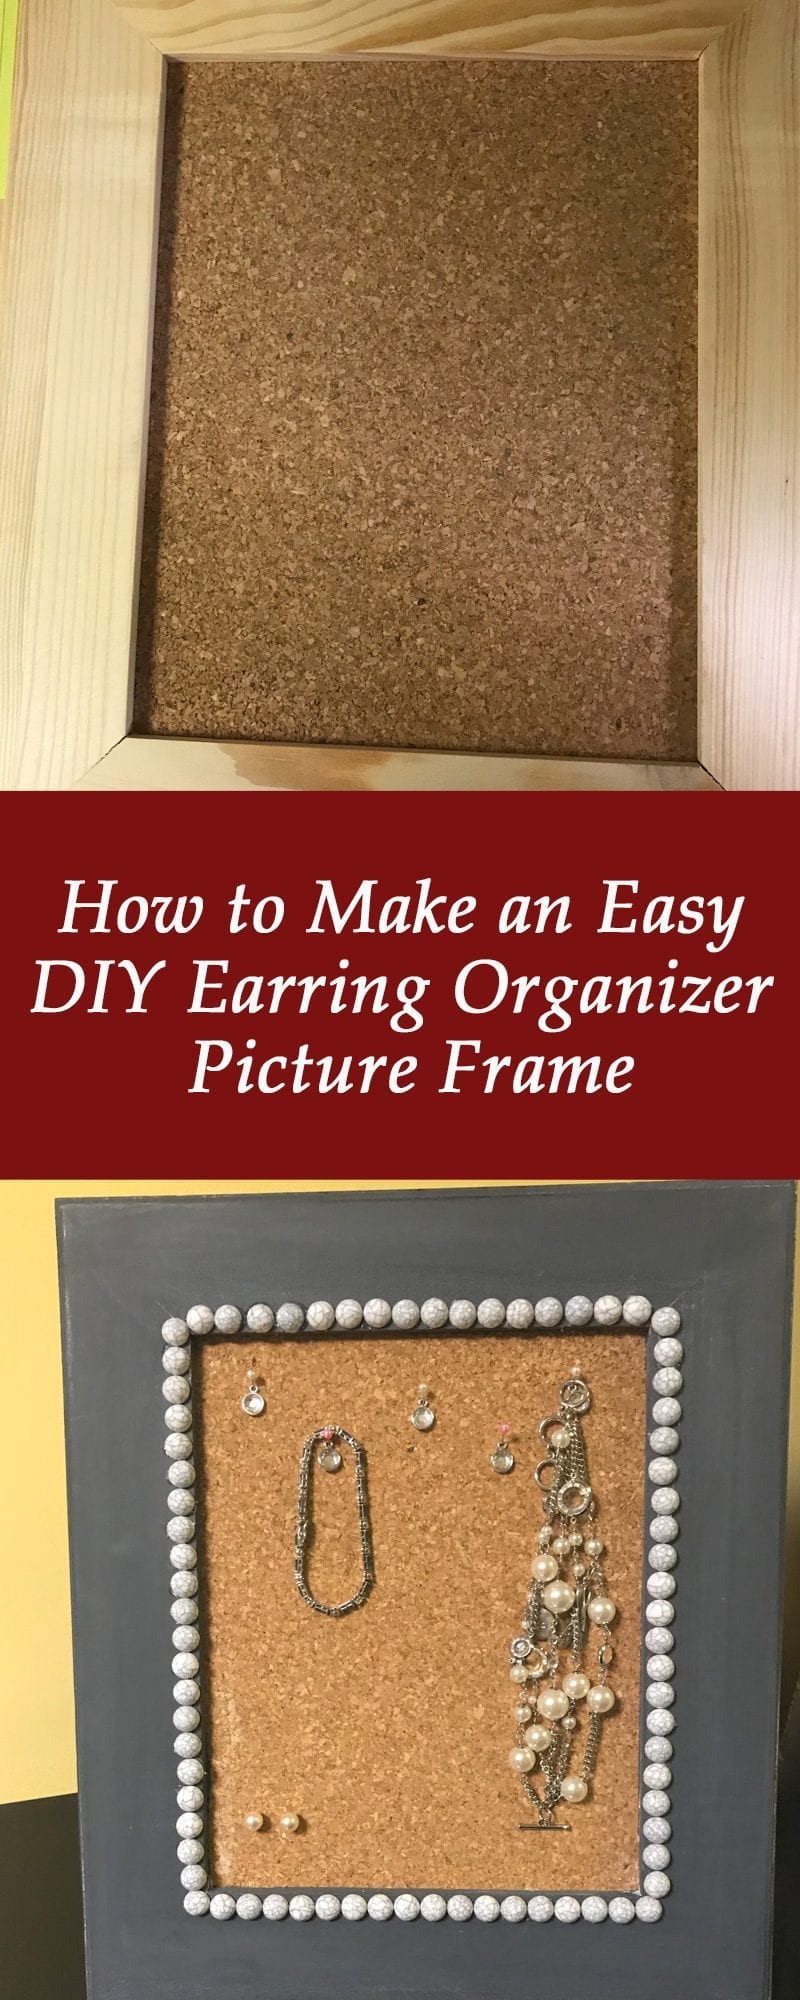
How to make this Earring Organizer Picture Frame?
Remove the back of the 8x10 frame and the plastic cover.
Lay the plastic that was inside the frame over the cork square. Trace around the 8 x 10 plastic. Then, cut cork to an 8 x 10 size. Cut with scissors (affiliate).
Hot glue the cut cork to the back of the opening where the picture would lay using hot glue around the edges on the back side. Then affix with hot glue.
Hot glue the 8 x 10 back with the stand to the cork that is glued.
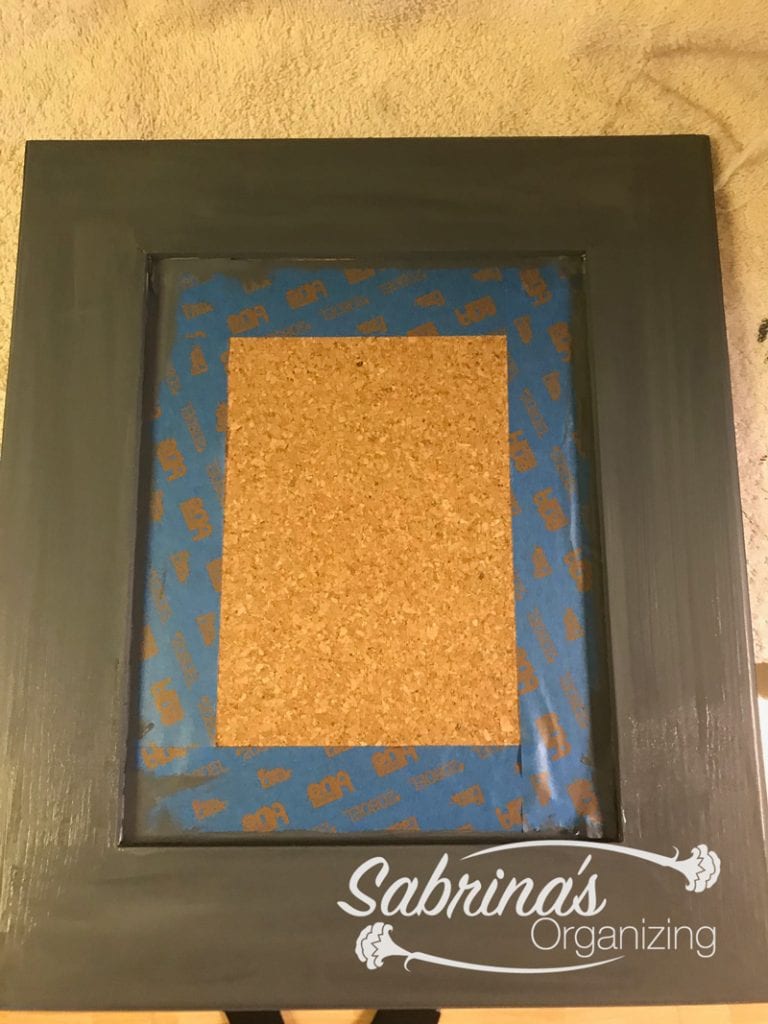
Paint the frame with chalk paint. Mixing white and onyx chalk paint together, create this color. Paint two coats and let dry completely.
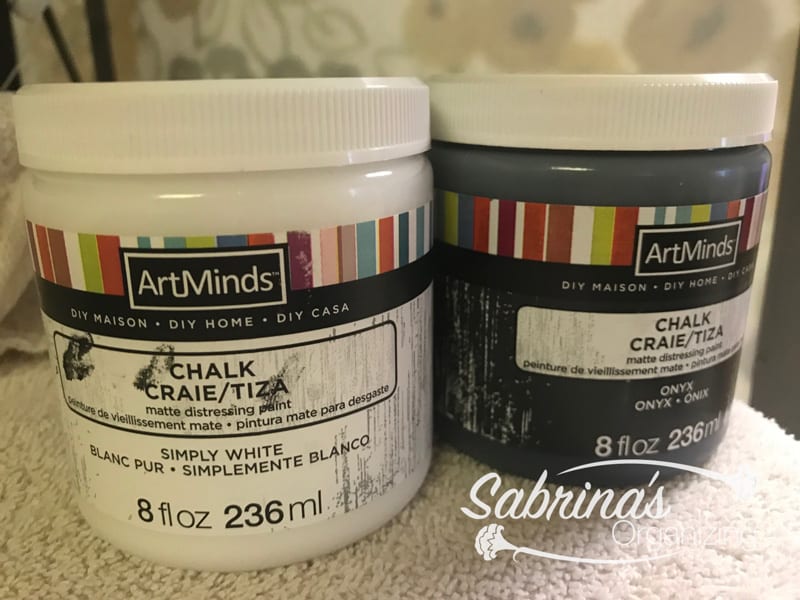
It may take a few hours for each layer. Note: You can also paint this before putting in the cork.
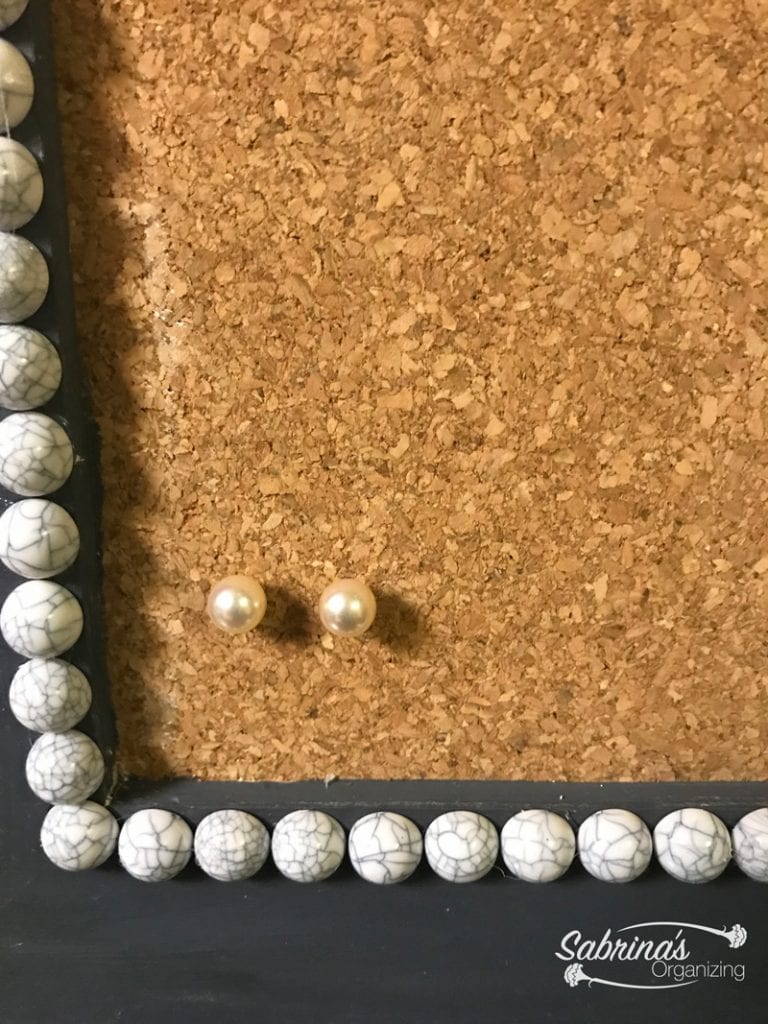
Add the half-moon beads to the edges of the frame opening affixing with the hot glue gun (affiliate). A little dab of hot glue works fine. Continue around the four sides.
Cut the 1-inch fabric pins to about ½ inch using a knelt nose pliers. Trash the tips you cut off.
Place the pins and the gems into the cork diagonally. The earrings can be pressed into the correct directly. The other pins can be used for bracelets and necklaces too.
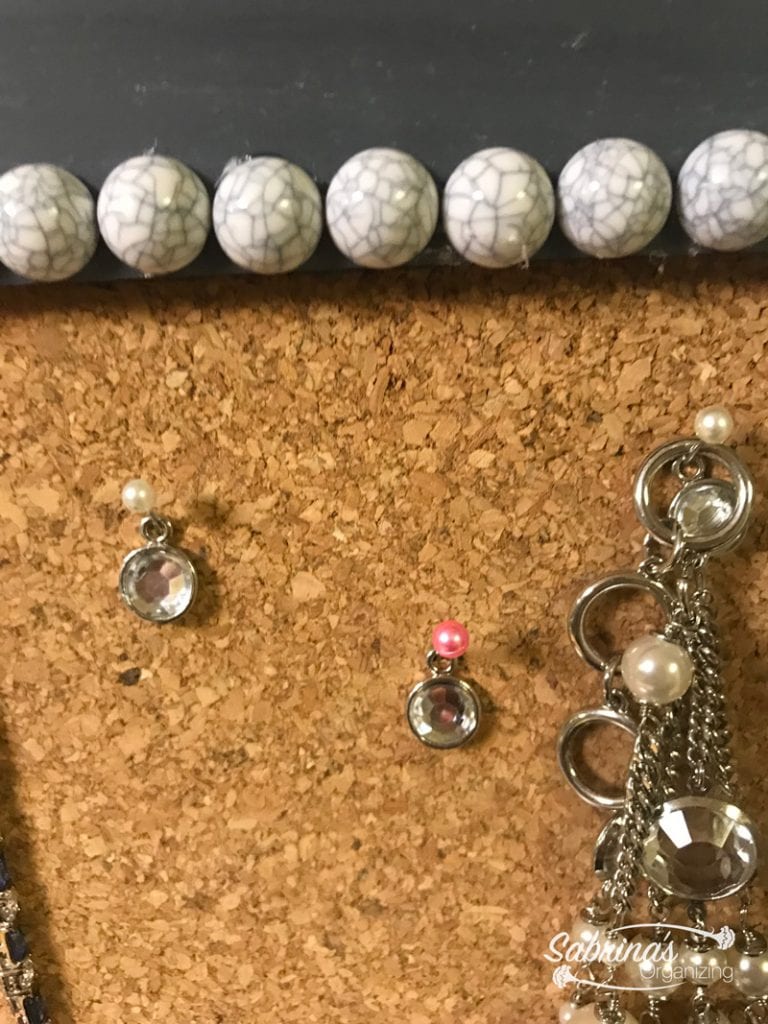
Reveal
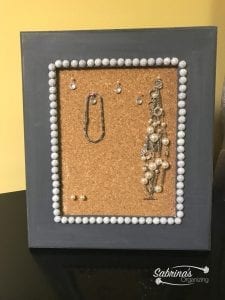
Here's the finished product! What do you think? Would you make this? If you want to visit our other DIY projects, click here. Looking for places to donate unwanted jewelry (affiliate), check out our Places to Donate Jewelry post. Here's an example of another jewelry DIY organizer from another blogger.
I hope this DIY project motivates you to organize your jewelry (affiliate) in your home. How do you organize your jewelry (affiliate)? Please leave a comment below. We would love to hear from you.


Leave a Reply