Over the years, my favorite DIY organizing projects are the ones with peel and stick wallpaper or a self-adhesive shelf liner (affiliate). Today, I am going to show you several different ways I used these products to upcycle and improve the items in the home after organizing a space. Feel free to come along for the ride!
Let me first explain the difference between self-adhesive shelf liner (affiliate) paper, like Con-Tact Brand(c) and peel and stick (self-adhesive) wallpaper.
Jump to:
- What is the difference between Self-adhesive Shelf Liner and Peel and Stick Wallpaper?
- Self-adhesive Shelf Liner
- Peel and Stick (Self-adhesive) wallpaper
- How are Peel and Stick (Self-adhesive) wallpaper and Self-adhesive Shelf Liner the same?
- 9 Amazing DIY Peel and Stick Wallpaper Projects
- Use Vinyl Liners in Drawers
- Cover Nightstand with Waterproof Vinyl
- Add a Focal Point to Your Walk-In Closet
- Create a DIY Bench for Around the Table
- Cover the Front of a Shabby Chest of Drawers
- Add to a DIY Silverware Drawer
- Add to a Shabby IKEA Cabinet
- Add to the Back of an Armoire to give the Inside a Pop of Color
- Add to a Headboard to Give it a Fresh Look.
What is the difference between Self-adhesive Shelf Liner and Peel and Stick Wallpaper?
Self-adhesive Shelf Liner
The self-adhesive shelf liner (affiliate) is a material that has a decorative front and a highly adhesive back. It is used as shelf liners (affiliate) in cabinets and pantries to protect the shelf from the items placed on top. There are various types, including chalkboard paper and vinyl. And, you can choose from different patterns, from vintage to modern. Typically, the material is slightly thinner than self-adhesive wallpaper. You also cannot match up the seams to create a continuous pattern. This product is both lightweight and durable, making it suitable for use in high-traffic areas. The vinyl coating can also be used in wet areas.
Peel and Stick (Self-adhesive) wallpaper
Peel-and-stick (Self-adhesive) wallpaper is also decorative on the front, and it has adhesive on the back, ranging in thickness from thin to thick. The wallpaper quality is usually more durable, similar to traditional wallpaper. It also features a distinctive pattern that can easily be matched with another roll to create a continuous design on the wall or object. The prices are higher than the vinyl shelf liner (affiliate) paper.
How are Peel and Stick (Self-adhesive) wallpaper and Self-adhesive Shelf Liner the same?
Both do not need glue and are super easy to adhere to any of your projects. Both can be used in a rental space. (Note: try the material out on a small area of the wall before doing an entire wall.) Purchase all the rolls at once. Your odds are better that you get the same dye lot and will not have an issue with colors being off. You can find both of them in a variety of home improvement and home decor stores, like Lowe's, Home Depot, and Wayfair. And, even the Dollar Tree (affiliate) may have some peel-and-stick wallpaper (affiliate) for your home!
Both products do well with these cutting tools (affiliate). The best cutting products I found for cutting all these types of material are an X-Acto knife (affiliate), scissors, and a T-square straight edge.
Note: If you plan to use either product, purchase extra rolls. Twenty percent more of the product is the right amount just in case you need to pull down a particular section and do it again.
Now, let's begin showing you the different ways I used the peel-and-stick wallpaper (affiliate) and self-adhesive shelf liner (affiliate).
9 Amazing DIY Peel and Stick Wallpaper Projects
Use Vinyl Liners in Drawers
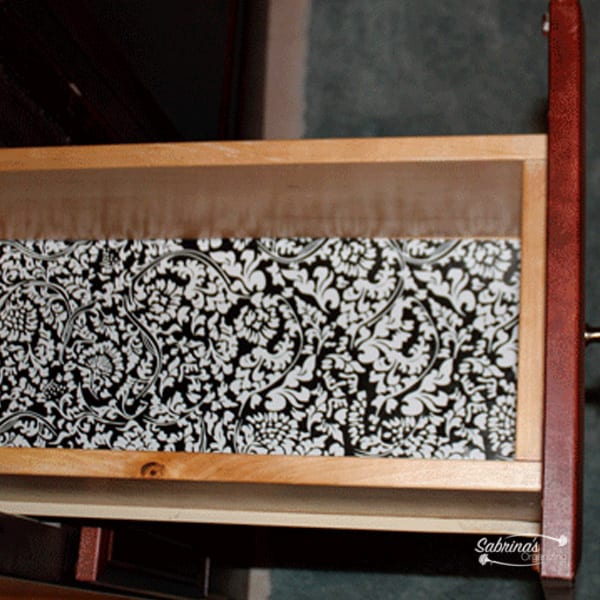
I started by using the self-adhesive shelf liner (affiliate). This worked wonderfully for the drawers in the vanity in the bathrooms, as they were made of vinyl.
Cover Nightstand with Waterproof Vinyl
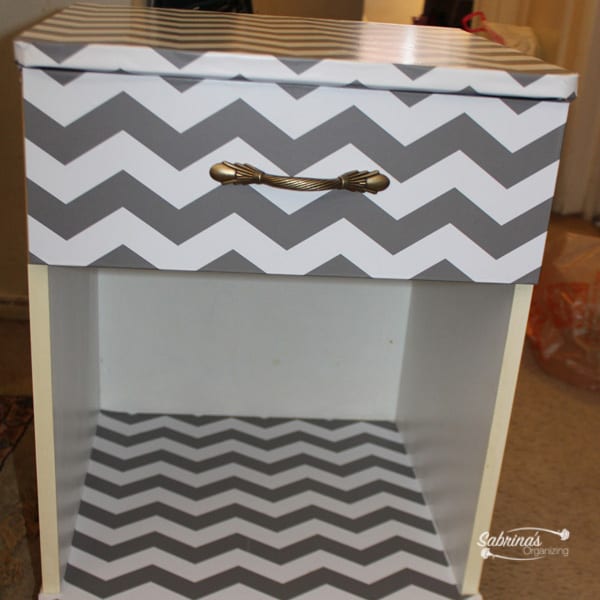
I had a project years ago with a client and we used self-adhesive vinyl to cover up a shabby nightstand (affiliate) for her kids. It worked great!
Add a Focal Point to Your Walk-In Closet
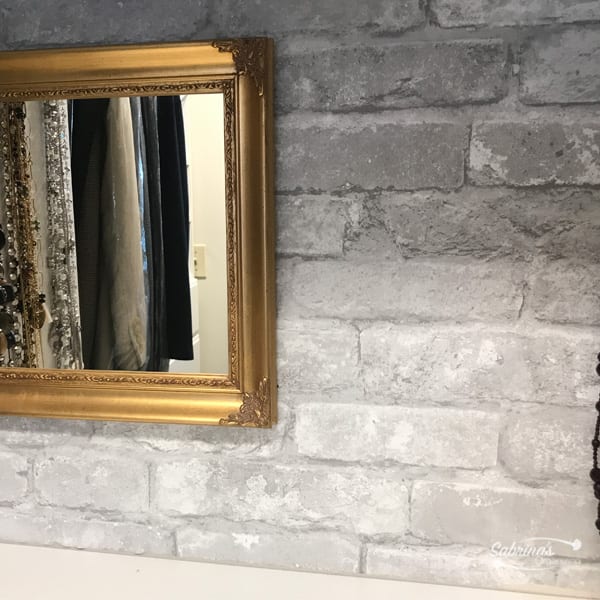
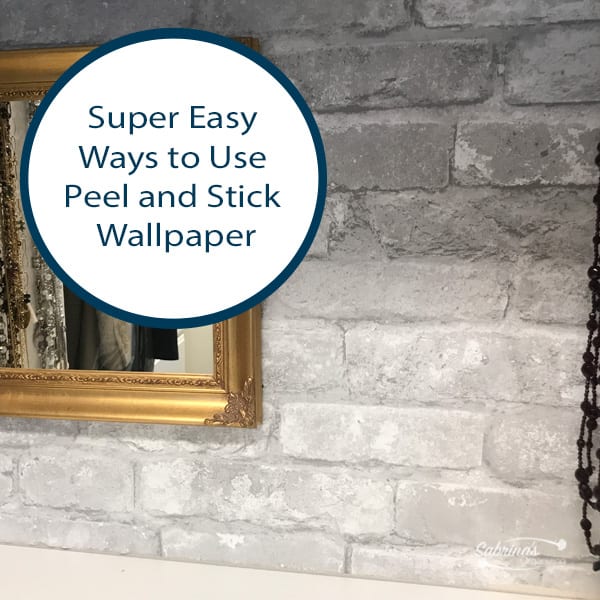
The next project I recently completed was to cover an area in my closet that housed my jewelry (affiliate) and a mirror. I used it on the back wall.
Create a DIY Bench for Around the Table
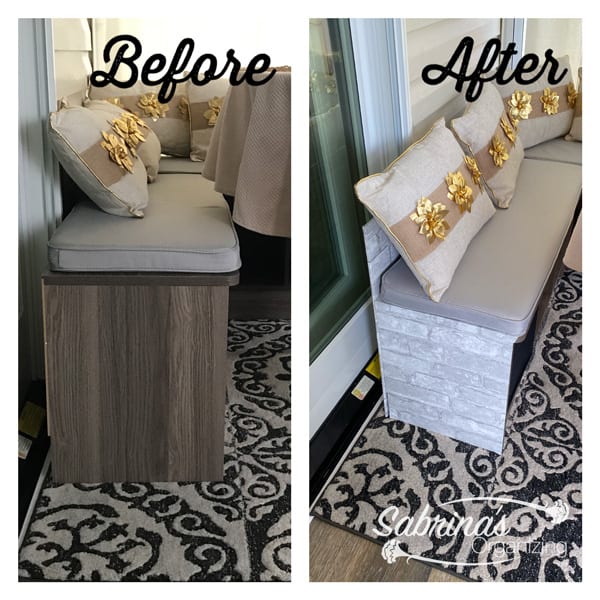
Then, I used the same material to create a DIY bench seating in my sunroom, making the back and sides more cohesive. The Closet Maid benches were modified with a thick board to create a back to it, then covered with peel-and-stick wallpaper (affiliate). This wallpaper was very durable.
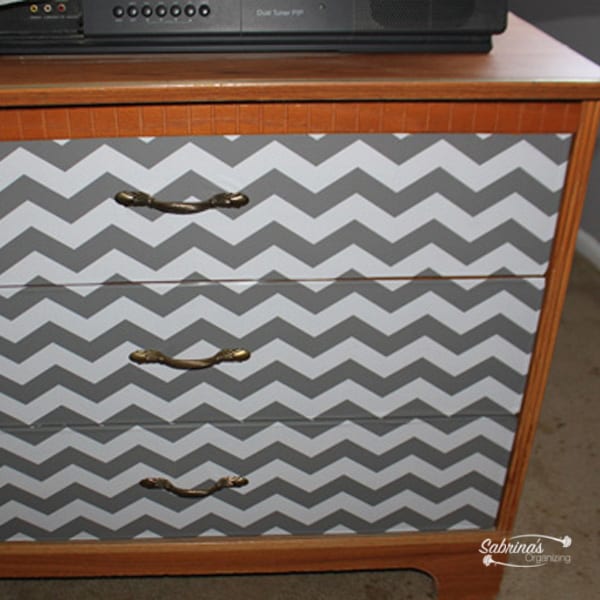
Cover the Front of a Shabby Chest of Drawers
To dress up the front of this chest of drawers, we removed the handles and added the peel-and-stick wallpaper (affiliate). Then, added the handles back to the front. Looks neat, right?
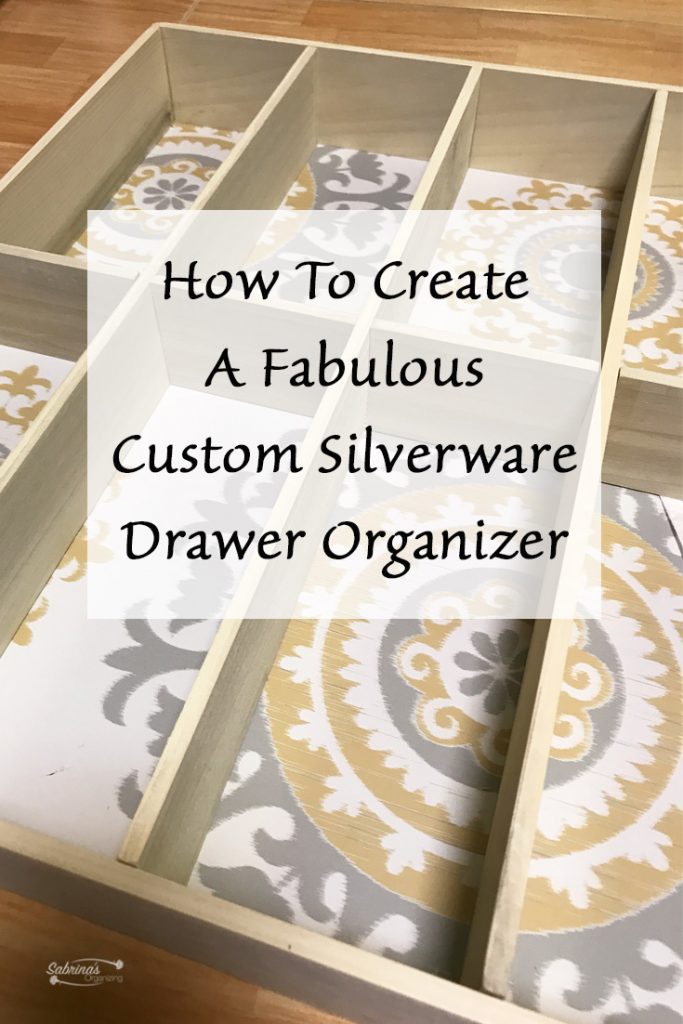
Add to a DIY Silverware Drawer
I also added the peel and stick wallpaper to the bottom of my DIY silverware drawer organizer (affiliate). Feel free to check it out here.
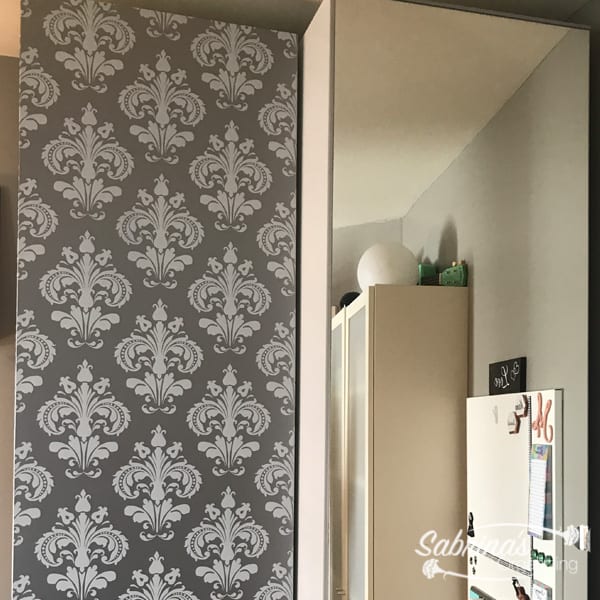
Add to a Shabby IKEA Cabinet
And, I added it to dress up some Ikea cabinets we had in my daughter's room.
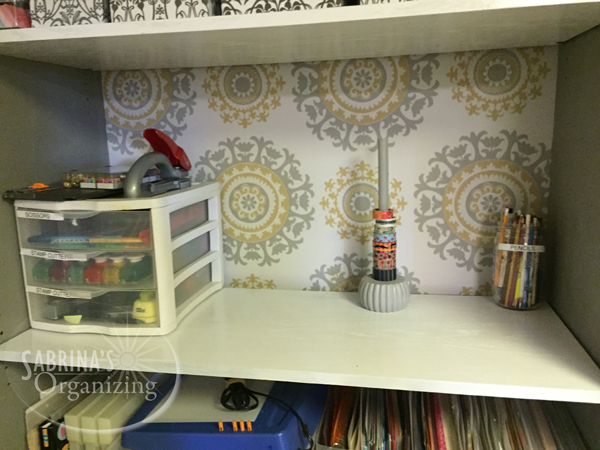
Add to the Back of an Armoire to give the Inside a Pop of Color
I used it in the back of my scrapbooking and DIY armoire. Feel free to check out my posts here.
Add to a Headboard to Give it a Fresh Look.
And, last but not least, I added the peel-and-stick to the back of a headboard (affiliate) to brighten it up.
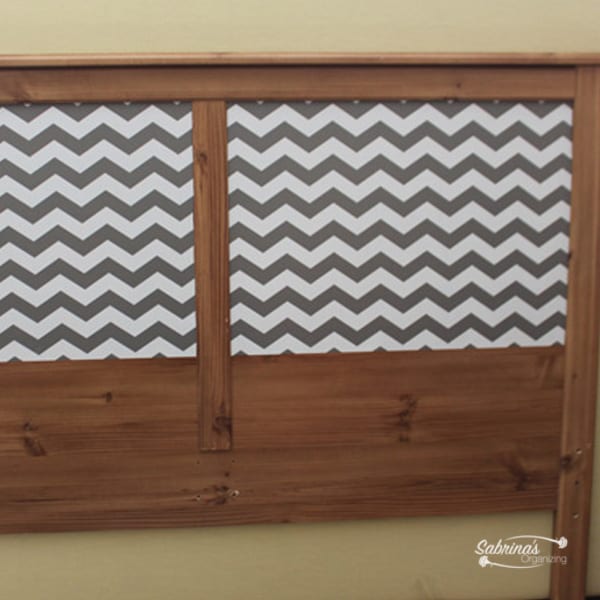
Well, there you have it. I hope this post gives you inspiration on how to use peel-and-stick wallpaper (affiliate) and self-adhesive liners.
Now it's your turn! Do you use these products for your home? How did you use them? Please share in the comment section below. We would love to hear your DIY projects.
Below are sites where you can find more information and ideas on self-adhesive wallpaper and shelf liner.
14 Ways Contact Paper Can Beautify Your Crummy Apartment
Peel-and-stick wallpaper is the $30 hack your home needs for spring
13 Creative Uses for Contact Paper or Peel-and-Stick Wallpaper

Leave a Reply