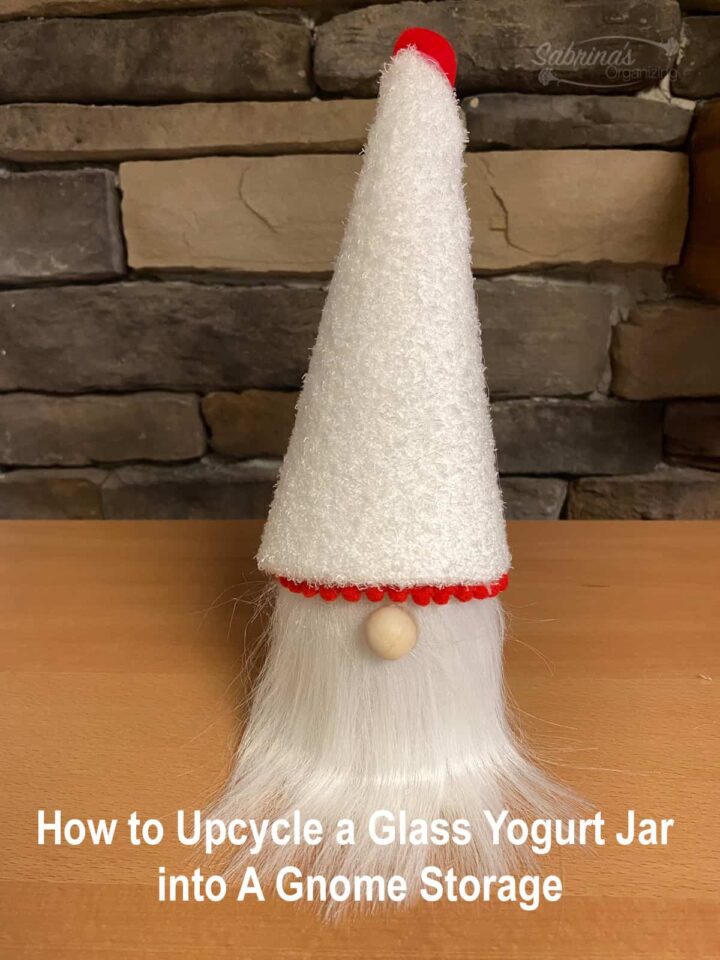
Have you heard of Glass Yogurt Jars? We have them all the time. The jars are adorable and easy to clean up to repurpose somewhere else. So, that is what I decided to do. I will upcycle a glass yogurt jar into a Gnome. The hat is removable, so I can easily fill it will treats as a favor gift for a party I am throwing. Here's how I made them.
Jump to:
- What inspired me to do this Upcycle Glass Yogurt Jar Gnome?
- What supplies did I use to make this Upcycle a Glass Yogurt Jar Gnome?
- How much did it cost to make this Upcycle Glass Yogurt Jar Gnome?
- How long did it take to make this Upcycle Glass Yogurt Jar Gnome?
- How did I make this Upcycle Glass Yogurt Jar Gnome?
- The Big Reveal
- How to use Glass Yogurt Jar Gnome?
- Tips on making this Upcycle a Glass Yogurt Jar Gnome
What inspired me to do this Upcycle Glass Yogurt Jar Gnome?
I was inspired to do another gnome storage project from the one I made last year. It became very popular. I guess I am not the only one that loves gnomes. =) Here is the post here. I loved that I could add a storage area instead of having gnomes serving no purpose but making me happy. With a smaller home, I need to maximize all the space for storage I can, so making these gnomes a small things holder worked perfectly.
What supplies did I use to make this Upcycle a Glass Yogurt Jar Gnome?
I used some supplies from prior year projects, so the list here is pretty short. Below are links from Amazon (affiliate). If you click through and buy something on Amazon (affiliate), I will receive a small referral commission. Happy shopping!
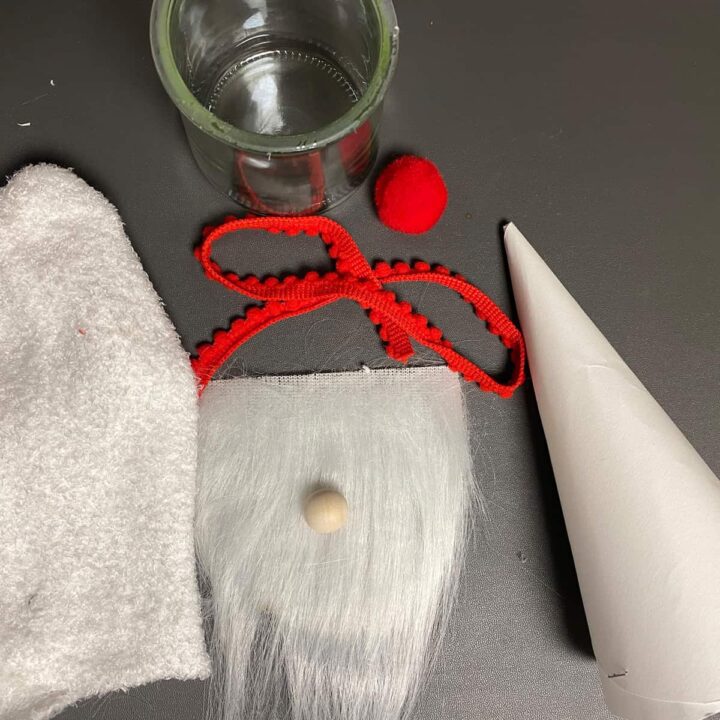
Supplies used:
- Cardstock - white made into a cone to fit the top of the jar
- A Gnome beard - I found these on Amazon (affiliate).
- A wooden ball for the nose
- A cotton ball ribbon I found a roll of this ribbon at Marshall's.
- A red cotton ball for the top of the cone.
- A fuzzy sock from a previous sock upcycling project. I cut off the excess and kept the food part.
- Glass Yogurt Jar - I cleaned this jar and removed the label (affiliate). It came off very easily.
- Hot glue gun with a low and high setting
How much did it cost to make this Upcycle Glass Yogurt Jar Gnome?
This project cost me about $2.00 since all I bought was the glass yogurt jar.
How long did it take to make this Upcycle Glass Yogurt Jar Gnome?
It took me about 3 hours to make this glass yogurt jar gnome. I had to glue the cone, so that took a few hours to dry. I let it sit overnight to make sure it was secured. The rest of the steps only took an hour.
How did I make this Upcycle Glass Yogurt Jar Gnome?
Now that I had all the items in one place, here is how I made them.
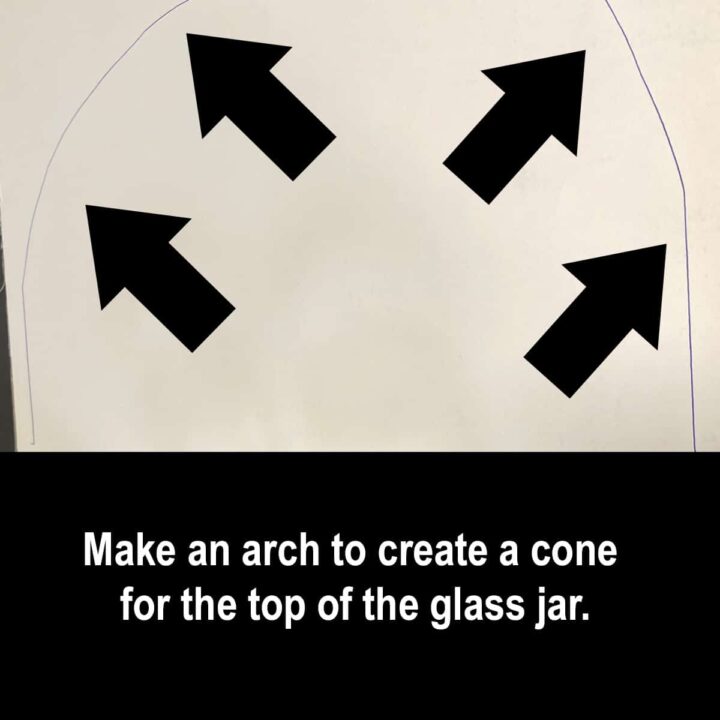
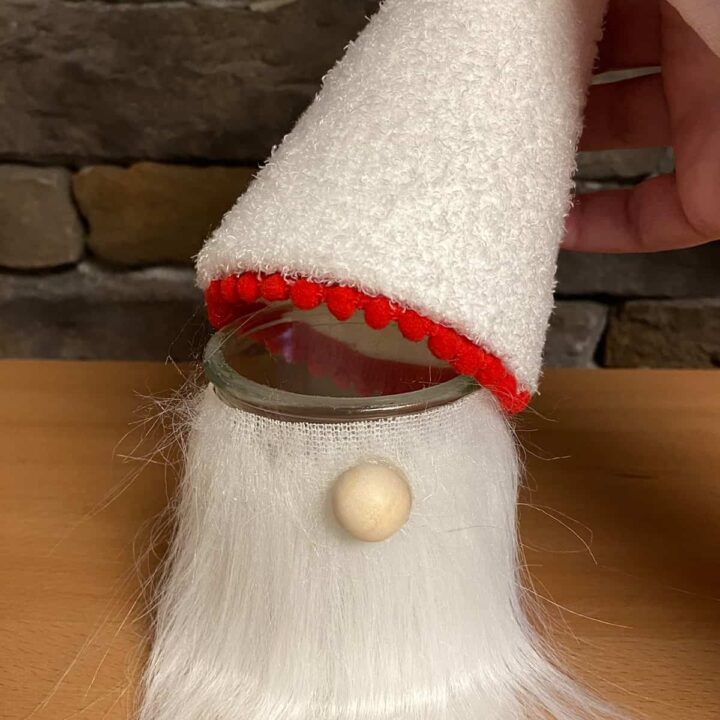
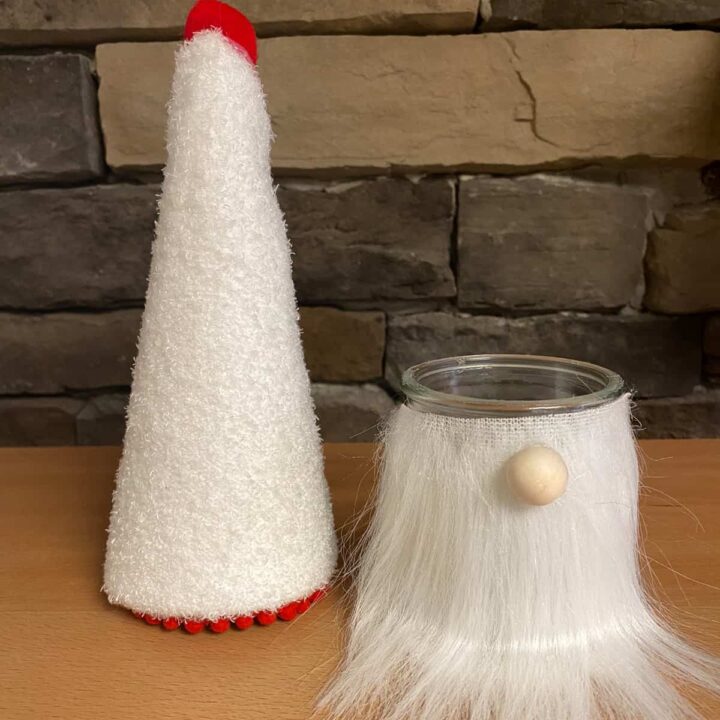
First, I made the cone out of cardstock (white). Before doing this, I made sure the cone fits over the glass yogurt jar. The shape ended up like a half-moon.
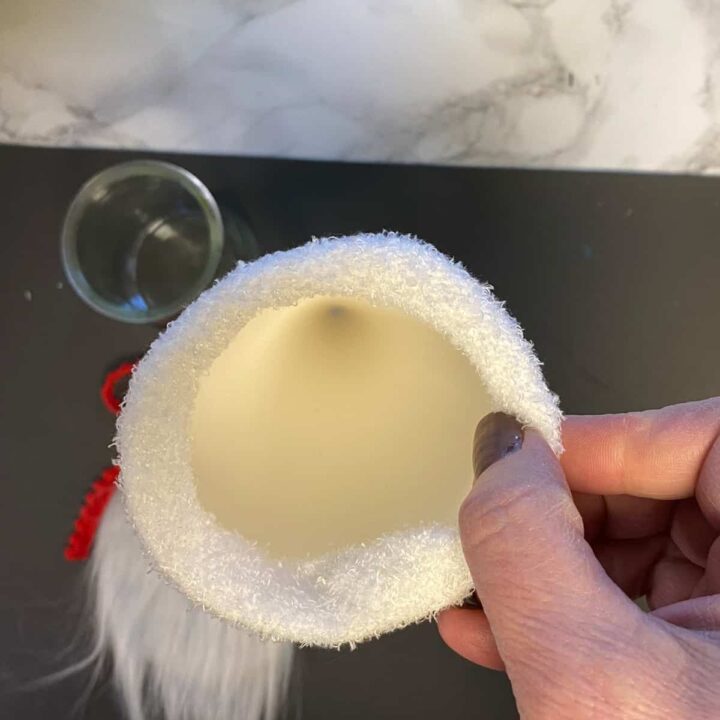
Then, I wrapped the sock over the cone and hot glued it to the card stock inside it. The sock was pretty thin, even though it was a fuzzy sock. I hot glued the excess of the sock on itself at the top part of the cone. I used the low setting on the hot glue gun (affiliate).
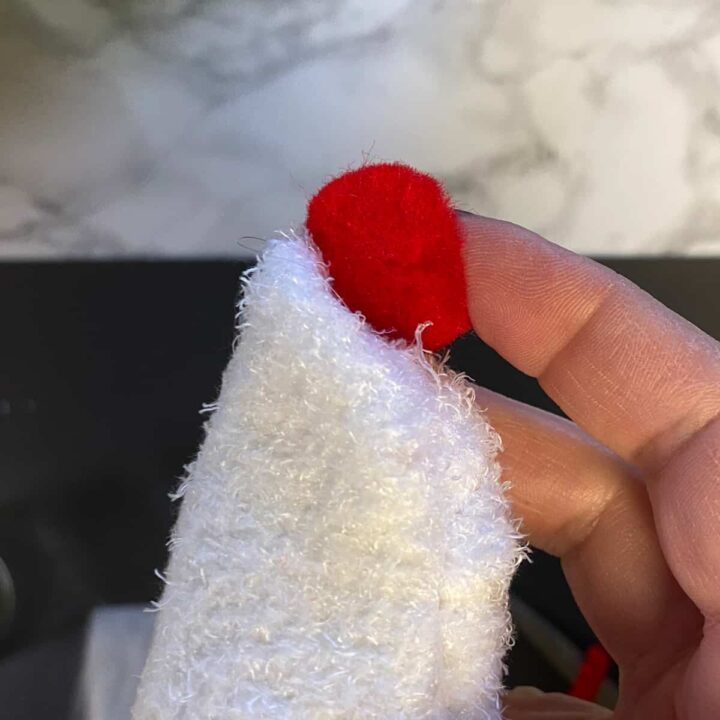
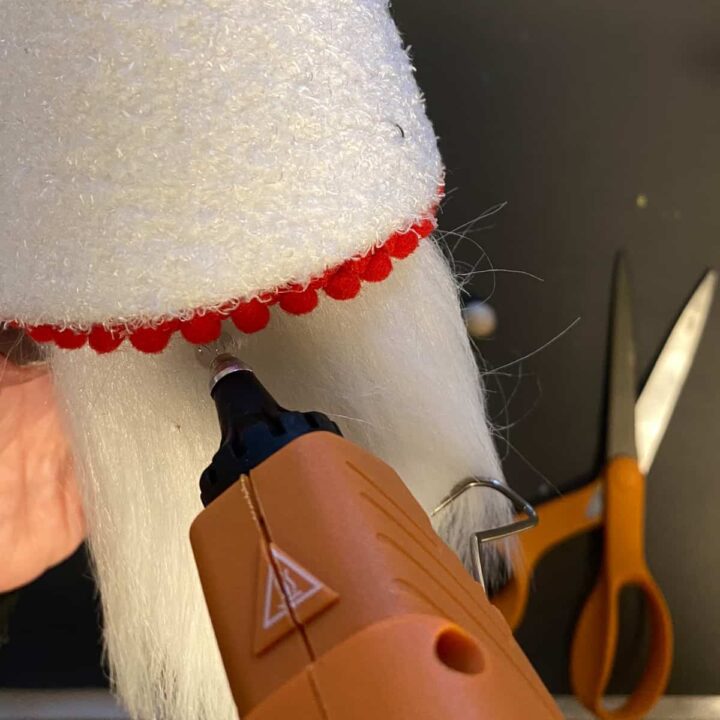
Now, I added the cotton ball ribbon around the base of the cone with the low setting of the hot glue gun (affiliate) and cut off the edging. And I added the red cotton ball to the top using a little hot glue (low setting).
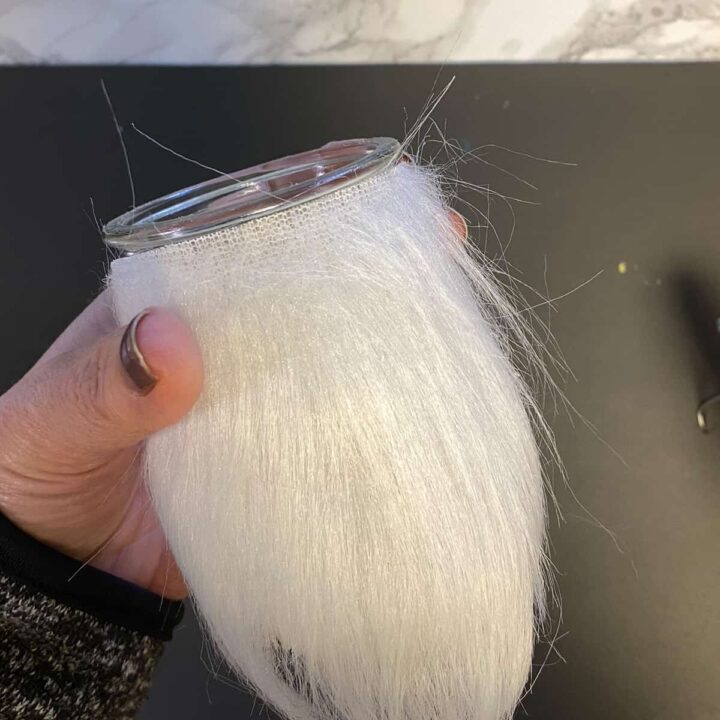
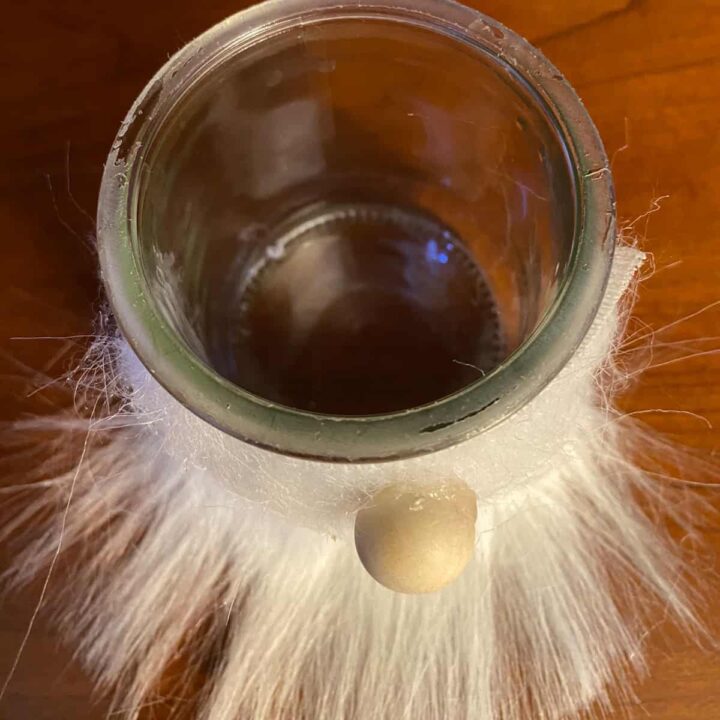
Next, I added the gnome beard to the glass jar using the high setting, trimming a little of the hairs as needed. Then added the nose.
The Big Reveal
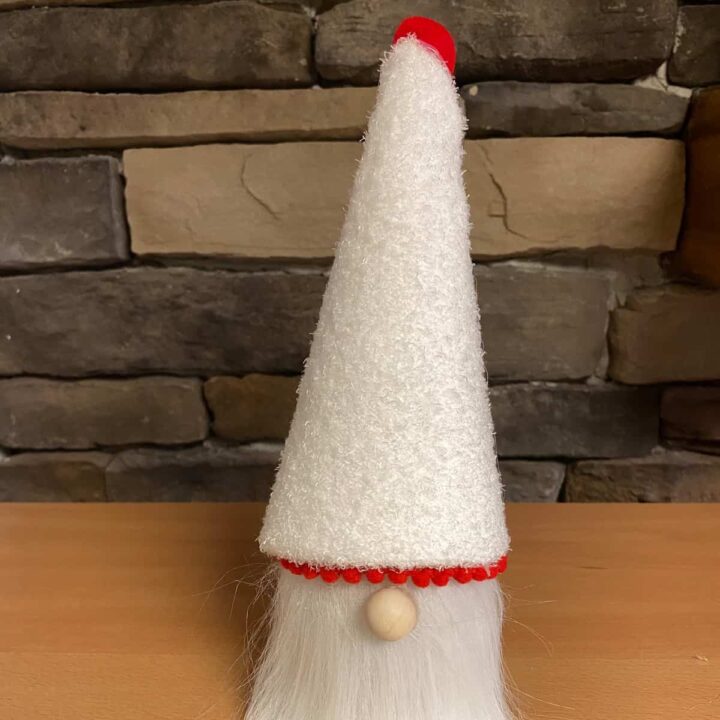
This Upcycle Glass Yogurt Jar Gnome looks lovely. What do you think?
How to use Glass Yogurt Jar Gnome?
This DIY project is great for holiday theme parties. Depending on the size of your jar, you can even use it for gift cards (affiliate) and gifts for kids. You can change it up and use it for favor gifts for your kid's Gnome party.
Tips on making this Upcycle a Glass Yogurt Jar Gnome
If your hot glue gun (affiliate) has settings (high and low), use them. The paper would probably not burn on high, but it's better to be safe (affiliate) than sorry.
Check out the video on YouTube!
I hope this DIY project helps you get inspired to upcycle your yogurt jars. What project will you be doing next? Please leave a comment below. I would love to hear from you.
Visit our other Christmas DIY Projects:




Leave a Reply