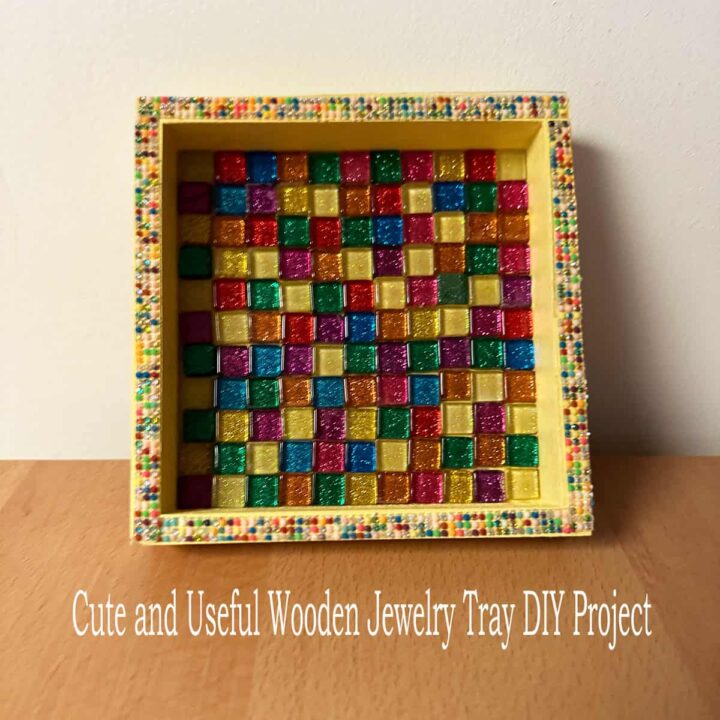
Transform your space with this adorable & functional wooden jewelry (affiliate) tray! Get your creative juices flowing and make a personalized piece that perfectly holds your favorite accessories. Plus, it's super easy to make! Check out the steps below for this Wooden Jewelry (affiliate) Tray DIY Project, and let's get crafting together!
Jump to:
- What inspired me to do this Cute and Useful Wooden Jewelry Tray DIY Project?
- What supplies did I use to make this Wooden Jewelry Tray DIY Project?
- How much did it cost to make this Wooden Jewelry Tray DIY Project?
- How long did it take to make the Wooden Jewelry Tray DIY Project?
- How did I make this Wooden Jewelry Tray DIY Project?
- The Big Reveal
What inspired me to do this Cute and Useful Wooden Jewelry Tray DIY Project?
I mistakenly purchased wood picture frame boxes (affiliate) from Michael's and thought they were bigger than they are. I wanted to use them to hold a cellphone and other things that are on my nightstand (affiliate). Alas, it was not meant to be. So, instead, I made a little tray to use for miscellaneous stuff from my pocket and a wallet (affiliate), so all my things would be in one place. It doesn't fit my cellphone, though. But I am going to use it for jewelry (affiliate) and other stuff I take off at night.
What supplies did I use to make this Wooden Jewelry Tray DIY Project?
The supplies below are pretty easy to find. You can buy them on Amazon (affiliate) or Michaels Craft store sites.
Supplies used:
- Wooden Square 5"x5" shadow box by Make Market(R) - remove rope and hanger hook
- Craft mozaic tiles by Craftology (TM) - Since I bought these on clearance, they are not available online to purchase. I found this alternative mosaic tile pack(affiliate) on Amazon (affiliate).
- Daybreak Acrylic Paint by FolkArt
- Paint sponge brush
- Clear Rubber Bumpers
- Elmer's Glue - Washable School glue Gel
- RecollectionTM - Bling Stickers Autocollants strass (colored) from Michael's - I can not find it online, but here are tons of the bling stickers on Amazon (affiliate).
These are affiliate links through Amazon (affiliate), and at no additional cost to you, I will earn an affiliate commission if you decide to make a purchase.

How much did it cost to make this Wooden Jewelry Tray DIY Project?
This project cost about 5 dollars to make. The boxes (affiliate) were on sale for $2.50, and I got a bag of mosaic tiles for $7.00. I had plenty of them left. And, the paint was something I had in my craft supplies.
How long did it take to make the Wooden Jewelry Tray DIY Project?
This project took me about 3 hours from start to finish.
How did I make this Wooden Jewelry Tray DIY Project?
First, I turned over the wooden shadow box, removed the hook and the rope, and hammered the staples into the wood to prevent them from sticking out and scratching anything. I couldn't pull the staples out completely.

Then, I added clear rubber bumpers in each corner of the back of the box. This elevated the box off the table. They should all be placed about ¼ inch from the edge sides to prevent the box from tipping over when the box is filled.

Now, I have begun to paint the box. Add one coat with the sponge brush and let it dry, then add another coat. Let dry completely. The inside should be dry before adding the tiles.

Meanwhile, line up the tiles on the table exactly as you want them. For this 5-inch by 5-inch box, I could do 11 across and 11 down. It fit pretty well, showing very little of the bottom.

Next, I added a row of Elmer's Washable No Run School Glue Gel. Put a drop on the back of the mosaic tile and affix it to the inside of the shadow box. I did this for the first row. And then, in the second row and on, I applied glue in a straight line and affixed the mosaic titles to it.

Finally, I added the bling stickers around the outside top of the shadow box. I cut the bling stickers into 5-inch strips and applied them firmly. It measures a quarter of an inch, the same width as the shadow box sides.

Feel free to check out my YouTube Video and stop by to subscribe! TIA
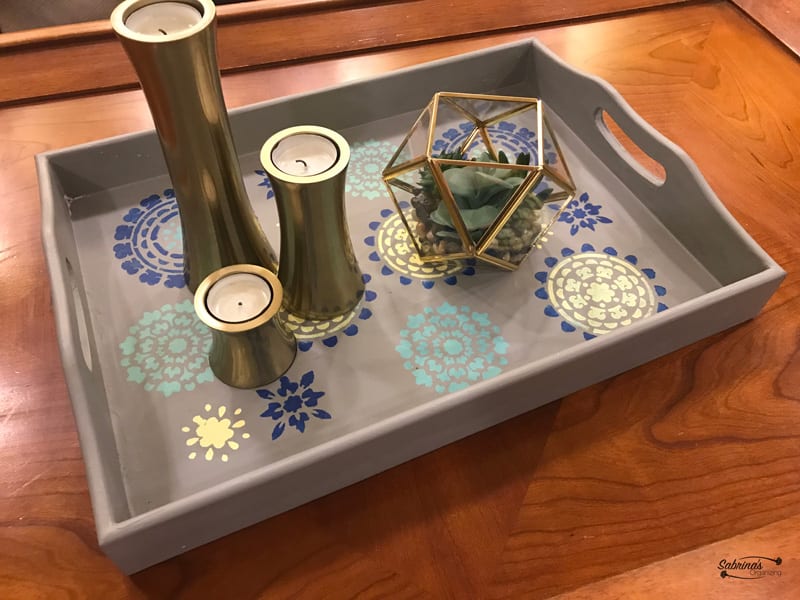
The Big Reveal
This Wooden Jewelry (affiliate) Tray DIY Project looks lovely. I'm so excited that I can use it to organize my jewelry (affiliate) each night.

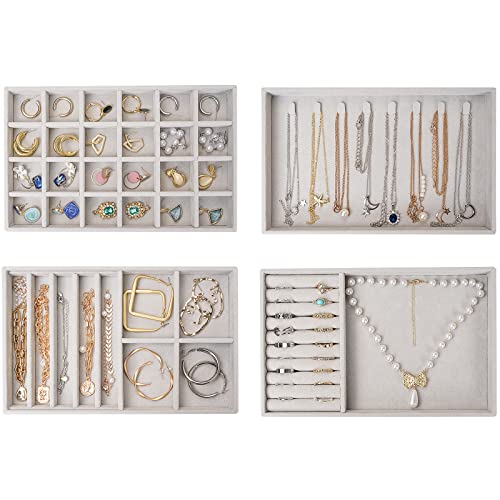
Here are some fun Jewelry organizing favs!
 Buy Now →
Jewelry Organizer Stand by ProCase
Buy Now → Buy Now →
 (affiliate)
I may make a few more of these to share with my loved ones for the holidays since I have a lot of mosaic tiles and square boxes (affiliate) left.
How about you? Will you try this Wooden Jewelry (affiliate) Tray DIY Project? Please leave any questions or comments below. I would love to hear from you.
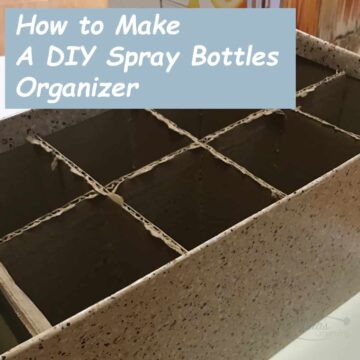
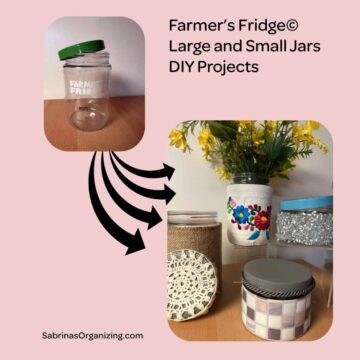
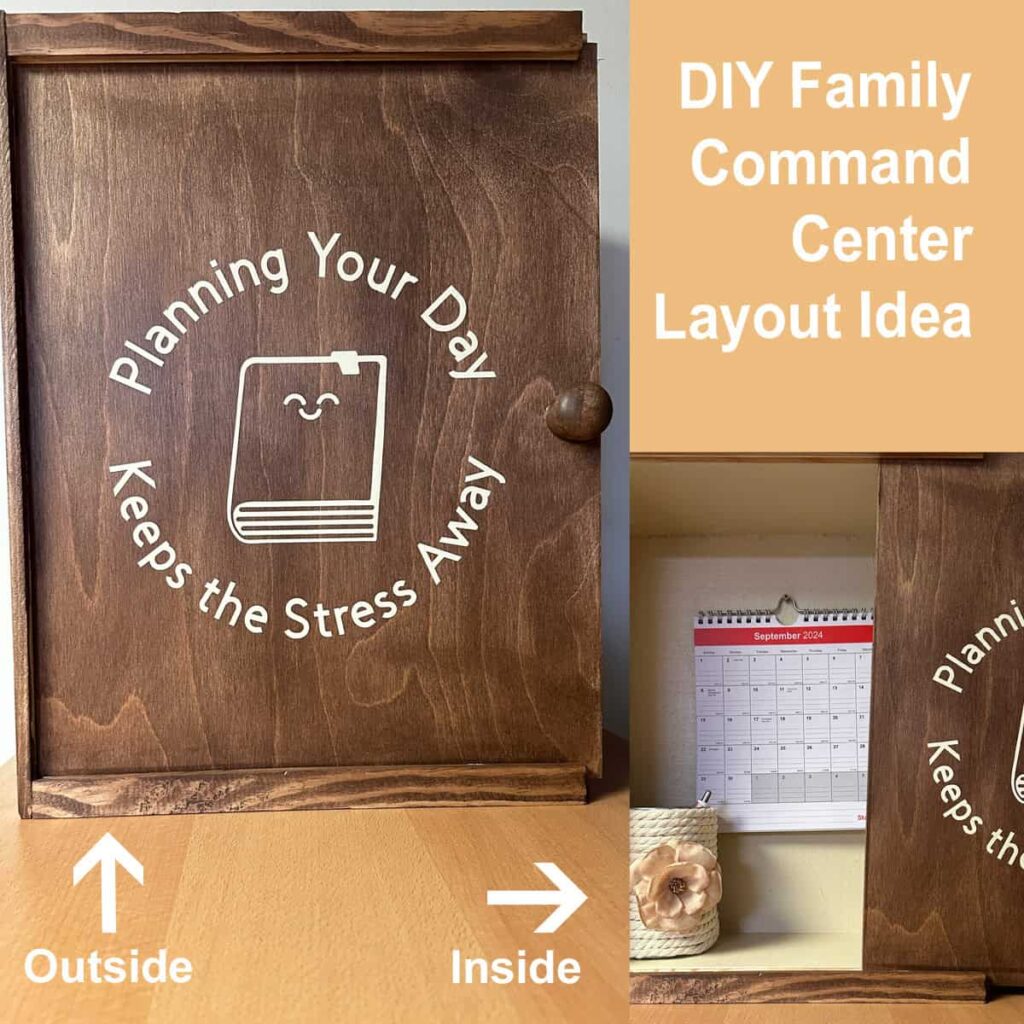
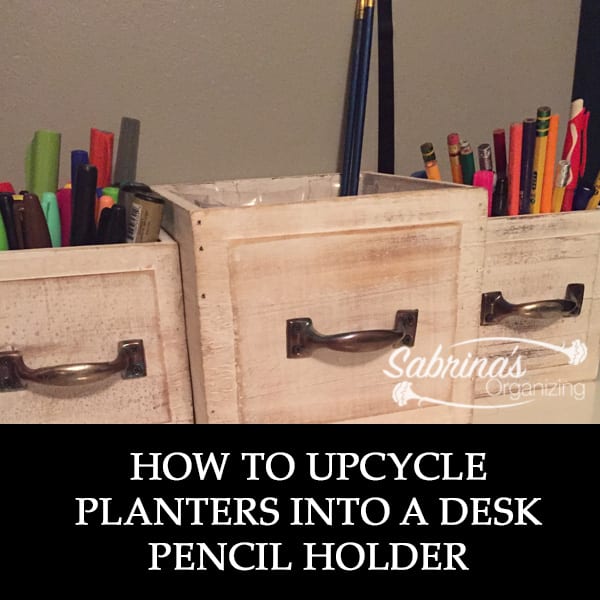
Popular DIY posts
Feel free to check out my other painting craft projects.