This week, I will be sharing a DIY project I created using an old magnet marker board. The board itself would stain whenever you would use a dry erase marker (affiliate), so I decided that it wasn't going to be a markerboard (affiliate) any longer. Here's how I cleaned up this board and transformed it into a command station magnet board. Follow along and get inspired.
Jump to:
What stuff do you need to make this command station magnet board?
1 markerboard (affiliate) that is also a metal board that can hold magnets well.
2 rolls of magnet strips ½ inch think with tape attached to the other side.
1 roll of Bling on a Roll
1 Command hook small for calendar
1 flip monthly calendar with a metal hook at the top
1 envelope and paper holder
Grocery checklist (affiliate) pad with a magnet on the back
1 sticky pad holder
To do list (affiliate) pad with a magnet on the back
How to Create a Command Station Magnet Board?
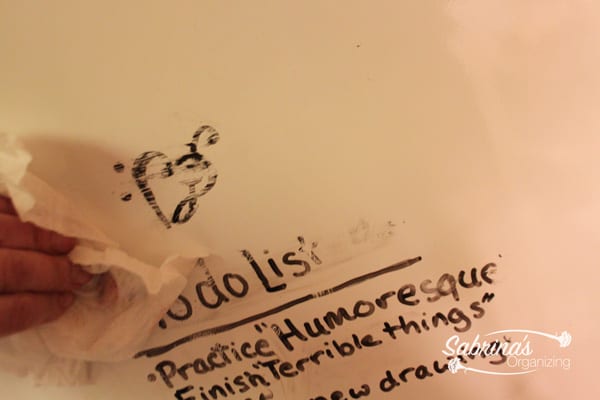
First, clean the metal board. When my daughter was young, she used a Sharpie (affiliate) marker on it, and it would not come off. The metal board was supposed to be a marker board also, but it never erased cleanly, so we just used it as a magnet board. It was such a mess, as you can see below.
Use Goof Off to Clean the Metal
To clean the metal I used Goof Off(affiliate). With a little Goof Off(affiliate) and a disposable rag and some elbow (affiliate) grease, I was able to remove all the permanent markings she did when she was little. Yay! I then washed it with soap and water and dried it thoroughly.
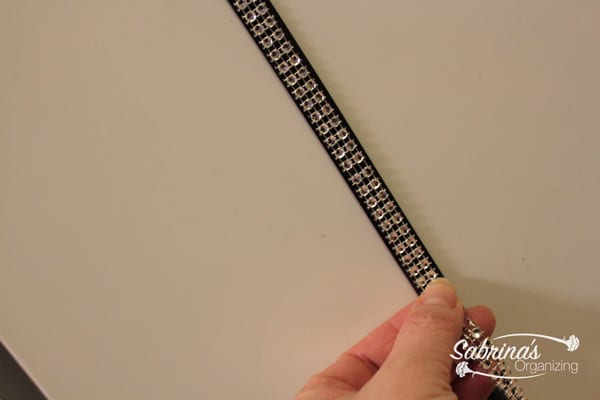
Decorate the magnet strips
I then added the magnet strips on the board to flatten them and left them overnight. Below are products I found on Amazon (affiliate) (affiliate). Note: The Master Magnetics Roll-N-Cut(affiliate) is similar to the one I used.
The next day, I added the Bling on a Roll strip(affiliate) and cut each end. This is how it looked. I found a variety on Amazon (affiliate)(affiliate). The one I used was at a craft store that is closing.
The Container Store's Kitchen department offers a wide range of products, including food canisters, drawer organizers, pantry organizers, spice racks, storage carts, cookware, kitchen gadgets, and more. Visit their website for more wonderful products!

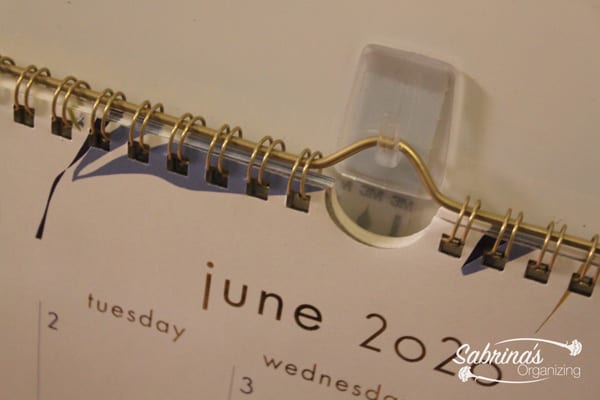
Add a Command Hook for the calendar
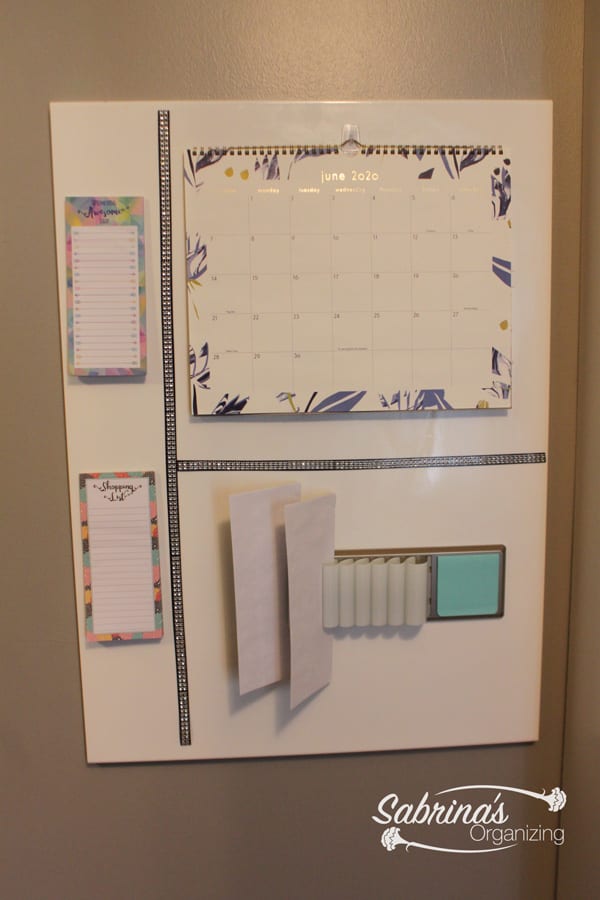
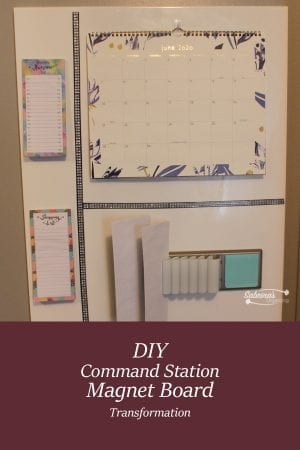
I added the Command hook to the top of the magnet board so I can add my calendar to the area. Then I added them to divide the magnet board into sections. The calendar is a metal hook one I found at the nearby Staples that has a monthly format, so I can easily remove it and write on it and return it back to its home.
Add the envelope holder
I then added a place to hold my envelopes. Incoming bills and bills to mail - this unit is excellent for holding them all. I also had an area for sticky notes (affiliate), which was attached to this unit. Unfortunately, this item was purchased a while ago and is no longer available.
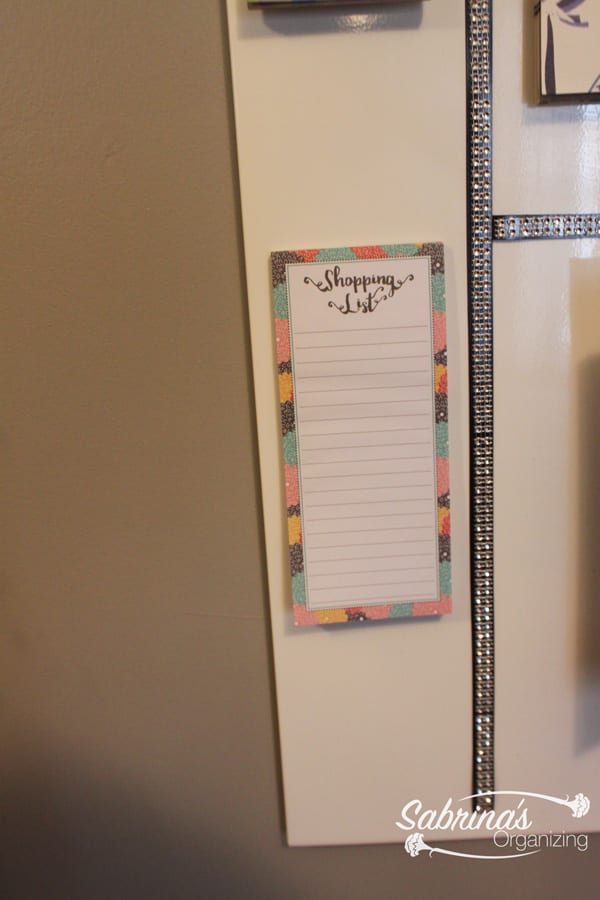
Add the notepad
I then added magnet-backed notepads. They were one dollar each and can be found at dollar stores and on Amazon (affiliate).
I added the two checklists (affiliate) pads to the left side of the magnet board. One for a to-do list pad and the other for shopping list pad.
Reveal
And, there you have it! My finished DIY command station magnet board. I love it and it looks great! What do you think? Would you make this? Please leave a comment below. I would love to hear from you.
Here are some additional DIY ideas to make your own magnet board:
Large DIY Magnetic Board {Painted or Fabric Covered}
Feel free to visit my other command station magnet board DIY project that I created in the past.
DIY MAGNETIC CHALKBOARD WEEKLY PAPER SORTER


Leave a Reply