Creating a custom Thanksgiving runner for the table was something I decided to do this year. After seeing many people build custom runners, I decided to try it this year with my Cricut Maker (affiliate) and Cricut Heat Press (affiliate). Here is how I make this super easy DIY Table Runner for Thanksgiving. If you have these tools (affiliate), you can make it too! I lay out all the steps for you. Happy cutting, weeding, and ironing!
Jump to:
- What supplies did I use to make this DIY Table Runner for Thanksgiving?
- How much did it cost to make this DIY Table Runner for Thanksgiving?
- How long did it take to create this runner?
- How did I make this DIY Table Runner for Thanksgiving?
- The Big Reveal
- Tips on making this DIY Table Runner for Thanksgiving
- Conclusion
What supplies did I use to make this DIY Table Runner for Thanksgiving?
Supplies used:
- DII Chambray Kitchen, Tabletop Collection, Natural, 14x108 Table Runner (affiliate)
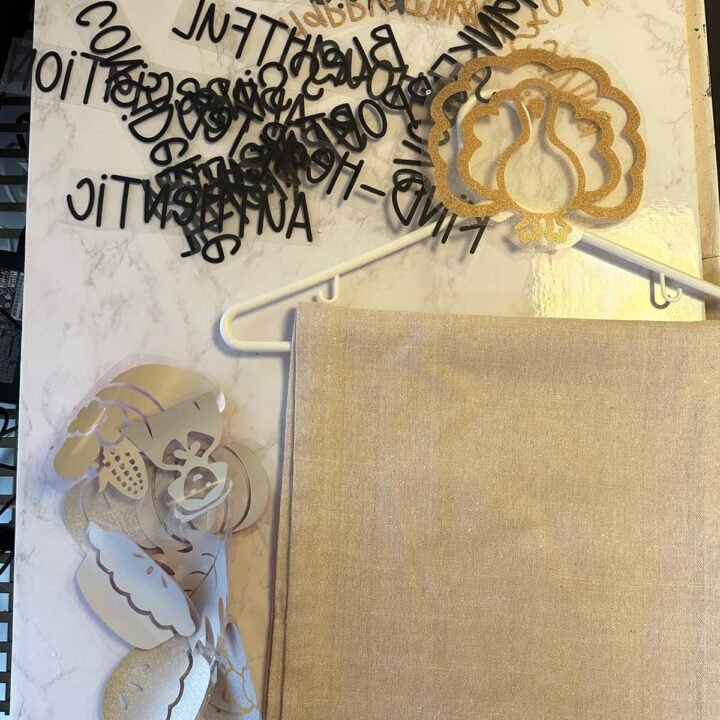
- Cricut Iron-on vinyl (affiliate) - various types cut out in shapes and words - 24 pieces total.
- Cricut Maker (affiliate)
- Cricut Heat Press (affiliate)
- Cricut heat-protected Mat 12 x 12 (affiliate)
Please note that these are affiliate links through Amazon (affiliate) and Cricut. At no additional cost to you, I will earn an affiliate commission if you decide to make a purchase.
How much did it cost to make this DIY Table Runner for Thanksgiving?
This project cost me about $ 25 to make, including all the Cricut iron-on vinyl (affiliate) and the DII Chambray Kitchen, Tabletop Collection, Natural, 14x108 Table Runner.
How long did it take to create this runner?
This runner took me about 4 hours to make. The majority of the time was spent picking out the font, determining the wording, and then cutting and "weeding" the excess iron-on vinyl, as well as pressing and letting the different pieces cool. I split it into two different weekend activities. Weeding and cutting were done during one weekend, and ironing was done on the other weekend.
At the Cricut Shop, you can find Cricut machine bundles to heat presses, infusible ink & blanks, supplies, and tools, making any DIY inspiration possible. From sale items to specific products, you can find it all!
What are you waiting for? Visit their shop to see what is on Sale Today!

How did I make this DIY Table Runner for Thanksgiving?
First, wash the purchased runner and then iron it completely. Then, I logged into Cricut Design Space and found some simple designs that represent Thanksgiving and inspiring words, and added them to the file. Here is my private file, if you'd like to use it. Place it on the table with a heat protection under the runner. Below are the words I cut, weeded, and set aside. They were about 1 inch tall.
Thoughtful
Generous
Authentic
Caring
Considerate
Kind-hearted
Supportive
Grace
Thankful
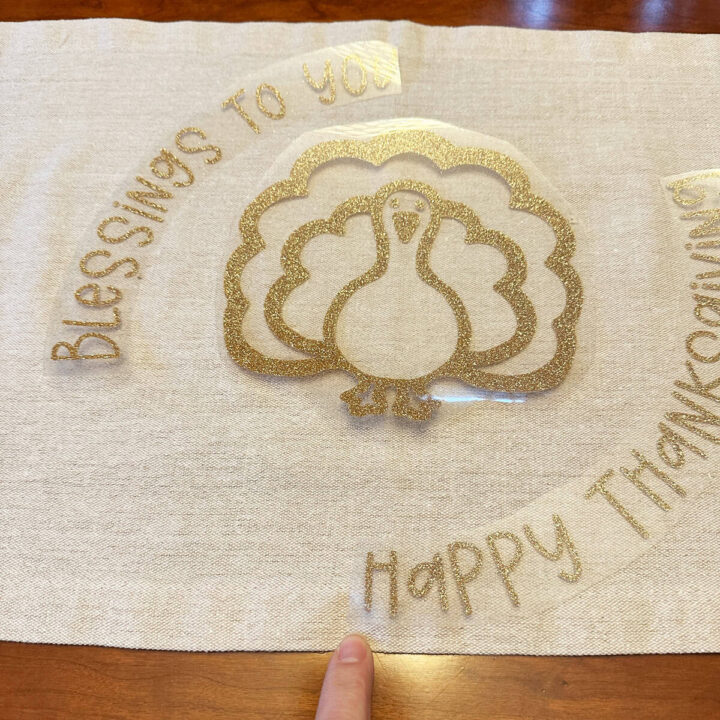
Blessings to you
Happy Thanksgiving
I also cut out the following images. They are approximately 4 inches wide.
Turkey
Leaves
Pumpkins
Pies
Find the center of the runner. I eyeballed it, but you can measure it or fold it in half and crease the center. Then, place the 'Blessings to You' and 'Happy Thanksgiving' with the turkey in the center.
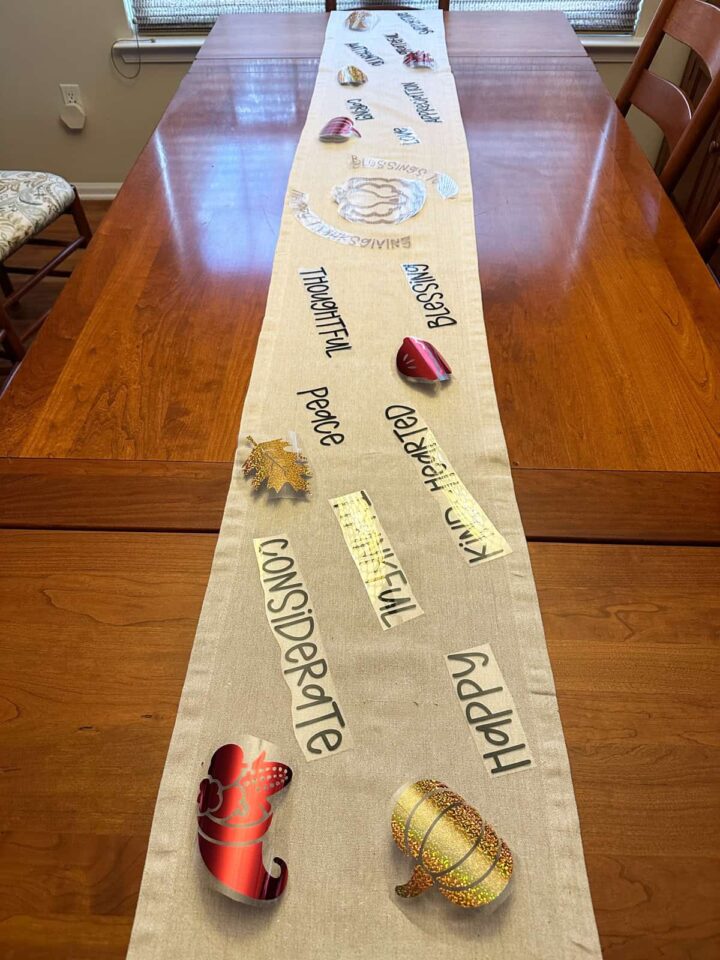
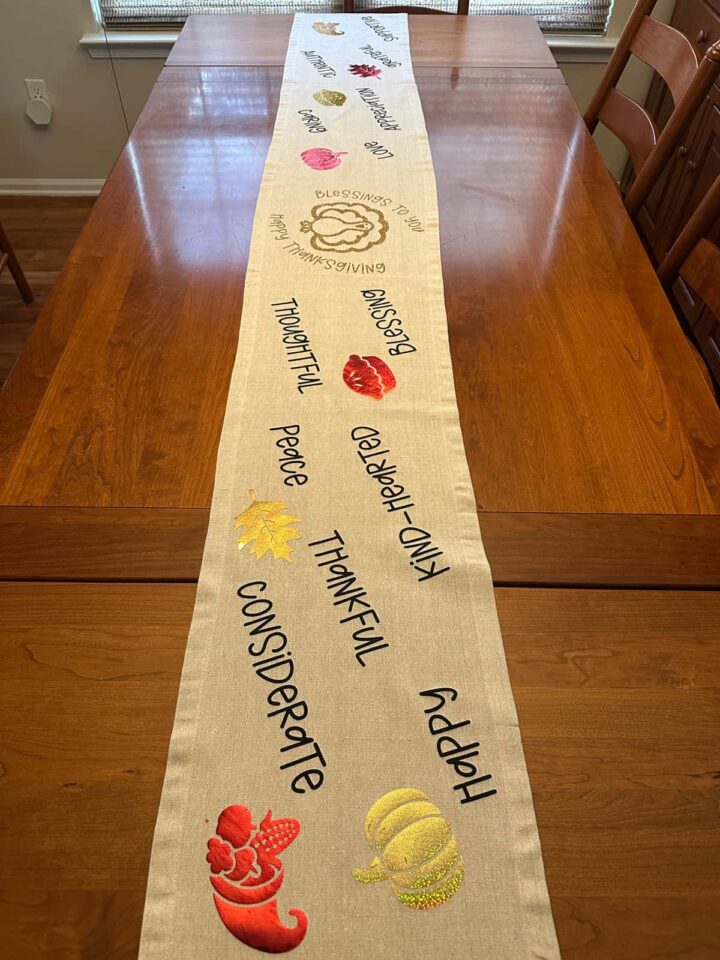
I then place the words and images starting from the center, working my way to the end of the runner on both sides.
From a distance, place the wording and have them positioned facing the left and right sides so that everyone can see the words and design.
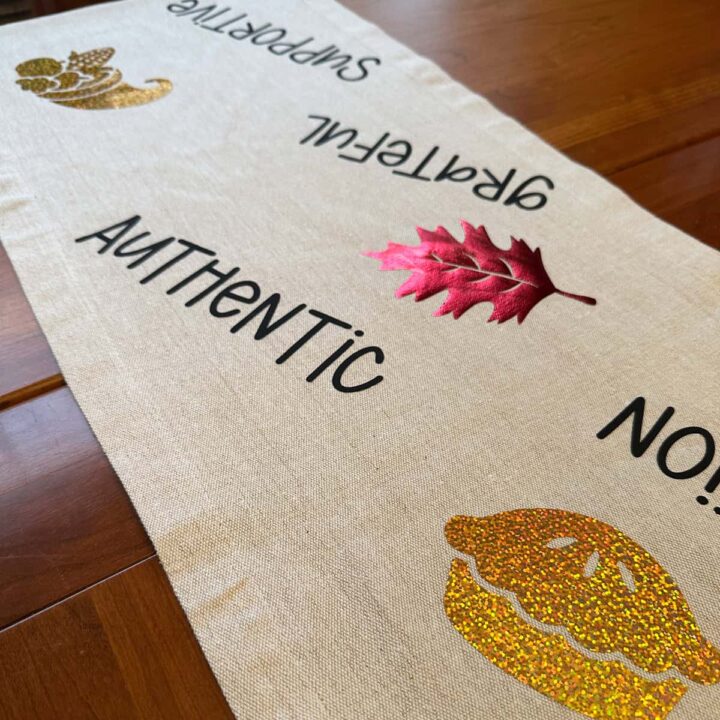
Here is how it looks when I placed all the vinyl iron-on pieces on the runner.
Add the heat protector under the fabric.
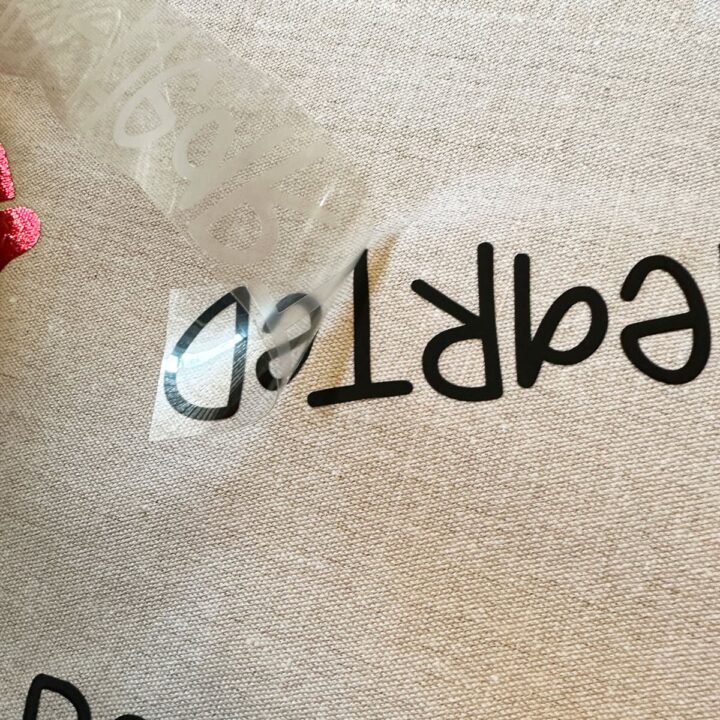
Then, start ironing the iron-on vinyl. ****BE SURE YOU HAVE A COTTON PIECE OF THIN FABRIC TO PUT OVER THE PLASTIC TO PROTECT THE IRON AND YOUR FABRIC.***
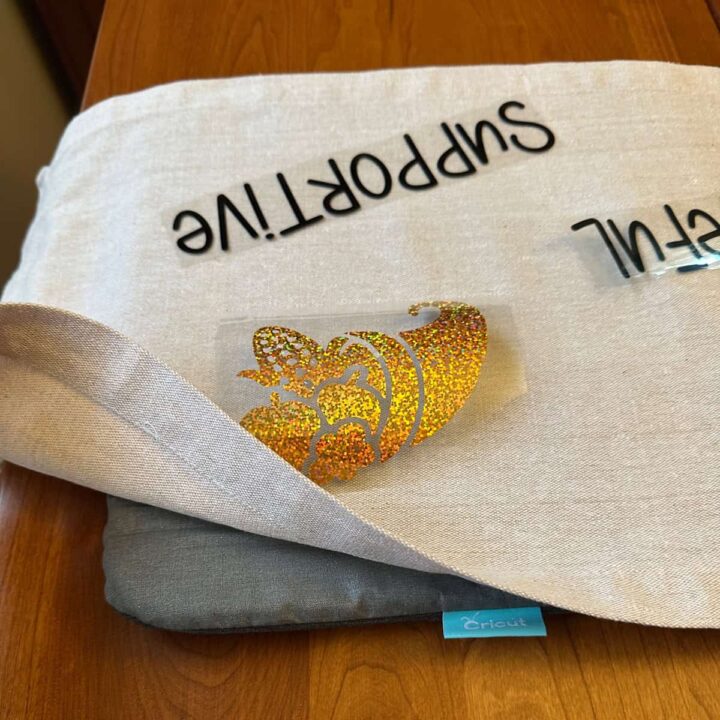
I started from the left side, but you can also start from the middle and work your way to the left, then to the right.
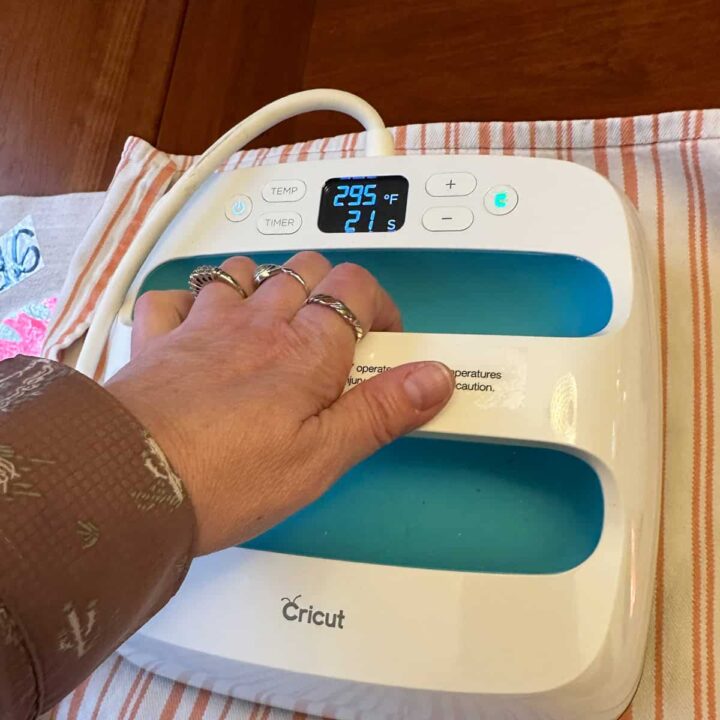
What are the recommended iron settings for my Cricut Heat Press?
The Cricut Heat Press (affiliate) has specific instructions for each type of fabric. You will need to know your heat press type and the fabric you are using. Here is the link.
Cricut Heat Guide: Time and Temperature
My settings were 305 degrees for 15 seconds. I also tried for some of the iron-ons (since I had different types), at 295 degrees for 30 seconds. Depending on the fabric, it may vary.
Let each section cool completely, then peel off the plastic, ensuring the design adheres to the fabric as it cools. It is best to let it cool after each 12-inch by 12-inch section, then peel off the plastic. If it doesn't peel off easily, reapply the heat press to the area and press again. And let it cool again and peel off a second time. I had to do this a few times on some of my designs/words.
The Big Reveal
This DIY Table Runner for Thanksgiving looks lovely.
Tips on making this DIY Table Runner for Thanksgiving
Below are a few tips to keep your creation safe (affiliate) and come out beautifully.
First, be sure to protect the surfaces from heat. The Cricut EasyPress Mat 12" x 12" (affiliate) comes with both a mat and a heat press. This mat will help protect the surface from heat.
Ensure you use a thin cotton towel to protect both the iron and the vinyl for easy removal.
Another tip is to take your time throughout the ironing process; you may have to repeat some of the iron-ons if they do not remove easily.
Conclusion
I hope this post inspires you to create your very own customized runner for Thanksgiving. Please leave a comment with any questions you may have about this project. I would love to hear from a human. =)
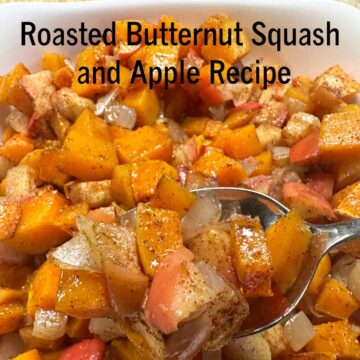
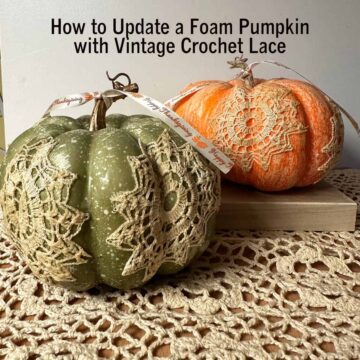
Enjoy these other Thanksgiving posts below.