After doing the two-story (affiliate) staircase hallway walls, we looked at the railings on the staircase and thought we should freshen them up a bit. We had freshened up the steps molding and posts with our favorite picket fence white semi-gloss paint but realized that we hadn't touched the railing in years. We both are not big on staining, so this was a challenge for us. We were both nervous about the project. So, we decided to take the process of transforming the railing slow in hopes that it would make it look even better.
Jump to:
BEFORE Railing
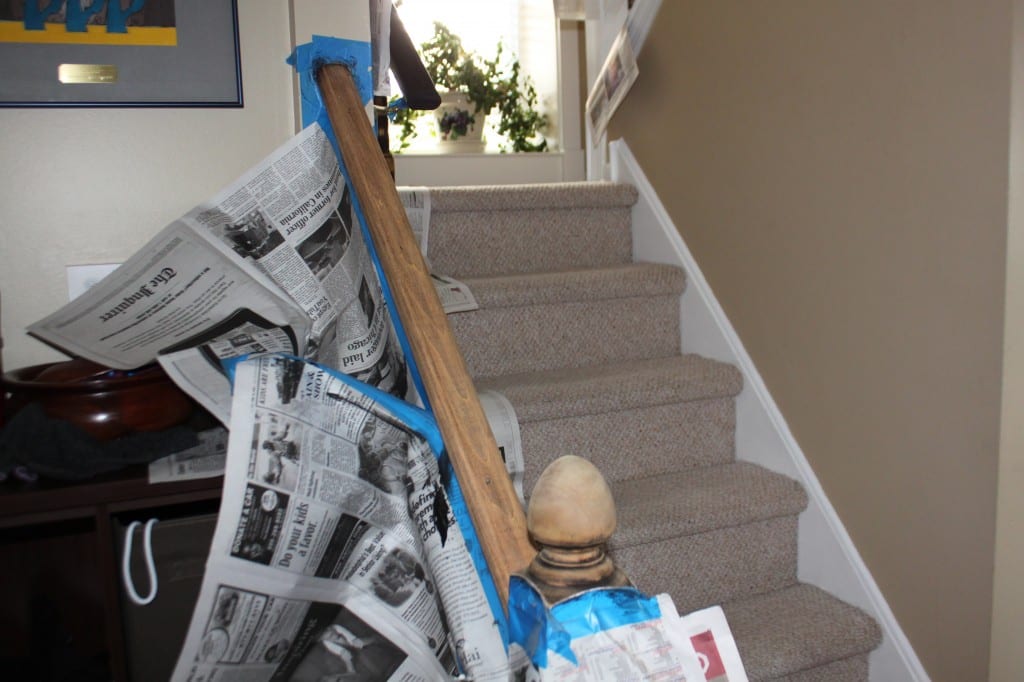
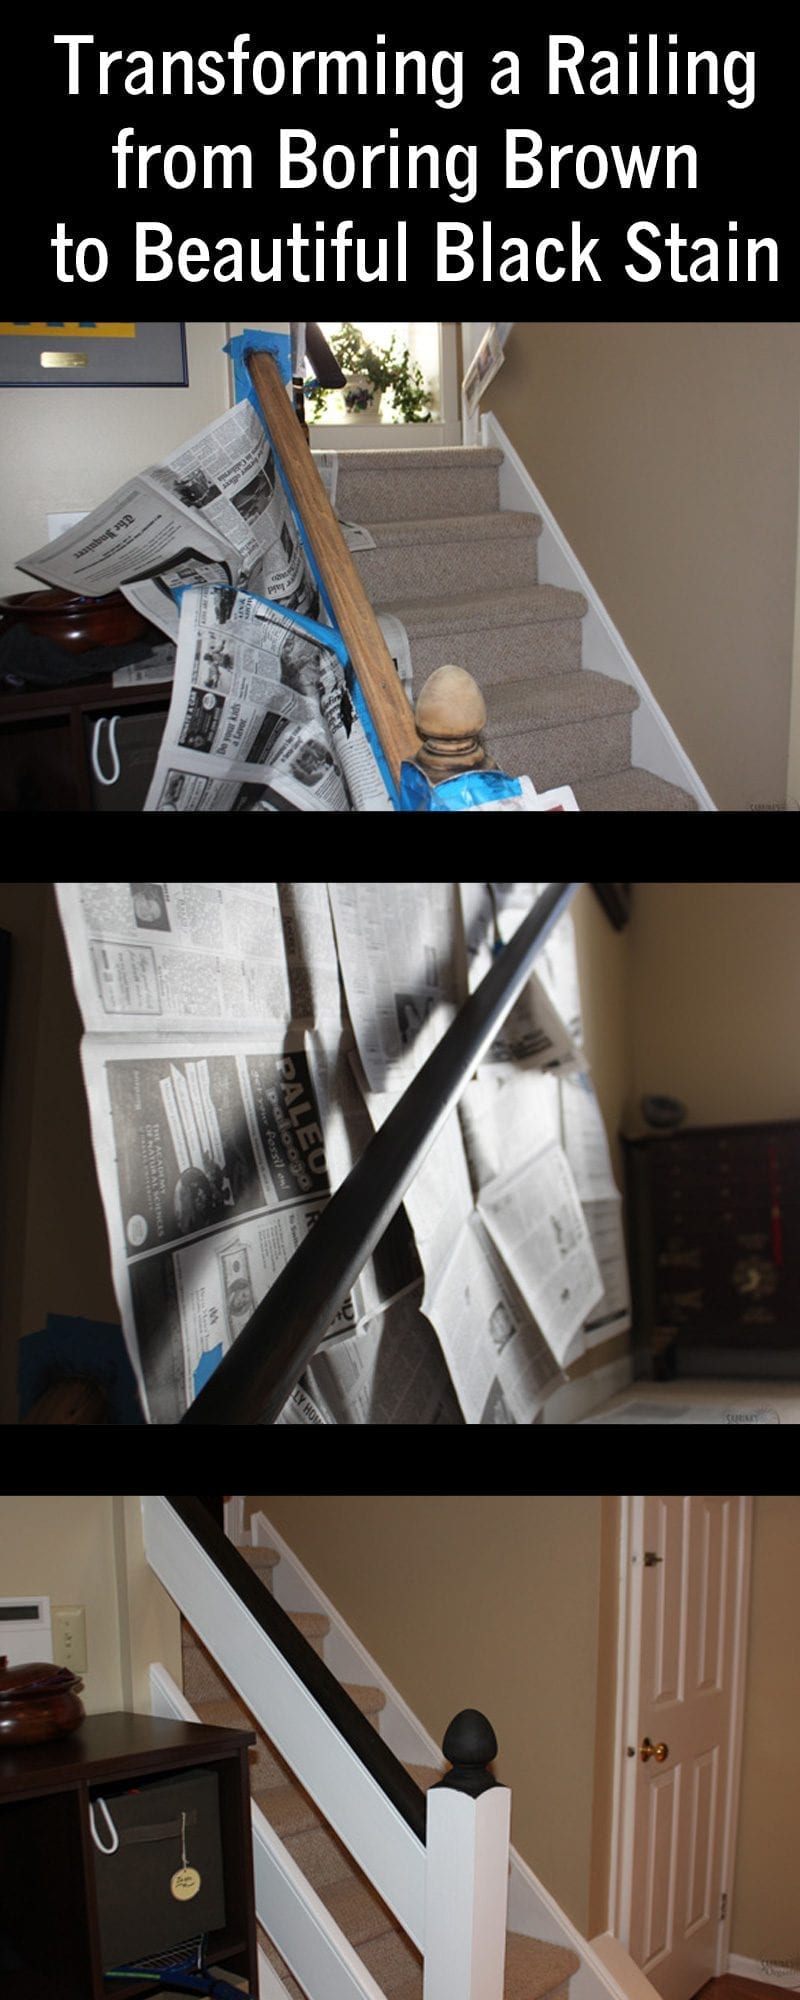
Here is our transforming railing before the photo. It was definitely an older 90s railing, which was super dated for these days.
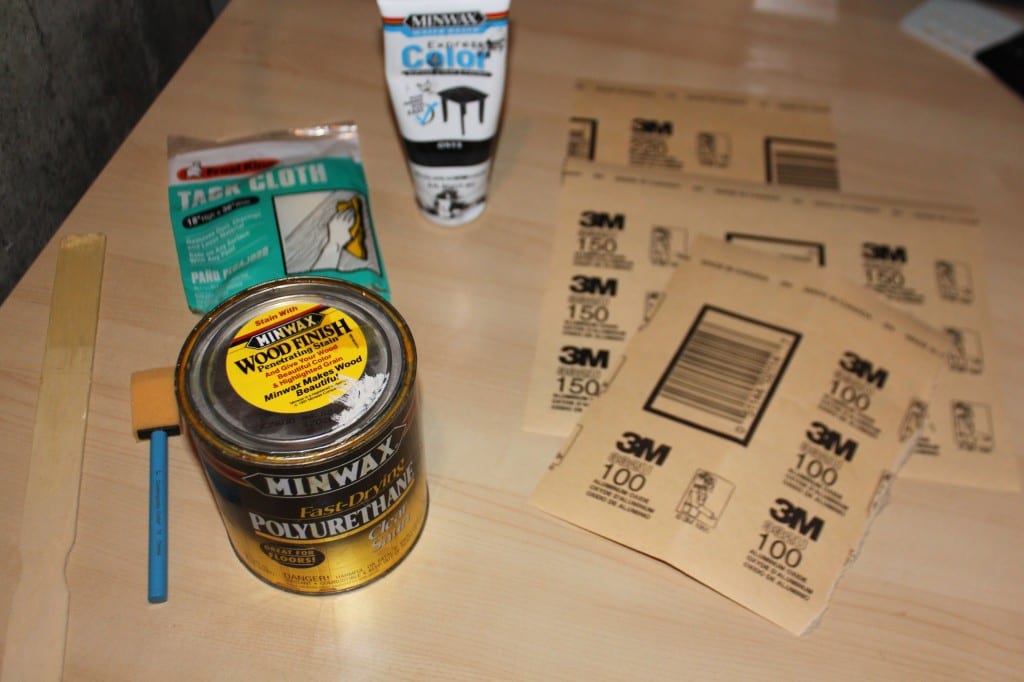
Supplies you need for this project
- 3M 100 and 150 Sandpaper (Amazon (affiliate) Affiliate Link)
- Minwax Color Onyx gel stain (Amazon (affiliate) Affiliate Link)
- Tack Cloth (affiliate)
- Newspaper
- Painters tape (affiliate)
- Minwax Wood Finish Polyurethane (affiliate)
- Stirring stick for paint
- Disposable sponge brushes
Transforming Railing Tutorial
First, I added paper to the railing to help catch all the dust and paint. Then, we sanded and removed the top coat of the railing.
We taped up the railing and sanded down the existing railing. We used 100 sandpaper (the coarsest we had). It took some time, and we needed to press a little harder to get the top coat off.

We decided to go with staining instead of painting. I used the above items for this project.
Add stain to the railing
We stained the railing twice, sanded it with 150 sandpaper, and used a tack cloth (affiliate) to clean off the railing between staining. Then, we added the stain and wiped it off the right way. We waited for it to dry and then added a second layer of stain. This made it super black. This photo is without the polyurethane coat.
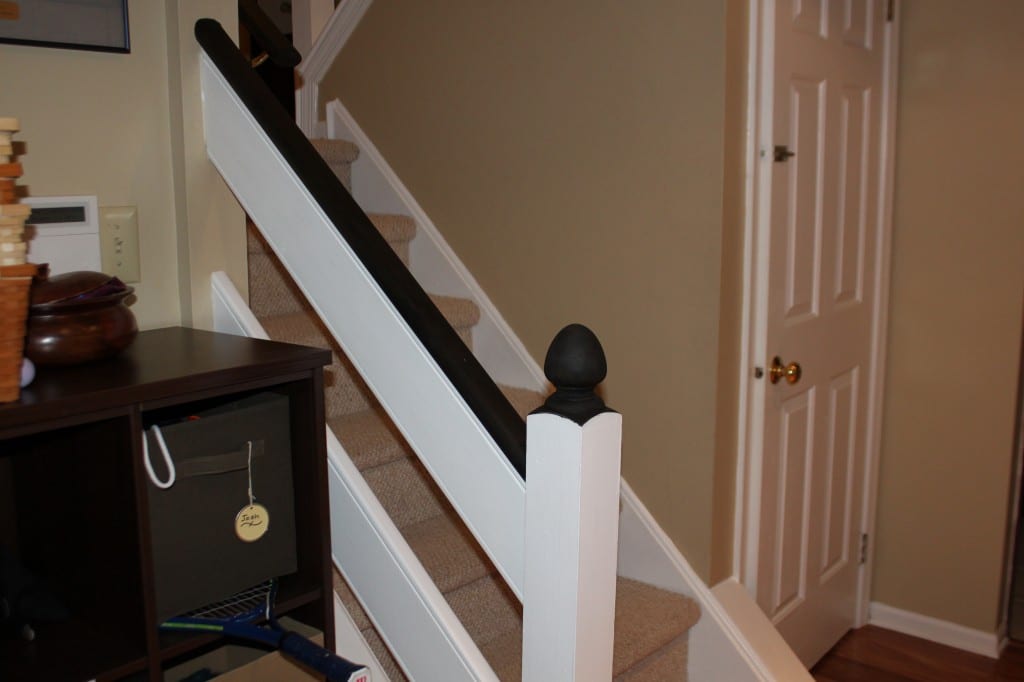
Then, a day later, we used polyurethane on the railing. Two coats and sanded with 220 sandpaper. We used a tack cloth (affiliate) to clean the railing between coats.
Reveal
The big reveal! We love it! You can still see the grain through the onyx stain, but it can't be seen in this picture. The entire process took some time, but it was worth it.
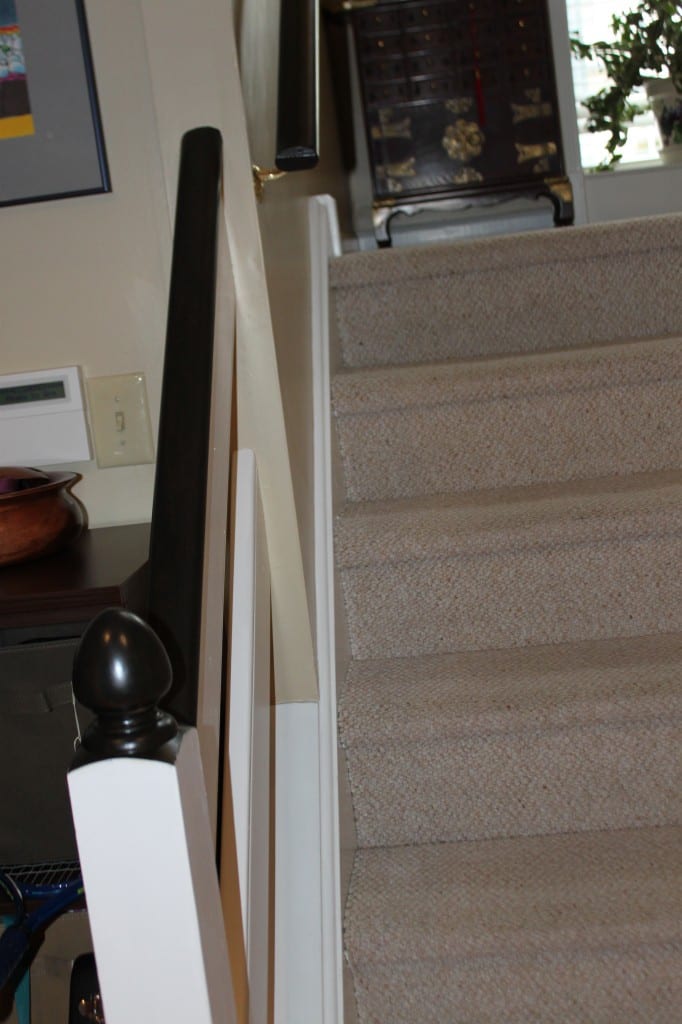
I hope this transforming railing project motivates you to improve your home even if you have never done a project before. Please leave questions in the comment section below.
Please note that the links above are affiliate links through Amazon (affiliate). At no additional cost to you, I will receive affiliate fees if you click through and decide to make a purchase.
Visit our other DIY Projects






Leave a Reply