I’m not a fan of seeing chargers, especially in the bedroom. The charger lights are very bright, and I like a dark room for a restful night's sleep. In fact, for many years, I have hidden my chargers throughout my home. Today, I am going to show you one way you can also hide the charger in the bedroom. Follow along and make yours today.
Jump to:
I have shared several tips on how to hide different items in your home. From hiding books to hiding chargers, you can easily hide away anything that is an eye sore - whether in a smaller home or a larger one. Feel free to visit my posts to help you.
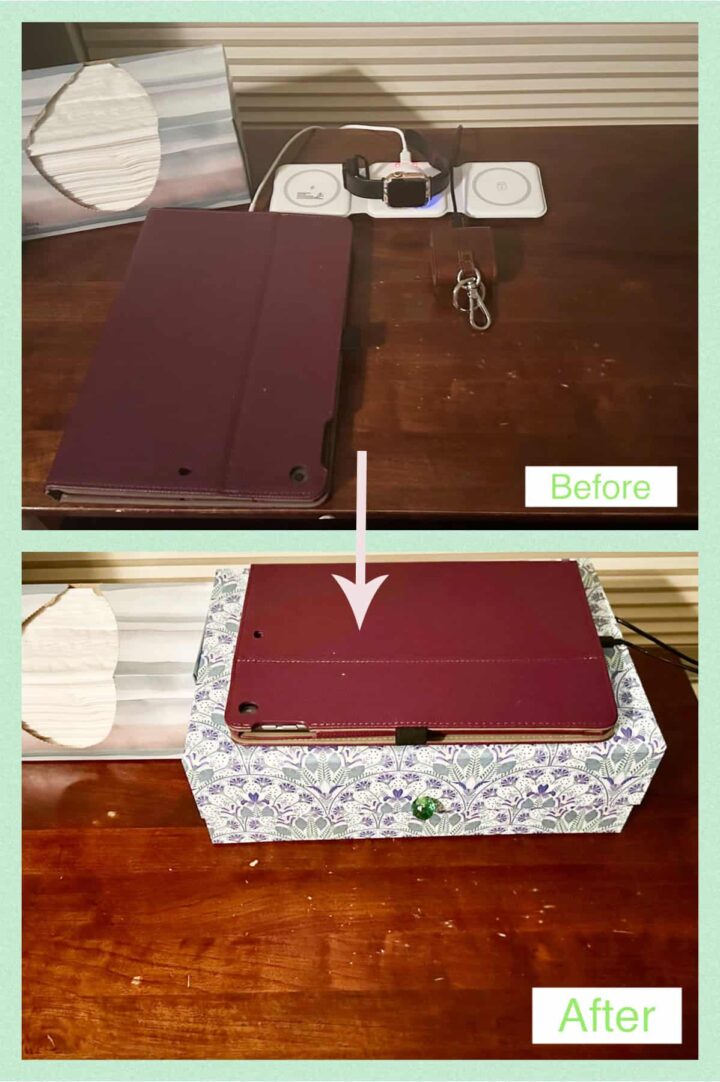
Before
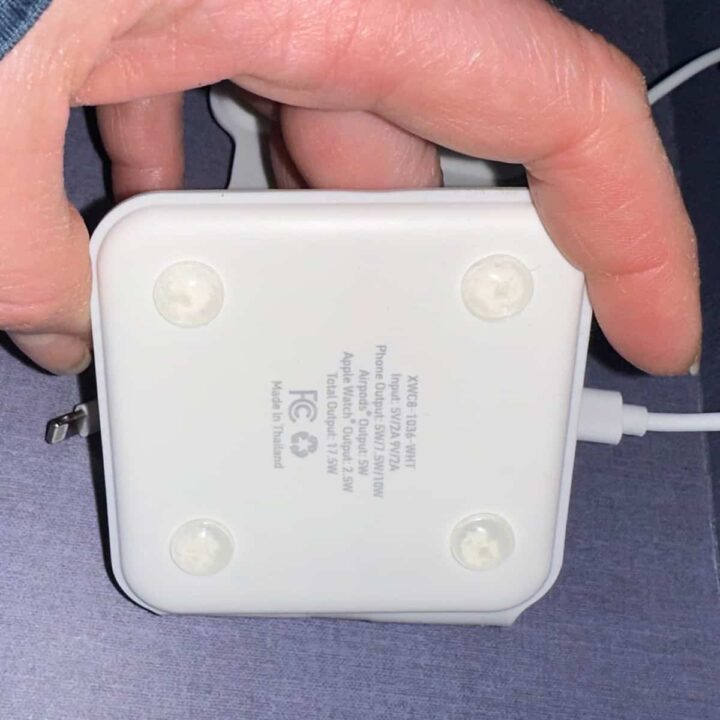
I originally had the charger right on my nightstand (affiliate). However, it would slide and move around. So, I had to add rubber feet so it would stop moving.
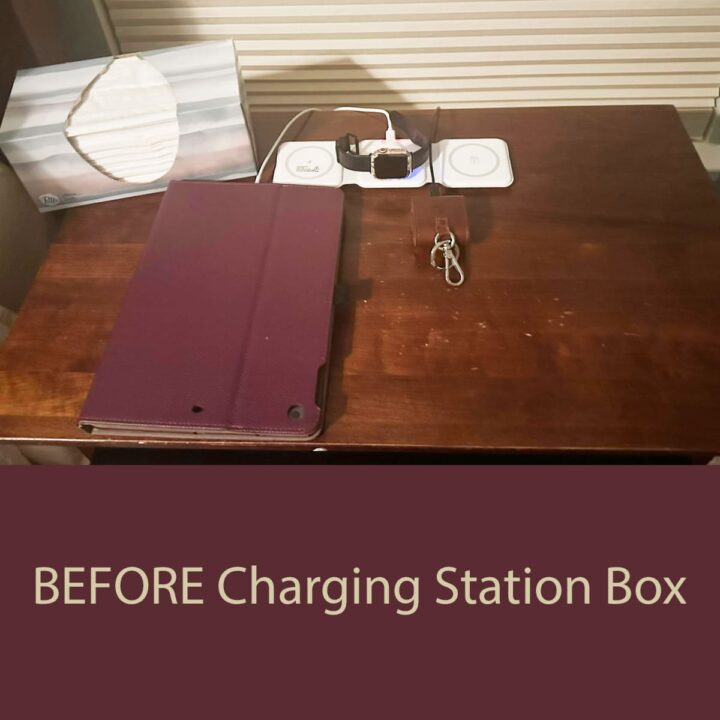
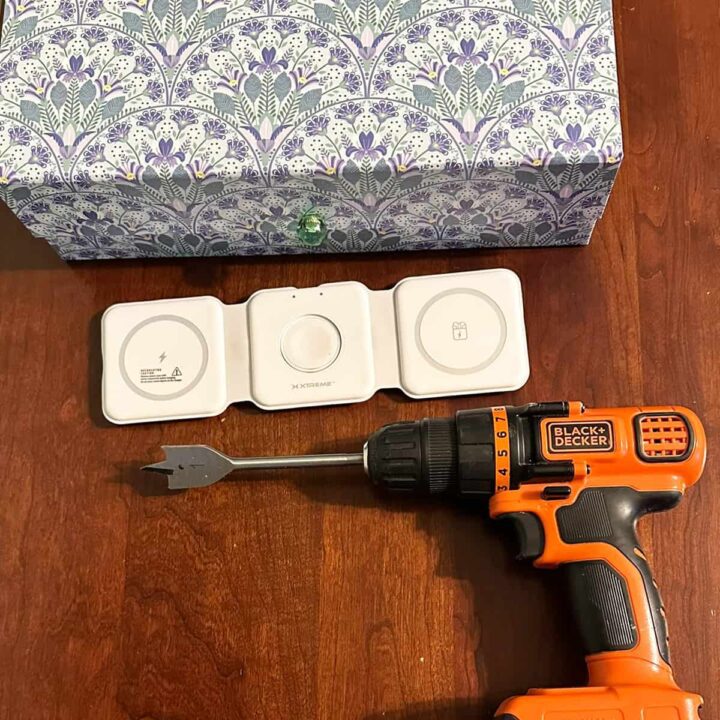
First, let’s share the supplies you will need to make this hide-the-charger-in-the-bedroom DIY project.
Supplies
Note: the links below are from Amazon (affiliate) (affiliate). I will receive a small referral commission if you click through and buy something on Amazon (affiliate)(affiliate).
1 Decorative shallow box cardboard (gift box) - Amazon (affiliate) affiliate link option
1 inch drill bit
Drill - electric
Device Charger station
Rubber feet for charger
2 or 3 six foot charger cables
How much did it cost to do this project?
This project cost $15.00 - that was for the box. I already bought the charger for $20.00, and I had the rest of the supplies.
Instructions
Step 1: Drill Holes In the Back of the Box
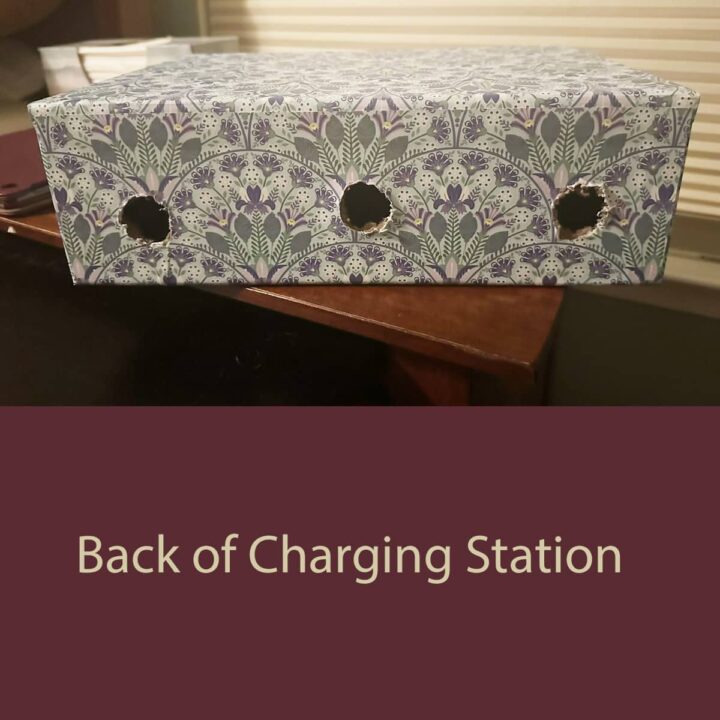
The first thing you need to do to create this hide the charger in the bedroom DIY project is to score the paper so it doesn’t rip too much, or you don’t have to do that. Then, drill (affiliate) three holes in the back from the outside to the inside so that the cables can pass through the cardboard box (affiliate).
Using an Exacto knife (affiliate), you can easily cut the excess cardboard. It’s OK if the paper rips a little inside. It happened to me. It is not going to be seen since the lid will be covering the holes.
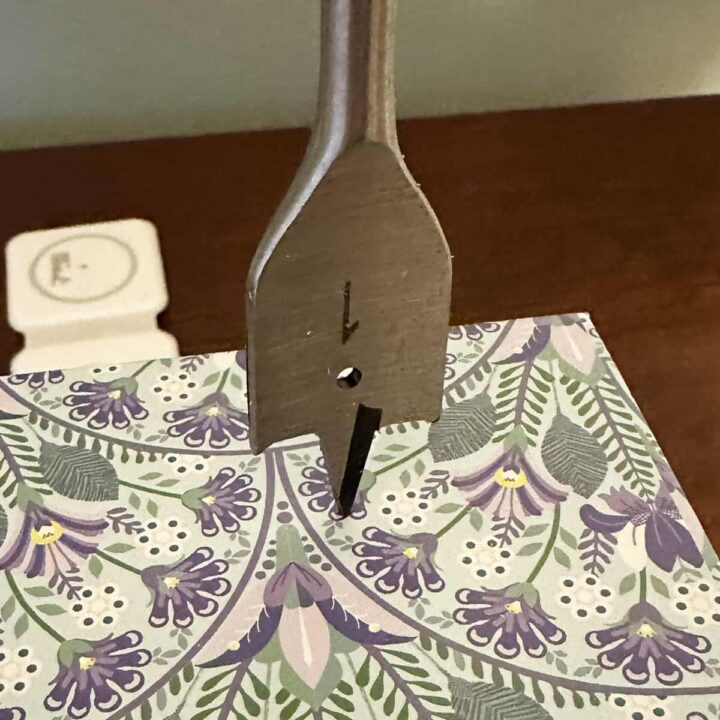
To hide the tare inside, you can use a Sharpie (affiliate) marker and draw on the cardboard pieces to hide the ripped cardboard. This will unify the color, and you won't see it as much.
Here is what the box looks like from the back.
Step 2: Add the charger to the inside of the box.
Now, run the cable through the box hole and add it to the charging unit you want to place inside.
Step 3: Add your devices to the charger.
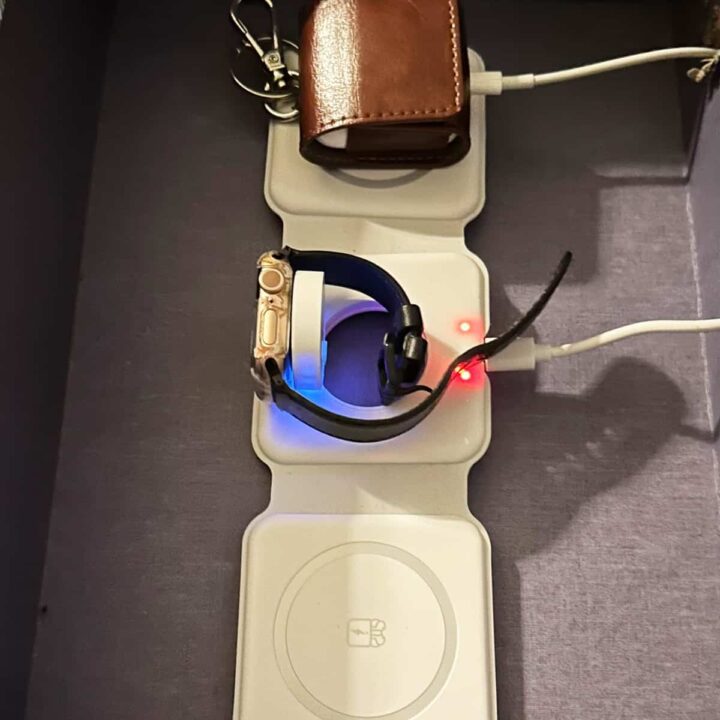
I had a tablet, earbuds (affiliate), a watch, and a cell phone. Be sure to add extra cables if you need them. For the bedroom charger, a six-foot charging cable (affiliate) works best so you have excess cable, and it won't fall out of the hole if the cable is too short.
Tips when making this DIY project
There are some things to keep in mind.
- Check your charger and make sure it doesn’t heat up. Many chargers do not heat up, but it is important to check before placing it in a cardboard box (affiliate). I like to feel the charger when it is plugged in for a while before adding it to the cardboard box (affiliate).
- For tablet: if you use a tablet, you can add an extra cable through the hole in the back and charge your tablet by laying it right on top.
- Longer charging cables: Six-foot charging cables(affiliate) work best on a nightstand (affiliate) because it is usually a taller table. The shorter ones will have an issue staying in the box and on the table.
- Shorter charging cables: To hold the cable in place if your charging cables are too short, you can use a cable command hook. Below is one I found on Amazon (affiliate) (affiliate).

Charging Cable Organizer by SmiLife
Buy Now →(affiliate)
Reveal
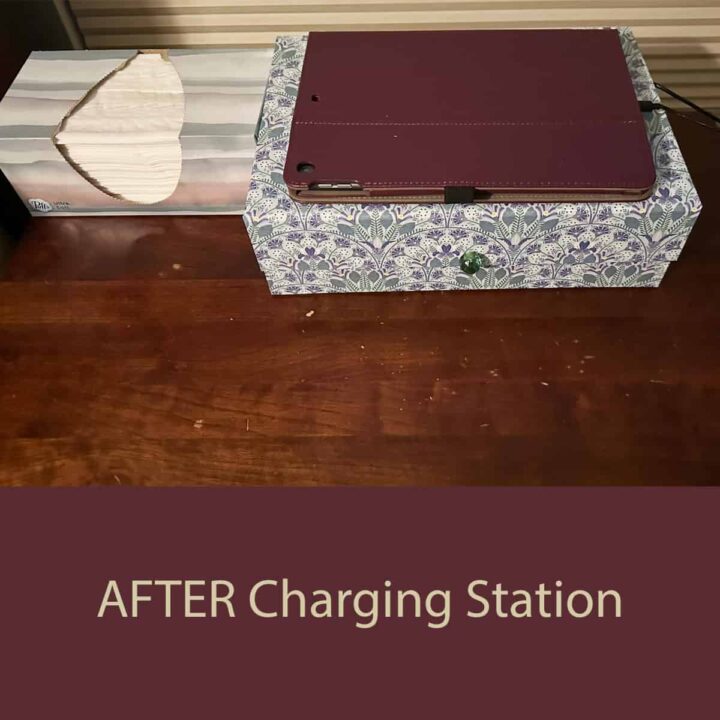
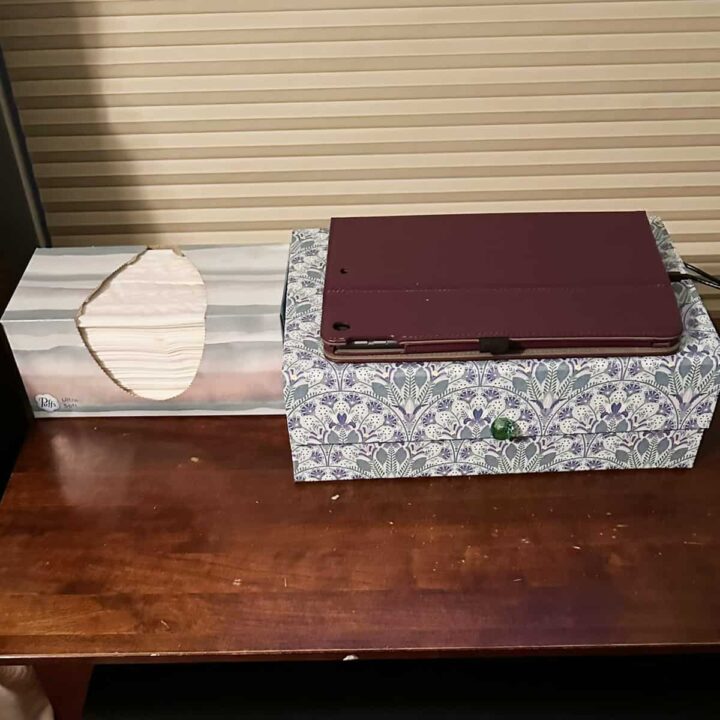
And this is what it looks like when you create a hide the charger in the bedroom DIY project. What do you think?
I hope this inspires you to make your bedroom an oasis! Please leave a comment with any questions when you try this project. Thanks!
Below are some more DIY projects!









Leave a Reply