Plain white pumpkins are cute, but I didn't like them so simple. I had an extra hollow foam pumpkin and wanted to update it to something more unique. Here's how to edit a plain white foam pumpkin to decorate your table! Feel free to check out the step-by-step instructions and the transformation.
Jump to:
- What inspired me to update this Plain White Foam Pumpkin?
- What supplies did I use to make this updated white foam pumpkin
- How much did it cost to make this Plain White Foam Pumpkin?
- How long did it take to make this white foam pumpkin update?
- How did I update this Plain White Foam Pumpkin?
- The Big Reveal
- Tips on making this Updated White Foam Pumpkin
What inspired me to update this Plain White Foam Pumpkin?
I purchased it a few years ago at a discount and only needed one for another project I did with antique crochet flowers - you can see that project here.
What supplies did I use to make this updated white foam pumpkin
The supplies are pretty simple. The links below are from Amazon (affiliate), and if you click through and make a purchase, I will receive a small commission. Thanks for supporting my small business!
Supplies used:
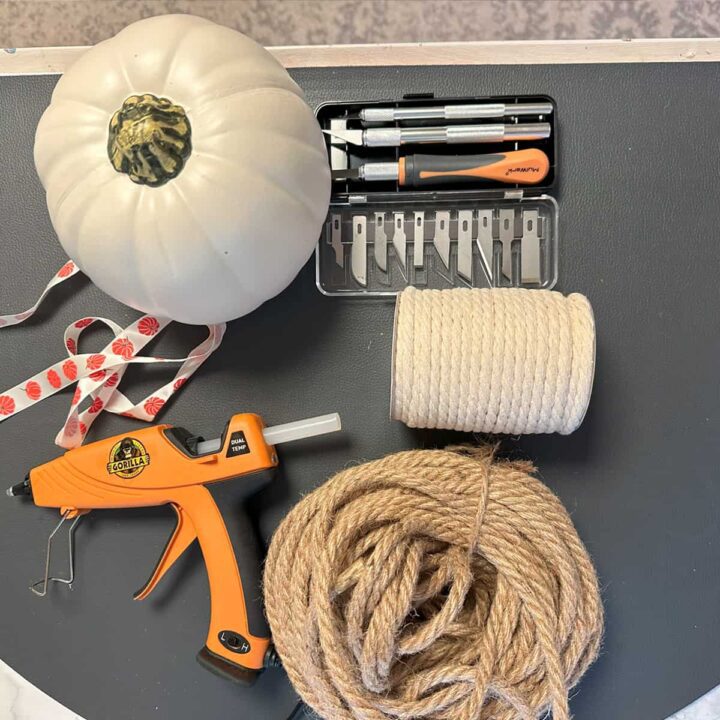
- One hollow white pumpkin 8 inches wide
- Utility knife / Exacto knives to cut the top off the pumpkin
- Cotton Rope - .23 inches wide brand: Bead Landing TM by Cording Encordage
- Scissors (affiliate)
- Brown rope .5 inches wide
- Ribbon ½ inch ribbon width for the top (optional)
How much did it cost to make this Plain White Foam Pumpkin?
The pumpkin was on clearance, so I only spent $5.00. The rope was a large roll, and I only used a little of the creamy white and the brown rope. All in all, it cost me about $6.00 to update this white pumpkin.
How long did it take to make this white foam pumpkin update?
It only took me about an hour to update this pumpkin, as I used the hot glue gun (affiliate), and there was little drying time needed.
How did I update this Plain White Foam Pumpkin?
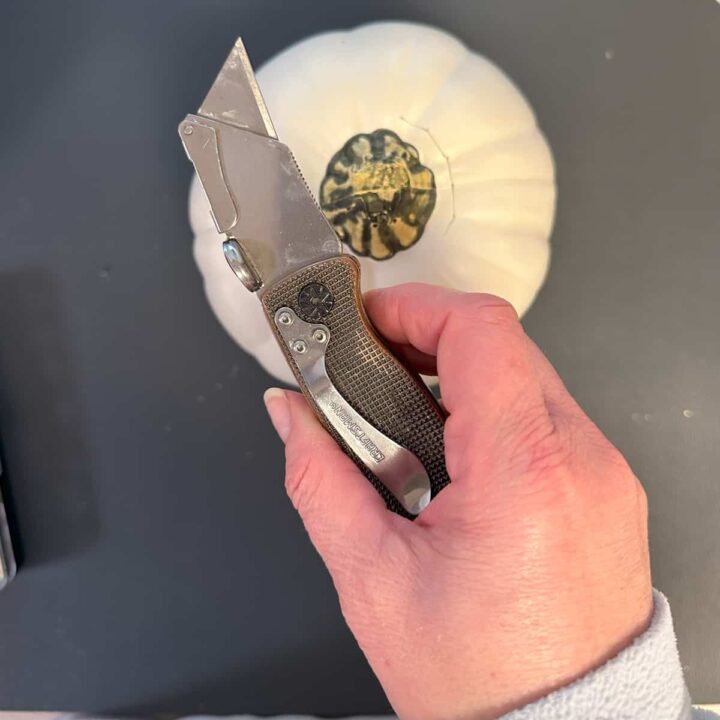
First, I cleaned off the pumpkin. I used a utility knife (affiliate) and cut off the top of the pumpkin stem area. The Exacto knives didn't work too well. It helped me score the pumpkin. Remove the top and set aside.
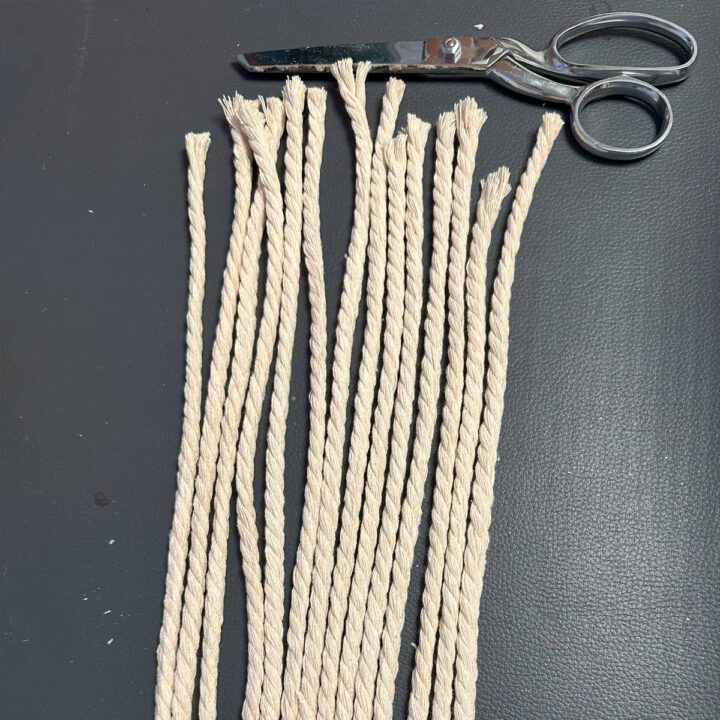
Then, I cut the white ropes to wrap that reached from the top to the bottom of the pumpkin. I cut 14 of them to use for this pumpkin.
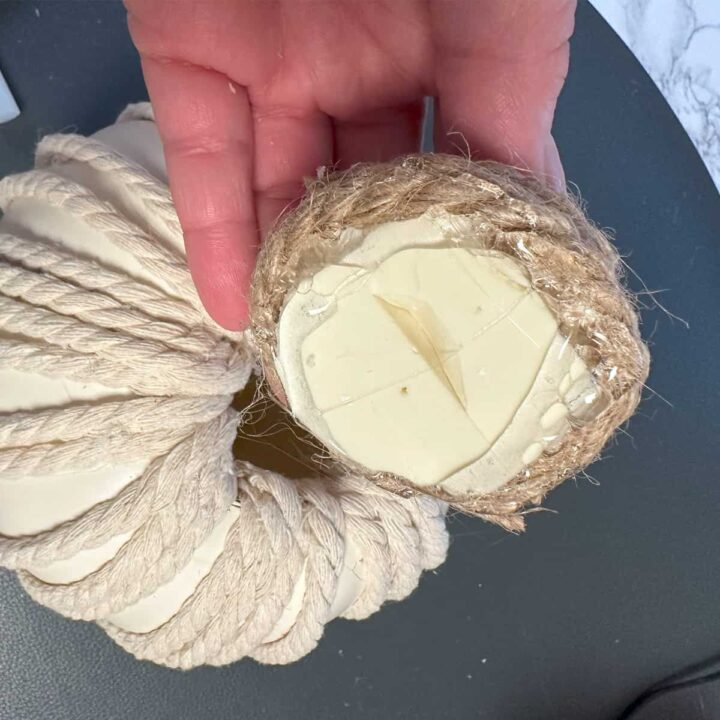
Now, I spread them out and hot-glue the inside of the pumpkin and the bottom of the pumpkin to hold the ribbon. The ribbon was used to add some dimension to the pumpkin.
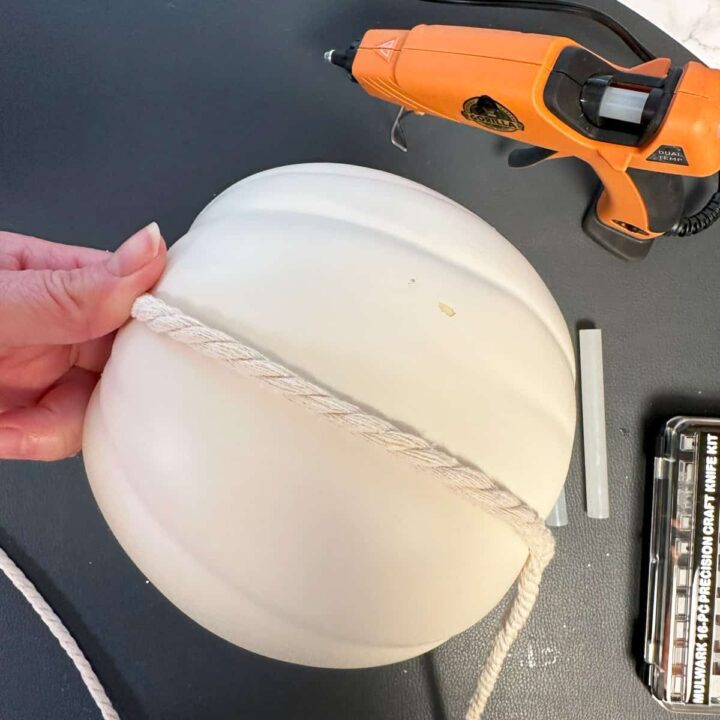
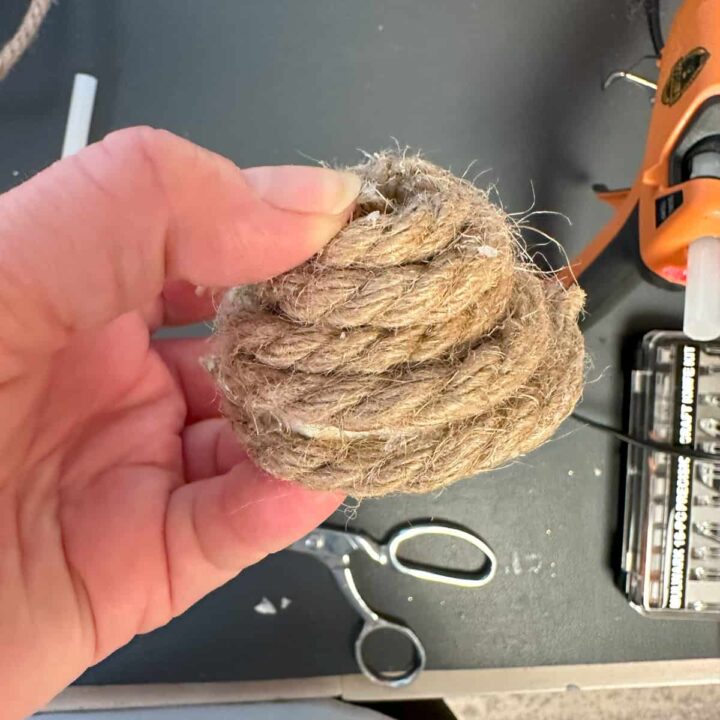
Next, I cut the top a little more closely to the stem design to make sure it fit tighter to the hole with the rope pieces in it. Then I wrapped it with the brown rope around the stem from the bottom and to the top. It looked like a hair bun.
I then added hot glue to the top of the ropes and pumpkin.
The Big Reveal
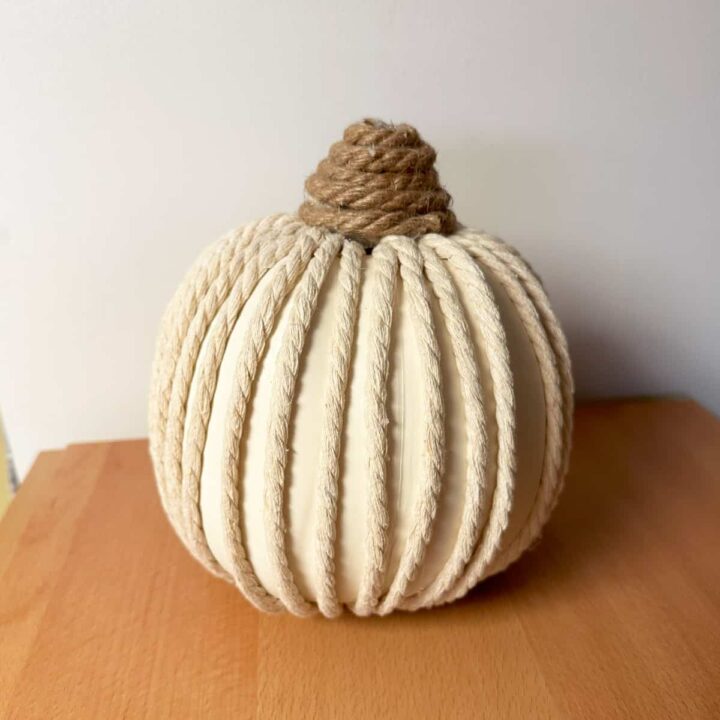
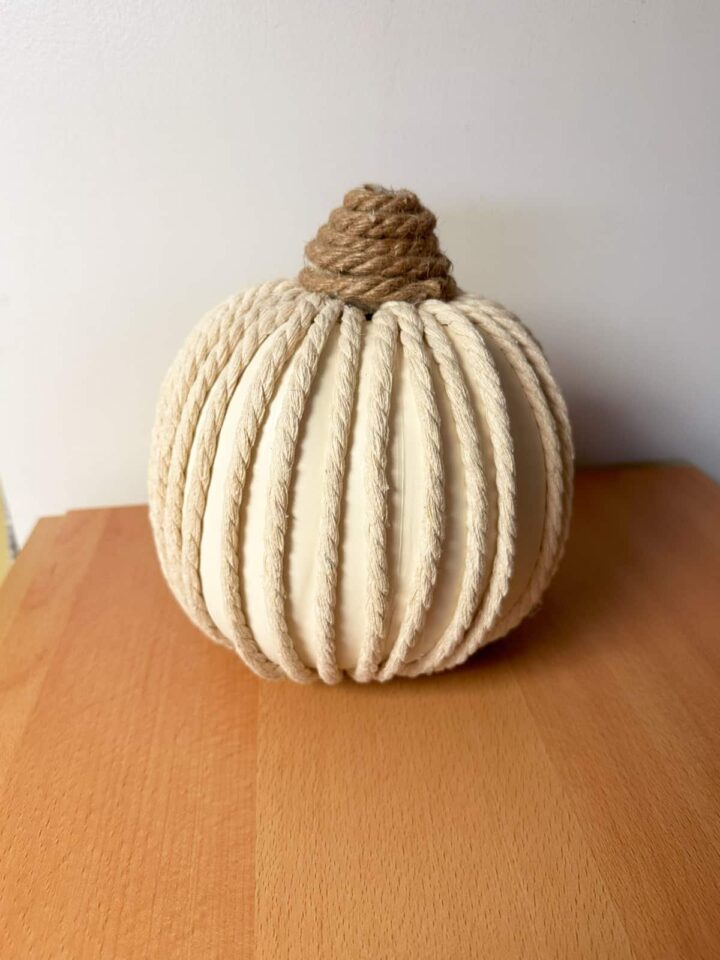
And here is the updated pumpkin; it is no longer plain. I love it. The ropes gave the pumpkin texture. This unique pumpkin is an excellent addition to the Thanksgiving table.
Tips on making this Updated White Foam Pumpkin
There are a few tips when making this pumpkin.
- Use a low heat setting for the glue gun (affiliate) to prevent burns.
- Add hot glue to the rope instead of the pumpkin, and press the rope to the pumpkin. This way, it will help you place it exactly where you want it.
- Be aware that your pumpkin may be flammable. A too-hot glue gun (affiliate) may cause the pumpkin to burn or catch fire.
That's all for the tips.
I hope this DIY project inspires you to update your plain white pumpkin. Have you tried to update a pumpkin before? Please leave any tips you may have in the comments below.
Feel free to visit our other repurposing projects!




Leave a Reply