Having a beautiful wreath hanging on the door to welcome us home is always a sweet pleasure. It doesn't have to be big; it just has to be cute and easy to make. This small moss wreath is special because it's easy to create and can be easily added to any door or cabinet. Follow along to see how I made this easy DIY Small Fall Grapevine Wreath project, and make your own today!
Jump to:
- What inspired me to do this DIY Small Fall Moss Wreath?
- What supplies did I use to make this DIY Small Fall Moss Wreath?
- How much did it cost to make this DIY Small Fall Grapevine Wreath?
- How long did it take to make this DIY Small Fall Grapevine Wreath?
- How did I make this DIY Small Fall Grapevine Wreath?
- The Big Reveal
- Other things to a Fall Grapevine Wreath
- Visit our other DIY projects below
What inspired me to do this DIY Small Fall Moss Wreath?
I found this beautiful moss wreath at Michael's for only a few dollars, so I figured I would add some cute accents to give it a fall appeal.
What supplies did I use to make this DIY Small Fall Moss Wreath?
The supplies were easy to find, and I had some of them already in my craft cabinet.
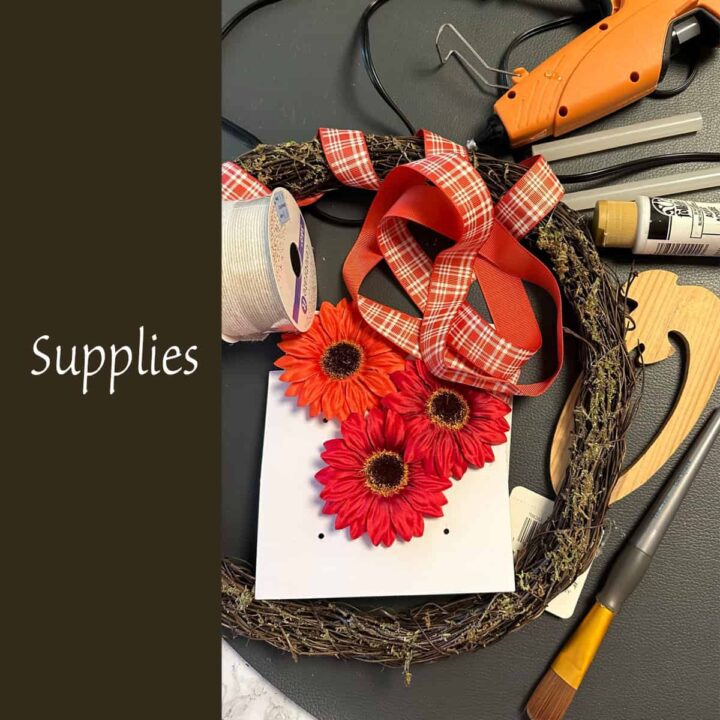
Supplies used:
- 12 inch diameter Narrow Grapevine Wreath - It does have a little moss on the wreath but you can't see it.
- The letter narrow Q wood
- White acrylic paint and paintbrush (optional) - if your Q was not white
- Orange and white plaid fabric ribbon 1 inch wide
- Hot glue gun and glue stick
- 3 flat sunflowers (2.5 inches wide) - 1 orange and 2 red, with wire in the back to attach or any color you want.
How much did it cost to make this DIY Small Fall Grapevine Wreath?
It only cost about $5.00 to make since all the supplies, like the ribbon and sunflowers, were leftovers from other projects. The Wood Q was also on clearance for only $1.00 at Michaels. Qs are not very popular letters.
How long did it take to make this DIY Small Fall Grapevine Wreath?
It only took me an hour to assemble this wreath.
How did I make this DIY Small Fall Grapevine Wreath?
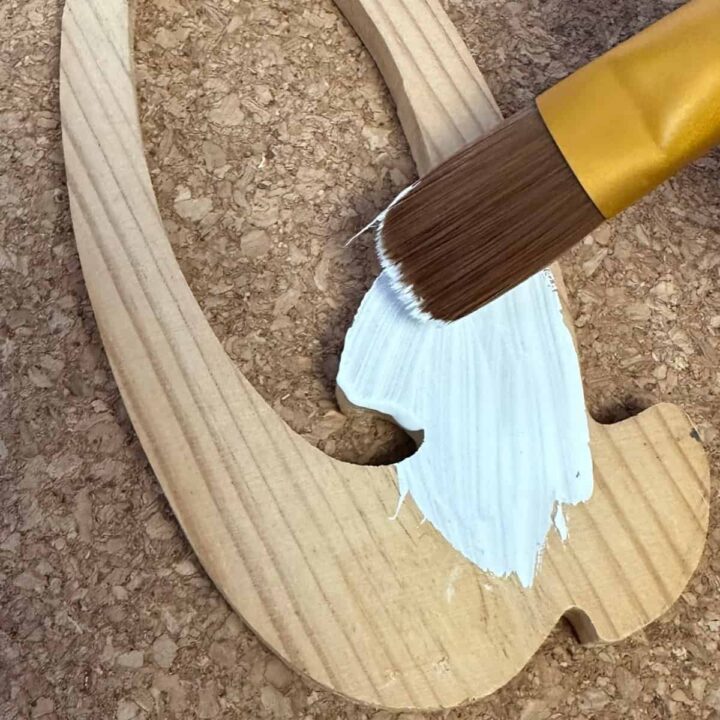
If you need to paint the letter, do that now. Apply two coats to the wooden Q. The surface will be brighter if you apply more than one coat.
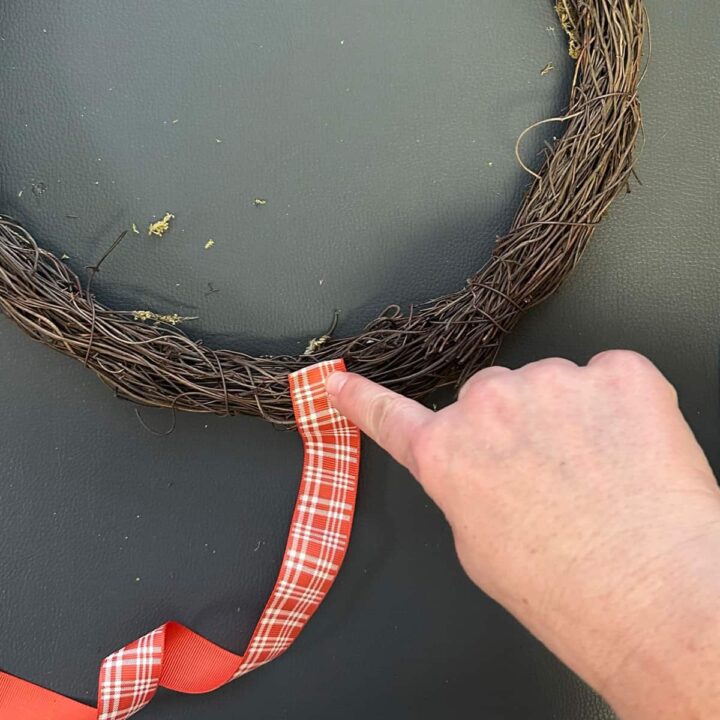
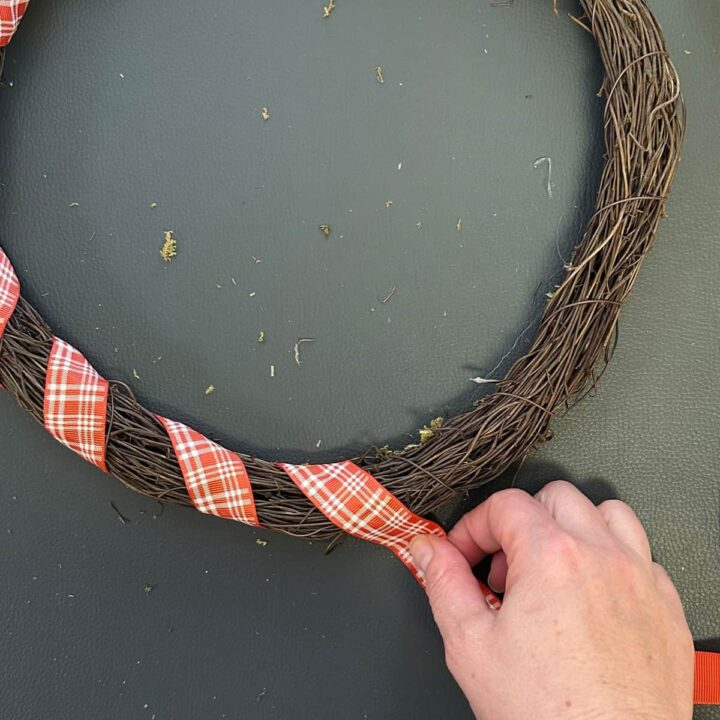
Next, heat up the hot glue gun (affiliate) with a glue stick (affiliate) in it. Then, starting at the back bottom, add a dab of hot glue to the bottom and affix the ribbon. Wrap the plaid ribbon around the grapevine wreath. Keep in mind my wreath is only 1 inch in thickness. So, you may need more ribbon if you are making it with a regular grapevine wreath. Work your way around the wreath,dabbing hot glue to affix the ribbon until it matches up with the start of your ribbon. Add another dab of glue on top of the start of your ribbon to hide the seam.
Then, I adhered the painted Q to the grapevine wreath using two dabs of hot glue. I placed it on the right side of the wreath.
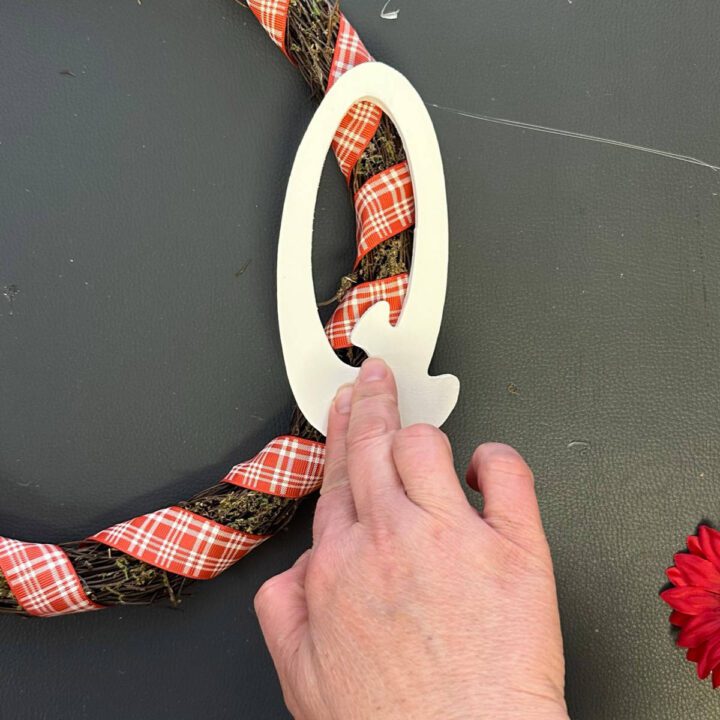
Now, with the flat flowers and the wire they came with, I wrapped the flowers around the grapevine wreath to keep it on the top and the bottom of the Q letter. I added one above and two below the Q.
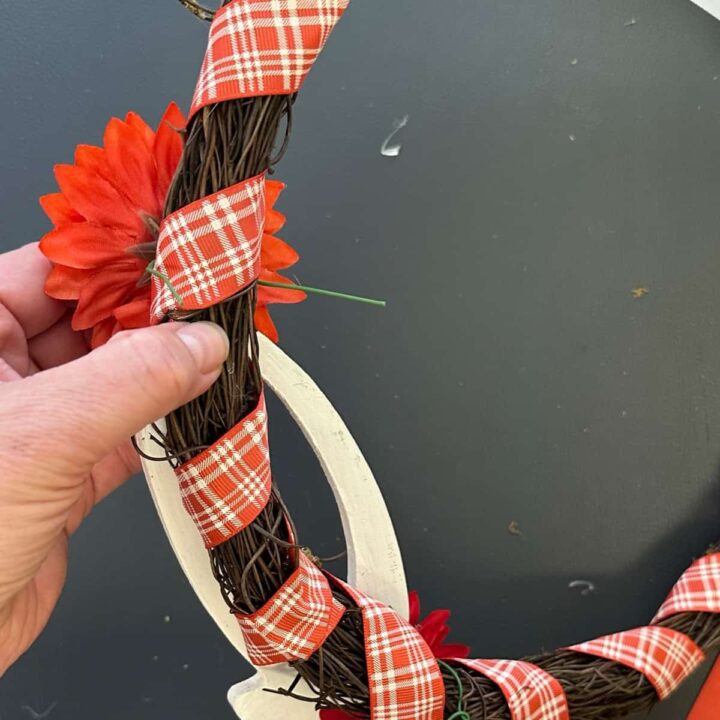
Next, Using another cream fabric ribbon, I wrapped the top of the wreath to hang the grapevine-finished wreath. And that's it!
The Big Reveal
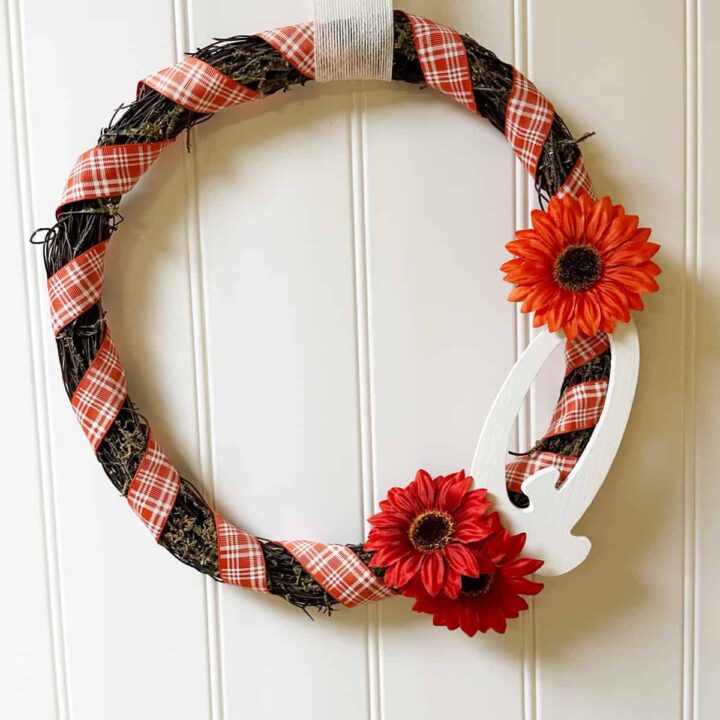
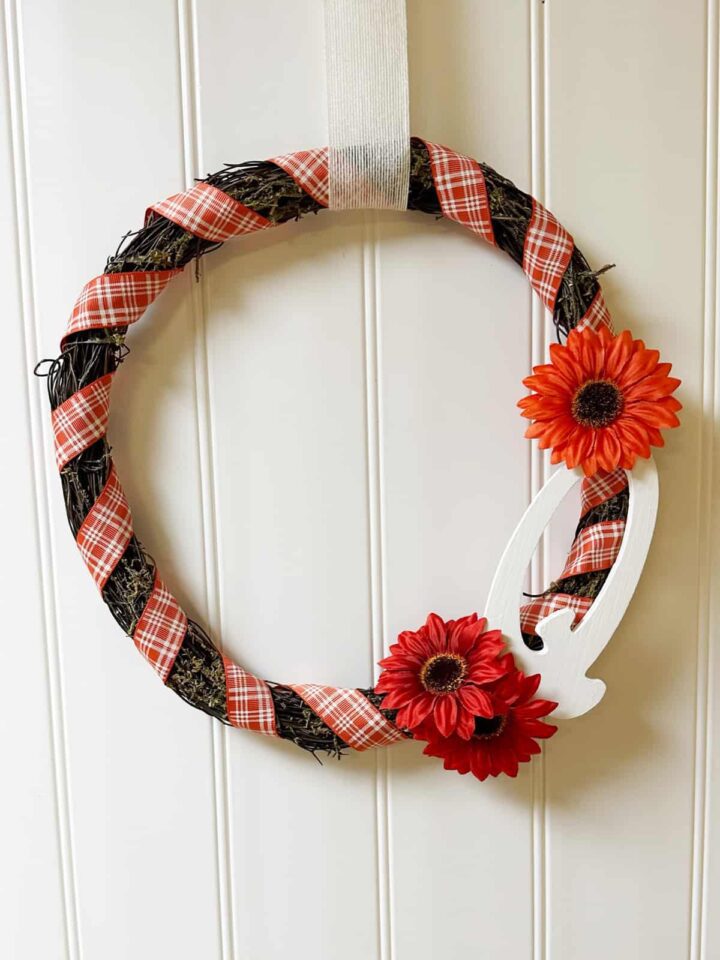
This Fall Grapevine wreath is finished, and it looks lovely. I'm hanging it on my craft room armoire for an added fall color in my space.
Other things to a Fall Grapevine Wreath
I like the way this wreath looks, but you can add a few additional elements to it if you'd like.
- A fall bow ribbon - if you are good at making ribbons (affiliate), you can easily make your own bow and add it to the wreath.
- Faux or real Acorns - hot glue the acorns to the side or around the wreath to give it even more fall aesthetics.
- Fresh herbs - you can't go wrong with adding some fresh rosemary or St. John's Wort leaves for a bright green finish.
Well, there you have it, my easy small grapevine wreath is finished. It's a wonderful way to add a splash of fall color throughout my home. Now it's your turn. Would you try this DIY project? Please leave a comment below.
Visit our other DIY projects below





Leave a Reply