Making things for the home is fun, especially with items you already have. When found on sale, Moss wreaths can easily be used to make a special festive decoration. Today, I will show you a DIY Crochet Doily Moss Wreath, in which I used several vintage small crochet doilies to add a special look. Come along and see the step-by-step instructions to help you make this moss wreath.
Jump to:
- What inspired me to do this DIY Crochet Doily Moss Wreath?
- What supplies did I use to make this DIY Crochet Doily Moss Wreath?
- How much did it cost to make this DIY Crochet Doily Moss Wreath?
- How did I make this DIY Crochet Doily Moss Wreath?
- The Big Reveal
- Tips on making this DIY Crochet Doily Moss Wreath
What inspired me to do this DIY Crochet Doily Moss Wreath?
I had several small crochet doilies, but I didn’t know what to do with them. So, when I purchased a moss wreath (styrofoam), I wanted to try it out. This allowed me to see the moss underneath, and I liked the contrasting color with the green in the background.
What supplies did I use to make this DIY Crochet Doily Moss Wreath?
These supplies were found around my house. But I originally bought them on clearance at Michaels.
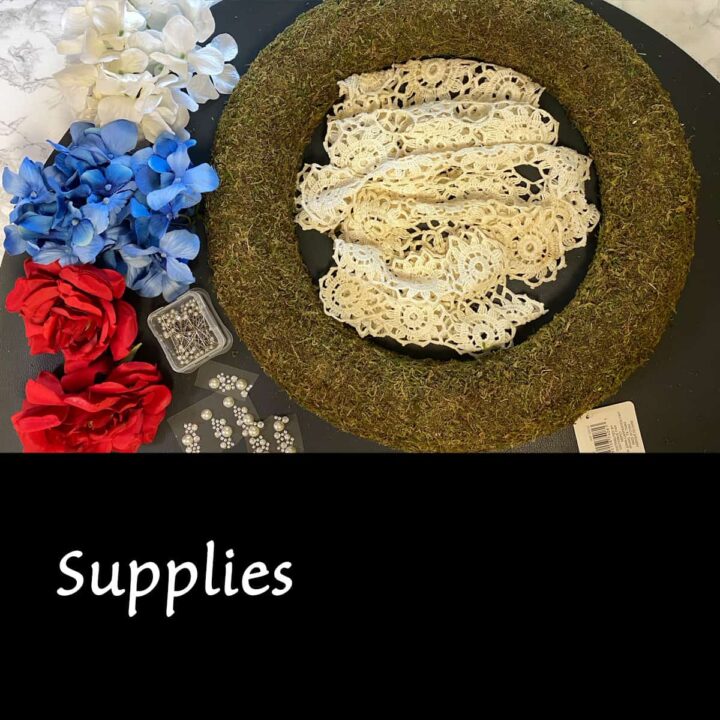
Supplies used:
- Moss Wreath - from Michaels.
- 5 small pieces of crochet doily in cream/white
- 2 - Rose silk flower tops - remove the stem
- 2 - blue silk flower tops - remove the stem
- 2 - white silk flower tops - remove the stem
- 5 pieces of pearl stickers for scrapbooking
- a bunch of pins
- Optional red ribbon to hang
How much did it cost to make this DIY Crochet Doily Moss Wreath?
Many of these things were repurposed. I got the Moss wreath with styrofoam on the back on sale for $9.00. The silk flowers were about $5.00. I used ½ of the sticker sheet, which was $2.50. So, I guess the total cost was $16.50.
How did I make this DIY Crochet Doily Moss Wreath?
First, I gathered the small crochet doilies that I had when a family gave me a variety of crochet doilies. These small ones are difficult to use on other projects, so I figured I would place them together on one wreath.
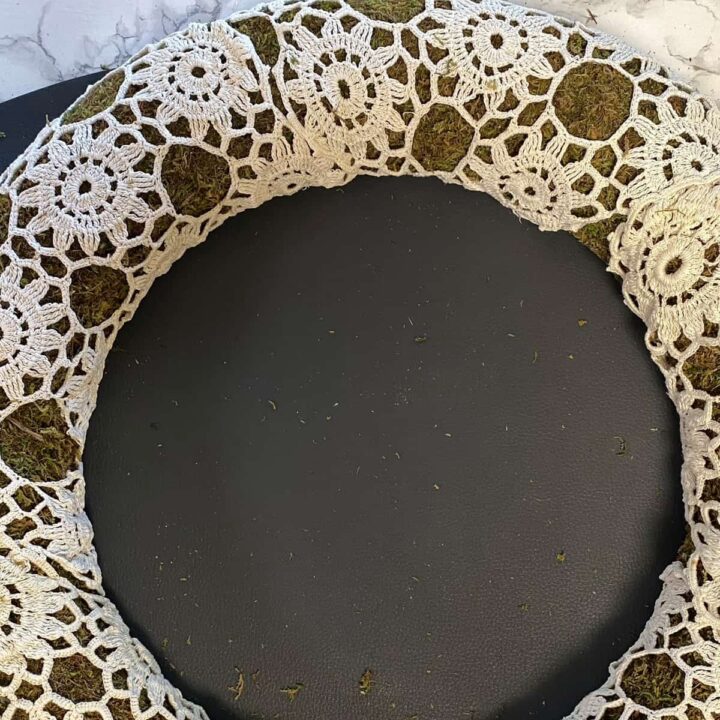
Lay the crochet doilies evenly around the edge with the moss wreath and overlap a bit. Taking a pin, hold the fabric in place by pressing the pin through the fabric into the back of the wreath. It’s okay if you have small gaps.
I used several pins.
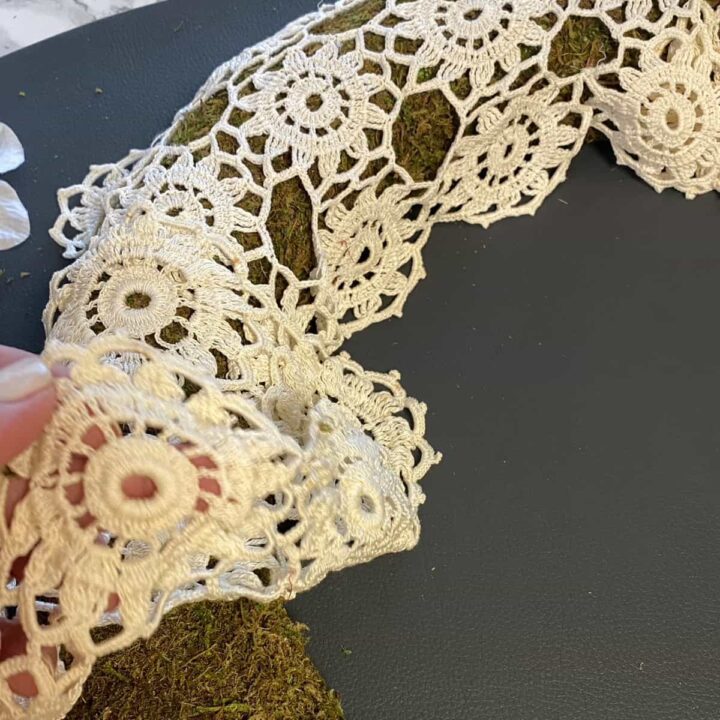
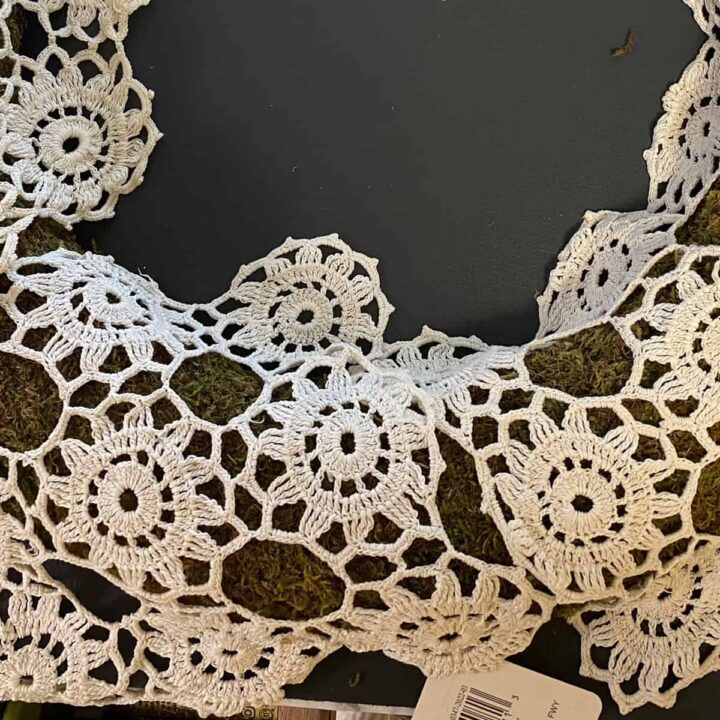
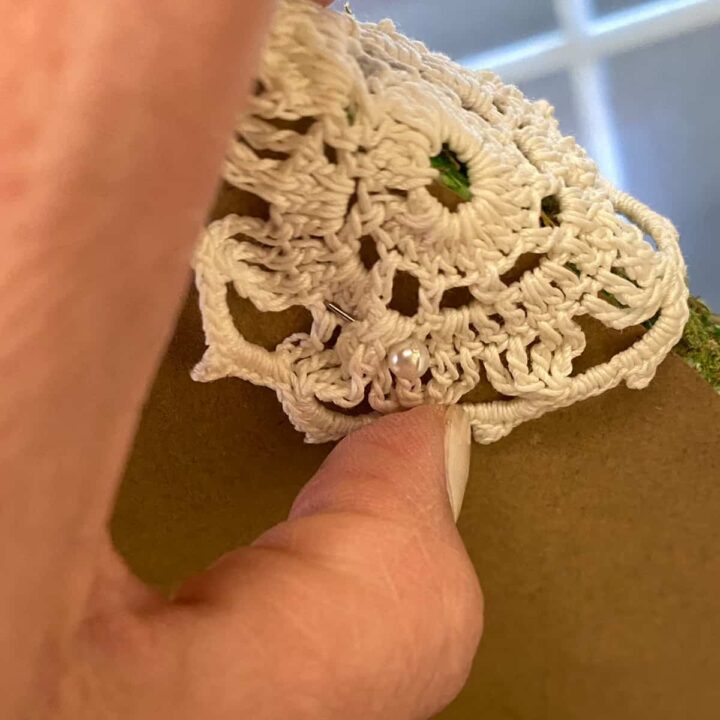
Here’s what it looked like after the pins were all placed in the back. It makes the doilies taut in the front.
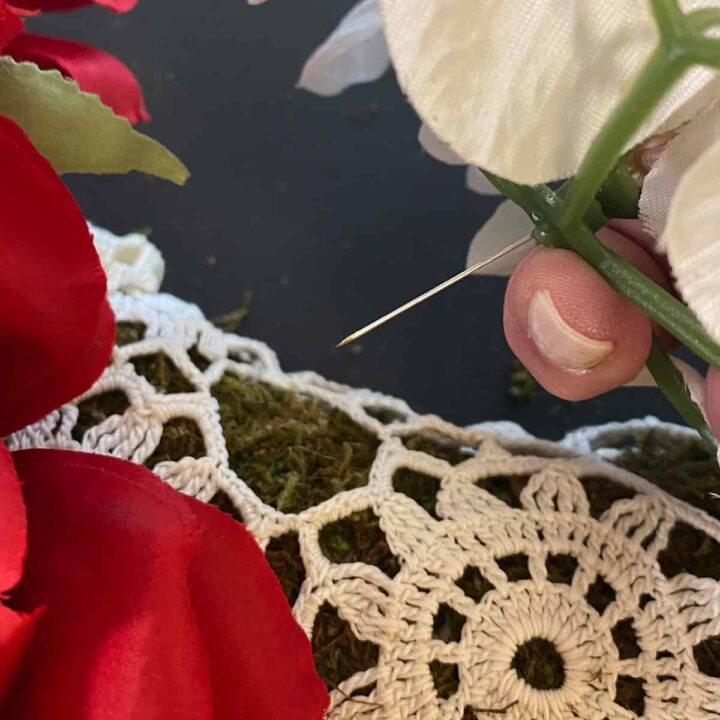
Then, I picked the area with a little more gap with the doilies and started pressing the cut-stem flowers. I only used the tops of the flowers. And pressed the stem of the red silk flower into the styrofoam wreath.
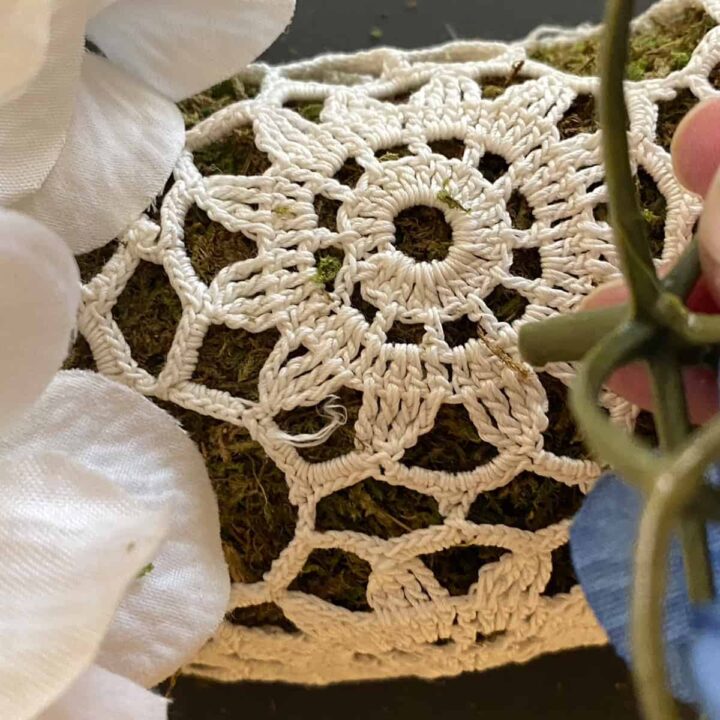
If there was a hole and no stem for the top of the flower, I used a pin with a pearl on the end to hold the flower top in place.
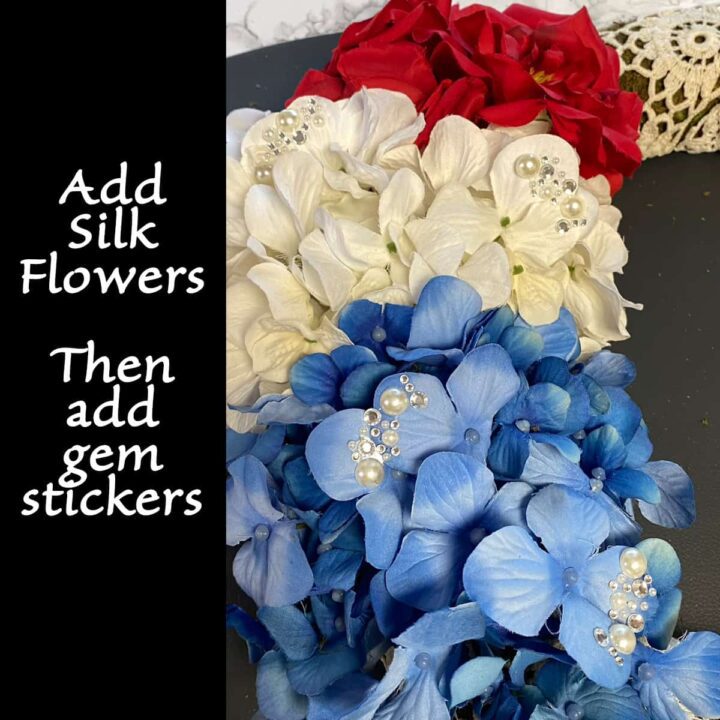
I added the white silk flower tops and then the blue ones. Optional: If you want to make this wreath permanent, you can hot glue each stem before adding it to the moss wreath.
Next, I randomly added pearl stickers to the leaves of the silk flowers to give them a shine.
The Big Reveal
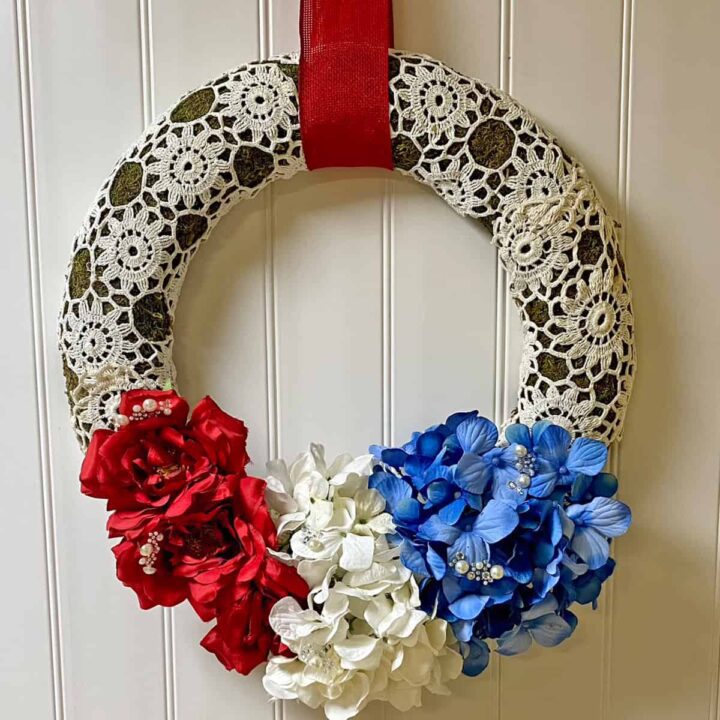
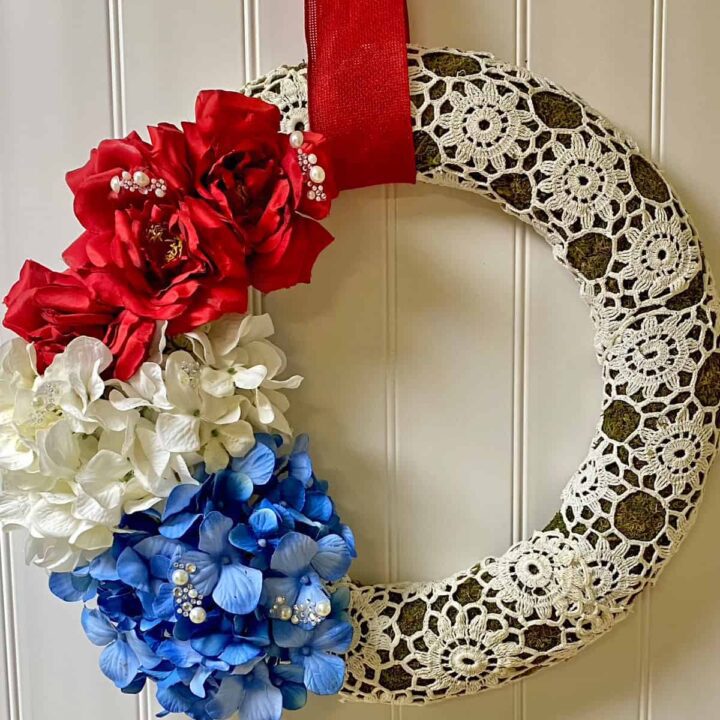
This project was super cute and great for the 4th of July holiday. I wrapped a red 3-inch ribbon around the top and hooked it to the wall. It looks so cute.
Tips on making this DIY Crochet Doily Moss Wreath
Here are some tips you may want to keep in mind when making this wreath.
- If you want to make it permanent, you can hot glue everything down.
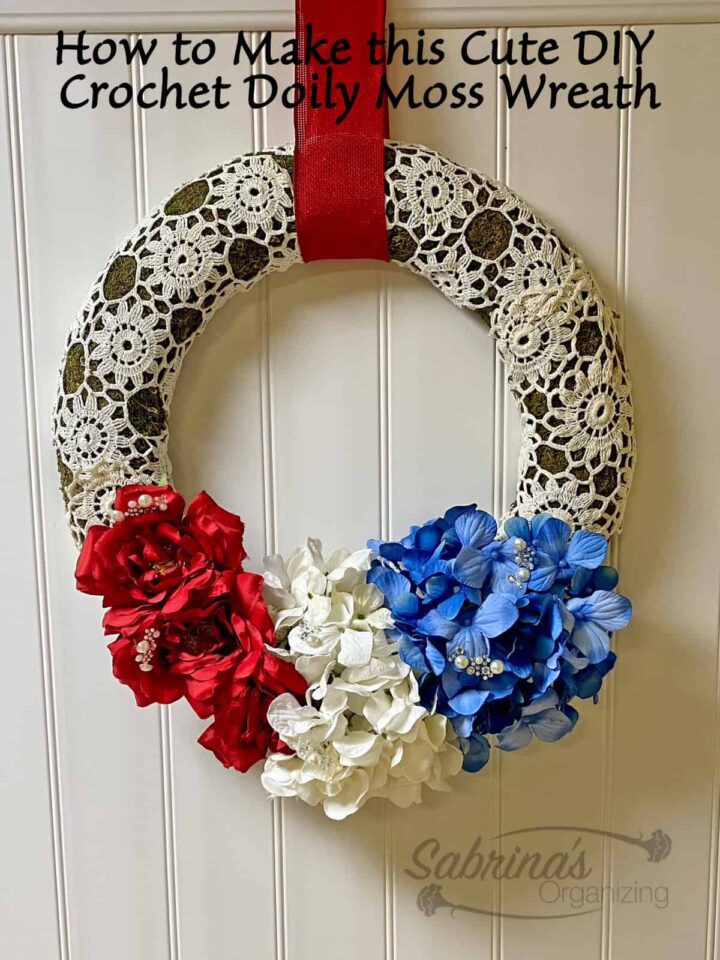
- It may be heavy depending on the flowers you use. So the flowers may need to be on the bottom instead of on the side. (see image above)
- If you want to add more color around the other side, you can weave red ribbon under the doilies to give it a pop of color.
I hope this easy DIY project gives you some inspiration on what to do with your leftover or inherited crochet doilies. If you try this DIY project, please leave a comment below and share on Pinterest. I really would appreciate it.
Popular DIY posts:





Leave a Reply