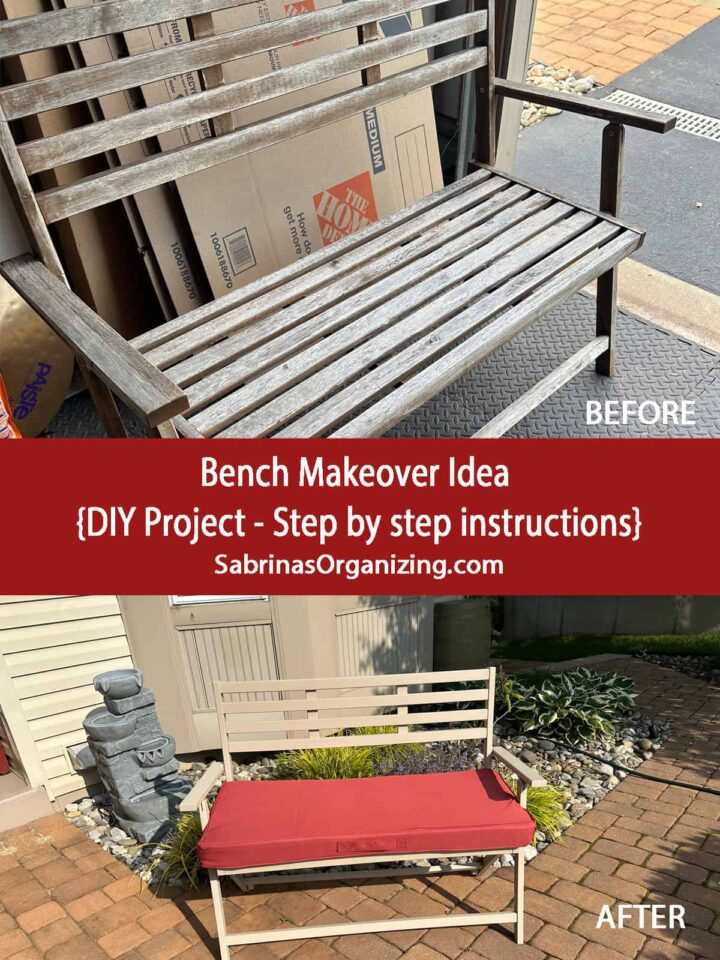
Benches are excellent for sitting outdoors. They are typically made of wood and can be easily stored away during the winter months. But, when your wood bench, like mine, gets a little shabby being outside, it will most likely need a makeover. Today, I'm going to share with you how I transformed my bench makeover idea that matches seamlessly with the front of my home, bringing the bench to life and making it enjoyable again.
Jump to:
- What inspired me to undertake this bench makeover?
- What supplies did I use to make this bench makeover idea?
- Before Image
- How much did it cost to make this bench makeover idea?
- How long did it take to make the bench makeover idea?
- How did I come up with the idea for this bench makeover?
- The Big Reveal
- Tips on making this bench makeover idea
What inspired me to undertake this bench makeover?
My teak bench was given to me by my husband for my birthday a few years ago. However, over the years, with sun and rain, it began to develop mold and needed a fresh new look. In 2022, we had our home repainted to improve its curb appeal, and we had an excellent selection of colors to choose from. So, I visited my tool closet and decided to pick colors from the outside paint collection we had on hand. Here is what I did to transform this shabby bench into a cute and simple design.
What supplies did I use to make this bench makeover idea?
Supplies used:
- Foldable outdoor bench (Affiliate Link)
- Outdoor paint taupe (Affiliate Link)
- Small paint roller (Affiliate Link) with small paint rollers (Affiliate Link)
- Paintbrush (Affiliate Link)
- Sandpaper - several pieces
- Tack cloth (affiliate)
- Optional vinyl wording from your favorite Cricut Maker (affiliate)
- Red Cushion with ties (Affiliate Link)
Please note that these are affiliate links through Amazon (affiliate). At no additional cost to you, I will earn an affiliate commission if you decide to make a purchase.
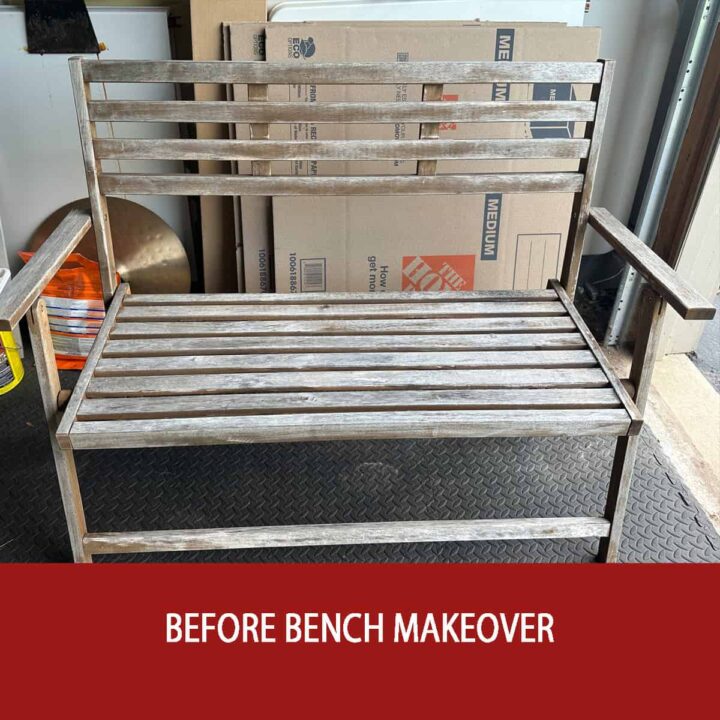
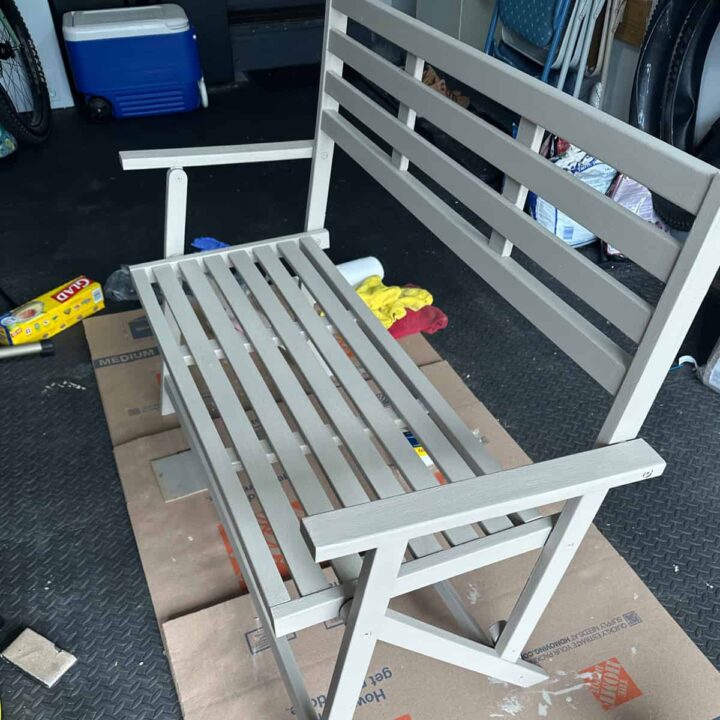
Before Image
Here is what the shabby foldable bench looked like before. I had sanded it, but it didn't remove the mold spots. I was so frustrated that I decided painting it would be the best option.
How much did it cost to make this bench makeover idea?
I repurpose the paint as well as the bench, so the cost is about five dollars for the sanding paper pads.
How long did it take to make the bench makeover idea?
It took about eight hours, including drying time.
How did I come up with the idea for this bench makeover?
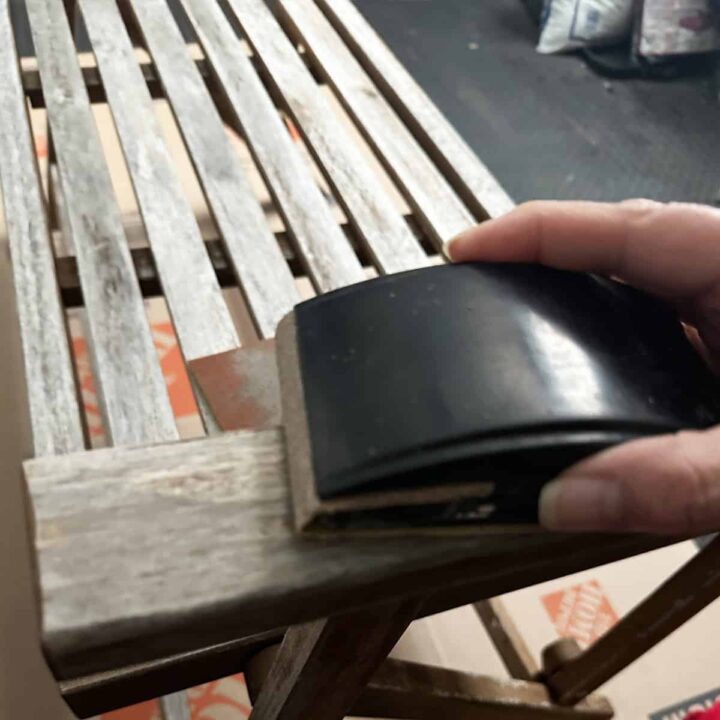
First, lay some protective cover on the floor. Add the bench on top. Then, prep the bench by sanding all the slats with sandpaper, do all four sides from top to bottom.
Using a tacky cloth (Affiliate Link), wipe off all the dust. Be sure to clean the dust from the floor before you start painting.
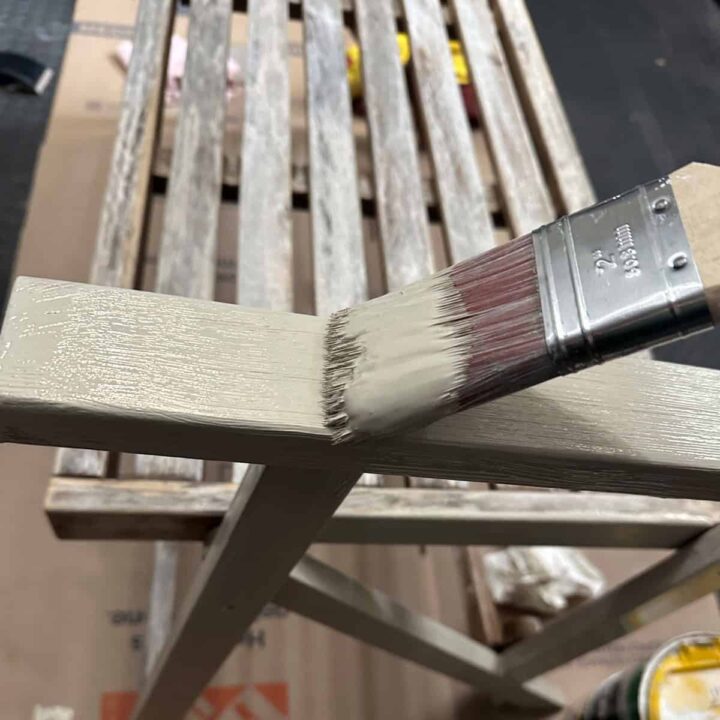
Stir the paint with the stirring stick. Pour some of the paint into the small tray.
Then, using the paintbrush (affiliate), apply a first coat to all the slats and all the sides.
Be sure to work your way around the bench to make sure you've got
everything. Let dry - about two hours.
Now, using the roller paint for the second coat. Then remove any excess
Paint with the paintbrush (affiliate) to fill in the grooves. I let it dry completely.
Examine the paint and determine if any touch-ups are needed. If so, touch up and let dry again.
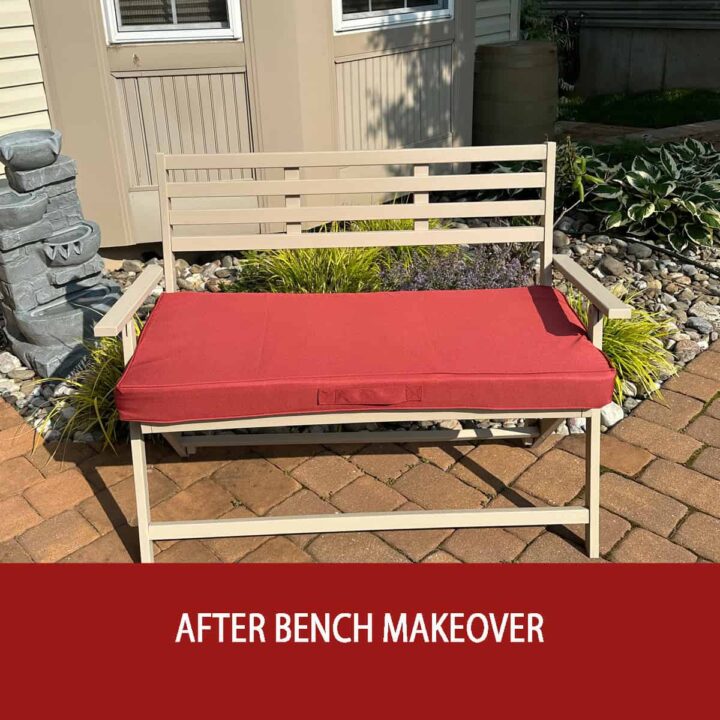
I purchased a red seat cushion that measures the length and depth of the seat and added it to the seat.
Optional: do any decorations you want on the actual flat surfaces. If you have a Cricut Machine, you can easily find a design to press onto flat surfaces.
At the Cricut Shop, you can find Cricut machine bundles to heat presses, infusible ink & blanks, supplies, and tools, making any DIY inspiration possible. From sale items to specific products, you can find it all!
What are you waiting for? Visit their shop to see what is on Sale Today!

The Big Reveal
Now look at my beautiful updated bench. Would you try this at home? Do you like the cushion seat? It is really comfortable.
Tips on making this bench makeover idea
Below are some additional tips you may want to know before starting this project.
- Pick a color that you already have. There's no need to buy new paint if you've recently painted outside and have the colors in your supplies.
- Be patient. When painting, be sure to get between each rail with the paint brush (affiliate) and then use the small rollers for the top and bottom. The rollers make a clean surface.
- Design or not to design. If you are simple like me, adding additional designs is not necessary. However, if you want to dress it up, plan before doing so. Be sure to wait a few days to make sure the bench is completely dry before applying your design.
I hope this post motivates you to update your bench by doing your very own bench makeover. Feel free to share your comments and questions below. I would love to hear from you.
Visit our other DIY Projects!