Did you know foreign currency expires? Over time, currency can expire depending on the country. Sometimes, a simple exchange at the airport or currency exchange business will tell you if your currency can be accepted and exchanged for your country's currency. The leftover currency that was my father's when he traveled was left at his home when he passed away several years ago. So, my husband took it to the currency exchange business at the international airport and discovered that these currencies were no longer accepted. Oh well! I kept them in my home craft area, knowing one day I would use them for something. This post shows how I am upcycling leftover currency into coasters to add a little of my father's travels to my home decor. Follow along and see how easy it was to make it.
Jump to:
- What inspired me to do this upcycling leftover currency craft project?
- What supplies did I use to make this upcycling leftover currency into coasters?
- How much did making this upcycling leftover currency into the coasters project cost?
- How did I make this upcycling leftover currency into a coaster craft project?
- Cut the currency into shapes and pieces.
- Glue the cut currency on the coasters.
- Add a ribbon to the edges of the coasters.
- How long did it take to make these upcycling leftover currency coasters?
- The Big Reveal for this upcycling leftover currency
- Tips on making this upcycling leftover currency
What inspired me to do this upcycling leftover currency craft project?
I have debated for many years what to do with this leftover currency. It was no longer usable, so I wanted to create a better way to honor my father's many journeys to other countries. When I looked at it, I would think of all those happy times.
What supplies did I use to make this upcycling leftover currency into coasters?
The supplies are very straightforward. Note: the links below are from Amazon (affiliate) (affiliate). If you purchase something on Amazon (affiliate) after you click through, I will receive a small referral fee.
Supplies used:
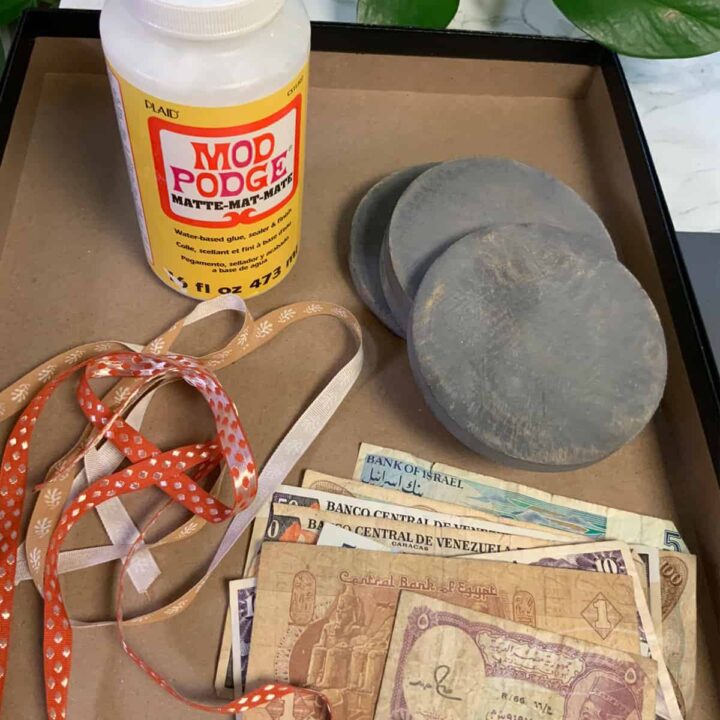
- Several pieces of old leftover foreign paper currency - enough to cover all four coasters.
- Four premade coasters wooden (affiliate)- I found these at Marshalls
- Mod Podge Glue matte or satin finish (affiliate)
- Exacto Knife (affiliate) and several blades
- Sponge brushes at least 2 (affiliate)
- Hot Glue Gun (affiliate) and glue sticks
- ¼ inch decorative ribbon to match the money - rhinestone ribbon is one type of ribbon I used.(affiliate)
How much did making this upcycling leftover currency into the coasters project cost?
This project cost very little since I inherited the paper foreign currency, and the coasters were purchased at a discount store. The coasters cost $6.00. I already had them in my craft area.
How did I make this upcycling leftover currency into a coaster craft project?
First, I gathered the supplies. I had everything already, and the ribbons (affiliate) were leftover from other projects.

Cut the currency into shapes and pieces.
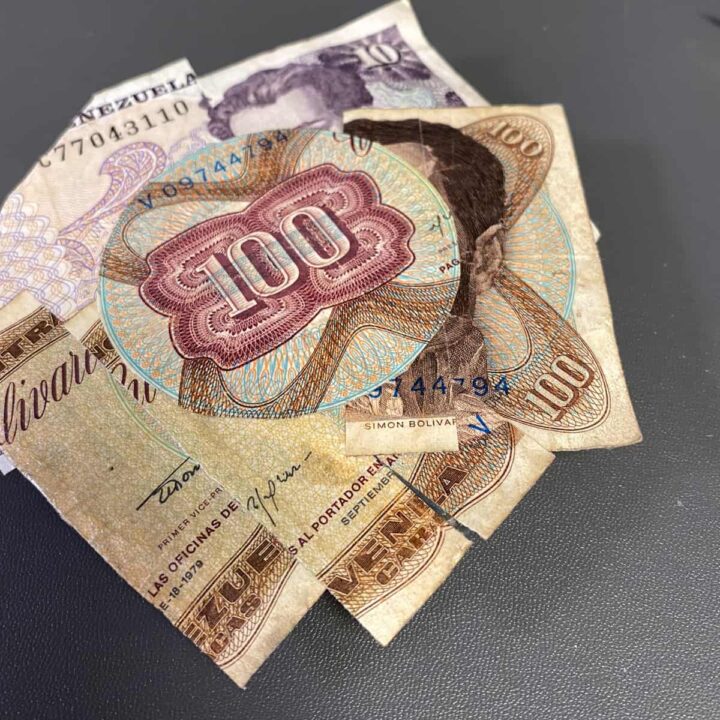
Then, I cut the currency into shapes that were bigger than the coaster. I wanted to ensure all the currency would cover the top of the coasters. Being creative, I overlapped them on top of each other.
Glue the cut currency on the coasters.
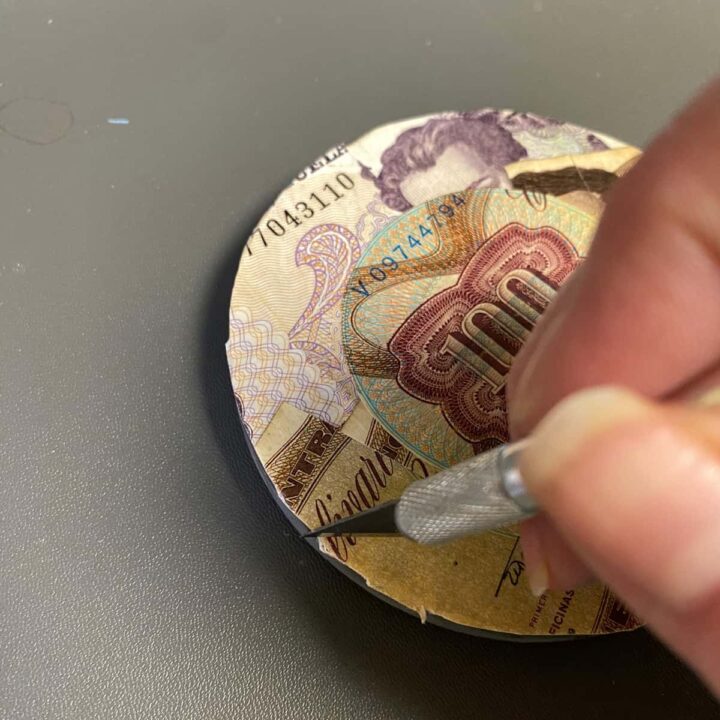
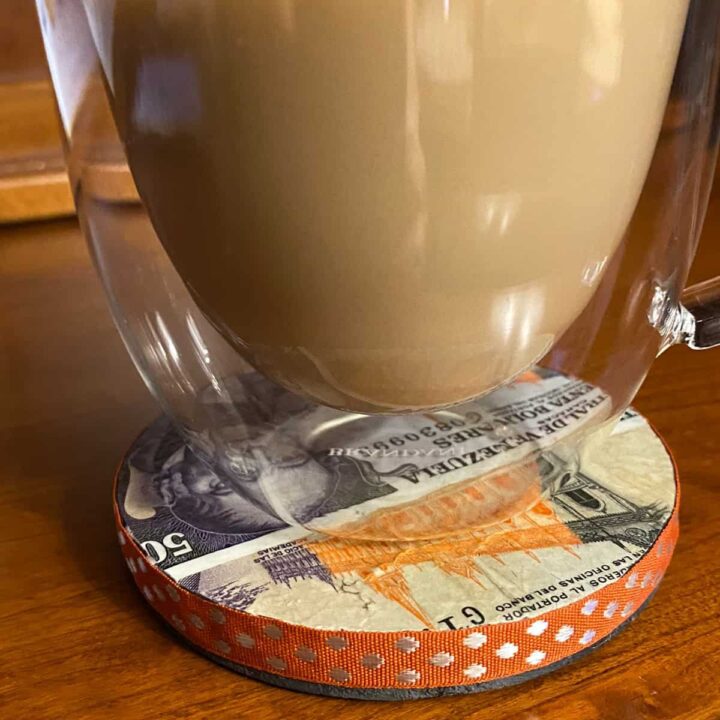
Glue the pieces of paper currency to the wooden coasters using a matte Mod Podge (affiliate) finish. Let dry completely. Then, with an Exacto knife (affiliate), cut off the edges of the money to align it with the coasters.
Add a ribbon to the edges of the coasters.
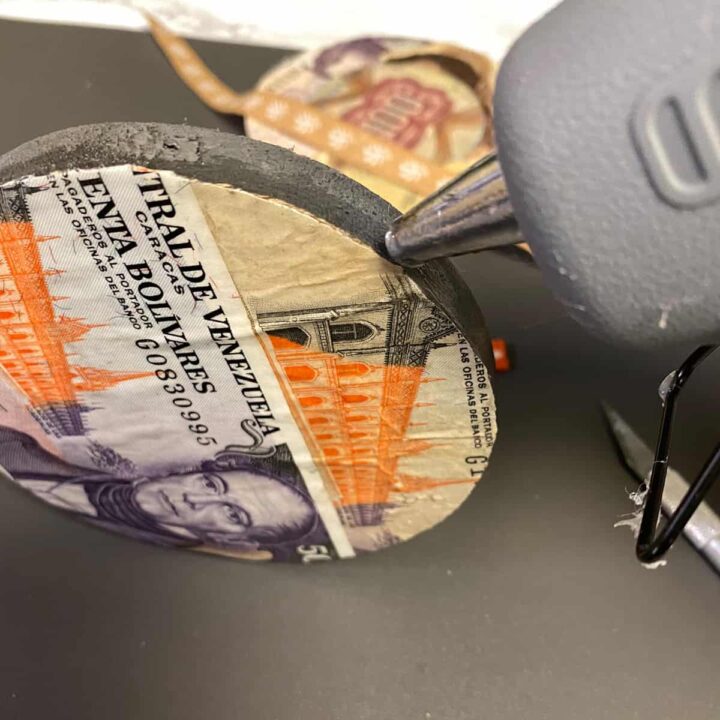
I added the ribbon because Mod Podge (affiliate) may discolor the paint on the coaster sides. I used hot glue and added it to the finished edge to cover the unfinished edges.
How long did it take to make these upcycling leftover currency coasters?
This project only took about two days to complete. During most of that time, I allowed the glue to dry completely before adding the ribbon.
The Big Reveal for this upcycling leftover currency
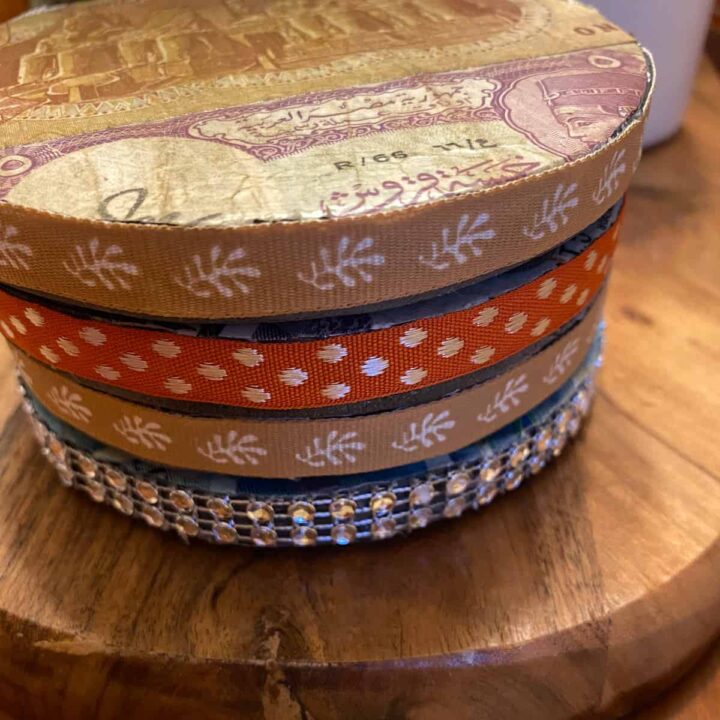
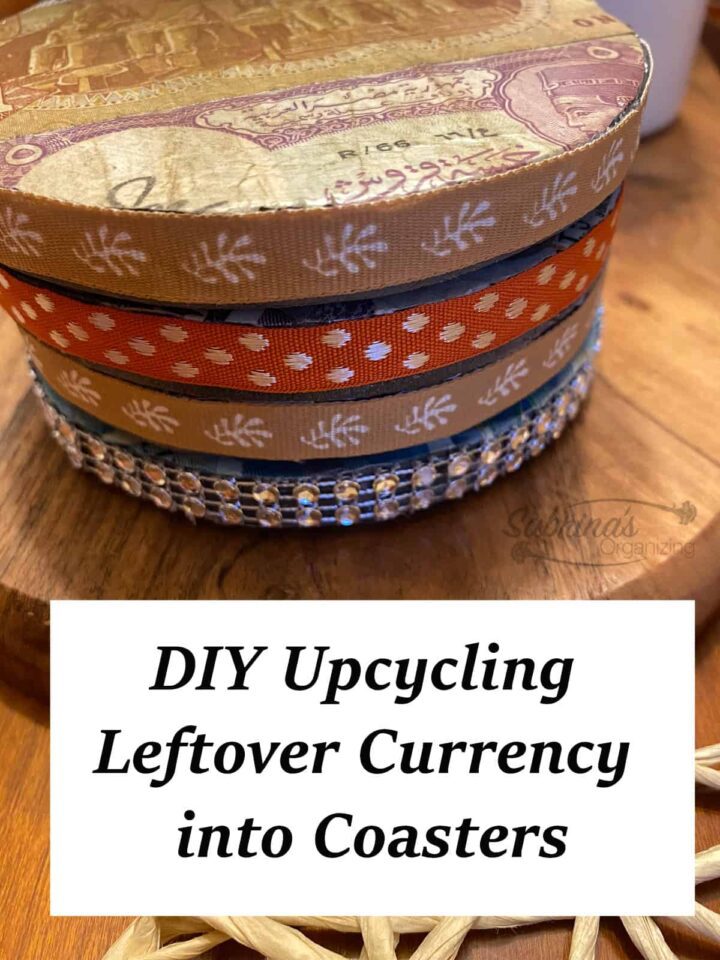
This upcycling leftover currency craft project looks lovely. I am so happy with the results.
Tips on making this upcycling leftover currency
Below are some tips that will help you customize your coasters.
Use a fresh blade to cut the currency if you want a cleaner edge. You may need to use several blades when cutting the money. It depends on the thickness and type of currency you have.
If you have individual gems or other things, you can use them for the edges.
I like to match the color of the ribbon to the color of the top. It worked well.
I hope this inspires you to look at the leftover old currency in your home and repurpose it into someone you and your family will love and treasure. Please leave any questions or comments below. I would love to hear from you.
Popular DIY posts:
Please note these are affiliate links through Amazon (affiliate) and at no additional cost to you, I will earn an affiliate commission if you click through and decide to make a purchase.



Leave a Reply