If you have holiday family gatherings with kids, you most likely need to have crafts or something for them to do so they keep busy during family activities. If your kids enjoy art and you want to motivate them to unplug and help them create - a fun craft room can do the trick. This week, we are going to visit one of my favorite places in my house, our craft room. I've helped clients organize their kids' craft rooms in the past, and it was fun! It may seem like a lot of work, but it truly pays off when your kids and you share in a creative activity together. Let's begin.
Jump to:
- First, Gather and Sort Craft Items
- What areas of the home can be a kids craft room?
- Essential Areas of a Fun Kids Craft Room
- Essential Tips for Organizing a Fun Kids' Craft Room
- 1. Use removable plastic drawer units to hold small items.
- 2. Label every bin or drawer unit
- 3. Creating Good Craft Habits
- 4. Get the kids involved
There are so many small items that are in a kids' craft room. Where do you put all the colored pencils, markers, and paper? Let alone the glitter, fabric paint, and craft kits. Art areas need to be well-organized to help the child be able to find what they are looking for and assist the parent in knowing where all the supplies need to go. By keeping it organized, it will help you stay focused and be more creative. Now, isn't that better than being in front of a screen? I think so.
First, Gather and Sort Craft Items
Before we begin, make sure you gather all the crafts from around the house and place them all in the desired kids' craft room. Gathering all these items in one place will help you and your older kids see how much stuff needs to be stored in this room. It will also determine if you need to upgrade some of your bins to larger sizes or maybe even eliminate some half-used crafted items.
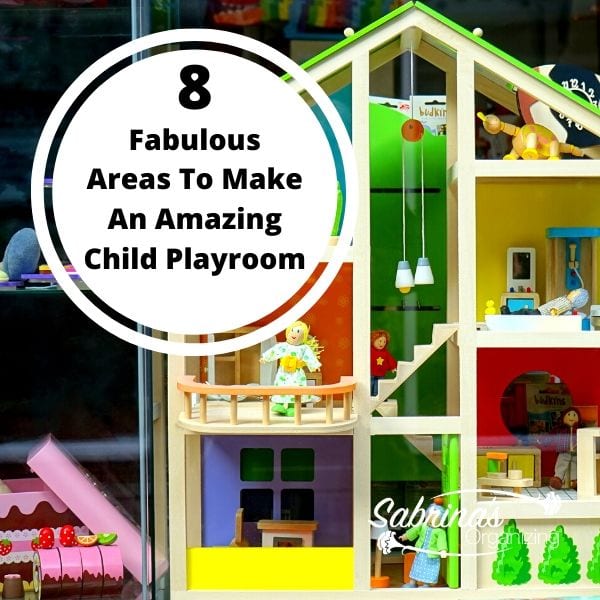
What areas of the home can be a kids craft room?
There are various areas that can be used as a kids' craft room. It doesn't have to be an entire room if you don't have the space. This area can be a corner of a playroom or family room/living room. Below are some areas you may want to consider having a kids' craft room.
- Basement
- Airconditioned attic
- Insulated and cooled garage (affiliate)
- Part of the living room
- A corner of the playroom
- A family room wall
- Part of your craft room
- A shared room like a home office
Depending on how many items you have, you can decide if your area is large (affiliate) enough for their craft supplies.
Essential Areas of a Fun Kids Craft Room
Now that you have decided on an area of your home for the craft area let's continue to decide on the areas of the kids' craft room.
The drawing area.
The drawing area should include places to store supplies like crayons, colored pencils, paints, etc. A fun carousel with lots of compartments is appealing to younger children. Clicking on the products below will direct you to Amazon (affiliate).com; if you choose to buy a product at no additional cost to you, I will receive a small commission.
 Buy Now →
Kid Solid Wooden Easel 3 in 1 Double-Sided Kids Easel
Buy Now →(affiliate)
Keep messy craft kits in secure places.
If your kids are younger, you may not want paints and other messy craft kits out for them to reach when you are not there. Large (affiliate) bins work well for storing craft kits. These bins can be stored in a cabinet behind doors or on a closet top shelf.

Craft 17 QT Plastic Storage Box with Removable Tray Craft Organizers
Buy Now →
Storage Bins Plastic Clear Stackable
Buy Now →(affiliate)
Have a table and some chairs.
It can be small or large (affiliate) but always use an older table and chairs that you don't mind getting paint or stuff on. The more kids you have, the larger the table, the better. An extra large (affiliate) second-hand dining room table will give them much space to spread out.
Determine the unit you will use to store the craft supplies
If you use open shelves (affiliate), store the heavier bins on the bottom shelves. IKEA has some tall open shelves you can use that are affordable. You can interlock them together. Always attach the open shelving (affiliate) and tall cabinets to the wall with earthquake straps (affiliate). This will make sure they don't tip over if a kid decides to climb them.
I also found that cubbies work nicely for organizing crafts. Be sure to buy the right size bin when you buy the cabinet. Not all containers will fit inside cubby units. Cubby units usually have plastic and fabric bins you can use. Some bins have lids, and others do not. Determine which items you wish to put in them. The fabric bins may not hold heavy items.
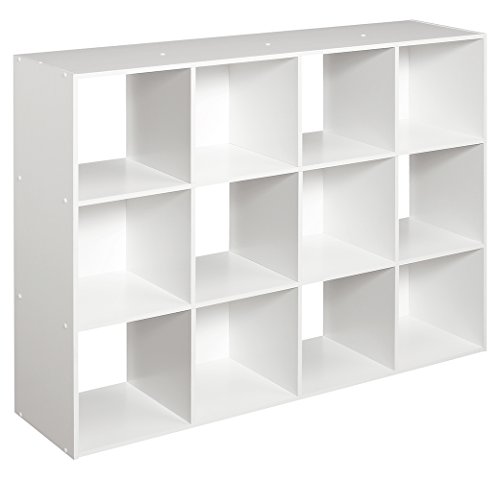
Cubby Systems by ClosetMaid 1290 Cubeicals Organizer, 12-Cube, White
Buy Now →(affiliate)
Organize the Small Supplies
Depending on the crafts your kids do, decide how you will organize many small items you may have for that craft. This is where you get to customize your area. Get enough of these units to hold all the small craft items. Remember, if the supplies were from another craft project and you do not do the crafts any longer, you can eliminate these unused supplies. I found that over the years, I didn't get rid of these items, and when my kids reached high school, I realized that it was such a waste of space, so I gave them away.
Small items can be stored in little stackable drawers. Clear fronts or acrylic work nicely to label (affiliate) the drawers and allow you to see what is in them.

Acrylic Countertop Stackable Drawers
Buy Now →(affiliate)
Now that you have your plan spelled out, below are some additional tips to help you make and keep your kids' craft room organized!
Essential Tips for Organizing a Fun Kids' Craft Room
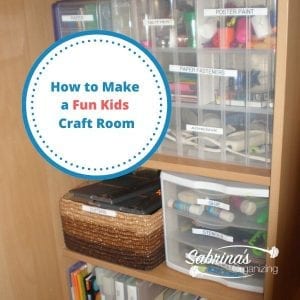
1. Use removable plastic drawer units to hold small items.
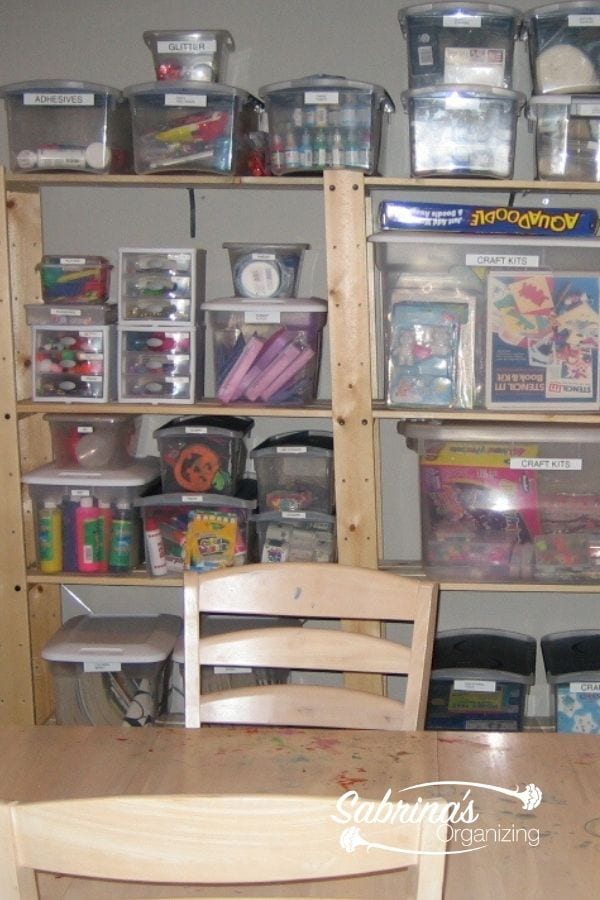
As you may notice in the photo below, this client had purchased several small drawers for smaller items. They worked out nicely because the drawers could be removed from the storage unit for use on the table and quickly returned to the unit for storage.

Plastic Mini Drawer Organizer 2 Pack
Buy Now →(affiliate)
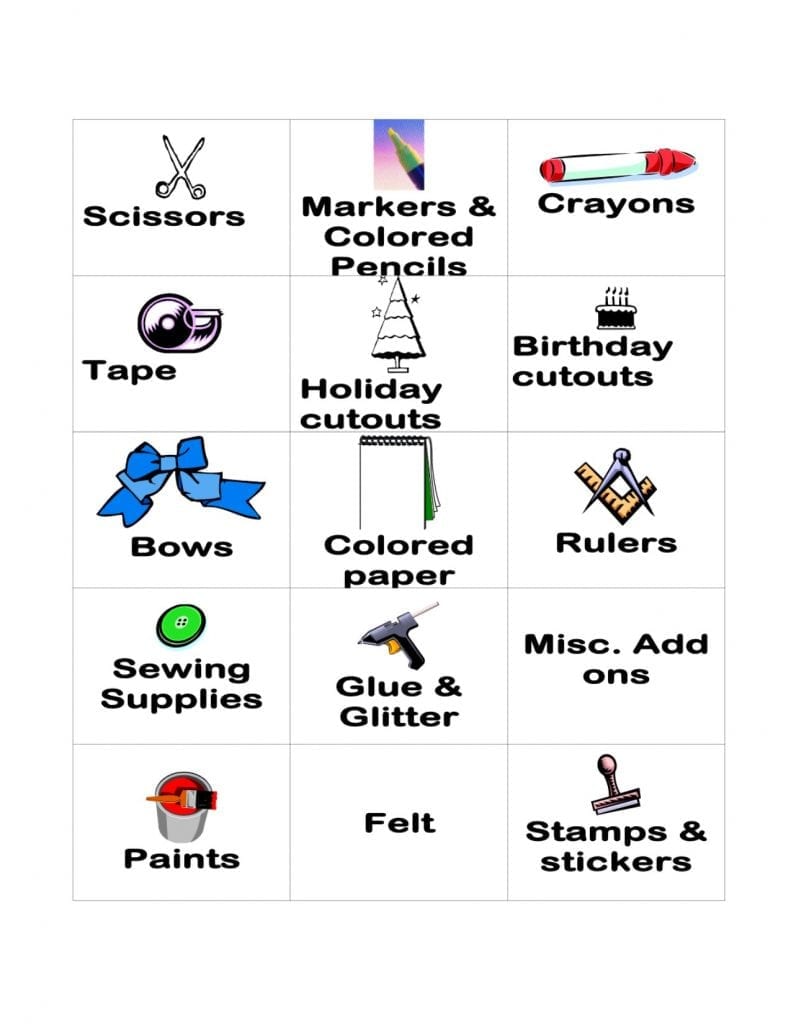
2. Label every bin or drawer unit
Each bin and cabinet should have a label (affiliate) that describes the items inside them. This will help everyone know where things belong. If your children are younger, you can use images to show them the item inside.
3. Creating Good Craft Habits
Another thing to remember when creating your craft area is to create good crafting habits. Remove craft tools and return them to their appropriate homes at the end of the craft session. Keep the table clear of clutter. Keeping the table clear keeps the room neat and tidy and allows all the children to use it for school projects when they are not crafting.
4. Get the kids involved
Get your children involved in the design of their craft room. You will be surprised at the ideas they may have for the area. If your kids like to paint, buy plain wood shelves (affiliate) and have the kids paint and design them in their favorite colors. Then, add the decorative craft bins to the shelves (affiliate). They will be more likely to put things away when they place them in something they created.
Here are some additional posts I found online about organizing a kids' craft room.
12 Amazing Craft Room Organization Ideas
By taking the time and doing the kids' craft room now, when you have company, and the kids need something to do, all the items will be where they want to use them. There will be no need to prep the area, nor will you have to gather the items from various parts of the home. This will allow the kids to get creative right when they want to be. Wouldn't that be wonderful?
Now, it's your turn. Please share your best kids' craft room tips. I would love to hear from you. Please leave a comment below.
How can I help? If you want to help stay accountable in your next organizing project, please check out my virtual organizing consultation!
Please note these are affiliate links through Amazon (affiliate), and at no additional cost to you, I will earn affiliate fees if you decide to make a purchase.

Nancy Haworth says
This is such a great collection of tips and storage products for creating a craft room. I especially love your tip about having removable plastic drawers so kids can bring the drawers out to a craft table. Also, I agree on the importance of labeling everything! Thanks for sharing this information!
Linda Samuels says
Arts and crafts were always a big part of the activities when our daughters were young. Having bins and places to put the supplies that were easily accessible to the girls was important. And as you mentioned, the items like glitter, paint, and materials that required some supervision were kept out of reach.
We always had the easel set up. Another thing we did was had a fairly large board that could be moved around to be on a table or floor. They could draw or paint on it and not worry about getting "stuff" on it. It created a moveable surface that was great for creating on.
I helped a young mom organized her crafts closet recently. We made the paper, crayons, colored pencils and stickers easy to reach. The stamp pads, ink, glitter, and paint were placed higher up. The freestanding Elfa drawer system worked great inside the craft closet.
Janet Schiesl says
You always have the best product ideas for specific areas of a home, thanks. Craft supplies can get so out of hand. It's important to have the right storage for them to make them accessible, easy to use and put away.
Carol Jones, A Jones For Organizing says
Ha, great article, Sabrina! My favorite tip was labeling every bin and every cabinet! One drawback of those cube furniture pieces with identical solid color fabric bins, is that without labels on them, it's impossible to know which bin holds which items. Nowadays there are label holders that can clip onto the front of those fabric bins. I also love your idea to have the kids offer design ideas for the space.
Seana Turner says
We've always loved crafts in our family. In fact, even though I don't have little ones around anymore, I still have a large closet full of craft supplies, and I pull the out and use them myself. I have to laugh about the "messy crafts." One year I finally decided I was finished with glitter glue, and told my girls that projects using glitter glue were the ones you did in school:)