There are many types of spice rack (affiliate) organizers for the kitchen. There are ones that can be added to a drawer and others that are used in a cabinet. Some are attached to the cabinet. And others that are removable and easily replaceable as needed. In this post, I am talking about a spice rack (affiliate) organizer that is attached to the cabinet for easy pull-out and helps divide the shelf. I have had the opportunity to review a spice rack (affiliate) organizer by SpaceAid, recently and wanted to share with you this great product.
Jump to:
- The BEFORE picture of the shelf I am transforming.
- Tools used to do this DIY Spice Rack Organizer Project.
- Decide how you are going to organize your spice rack shelf.
- Clean the shelf and place a liner on it.
- Determine where on the shelf I should place the pull-out spice rack organizer.
- Follow the instructions to attach the spice rack organizer to the cabinet.
- Add the spice rack organizer to the base and slide on the track then add the spices and seasonings.
- Label the areas and the spice rack organizer.
- Here's what the shelf looks like now.
Disclosure: I was given the money only to purchase this spice rack (affiliate) so I could try it out and share it with you and my Instagram page. The links in this post are from Amazon (affiliate) (affiliate); if you click through and purchase this or any item listed on the supply list, I will receive a small referral fee at no additional cost to you! Happy shopping.
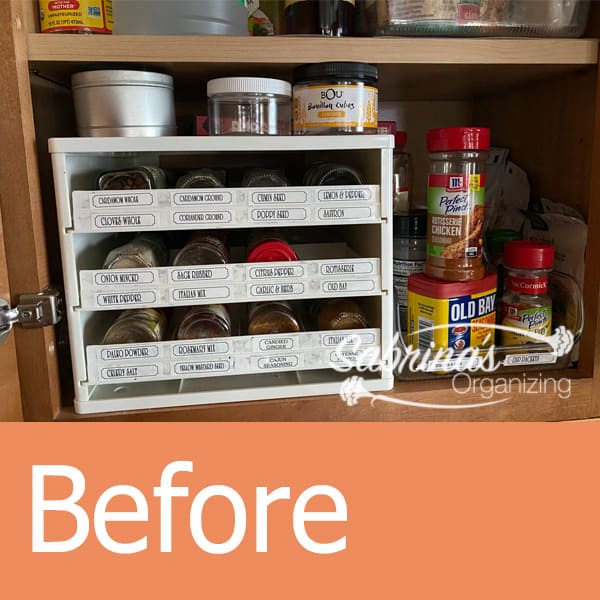
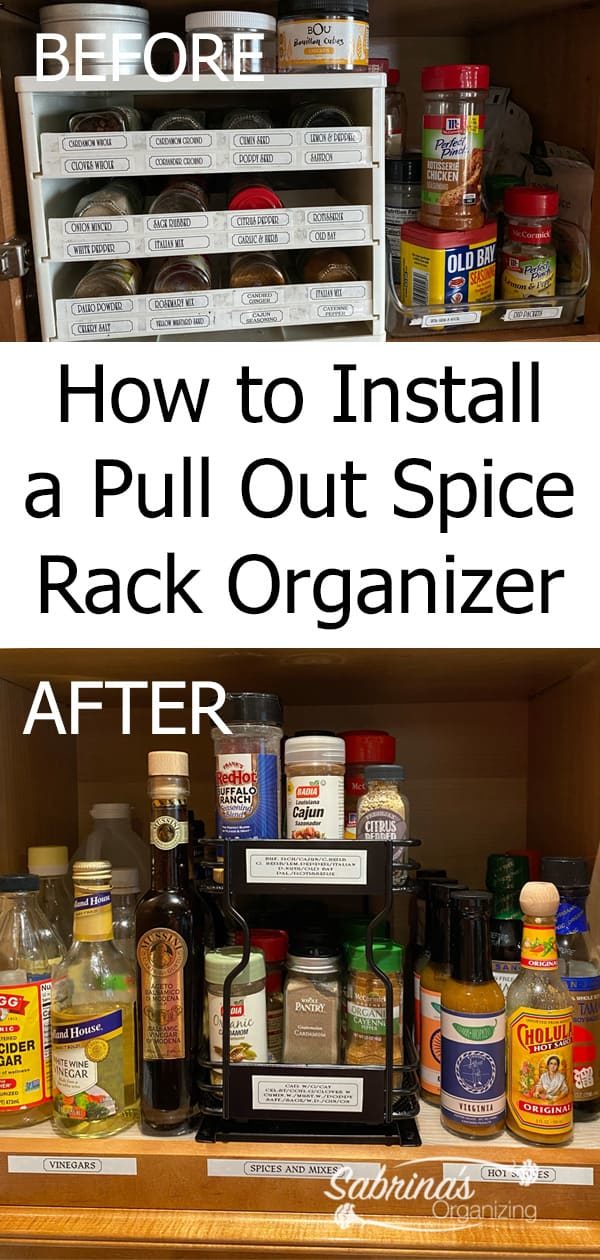
The BEFORE picture of the shelf I am transforming.
First, this is what my cabinet looked like when I remodeled my kitchen in 2014. At that time, I decided to use the then-available organizing products. Since then, there have been many updates on various kitchen organizers, including the spice rack (affiliate) organizers.
Tools used to do this DIY Spice Rack Organizer Project.
I did not need many things for this project.
1 - pull out spice rack organizer
One - plastic roll liner
1 - drill with Phillips head bit
One - label maker with 1-inch label cartridge and 12 mm label cartridge
Pen to mark the holes
Above are links from Amazon (affiliate). If you purchase after you click through, I will receive a small referral commission. Thank you for supporting my small business.
Decide how you are going to organize your spice rack shelf.
I have vinegar and hot sauces in this cabinet, among other things. Since this spice rack (affiliate) is smaller than I had before, I decided to see if I could place them all on one shelf.
After reviewing the products I had, I then removed the ones that expired. That made it possible to have all the vinegar hot sauces and my other spices (affiliate) on one shelf. Yay.
Clean the shelf and place a liner on it.
First, I decided to clean the shelf and line it with a plastic liner. I cut it down to size and added it to the shelf.
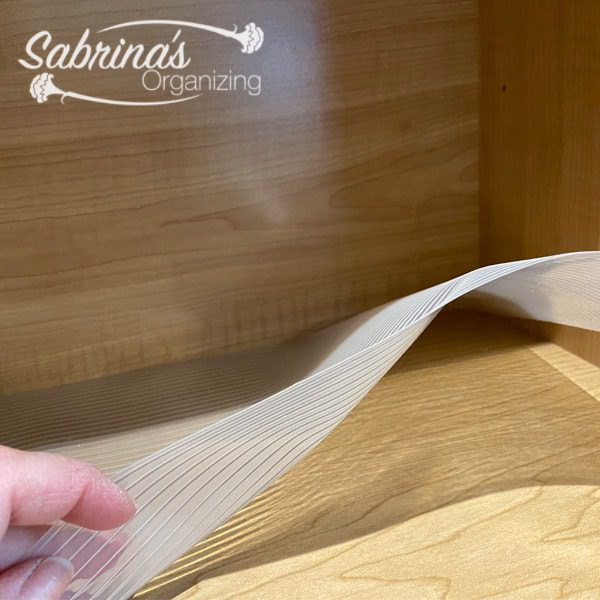
Below are the plastic liners I used from Amazon (affiliate).com(affiliate). You can buy them at The Container Store (affiliate) and Target as well.
I particularly liked the clear plastic liners (affiliate) because they clean up nicely, don't damage the cabinet, and last a long time.
 Buy Now →
 (affiliate)
Determine where on the shelf I should place the pull-out spice rack organizer.
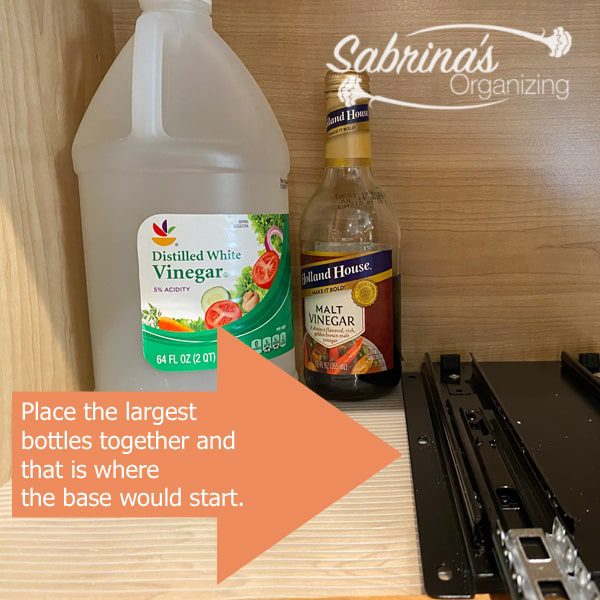
I took the two largest bottles and placed them next to each other. Then, I took the base of the spice rack organizer and placed it next to the bottle. This told me the spice rack organizer could be installed at that point. So, I marked the holes on the plastic liner.
Follow the instructions to attach the spice rack organizer to the cabinet.
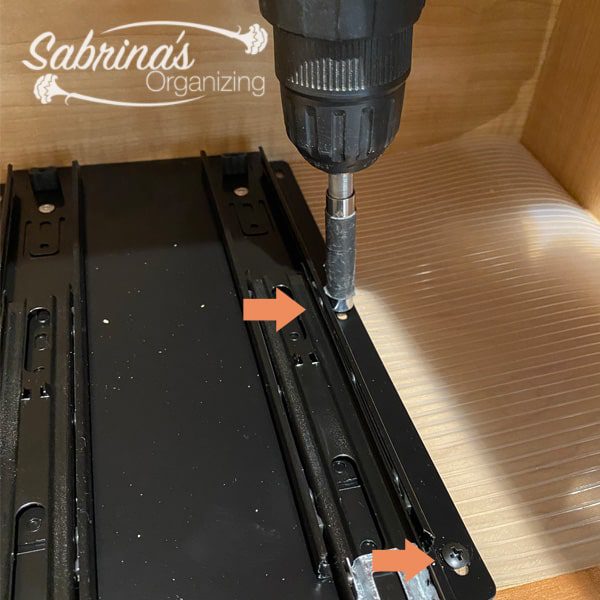
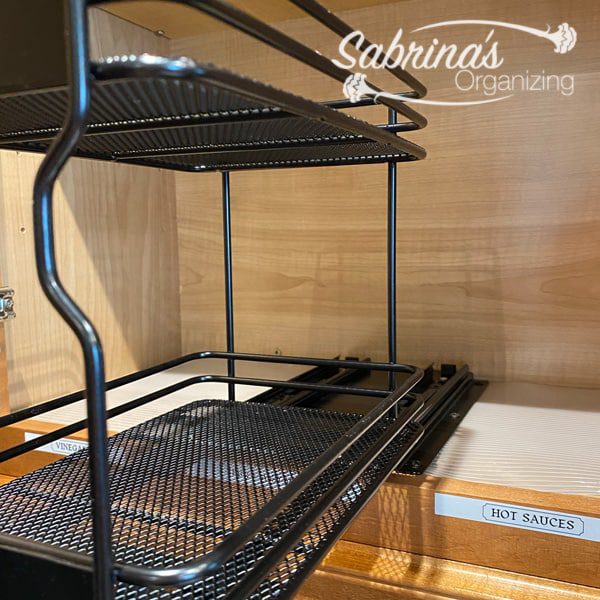
I followed the easy instructions to install the base in the cabinet. So, I removed the base for the organizer and attached it to the cabinet on the marked spots from the last step. Four screws need to be used to attach the base to the cabinet.
Add the spice rack organizer to the base and slide on the track then add the spices and seasonings.
I added the spice rack back to the base. It slid right on the tracks very easily. Now, it was time to place the items in ABC order. I pretty much had them in order, but I needed to adjust a few of them.
Label the areas and the spice rack organizer.
I labeled the shelves (affiliate) to make it easier for everyone to remember where things go since things were being moved around in the cabinet.
Because I had more room now, I decided that I could reorganize the second shelf as well.
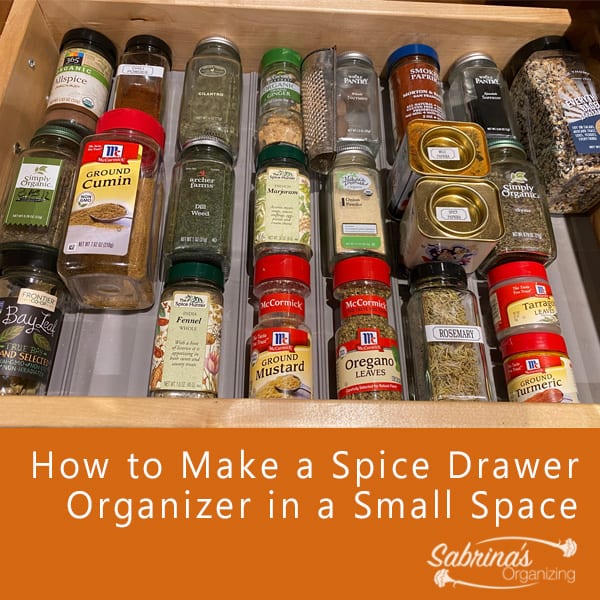
Remember: I have another drawer with frequently used herbs and spices (affiliate). Here's the post I wrote about the product I used for this drawer. HOW TO MAKE A SPICE DRAWER ORGANIZER IN A SMALL SPACE
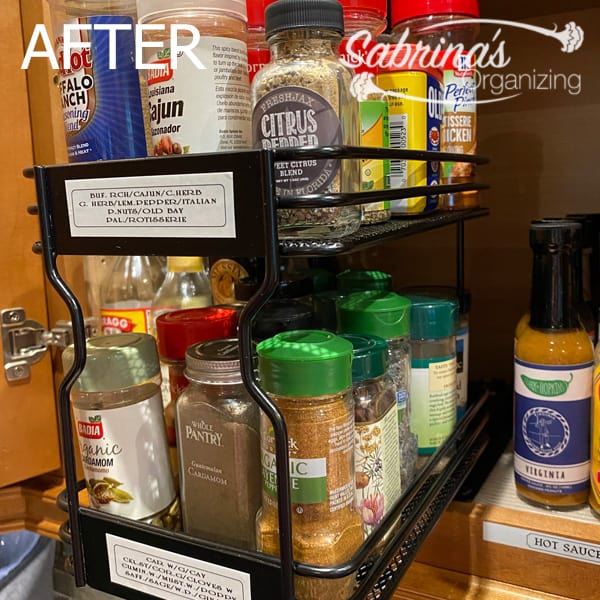
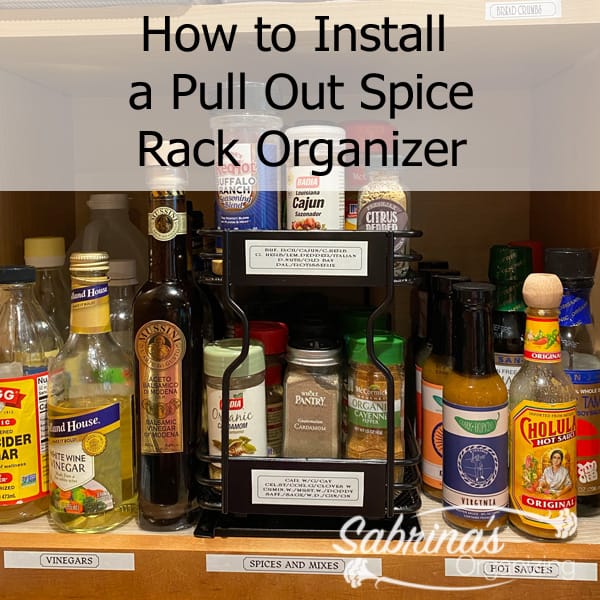
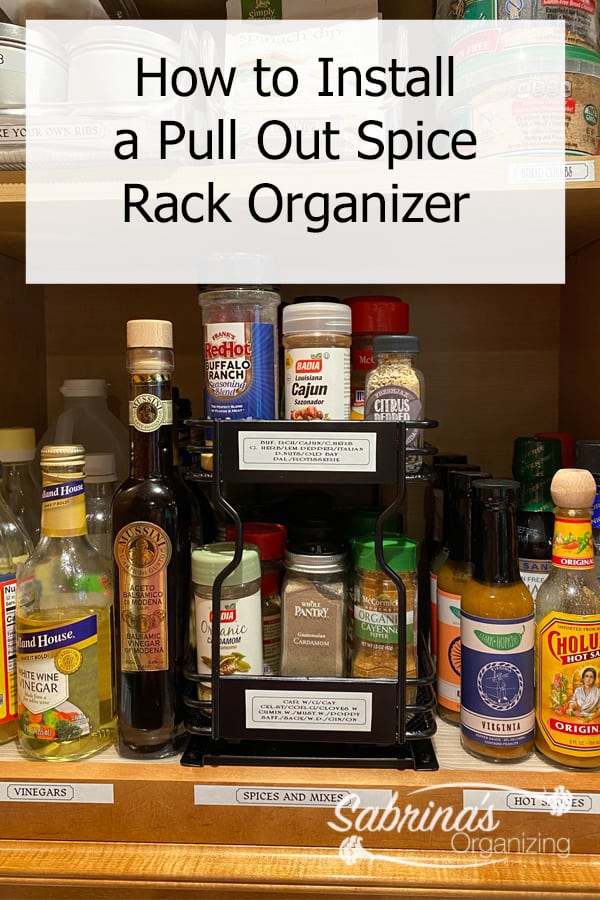
Here's what the shelf looks like now.
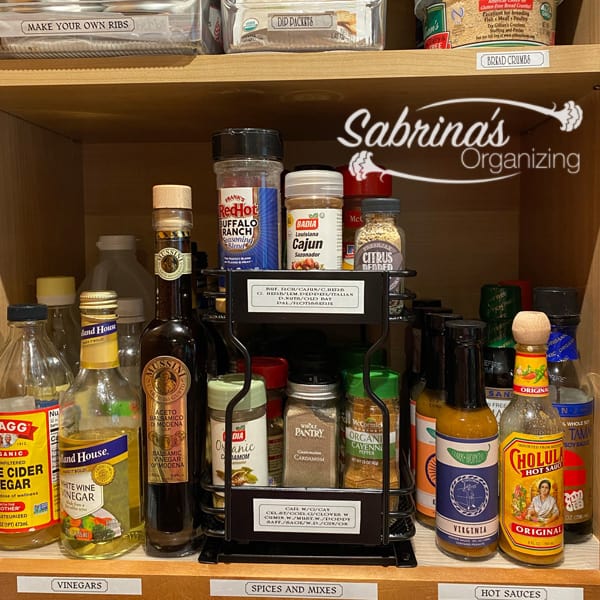
I love it! Check it out when it pulls out. You can see everything in the back.
What do you think? Would you try this spice organizer DIY project? Please leave a comment below. I would love to hear from you.
Spice and Herbs Organization Tips
If you want additional spice and herbs organization, please visit these posts. I have many free organizing checklists (affiliate) you can use for your herbs and spices (affiliate). Enjoy!
THE ULTIMATE GUIDE TO ORGANIZING HERBS AND SPICES
HOW TO CREATE AN INVENTORY CHECKLIST FOR ORGANIZING SPICES AND HERBS



Leave a Reply