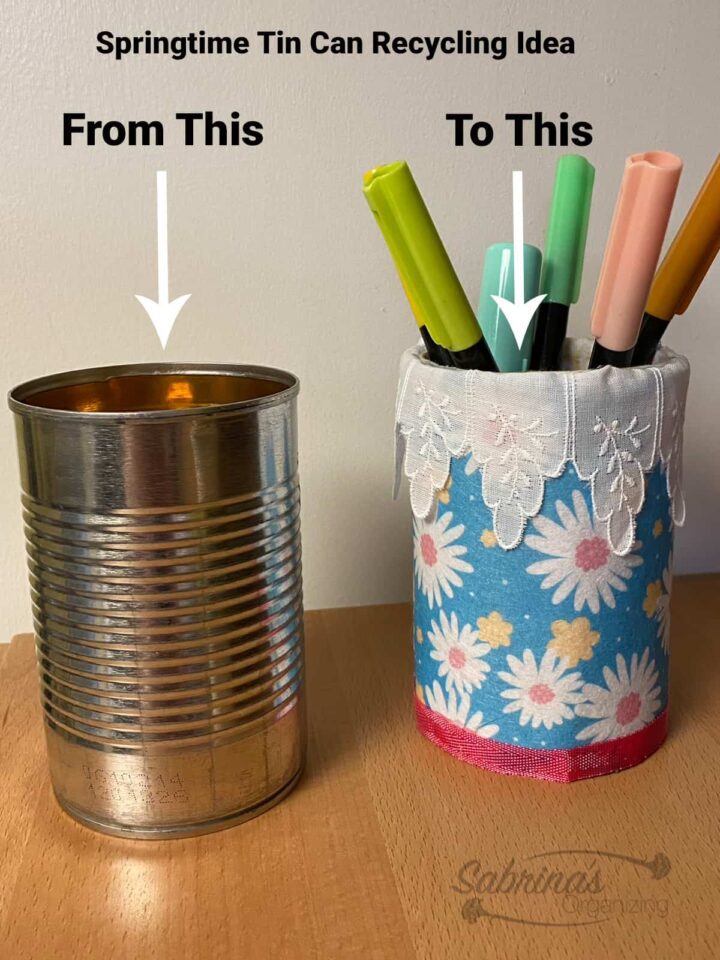
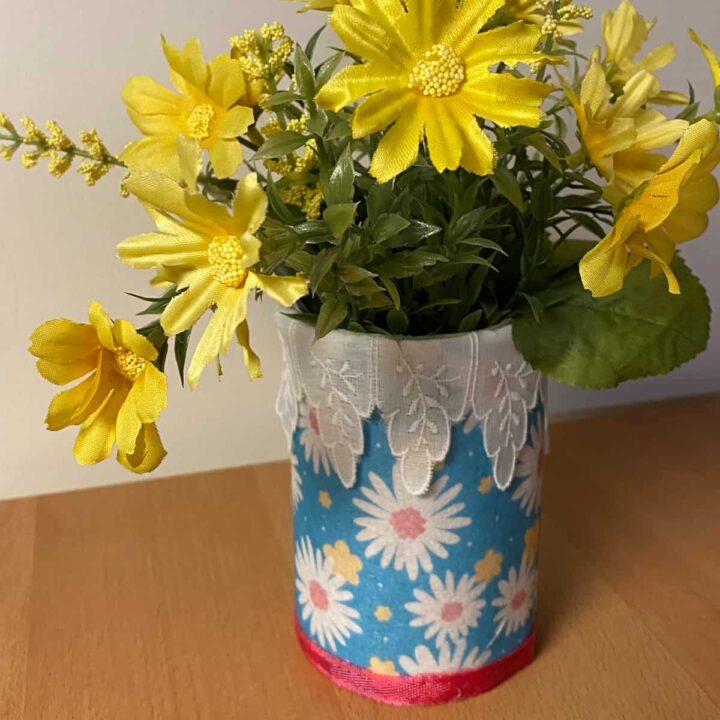
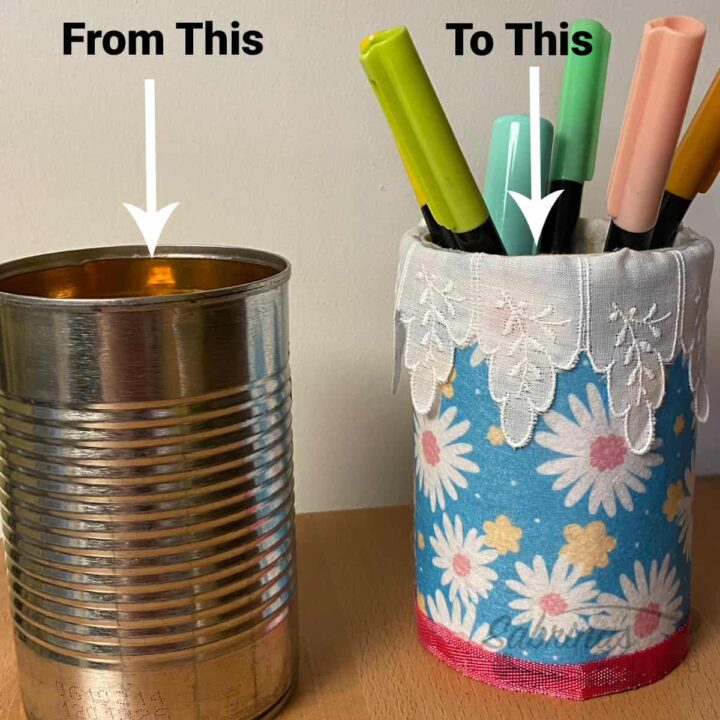
It's springtime! and to freshen up my home with little cost, I wanted to upcycle a tin can. This springtime tin can is the size of a soup can and has transformed into a cute can for silk flowers or a holder for markers.
Jump to:
- What inspired me to do this Springtime Tin Can Recycling Idea?
- What supplies did I use to make this Springtime Tin Can?
- How much did it cost to make this Springtime Tin Can?
- How long did it take to make this upcycling craft project?
- How did I make this Springtime Tin Can Recycling project?
- The Big Reveal
- Tips on making this Springtime Tin Can Recycling Idea.
What inspired me to do this Springtime Tin Can Recycling Idea?
If you haven't been here before, you will find that I have several soups can recycling projects. Since it is springtime, I want to make this one with a spring theme.
HOW TO TURN A SOUP CAN INTO A CUTE CHRISTMAS PEN HOLDER
HOW TO CHANGE A PLAIN SOUP CAN INTO A GORGEOUS DIY PENCIL HOLDER
SOUP CAN TO DIY MAKEUP BRUSH HOLDER
What supplies did I use to make this Springtime Tin Can?
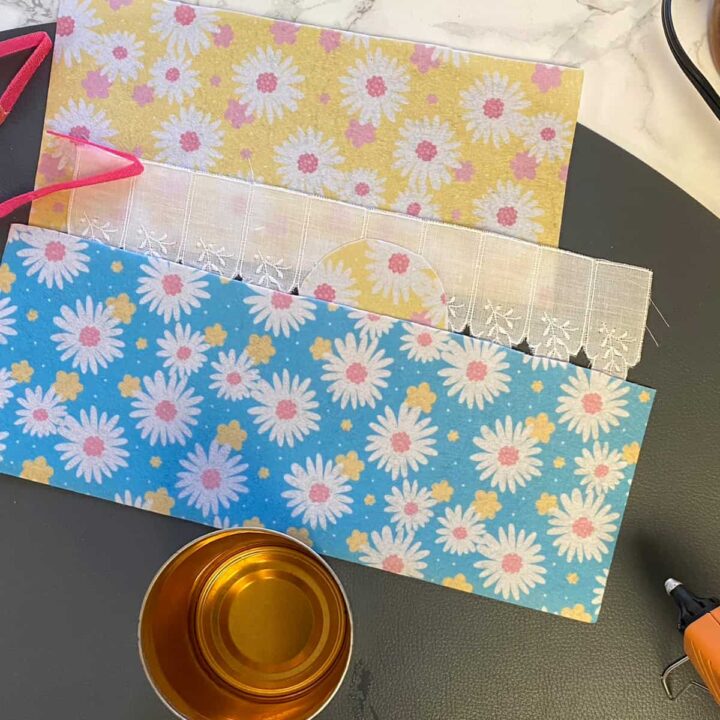
These supplies and tools (affiliate) were from leftover projects I did in the past.
Supplies used:
- 1 tin can - soup can size
- 2 sheets of flowered felt
- 1 circle flowered felt
- hot glue gun (affiliate)
- glue sticks for hot glue gun
- Lace with a flat edge
- Pink Ribbon
How much did it cost to make this Springtime Tin Can?
The cost of this project wasn't much. I had to buy the felt, and that was about $4.00 for all the felt.
How long did it take to make this upcycling craft project?
It only took me about 1 hour to make this craft project.
How did I make this Springtime Tin Can Recycling project?
First, cut the pieces of felt for the inside and outside of the soup can. They will be different lengths because the inside is smaller than the outside. Also, trace the bottom of the can onto the back of the felt. Cut it a little smaller so it will fit flat inside the can. Cut the ribbon to the perimeter of the soup can.
Make sure the top and bottom of the felt measure the same as the height of the can's top and bottom.
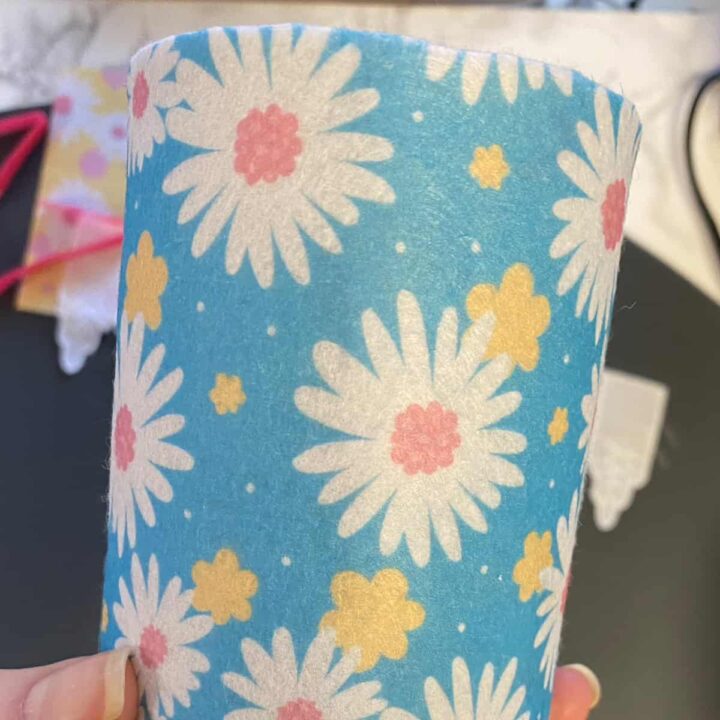
Then, using hot glue, add a little glue to the can and attach the felt around the can. Add hot glue as you go. Let cool for a few minutes
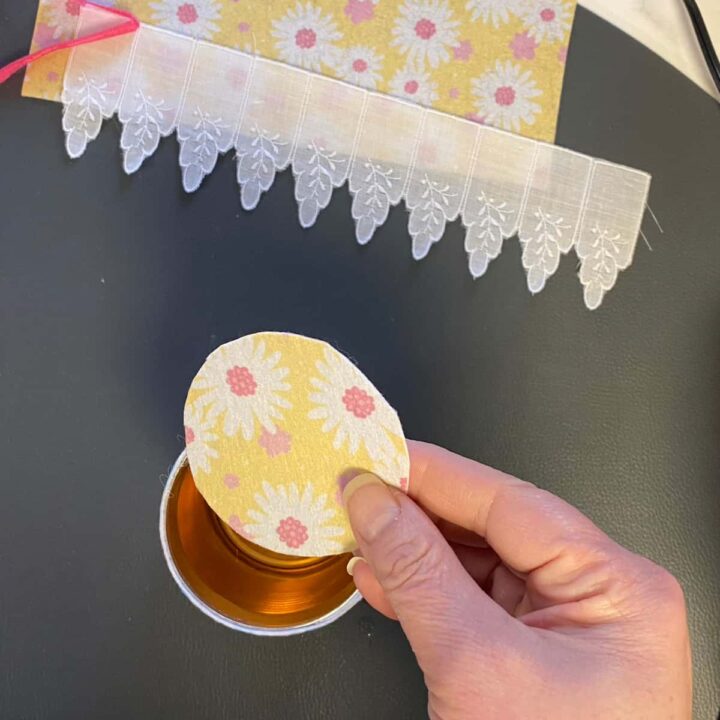
Now, add the circle to the inside of the tin can. Add hot glue behind the felt.
Then using the hot glue, add the ribbon around the top edge of the can covering the top part of the felt. And add enough hot glue to help the ribbon lay flat. Let cool.
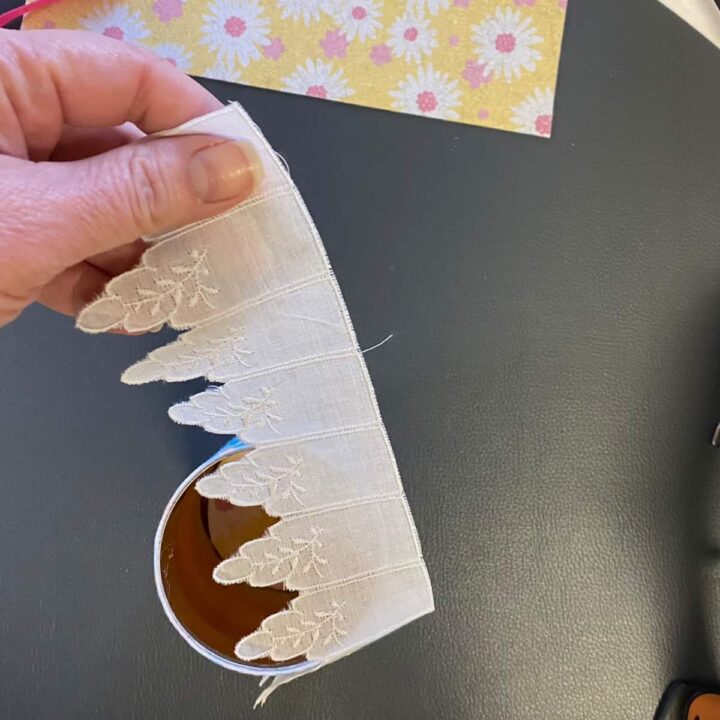
Now, it's time to add the felt to the inside of the can. First, take the felt and roll it with the backside out to add to the inside of the can. Add some hot glue to the ribbon top and on the sides as you adhere the inside felt flower side out to the inside of the can.
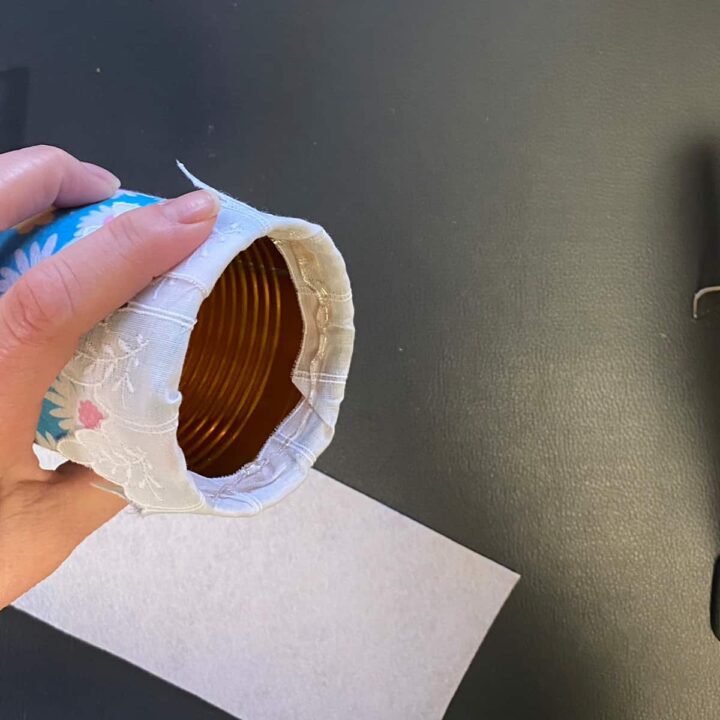
This image is what the inside of the flower felt looks like in the can.
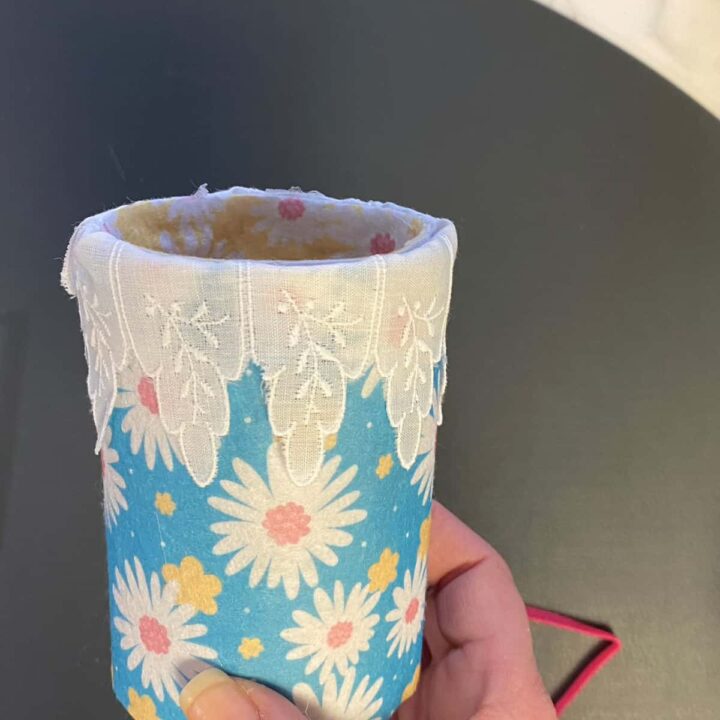
To add the pink ribbon at the bottom, I waited for the felt to dry so I could handle it. Then, with some hot glue, I added a bead of glue.
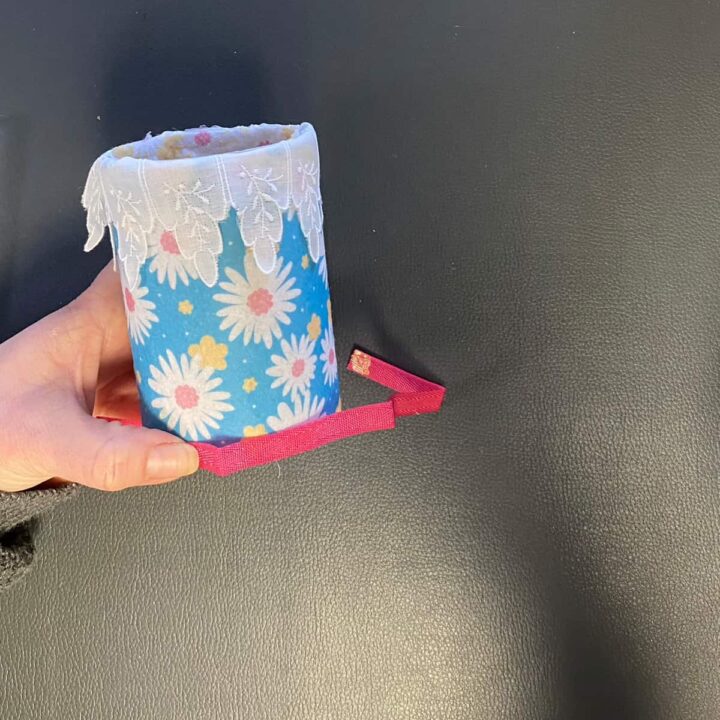
The Big Reveal
This lovely soup can turned into this beautiful Springtime Tin Can Recycling idea.
Tips on making this Springtime Tin Can Recycling Idea.
Below are some tips that will help you make this upcycling project a success.
- Make sure the can is clean and dry on the inside and out. Any glue should be removed before adding the felt.
- Each can is different, so measure the felt and cut appropriately to your can. Sorry, I can't be more detailed on sizing.
I hope this Springtime Tin Can Recycling idea inspires you to upcycle your soup cans. What do you think? Would you try this at home? What would you do differently? Please leave a comment below. I would love to hear from you.
Upcycling DIY posts:






Leave a Reply