Stencils are an excellent way to customize any part of your home. The first time I used stencils was in my high school Interior Design II class, and the brushes back then were a lot easier to use. Nowadays, I prefer stippling sponges (affiliate) instead. Today, I am going to show you how I used the tranquility mandala stencil in my home.
But if you like to use stippling brushes (affiliate), make sure you get a high-rated one, not a cheaper one. The more affordable versions do not stipple well because the paint doesn't absorb into the brush.
The trick with stippling brushes is to use very little paint so that it doesn't run under the stencil. If you need a second coat, feel free to apply it. I found that using a medium-sized sponge works well for larger stencils like the one I used from "Stencil Revolution." Here's the stencil I used. It's called Tranquility Mandala Stencil.
It's 12 x 12, but you can purchase sizes from 6 x 6 inches to 35 x 35 inches. Click the image below to buy it from the Stencil Revolution site. (I do not get a referral fee for your purchase.) Pretty, right? I love to use this stencil as a focal point on furniture (affiliate) and walls.

There are so many options for where to place this pretty stencil. Below, I am sharing where you can use this stencil to transform your home.
5 Areas to Transform with DIY Stencils
The first area is on an accent table.
I did this one recently on an older table that I had in my bedroom (affiliate). I taped the stencil ends to keep it in place, then used Magnolia chalk paint to stipple the stencil pattern onto the table. After I was finished, I added a clear wax to the top to protect the paint.

The second area to enhance is cabinet doors.
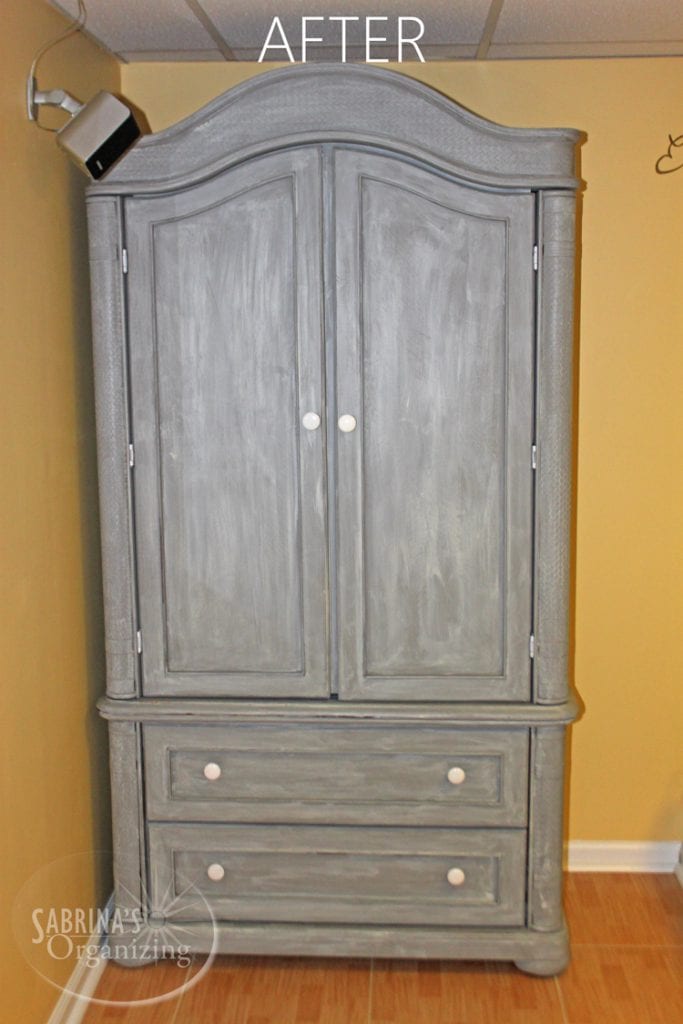
If you have an old armoire and want to spice it up, try using this stencil on the center of the armoire's doors for a unique look.
The third area to improve is the coffee table.
If you have a rundown end table that needs a little pick-me-up, try adding this stencil to its center.
At the Cricut Shop, you can find Cricut machine bundles to heat presses, infusible ink & blanks, supplies, and tools, making any DIY inspiration possible. From sale items to specific products, you can find it all!
What are you waiting for? Visit their shop to see what is on Sale Today!

The fourth area is around a chandelier.
Remove the light fixture and add the stencil to the ceiling, then reattach the light fixture. You don't need to add wax over the stencil pattern since it is on the ceiling.
The last and final area is another area I did in my home.
I added the mandala stencil to the center of two windows in my two-story (affiliate) steps. It provided a beautiful focal point for the stairway by taping the stencil to the wall. I needed to make sure it was flush up against the wall so no paint would seep through. I started with a bit of paint and stippled the stencil until I finished. I waited for it to dry, then added a little extra to the specific areas I missed. I didn't use much, just a little paint to touch up some places. I pulled off the stencil quickly and let it dry completely. I did not add any wax on top. What do you think?

Well, there you have it! I hope this tranquility mandala stencil inspires you to enhance your favorite household pieces. If you used this stencil before, where did you use it? Please leave a comment below. We would love to hear from you.
Visit these other posts for inspiration:
7 INSPIRING FURNITURE STENCIL IDEAS
Below are DIY Furniture (affiliate) Projects for more inspiration!