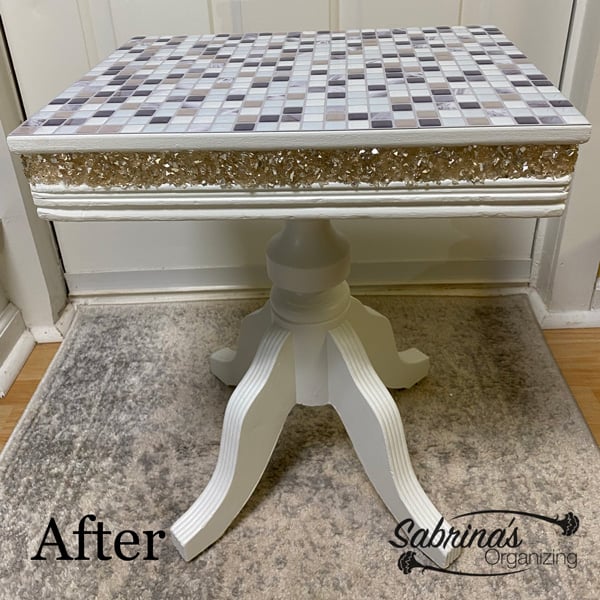
We are in the process of updating our family room. First, we painted the room a beautiful yellow, which brightened it up so much that we can now leave the lights off and still see. Then, we got rid of the old furniture (affiliate). This post is about how I am transforming a narrow table into our new coffee table (affiliate) with gray chalk paint.
Jump to:
- Background of this coffee table
- And now.
- Coffee Table Gray Chalk Paint Project supplies and tools
- Before Coffee Table Transformation
- Paint the coffee table
- Lightly sand the unit
- Add wax to the chalk paint
- Buy bins and add them to the bottom shelf
- How long did it take to do this project?
- How much did it cost to make this coffee table?
- Reveal
Background of this coffee table
But first, let me give you some background on why my coffee table (affiliate) needs to be so narrow. Our family room is in the basement, and the room is only 10 feet wide and 20 feet long. You could probably call it a den. We installed a stone wall and a wall cabinet to hide the sump pump that was awkwardly placed in this family room.
And now.
So, as you can see, if you visited this post, we had issues finding the right-size coffee table (affiliate). We went from store to store with a tape measure (affiliate) and dimensions, hoping and praying we would find something that would fit in this small space. Fast forward several years, and we still didn't find anything. So, we tried something different. We decided to be creative and make a coffee table (affiliate) that would work in the space. We used two square storage bins, but they were too low. Then tried a larger ottoman (affiliate), but it was so square (3 feet by 3 feet) that we couldn't walk around the sofa at all. Oh boy, I was at a loss.
Recently, we found a new sofa that would work in the space that would be delivered in 6 weeks. I now had a deadline. So, instead of going out and looking again for the dreaded narrow coffee table (affiliate), I decided to make it myself. Well, I updated it myself.
As I walked around the home, I just knew there was something I could use as a narrow coffee table (affiliate). Sure enough, I found a table in our home that has already been repurposed a few times. This is the table below. I found it in my son's room. It was actually the table where I stored my African Violets on B.K. (before kids). It then was the table my son used for his Lego bins and creations before he grew out of it. I purchased it from IKEA in the 90s when we first got married, and it is still in good shape. It was sturdy and could fit any size bins below for extra storage. It was pine and a little outdated.
Coffee Table Gray Chalk Paint Project supplies and tools
Below is a list of things I used to transform this brown coffee table into a gray beauty. The link below are from Amazon (affiliate) (affiliate).
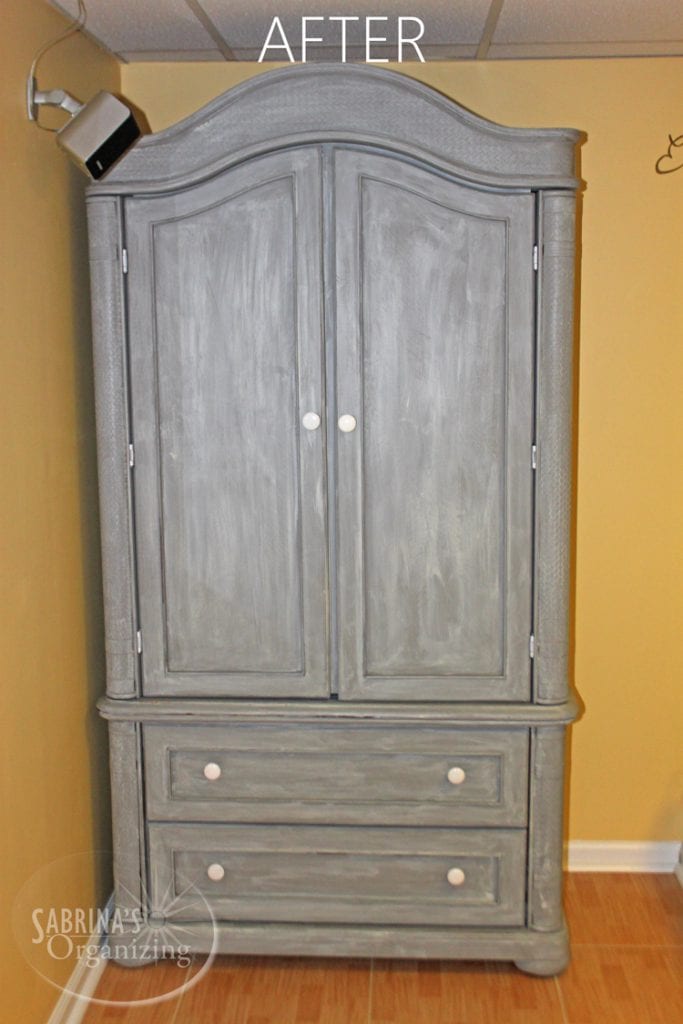
- Armoire - this one is two pieces
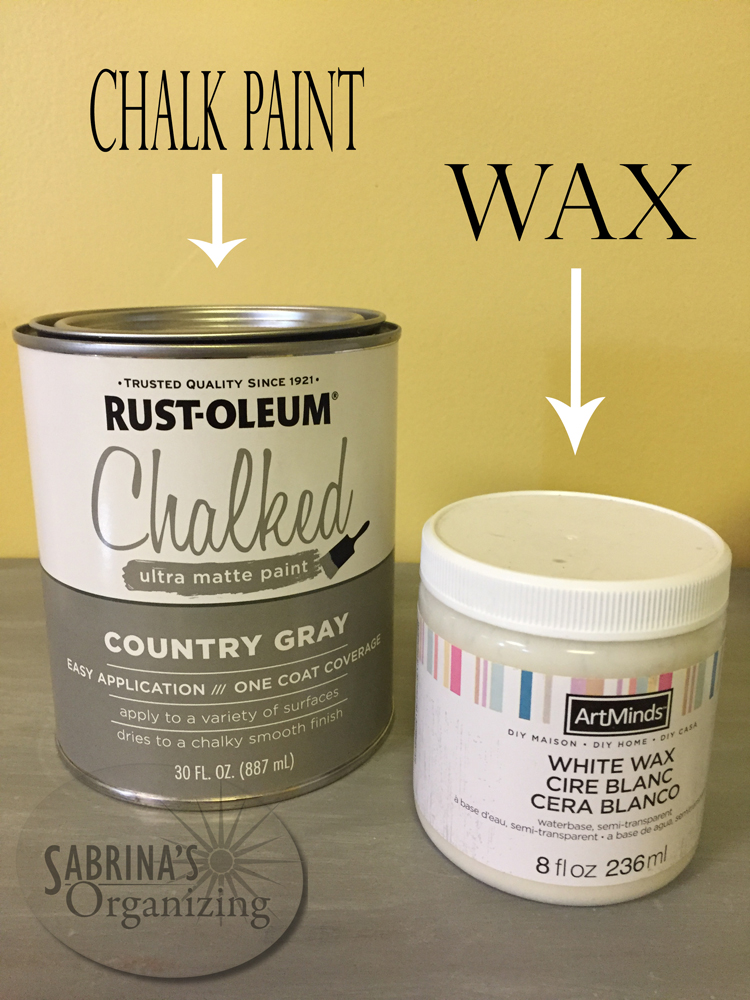
- Chalk paint Grey - Rust-oleum Country Grey (affiliate)
- White - Rust-oleum white spray paint (affiliate)
- Paintbrushes (affiliate)
- Sawhorses (affiliate)
- White Wax by ArtMinds - I got this from Michael's
- Fine sandpaper
- Furniture (affiliate) Wax or Rust-oleum Chalked Matte Clear (affiliate)
- Drop clothes (affiliate) to keep the area clean
- Paper towels
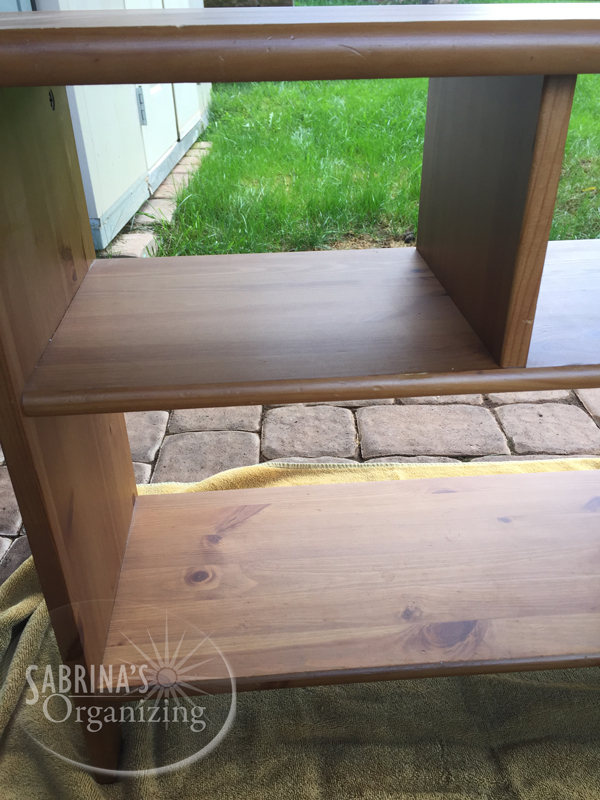
And here is the before picture of the now-to-be-our coffee table.
Before Coffee Table Transformation
It's a perfect width, and the height allows us to put our laptops on it when we want to sit somewhere else.
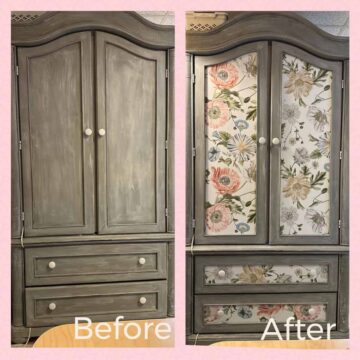
Paint the coffee table
I started by cleaning off the dust from the shelves (affiliate) and began to paint. This Rust-Oleum Chalked Country Gray was so easy to put on. I bought another type of short bristle brush. It had a shorter handle. The other brush handle kept hitting the already-painted area.
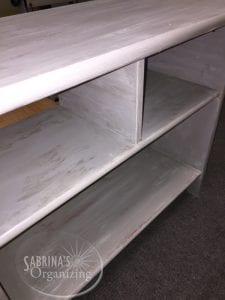
Lightly sand the unit
After letting it dry on the container as instructed, I used fine-sand paper and lightly sanded the item. Next, I dusted the table and added the wax with another short bristle brush. Then, I quickly wiped off the white wax to create the streaks. Allowing it to dry overnight, I was pleased with the result.
Tip
Wash the short bristle brushes right after you finish using them. Squeeze the bristle of any excess water.
Next, wrap a paper towel around them. When dried, remove the paper towel and store it away. We have been doing this for years and are able to keep and reuse brushes. Doing this saved us a lot of money on painting supplies.
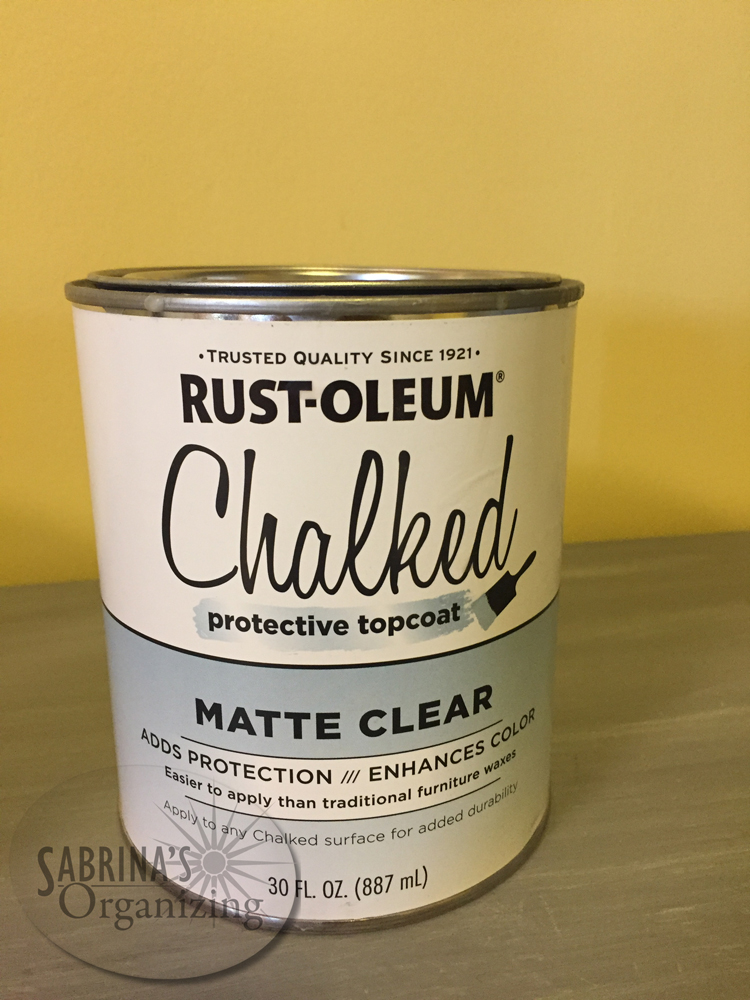
Add wax to the chalk paint
To protect the wax and paint, I used this matte clear protection topcoat. An added advantage of using this product is that it helped bring out the depth of the paint and the wax. We let it dry for several days.
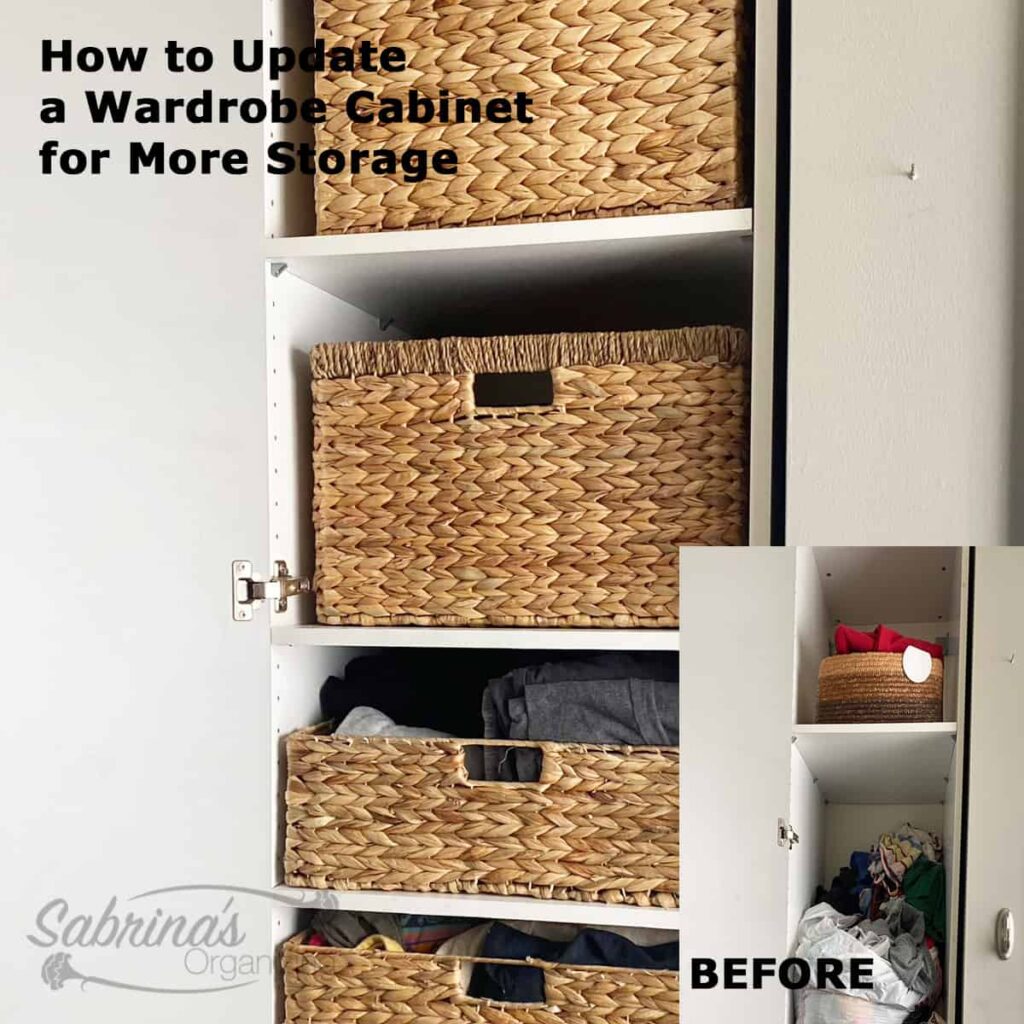
Buy bins and add them to the bottom shelf
Before I left to purchase bins for this cute coffee table, I measured the length and depth of the opening of the bottom. These bins are made of fabric, and they don't hang over the shelves (affiliate). I found them at Target after visiting a few other stores.
Tip
Don't settle on bins. Look for the right color and style you want for the area you are looking for.
How long did it take to do this project?
The entire project took about two days, including drying time. It was easy, and I loved the outcome.
How much did it cost to make this coffee table?
It cost about $25.00 at the time when I made this project.
Reveal
Well, that is it. How about you? Have you ever updated a piece of furniture (affiliate)? Please share in the comments below. I hope this gives you ideas on how to update your furniture (affiliate) pieces.

Please note these are affiliate links through Amazon (affiliate), and at no additional cost to you, I will earn affiliate fees if you decide to make a purchase.
Visit my other DIY Furniture makeovers below!
Check out and get inspired with my other upcycling furniture (affiliate) makeover projects. I hope they help you enjoy your furniture (affiliate) again.


Catherine Lockey says
Wow. What a great idea to repurpose your table. I've never chalk painted before - I've done some sanding and staining - this would be a fun project to try. Thanks for sharing it.
Sushmita says
Sabrina your Crafty ideas inspired me to do a DYI project! Thanks for sharing one more inspiration.
William Rusho says
Seeing you use this chalk paint has given me idea of restoring some old furniture settings I have. Your finished product is very impressive looking.
Thanks for sharing this.
RoseMary Griffith says
We have a bright mustard color in our living room and kitchen, accented by deeper colors (ancho chili and campfire--don't you love paint names?).
You two have done a lot of wonderful things throughout your house and really made that unusually shaped room work. The chalk gray table is a perfect accent. I love doing projects like this, too. Chalk paint is the easiest to work with. The kitchen table legs and chairs are begging for a coat of it!
Sabrina Quairoli says
I agree, RoseMary. I really enjoy it too. Just wait till you see my biggest chalk paint project next week. I love it. Thanks for stopping by and commenting. Good luck on your next project. =)
Catarina says
How cute! You are so crafty and full of ideas.
Marquita Herald says
Ah great minds, I am working on furnishing one room in my new home and chose gray and yellow - though it's a soft yellow that leans more toward gold. Love this project Sabrina and it's so fun to finally live somewhere that I can try some of these! Thanks for the tips and inspiration.
Sabrina Quairoli says
Me too. I can't wait to show you my next largest chalk project yet. I love the yellow and gray combo. Though it is less vibrate than the photo shows. The colors came from a painting my son's friend made for me. I love when artwork colors inspire me to use it in the room. Good luck with your room.
Ramona McKean says
I marvel at your ingenuity, Sabrina, plus your practicality and thrift. Why spend money when you can re-purpose things? When I re-purpose items, I feel an extra sense of satisfaction in knowing that I'm not adding to landfill. I like your idea of using a "luminous" yellow, such a happy colour. 🙂
Sabrina Quairoli says
Yes, Ramona, I totally agree. The piece is sturdy and works great so updating it was the logical step. Thanks for stopping by and commenting.
Phoenicia says
Home decorating never ends - well not if you like having a nice home.
A bright yellow room sounds rather nice, though I am not adventurous enough to go for such bold colours. The grey coffee table will fit perfectly.
I tend to use cushions and wall frames to bring colour into a room.
Sabrina Quairoli says
The yellow is less vibrate that it appears in the photo. I love it, though. It brightens up space.
Doreen Pendgracs says
I agree with you, Sabrina. Just the right shade is so important in a home project. After all, we are most likely going to have to live with our choice for quite sometime. We may as well be happy about it!