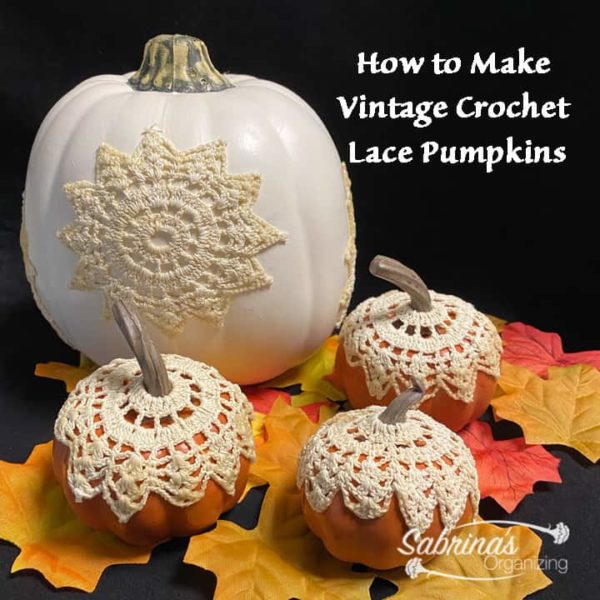
My sister-in-law gave me crochet lace runners and wanted me to do something with them. Well, here is what I came up with. Check out how I made these Crochet Lace Pumpkins.
It was super easy to make, and it didn't take more than one hour to do all three. Below are the supplies I used to make these cute Crochet Lace Pumpkins. Update 2025: I loved this project so much that I decided to make more with different color foam pumpkins. In the table of contents below, pick the right DIY project you want to make.
Jump to:
- Vintage Crochet Lace Pumpkins DIY Project
- Below is the list of things I used to make these vintage Lace Pumpkins.
- How did I make these Crochet Lace Pumpkins for Fall Decorating?
- The Reveal of our Crochet Lace Pumpkin.
- DIY Old Mason Jars to Hurricane Lamps
- 2025 Crochet Lace Pumpkin DIY Project
- Supplies used for this pumpkin crochet lace DIY project
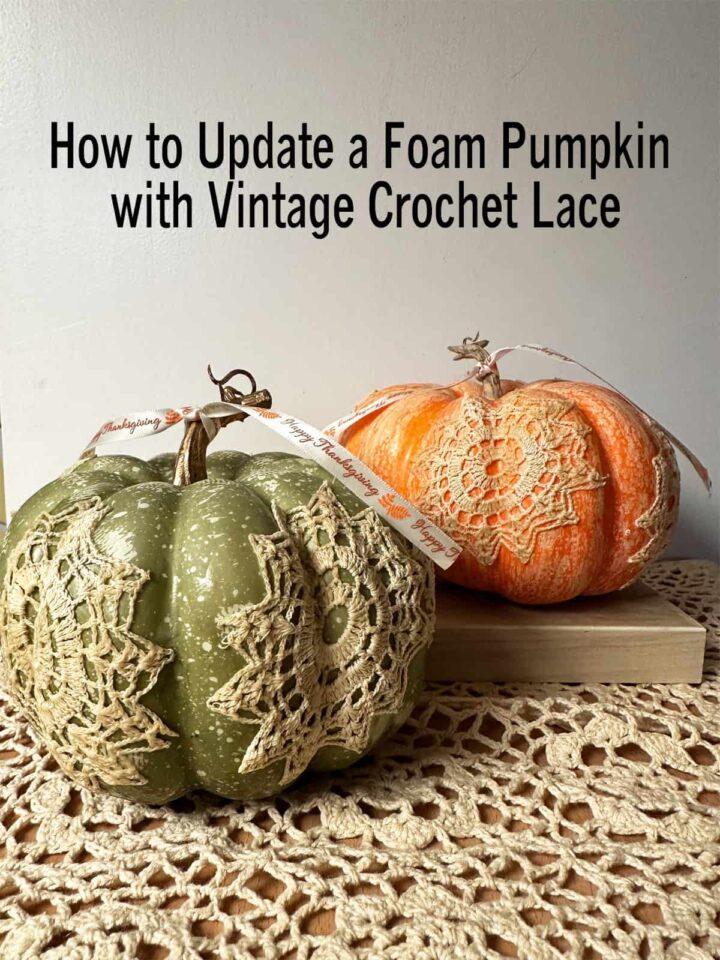
- How to Update a Foam Pumpkin with Vintage Crochet Lace
- Reveal of the Foam Pumpkin with Vintage Crochet Lace
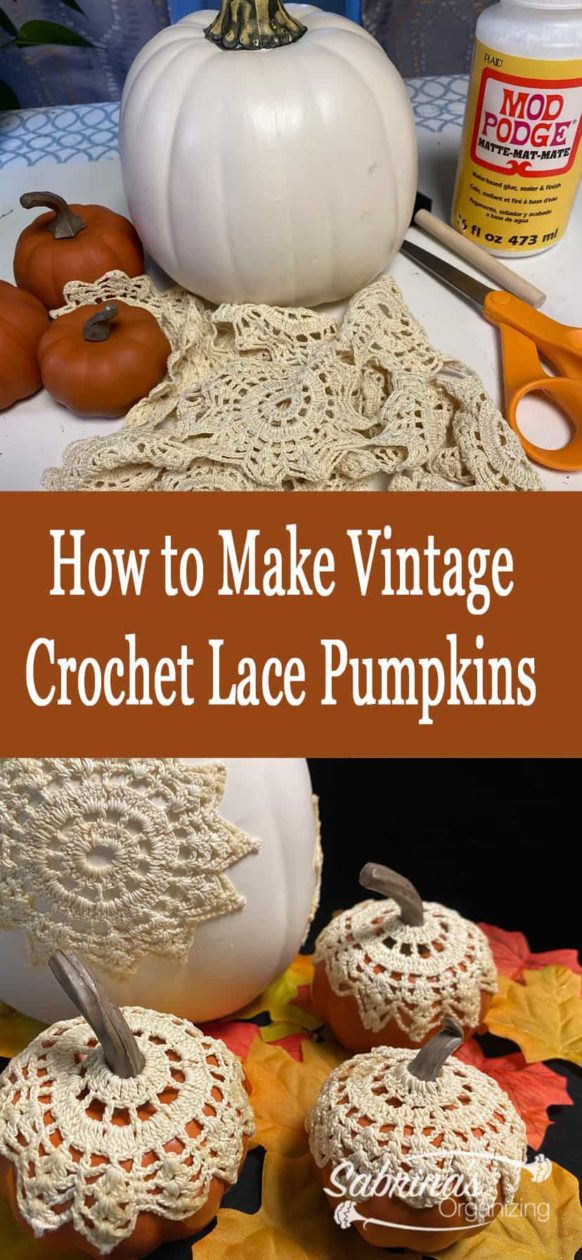
Vintage Crochet Lace Pumpkins DIY Project
The first pumpkin project is using one large foam pumpkin and three small orange (affiliate) ones. This project took me about 3 hours for each pumpkin because of the drying time involved. And, it cost about $10.00 when I made this project.
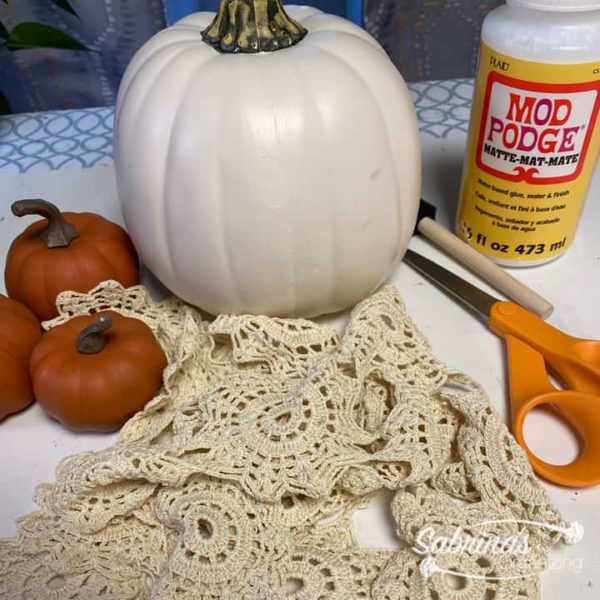
Below is the list of things I used to make these vintage Lace Pumpkins.
One white pumpkin with tiny grooves on it.
Three orange small pumpkins plastic - I found these at Target in their dollar section, and there were 6 for $3.00. - This link is from Amazon (affiliate) (affiliate).
Mod Podge matte finish glue (link is from Amazon (affiliate) - if you click through and buy something on Amazon (affiliate), I will receive a referral commission.)
Disposable sponge.
One or two vintage crochet lace runners - I used ones that were given to me. It should have seven crochet flowers. (link is from Amazon (affiliate) - if you click through and buy something on Amazon (affiliate), I will receive a referral commission.)
Fabric Scissors (to cut out the lace flowers from the runner)
That's it! Now that I had everything together, follow along to see how I made it.
How did I make these Crochet Lace Pumpkins for Fall Decorating?
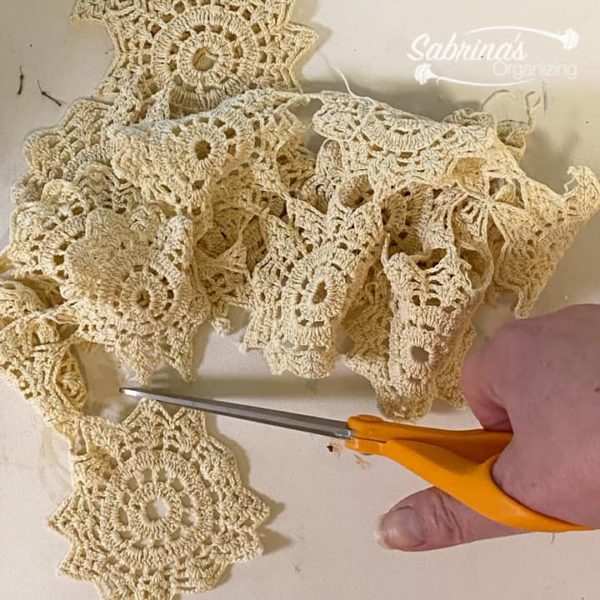
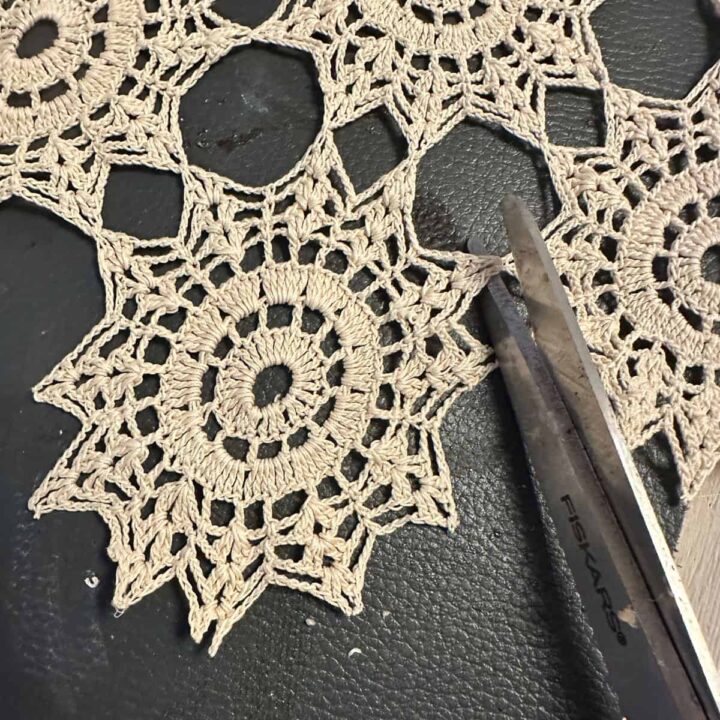
Cut out the crochet lace flowers from the center.
First, go around the lace runner and cut out all the flowers that look the best. Some around the edges were not proportional, meaning they were uneven, so I used scissors (affiliate) and cut out the flowers in the middle of the runner. Since I had a few runners, I was able to get enough crochet lace flowers.
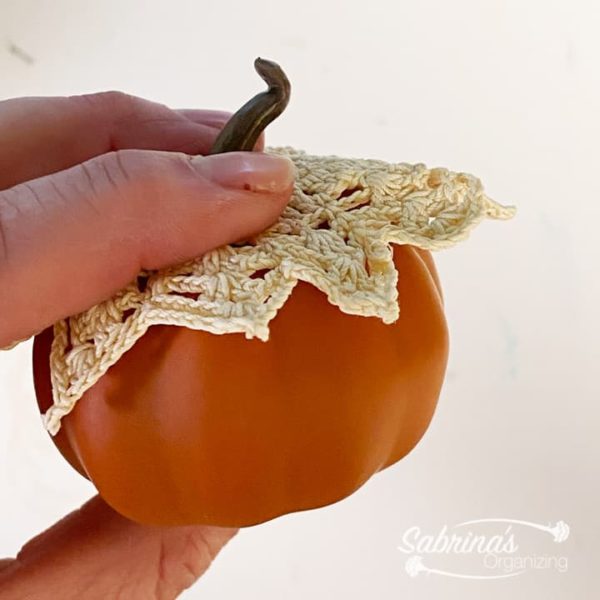
Test the flower center to see if it fits over the little pumpkins.
Then, I ensured the center hole fit over the little pumpkins, as that is where these lace flowers would be placed. Some had larger stems, but the flower's hole was flexible and could accommodate them. It was essential to test it before using the Mod Podge (affiliate) glue because applying too much adhesive to the lace would cause it to turn a darker color.
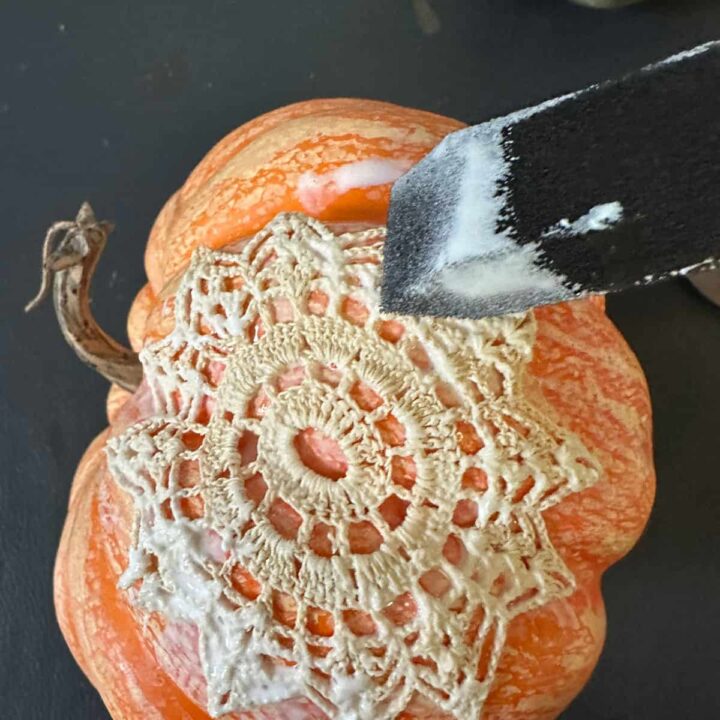
Ready to add the Mod Podge glue to the plastic pumpkins.
Now, it was time to add the glue to the pumpkin. I started with the small pumpkin first. I added enough glue to the top near the stem with a disposable brush. It was better to add it to the pumpkin than the lace. As I mentioned above, the more glue you have, the more it will discolor the lace. I added enough to cover all the sides of the lace petals. I pressed the side petals down and worked my way around the flower. The reason I did this was it allowed for the petals to stick.
I did this with all three small orange (affiliate) pumpkins. It was a little messy, but they turned out cute. Using the matte-finish glue made it less noticeable that they were glued.
Add Mod Podge to the White Pumpkin.
Since the white pumpkin was larger, I decided to add the lace flowers directly to the sides of the pumpkin. This pumpkin was not very curved, making it easy to glue down.
For the size of my pumpkin, I added four lace flowers to it.
Now Let Them all dry completely.
After they were all done, I was able to let them dry. It took at least 3-4 hours, but I waited until the next day to move them.
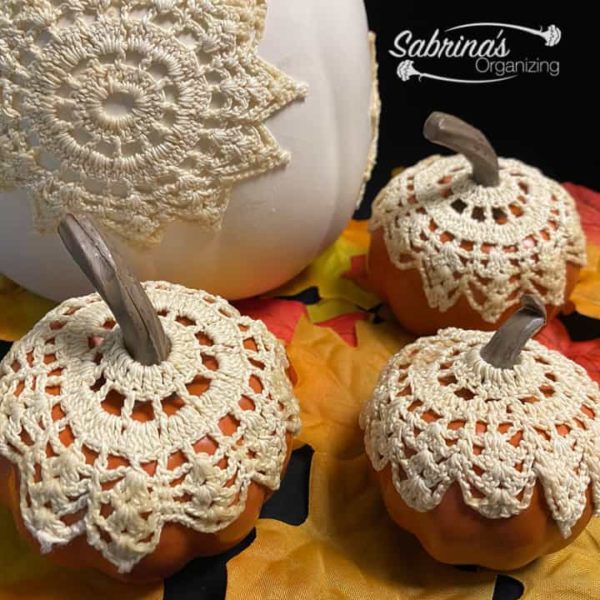
The Reveal of our Crochet Lace Pumpkin.
Here is what it looks like. I love them! They look super cute and look great in my family room. What do you think? Would you make these for your holiday home decor? I would love to hear from you.
Notes from us about this pumpkin project:
The more Mod Podge (affiliate) glue you add, the more it will discolor the lace, So going light worked better unless you do not mind the discolored areas of glue. Check out the image below to see what I mean.
Other ideas about how to make the lace pumpkin:
When I do this again, I think I will try dyeing the lace, letting it dry, and then adding it to the white pumpkins. It will then pop a little more like how the lace pops on the orange (affiliate) ones.
The small pumpkins are great for the Thanksgiving table as well. You can make a bunch of them and place them on the table as table decor.
Check out our other lace project.
We will be doing more projects with crochet lace to use up the lace I received from a relative. Come back and revisit us!
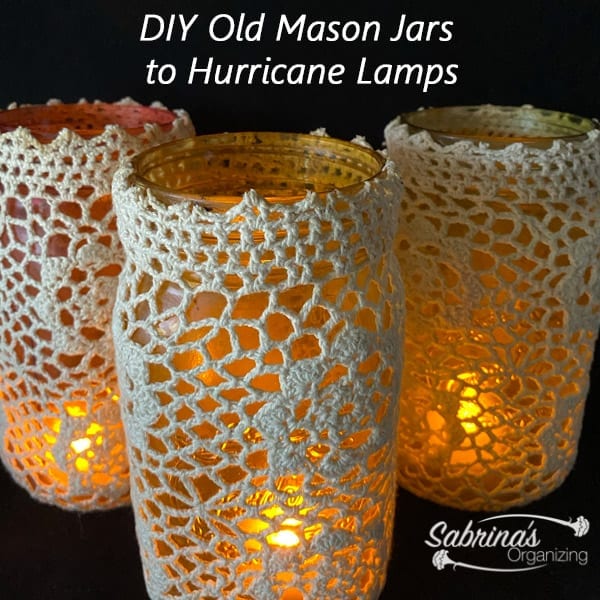
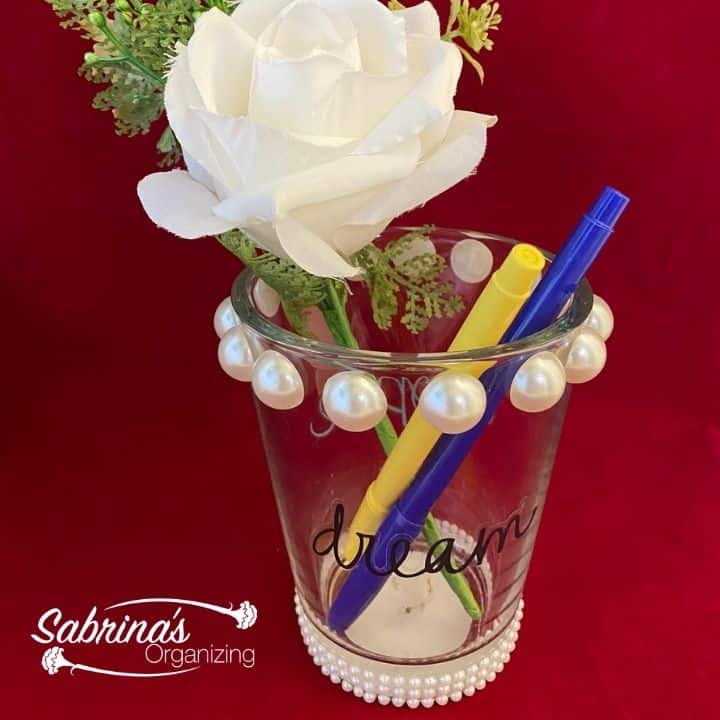
DIY Old Mason Jars to Hurricane Lamps
I had these crochet lace pillowcases when I was growing up, which I got to match my grandmother's crochet blanket. I haven't used it in years and wanted to do something with it to honor my grandmother.
Etsy has a whole selection of people upcycling these crochet lace doilies, check it out here.
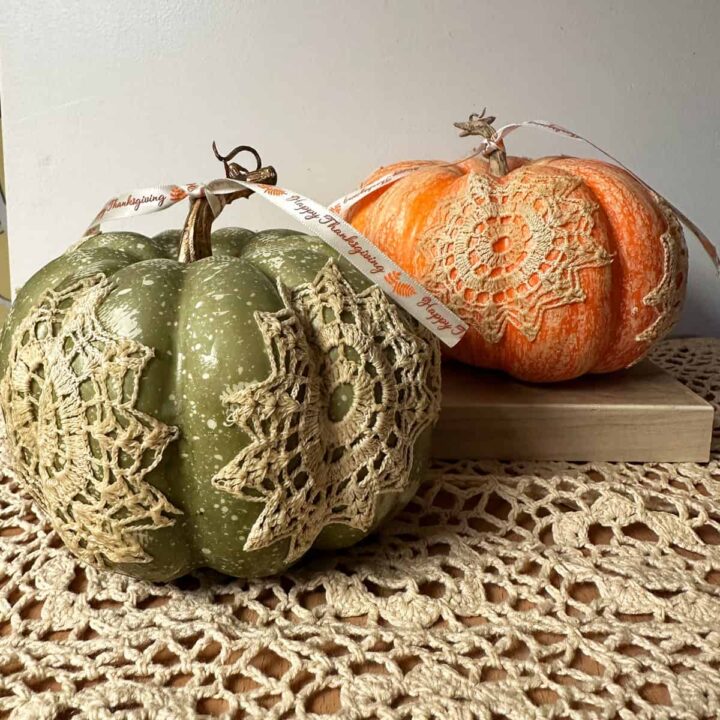
2025 Crochet Lace Pumpkin DIY Project
The next DIY project is using two colored foam pumpkins that are the same size. I wanted to try the rustic-style foam pumpkins to see how they would look. I am planning on using them on the dining room table for Thanksgiving this year. It cost me about $5.00 to make these two foam pumpkins from Michael's. They were on sale. It took me about 3 hours to make, including drying time. Check out how I made it below.
Supplies used for this pumpkin crochet lace DIY project
Two rustic color foam pumpkins with a gold step
Mod Podge matte finish glue (link is from Amazon (affiliate) - if you click through and buy something on Amazon, I will receive a referral commission.)
Disposable sponge.
One vintage crochet lace runner - I used one that was given to me all those years ago. I ended up cutting out 7 flowers from the crochet runner. (link is from Amazon - if you click through and buy something on Amazon, I will receive a referral commission.)
Fabric Scissors (to cut out the lace flowers from the runner)
Ribbon (Happy Thanksgiving) ¼ inch -cut into two pieces
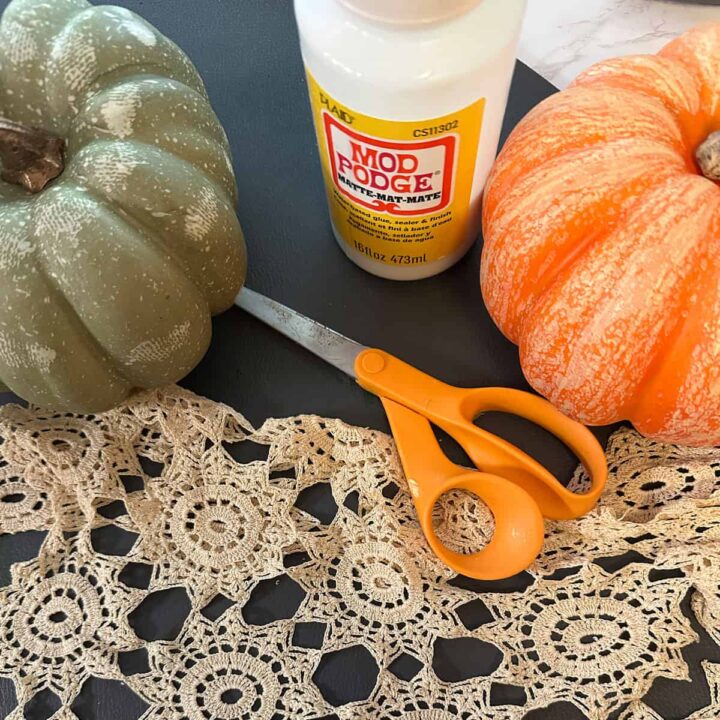
Here is the before picture of the pumpkins
How to Update a Foam Pumpkin with Vintage Crochet Lace
Ok, this was pretty easy to make, so I am going to make it quick. It is similar to the project above.
First, cut out the crochet flowers from the runner or placemat. Make sure to pick the ones that are finished on the points because they will look unfinished without them.
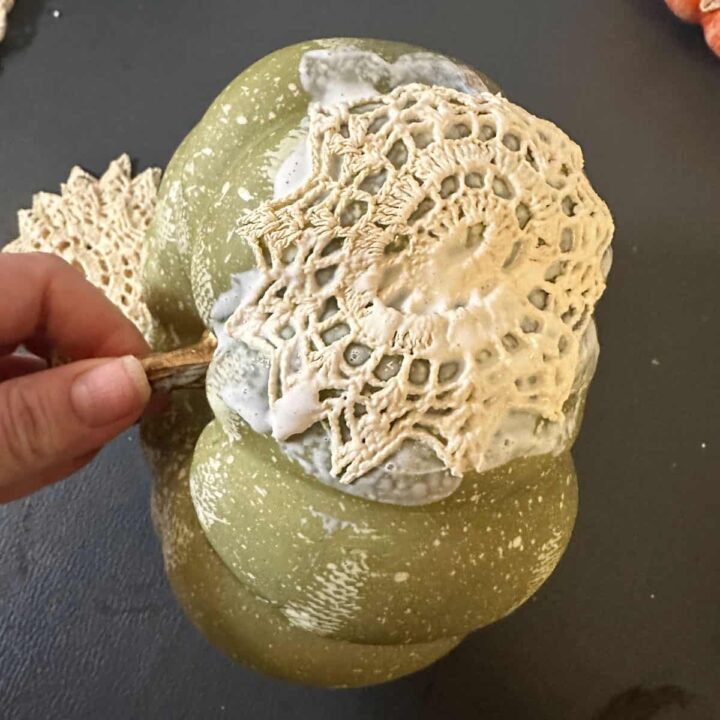
Now, starting with the orange (affiliate) foam pumpkin, add a lot of Mod Podge (affiliate) to it with a foam brush. Then, lay the crochet lace over it and press down. Be sure to seal the ends with the Mod Podge (affiliate). Continue around the pumpkin and add more crochet flowers the same way. I fit about 4 on this pumpkin.
Now, I did the same thing to the green pumpkin. But this time, I was able to add 5 crochet flowers.
Next, it was time to add the ribbon to the top of the pumpkins. I just did a simple knot and let the ribbon hang down on each side of the pumpkin. And, I let it dry completely.
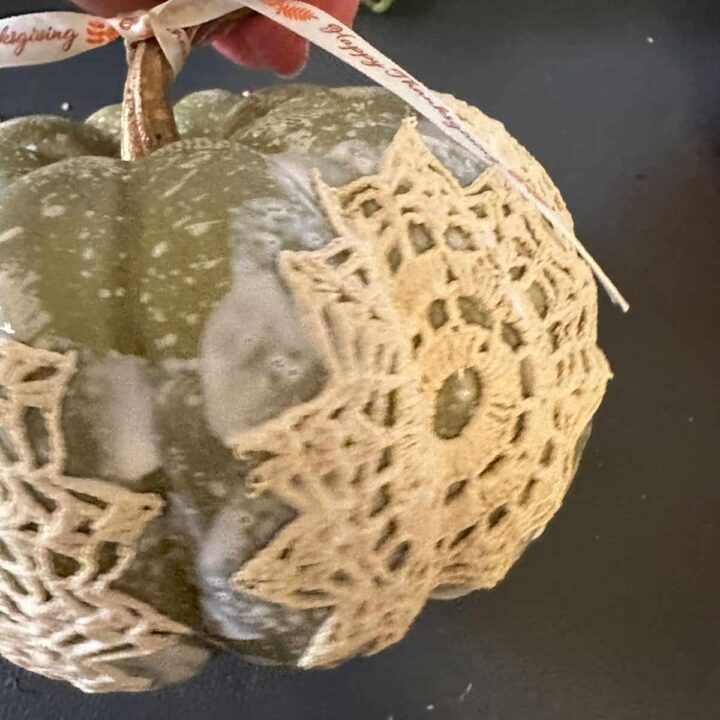
Reveal of the Foam Pumpkin with Vintage Crochet Lace
Now, here is what these pumpkin looks like. What do you think? Feel free to share on Pinterest and social media if you love it!


Cara says
How cute! I love doilies, I have several my grandmother handstitched and use in our home. My favorite is the adding of a doily to the top of the pumpkins.
Sabrina Quairoli says
I know they are so cute, I loved them too. Thanks for stopping by, Cara!