Bookshelves (affiliate) are a great way to organize a small home. Because of their height, you can easily store and display several things on them, even real plants. This post is going to show you one way to lighten up that bookshelf (affiliate), even in the darkest places of your home, so you can easily grow your favorite plants. Follow along and see how my DIY Bookshelf (affiliate) Lighting Idea was put together with only a few items and some creativity.
Jump to:
- BEFORE Living Room
- What inspired me to do this DIY Bookshelf Lighting Idea?
- What supplies did I use to make this DIY Bookshelf Lighting Idea?
- How much did it cost to make this DIY Bookshelf Lighting Idea?
- How long did it take to make DIY Bookshelf Lighting Idea?
- How did I make this DIY Bookshelf Lighting Idea?
- The Big Reveal
- Tips on making this DIY Bookshelf Lighting Idea
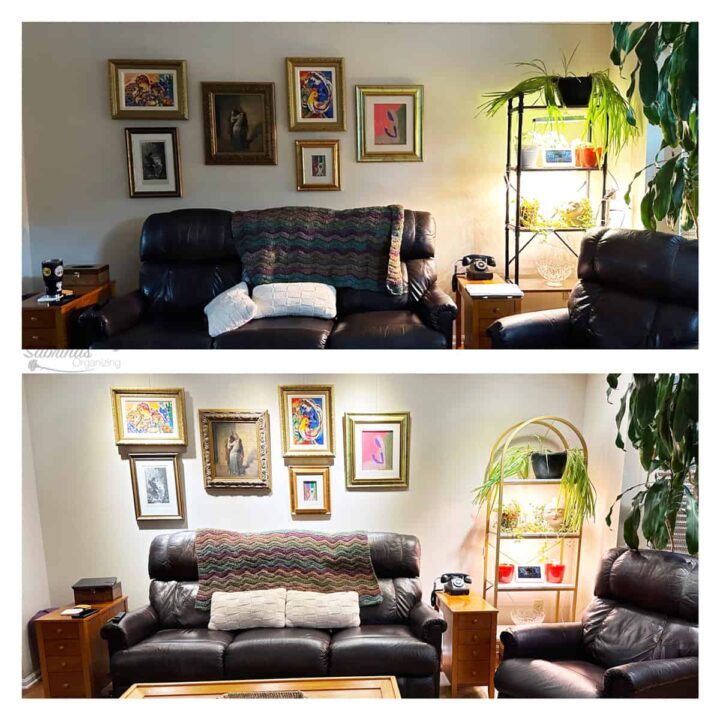
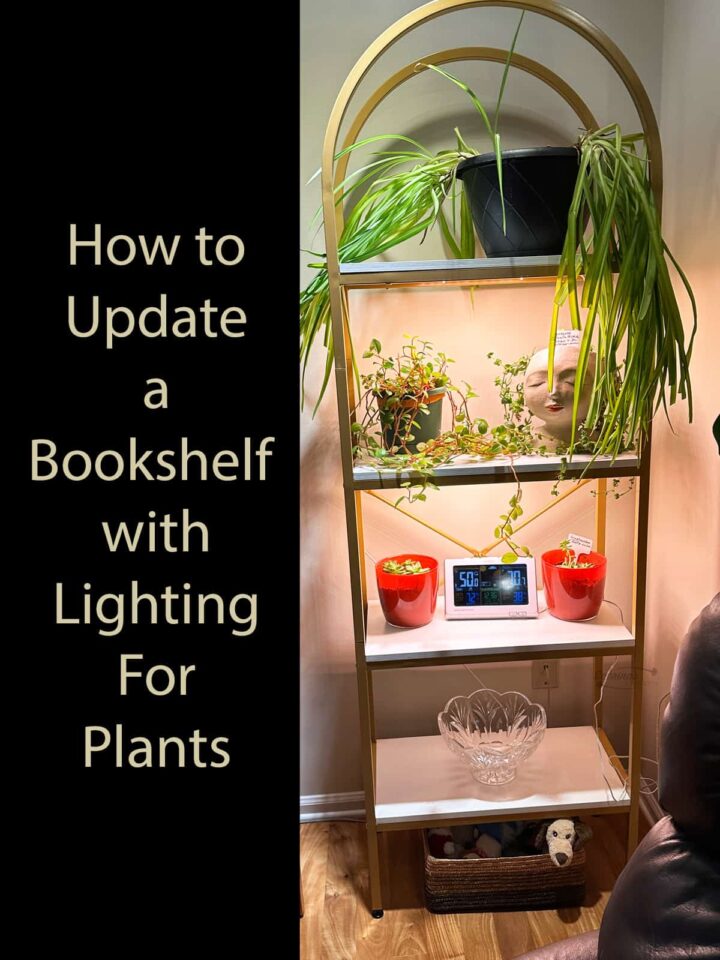
The first DIY Bookshelf (affiliate) Lighting Idea involved replacing a dark rustic bookshelf (affiliate) with a matted gold one.
BEFORE Living Room
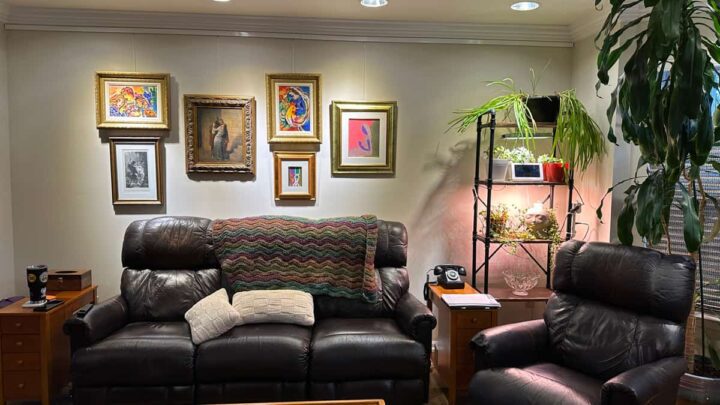
Below is a BEFORE picture of my living room. As you can see, the living room is pretty dark in the right corner. So, we added plant lighting under the shelf so I could store my plants in the corner where there was little light.
What inspired me to do this DIY Bookshelf Lighting Idea?
While I loved my plants in the corner, I found that the shelf unit was very rustic, and since I have a heavy leather sofa and chair (affiliate), it made the room seem even darker. So, I needed a change.
What supplies did I use to make this DIY Bookshelf Lighting Idea?
I used very few supplies to make this transformation.
Supplies used:
- 24-inch wide Bookshelf (affiliate) - white shelves (affiliate) and Gold pieces. I found it on Wayfair.com.
- Two full spectrum lights for plants by DOMMIA. I found them on Amazon(affiliate). The double stick tape came with the unit.
- 3M Double Coated ½ inch wide roll from Amazon (affiliate)
- Scissors
- 3-4 clear zip ties 6 inches long from Amazon (affiliate)(affiliate).
Please note these are affiliate links through Amazon (affiliate) and at no additional cost to you, I will earn an affiliate commission if you decide to make a purchase when you click through and buy something on their website.
How much did it cost to make this DIY Bookshelf Lighting Idea?
The bookshelf (affiliate) was the most expensive part of this DIY project. Though it was only $120.00, including shipping and tax. Everything else was repurposed from my home.
How long did it take to make DIY Bookshelf Lighting Idea?
It took my husband and me about 1 hour to put together and add the different things to lighten up the shelves (affiliate).
How did I make this DIY Bookshelf Lighting Idea?
First, we removed the plants and took out the bookshelf from the corner so we had more room and placed it in the center of the room. Then, we carefully removed the existing full spectrum lights we had on the shelves (affiliate). I then cleaned the wall with a wet pad to clean up any marks from the other bookshelf.
Then, we opened up the box for the new bookshelf and organized the pieces on the ground with the letters facing up. This made it easier to follow along with the instructions.
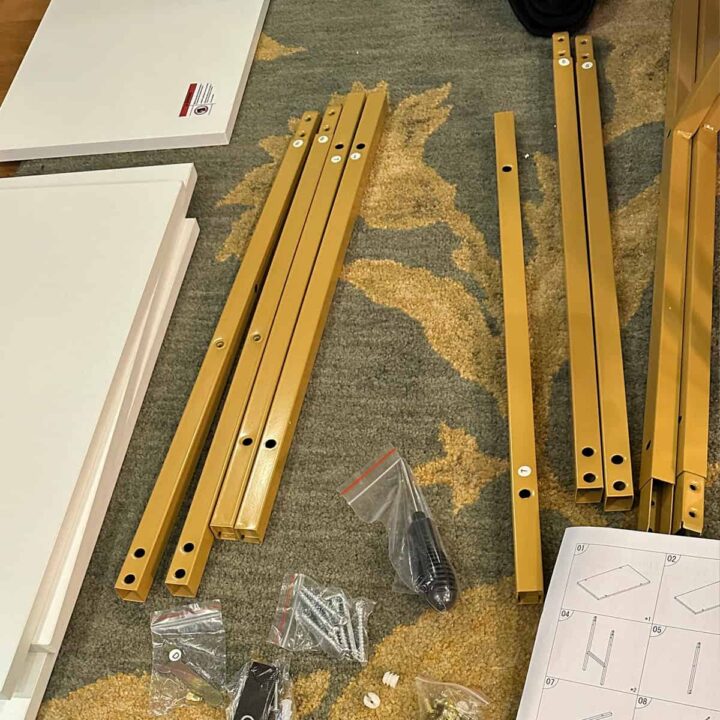
Remove the backing of the fasteners
Now, we took the fasteners from the other full-spectrum lights and removed the sticky backing. To replace the backing, we use the 3M double-coated ½ roll. It was the right width for the back of the fasteners. Place the cleaned side of the tape on one side and press down firmly.
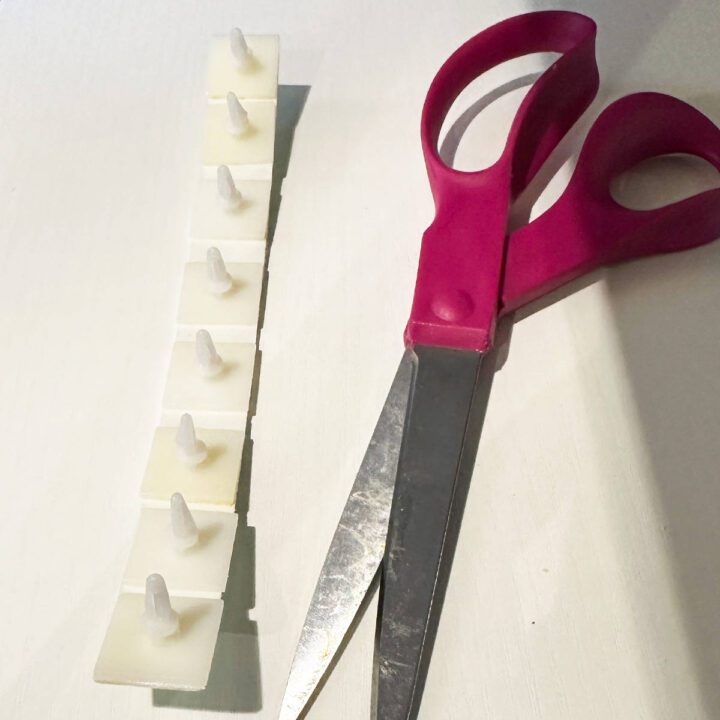
Then, I took scissors and cut each one very closely to the fasteners to create new pieces to use with the full-spectrum light on the new shelves (affiliate).
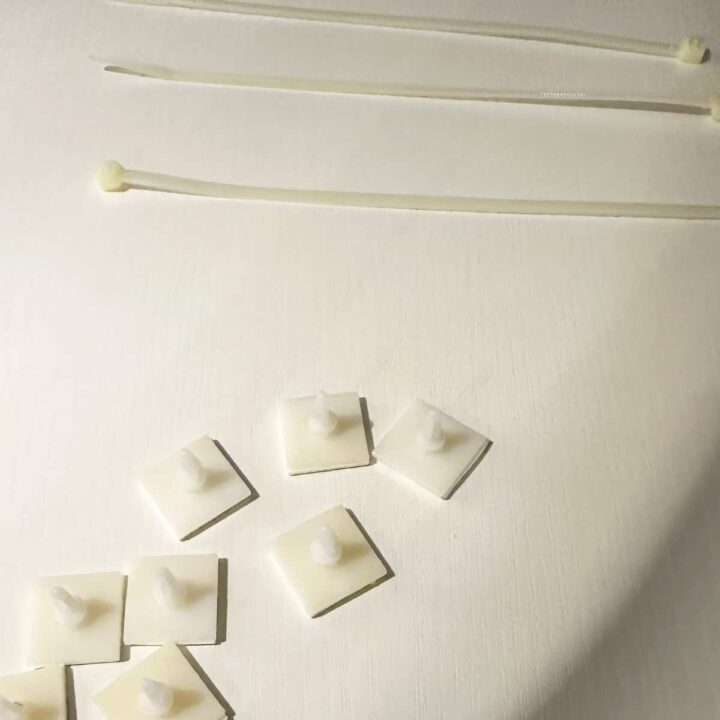
Then, we added the fasteners to the back of the lights. I also reattached the cables to both of the light units.
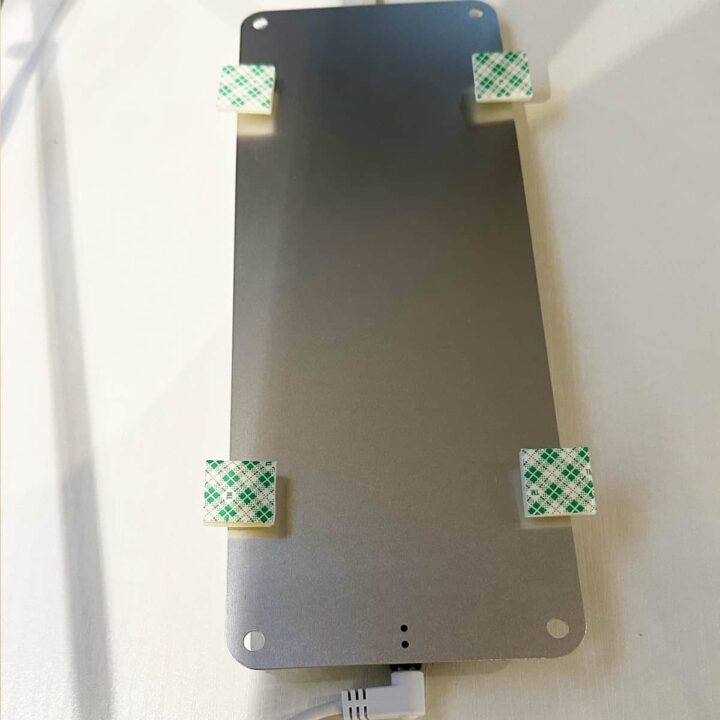
Next, we replaced the newly assembled bookshelf in its spot. Then, we attached each light to the bottom of each shelf and wired them together. Making sure we knew where the power cords lay. Using the zip ties, we tied them to the back side poles of the bookshelf so as not to see the wires.
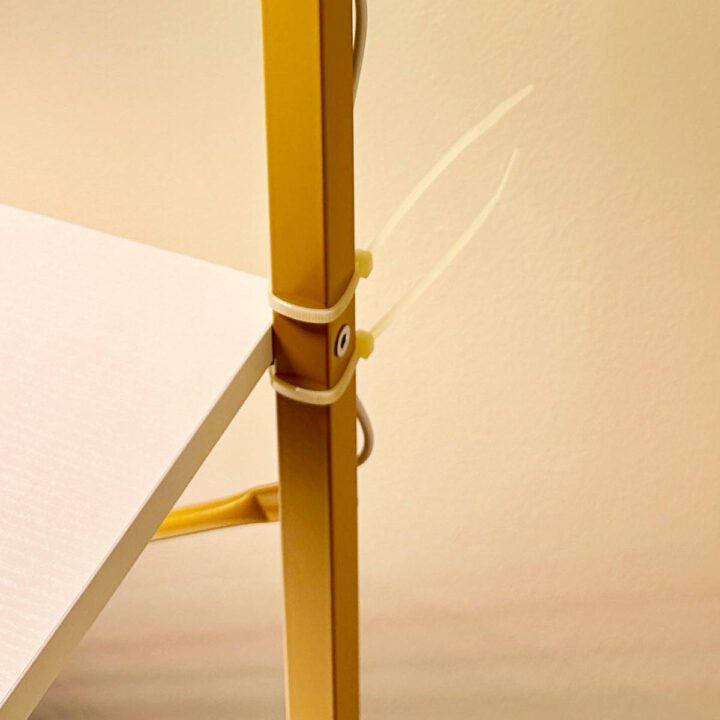
Then, using scissors, I cut off the excess zip tie and added my plants and things to the bookshelf.
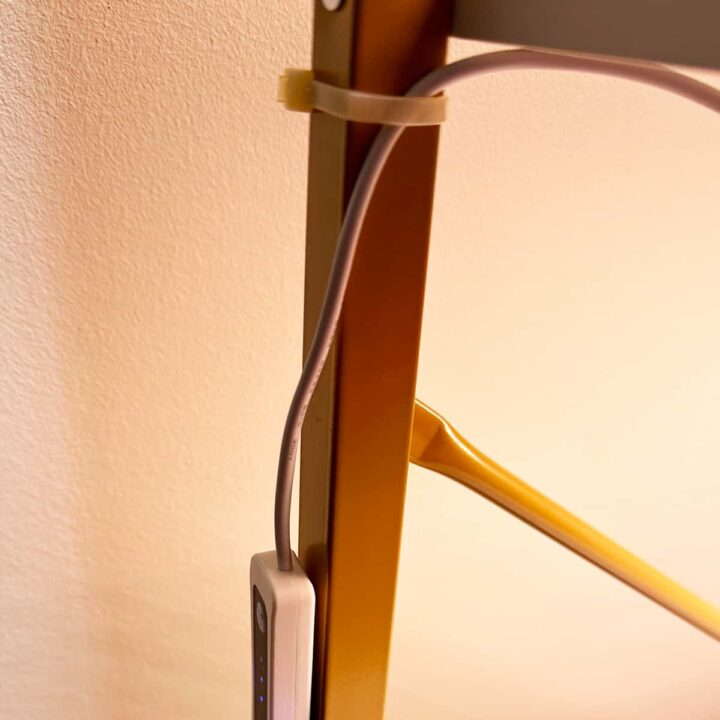
The Big Reveal
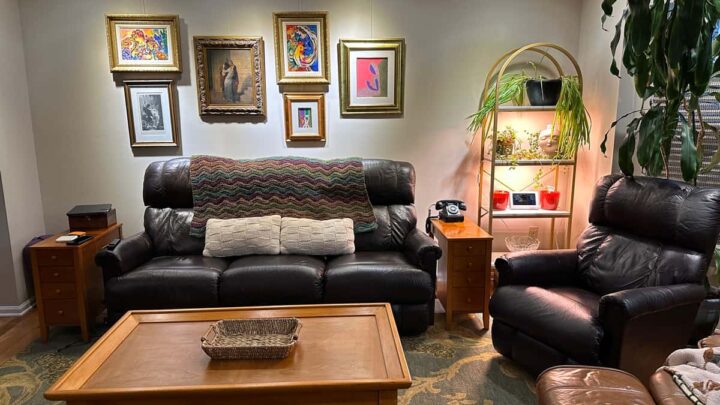
And here is what the bookshelves (affiliate) look like now.

This is what the room looked like after it was finished.
Tips on making this DIY Bookshelf Lighting Idea
Some tips you need to know when adding lighting to an existing bookshelf.
- Make sure your shelf has a place to run the wires. Since the shelving (affiliate) I used was open, I could easily run them down the sides of the bookshelf.
- If you want to minimize the exposure of the cables, keep in mind where your outlet is and how high the full spectrum lights will be on the shelves (affiliate).
- Be careful if you need to remove the backing from the light fasteners. They can easily break. We scraped the tape off with our nails, but it was starting to turn yellow with age, so it was easier for us.
Well, I hope this DIY Bookshelf Lighting Idea inspired you to bring plants into your dark room to enjoy the clean air. Please join in the conversation by leaving a comment. Would you try this DIY Project in your home? Have you done it before?
BEFORE AND AFTER PHOTO
Check out my before and after photos below, where you can see the difference.
Next week, I will share with you my other DIY Bookshelf ideas for my daughter's room, which is north-facing and gets very little light.
Other Related DIY Home Decor Posts:





Leave a Reply