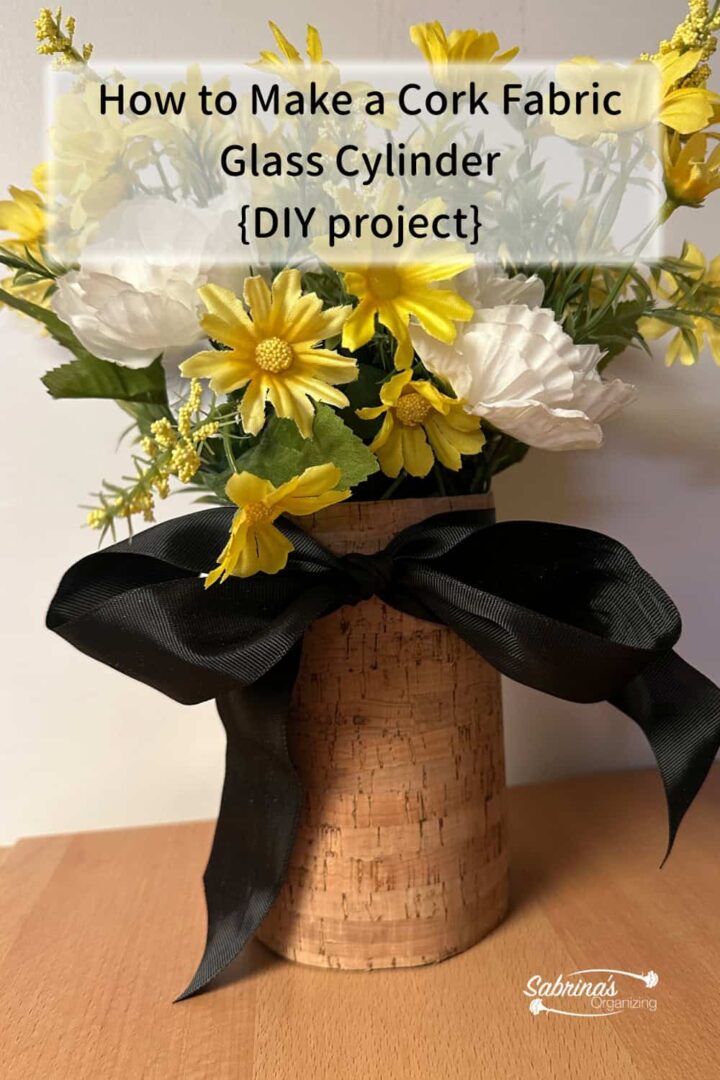
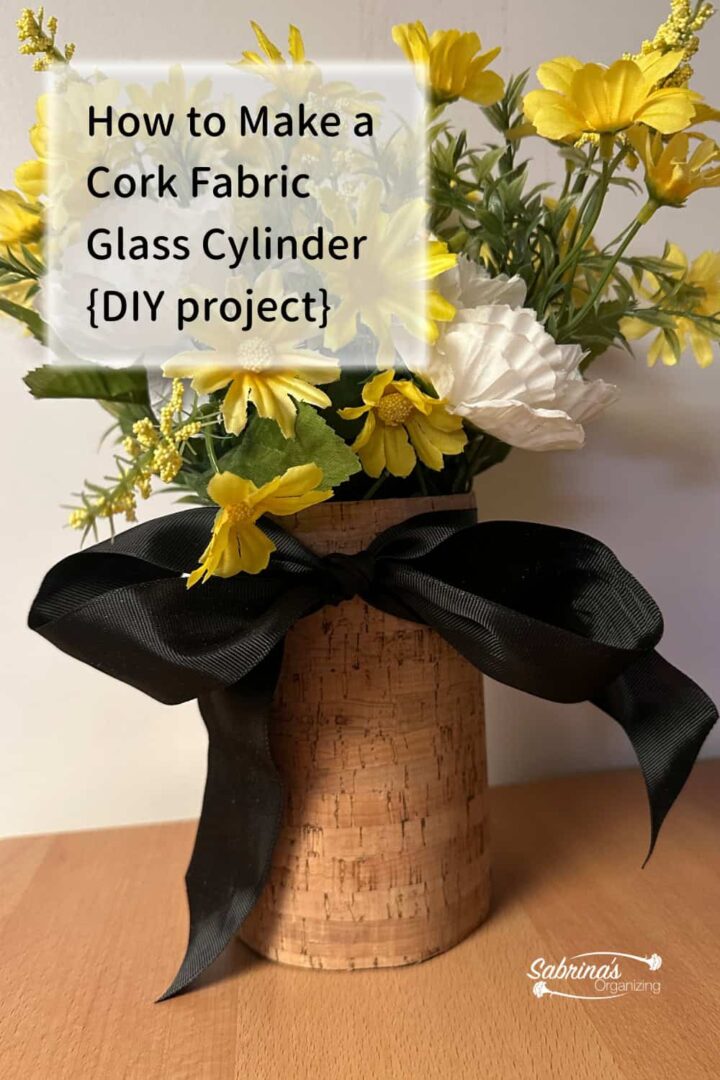
Sometimes we have a glass cylinder that we don't want to part with. It hangs around in our home looking blah, but I think it helps organize things. I'm here to show you another cork fabric upcycling project I recently completed to help address this dilemma. I had a glass cylinder that I used as a vase, which I received from flowers given to me by a family member. I wanted to dress it up, so I decided to add this unique cork fabric. Follow the Cork Fabric Glass Cylinder DIY Project step-by-step instructions below to review.
If you haven't seen my other cork fabric project, feel free to check it out here. In this project, I used a tin can (soup can).
Jump to:
- What inspired me to undertake this Cork-Style Glass Cylinder Upcycle Project?
- What supplies did I use to make this Cork Fabric Glass Cylinder DIY Project?
- BEFORE
- How much did it cost to make this Cork Fabric Glass Cylinder DIY Project?
- How long did it take to make the Cork Fabric Glass Cylinder DIY Project?
- How did I make this Cork Fabric Glass Cylinder DIY Project?
- The Big Reveal
What inspired me to undertake this Cork-Style Glass Cylinder Upcycle Project?
I love this new cork fabric I found. It is very durable. I also didn't care for the clear glass vase, but I thought it would be great to update it.
What supplies did I use to make this Cork Fabric Glass Cylinder DIY Project?
I used the same supplies as the other tin can cork fabric post. Supplies used:
- 2-inch Black Ribbon about 2 feet long (Amazon (affiliate) affiliate)
- Glass cylinder Vase (Amazon (affiliate) affiliate) - this page shares a variety of sizes
- 1 yard of Natural Cork Fabric by The Yard (Amazon (affiliate) affiliate)
- Gorilla Glue Clear grip bonds (Amazon (affiliate) affiliate) to metal and glass
- Fabric scissors (Amazon (affiliate) affiliate)
These are affiliate links through Amazon (affiliate). At no additional cost to you, I will earn an affiliate commission if you decide to make a purchase.
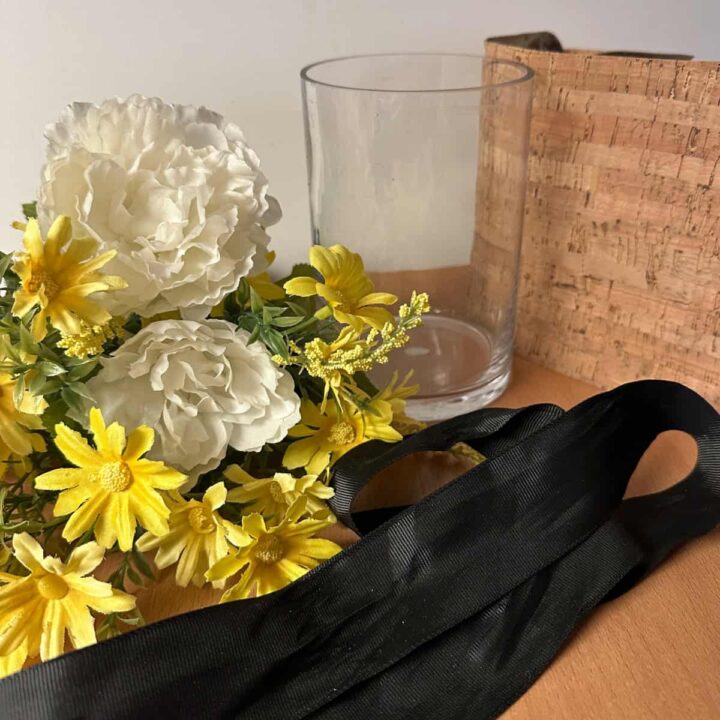
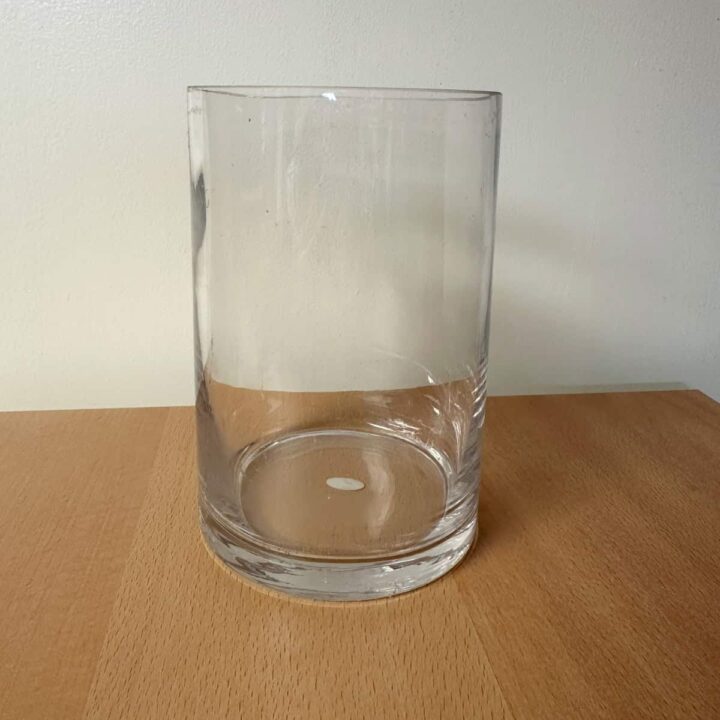
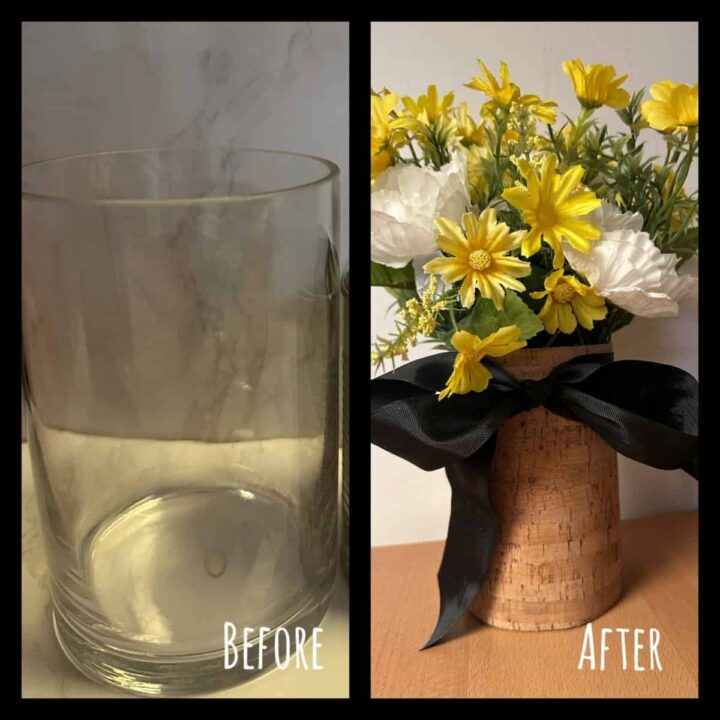
BEFORE
And, here is the Before image for the glass cylinder. It is very simple and not much about it since it was the standard type for flowers.
How much did it cost to make this Cork Fabric Glass Cylinder DIY Project?
This project only cost me about $5.00. The fabric was part of the yard I purchased to use for both of these projects.
How long did it take to make the Cork Fabric Glass Cylinder DIY Project?
This project took me about 15 minutes to complete using the simple steps outlined below.
How did I make this Cork Fabric Glass Cylinder DIY Project?
First, clean the vase both inside and out. Let dry completely. Then, cut the fabric the length of the glass cylinder. This glass cylinder vase measures 6 inches in length and 4 inches in diameter. Then, cut it to the length so it fits the vase.
Then, add the glue to one side and work your way around the glass cylinder, applying glue as you go. Adding to the top and bottom of the cylinder as well.
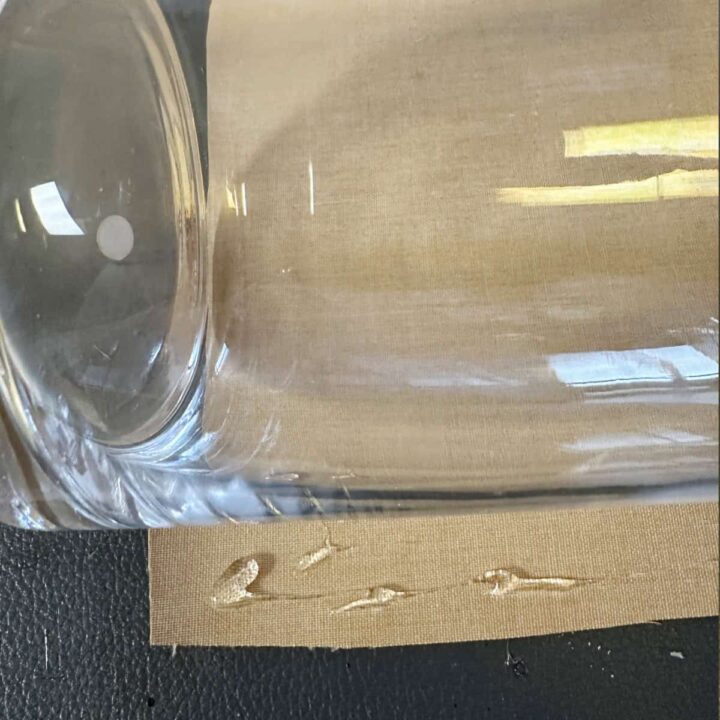
This is what it looks like when I finished gluing it.

I then added a 1-inch black ribbon around the center of the cylinder and created a bow.
Next, I added silk flowers to the inside for a finished look. If you want to organize your belongings, you can use it to store paintbrushes (affiliate) or other long items. It will hide the items, but you can easily access them from the top.
The Big Reveal
And this is what the cork fabric vase looks like; I love it. You can't even tell that it is a glass cylinder. Below is the before-and-after view.
Visit our other DIY Upcycling Projects