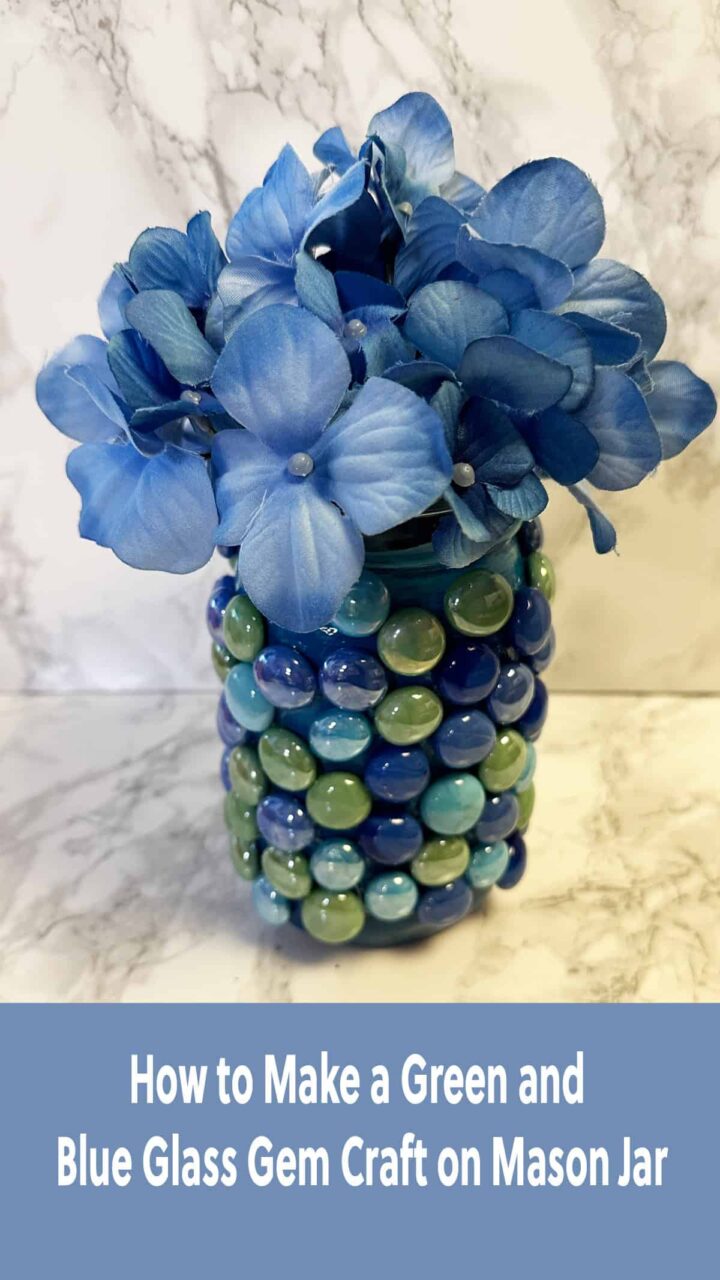
Mason Jars (affiliate) are a great way to store items. They are super handy and easy to decorate if you do not want a simple clear jar storing your things. Today, I am going to show you another way to decorate a mason jar (affiliate). These green and blue color gems are so pretty and really stand out on this glass jar.
Jump to:
- What inspired me to do this Blue Glass Gem Craft on Mason Jar project?
- What supplies did I use to make this Blue Glass Gem Craft on a Mason Jar project?
- How much did it cost to make this craft project?
- How long did it take to make this craft project?
- How did I make this craft project?
- The Big Reveal
- Tips on making this Green and Blue Glass Gem Craft on Mason Jar
- Recent DIY Craft posts:
What inspired me to do this Blue Glass Gem Craft on Mason Jar project?
I purchased these blue and green glass gems when they were on sale and haven't used them yet. They are so pretty and with a flat back, I knew they were easy to add to a flat surface. So, I decided to try it with a mason jar (affiliate).
What supplies did I use to make this Blue Glass Gem Craft on a Mason Jar project?
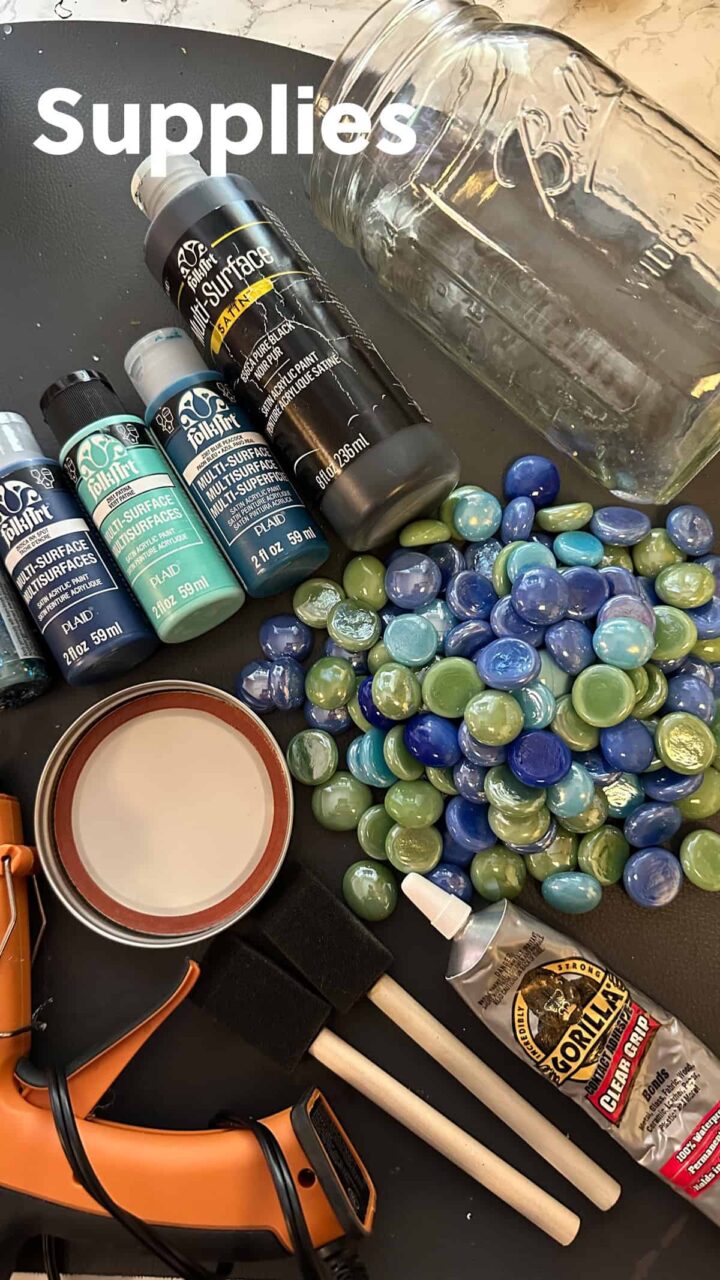
The collection of supplies below are pretty standard. If you do craft projects, you may have them in your craft area.
Supplies used:
- One wide-mouth mason jar (affiliate)
- 1 Jar of Blue and Green Gem Value Pack By Ashland™ (affiliate)
- Acrylic Paints (affiliate): Ink Spot, Blue Peacock, Patina, etc.. I used three colors.
- Sponge paint brushes (several)
- Gorilla Contact Adhesive Clear Grip (affiliate) - Bonds with Metal, Glass, Fabric, Wood, Ceramic, Leather, Paper, Plastic, and more.
- Optional: mason jar (affiliate) lid with black acrylic paint (affiliate).
- Optional: Hot Glue Gun (affiliate) and glue stick (affiliate) to adhere the metal sides of the lid to the top of the lid. Or you can use the Gorilla Contact Adhesive Clear Grip product.
- Optional: Shiny Green Washi Tape (affiliate)
Please note these are affiliate links through Amazon (affiliate) and at no additional cost to you, I will earn an affiliate commission if you decide to make a purchase.
How much did it cost to make this craft project?
This project cost me very little, about $5.00, for the mix of paints. I ended up using the rest of the paints for other projects.
How long did it take to make this craft project?
It took me about 12 hours including drying time over 4 days.
How did I make this craft project?
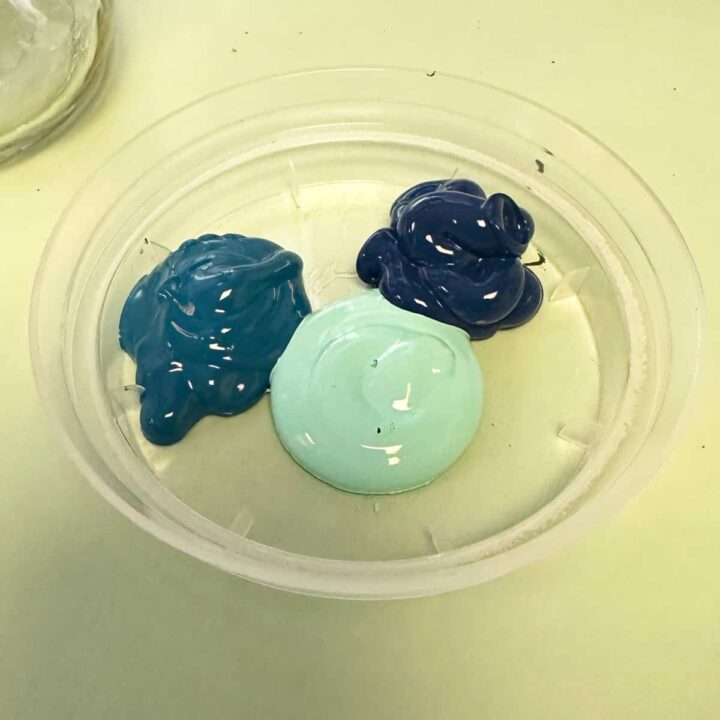
First, line up a dab of the different colors of acrylics (light blue to dark blue listed above) on your palette.
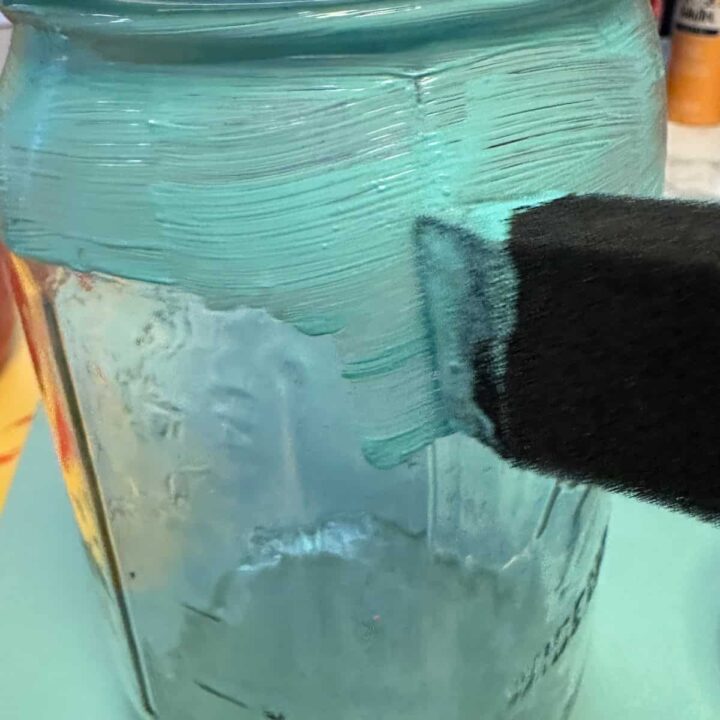
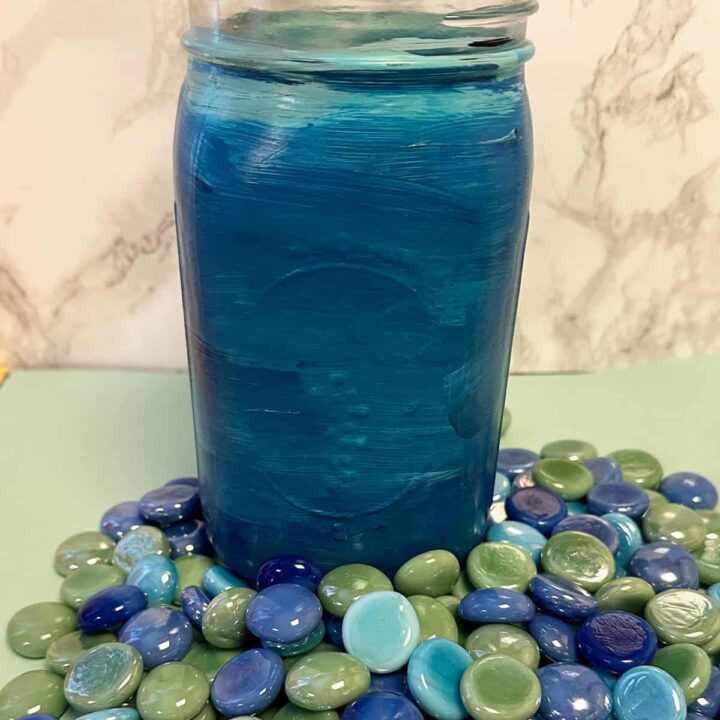
With a brush paint the lighter blue at the top of the mason jar and work your way down to the darker blue near the bottom of the jar. It will look like this. Then, let dry. you will not need a second coat.
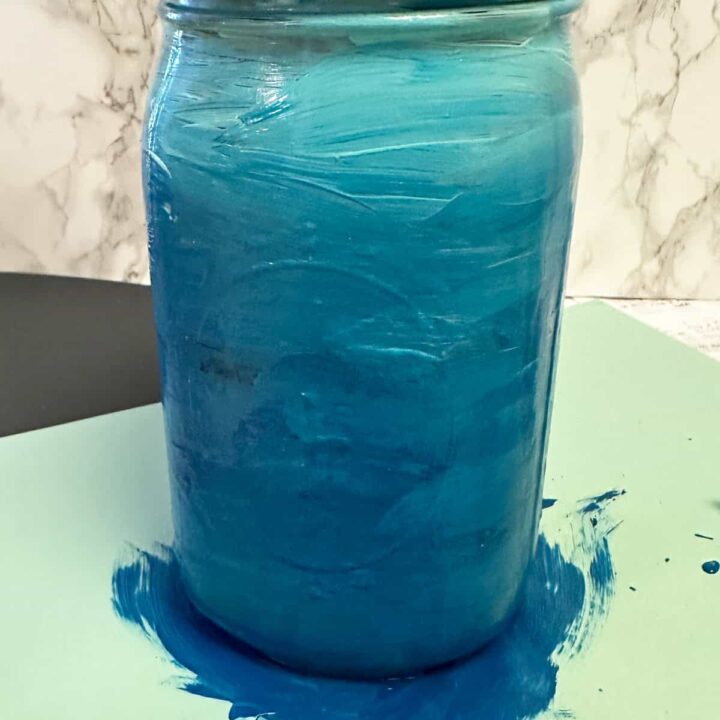
Here is what the mason jar (affiliate) looked liked after the paint dried.
PICK A PATTERN OR NOT.
Then, figure out your pattern if you want. I had enough gems so I did not need to pick a pattern.
To pick a pattern or just add the gems to the jar, do the following.
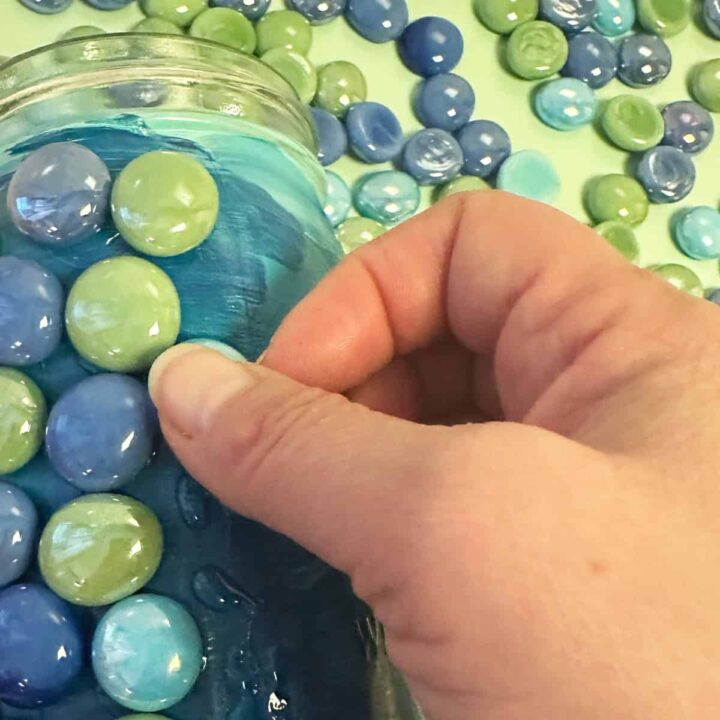
I laid my mason jar (Affiliate Link) on its side. With plenty of gems, I started using the clear Gorilla glue to the back of the gems and added them to the mason jar (Affiliate Link) in rows, letting it dry and set for about 10 minutes, then continuing around the jar. I did one side at a time. Waited a day, then did the other side. It took me about four days to ensure the gems would be completely dried before doing the other sides.
Optional: This is the same step as my other mason craft project. I did recently, if you want to use the mason jar (Affiliate Link) lid, you will need to glue them together BEFORE painting them with the black acrylic paint. Add a bead of glue with the clear gorilla glue around the inside edge of the mason jar(Affiliate Link) lid. Then add the middle inside and press down. Wait for it to dry for an hour then paint it black with a sponge paint brush. Let dry and paint a second coat. Then place aside.
If you want to add a Washi Tape (affiliate) to the edges of the lid, you can do that too.
The Big Reveal
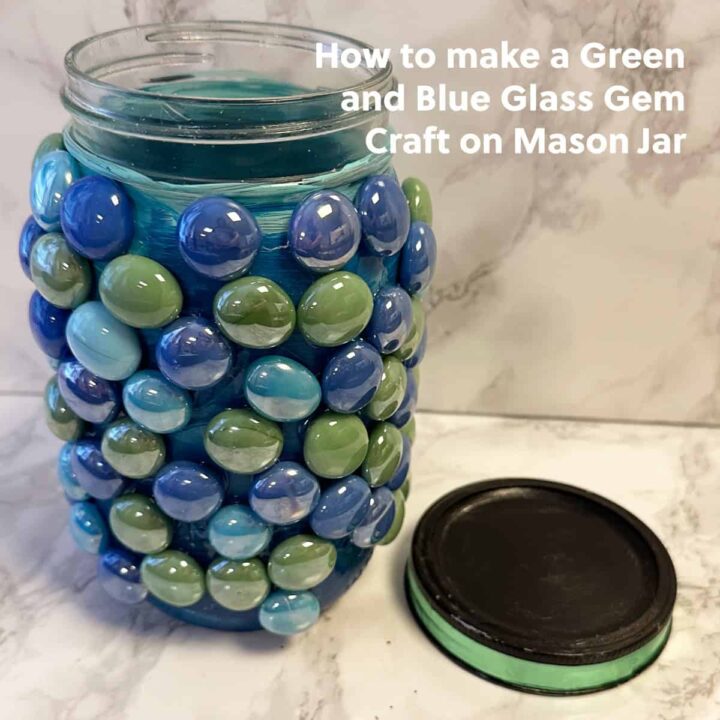
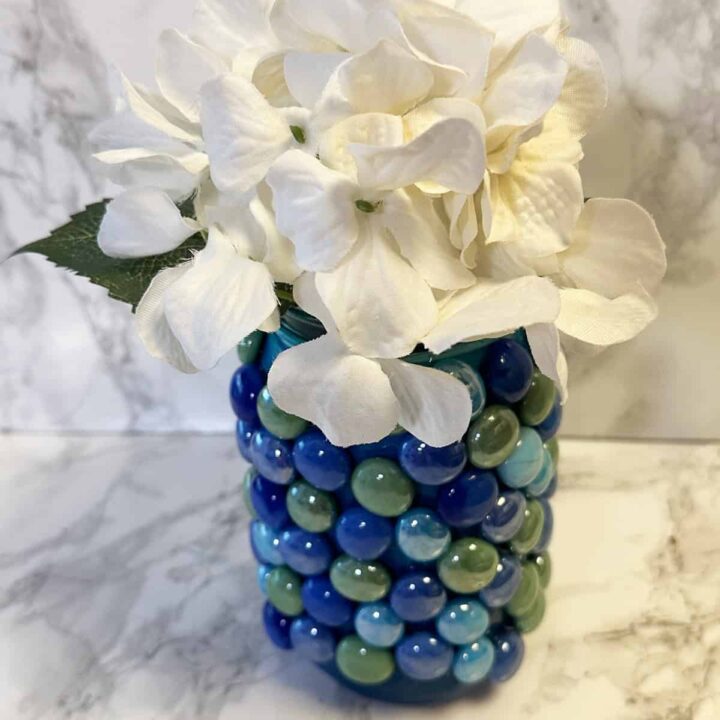
Doesn't this Green and Blue Glass Gem (affiliate) Craft on mason jar (affiliate) project look so cute?
Tips on making this Green and Blue Glass Gem Craft on Mason Jar
Below are some tips you need to know when doing this project.
- Be sure to have enough gems that will cover the entire jar otherwise it will looked unfinished, like my orange and yellow gem mason jar project.
- Be sure to stay a few minutes and hold the gem (affiliate) in place after you glue it. It may slide down the side if you don't.
I hope this post inspires you to create your own custom mason jar for when you need to organize small things in your home. Please leave a question below if you do decide to make it. Feel free to check out the recent DIY posts below for your next craft project.
Recent DIY Craft posts:
