Getting a cheap tray for a coffee table (affiliate) is a great way to hold items and beverages while keeping your table clean. I bought this tray over ten years ago. It is out of date. I decided to update it so I can use it in my newly painted living room. Here's how I transformed it. It's super easy to do, and I hope you try it too.
Jump to:
Before
The tray below is lacquer, and it needed an update. I got it at a discount store.
Stuff you need to make an updated serving tray:
Old Wood Tray
Chalk Paint - Grey - your favorite brand
Your favorite stencil - I found this one at A.C. Moore
Yellow, Blue, and Green Acrylic Paint that works on wood
Tools (affiliate) needed to make this project:
Painters Tape (affiliate)
Sponge brushes (disposable)
Stippling Sponge Brush-3 (disposable)
3 Paper plates
How to update an outdated tray?
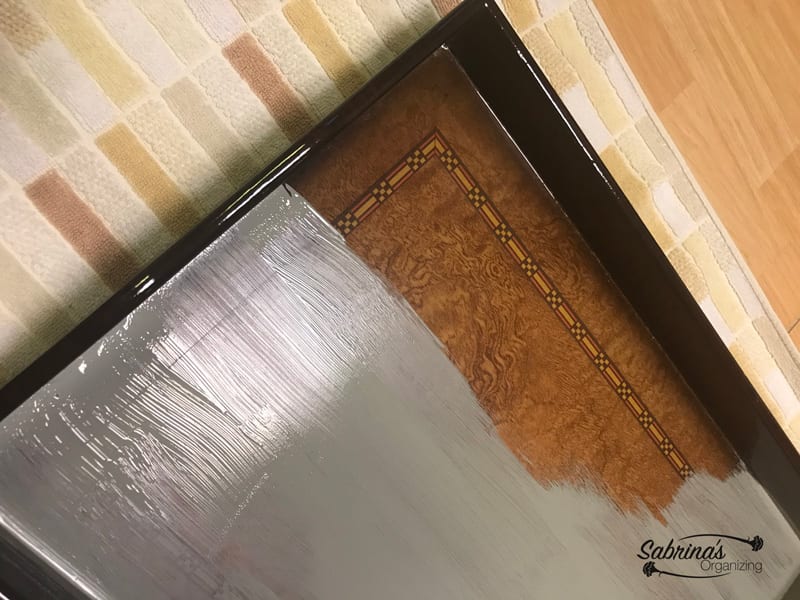
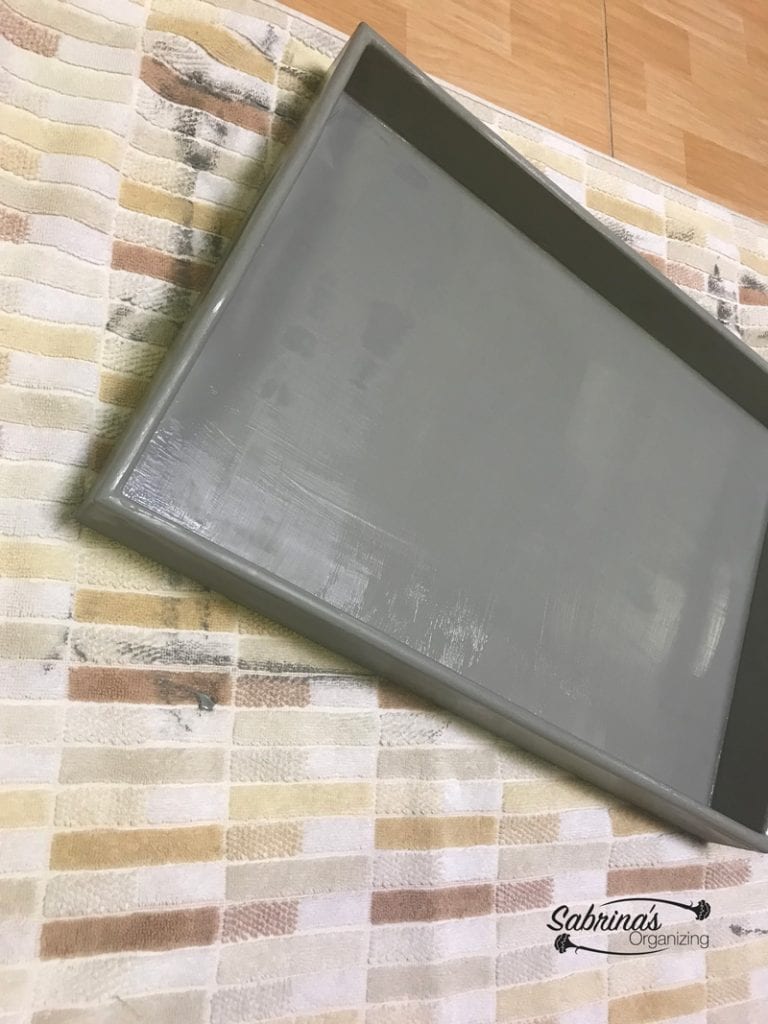
First, start with prepping the area. Then, add the tray you want to paint. Stir the chalk paint with a stirring stick. Using the sponge brushes, paint the top and sides of the tray. Wait till it is dry, then paint the bottom. Let dry again and then repaint the inside and top if you need an extra coat. Let dry. I waited a day or so before doing the stencil part.
Now, add the stencils. First, I cut each stencil into smaller pieces so I could easily maneuver it inside the tray area. Use painter's tape (affiliate) and affix the stencils flat on the tray. Randomly place the stencil on the tray.

How to add the stencil pattern to the serving tray?
On a plate, add two tablespoons of acrylic paint-one color per tray. Using a stippling sponge brush (one for each plate), lightly add the paint to the brush. On the area of the plate that doesn't have paint, dab the brush to reduce the paint. This will help reduce the bleeding that may happen when you add the paint to the stencil. Apply the paint to the different stencil patterns. I used three colors, but you can use as many as you like. Let dry completely. Add beeswax or any wax you prefer. Let dry completely.
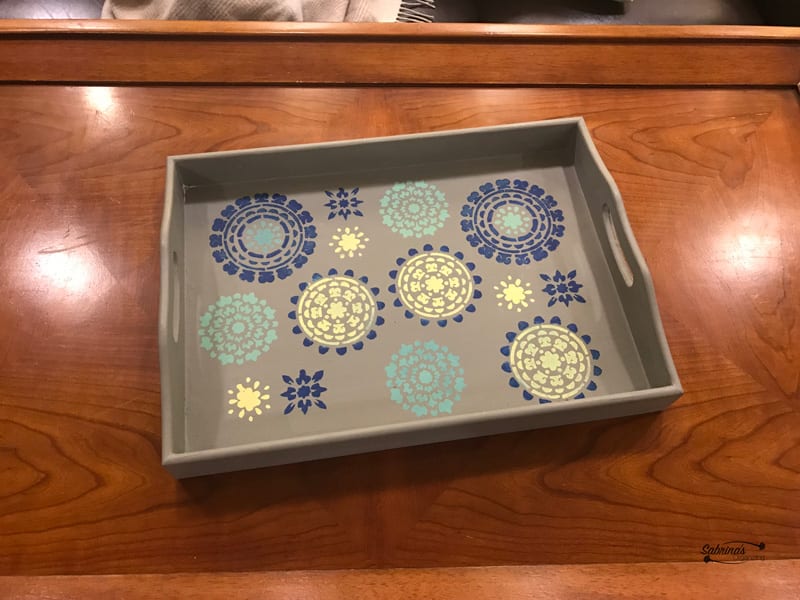
Reveal
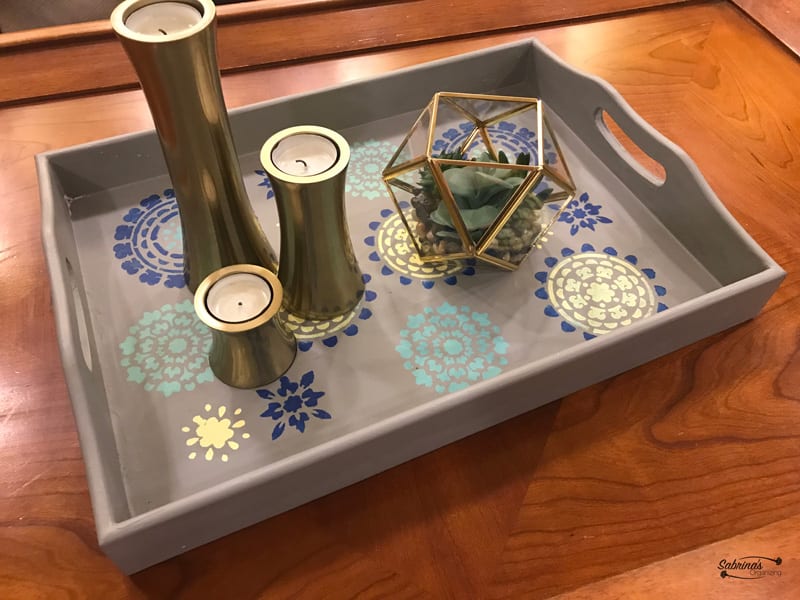
Here's the finished product. What do you think? I love it! I bought a three-pack of brushed gold candleholders and a silk succulent brushed gold bowl to place inside the tray and put it on my coffee table (affiliate). It looks great!
Oh, and feel free to check out the second update of this exact tray: How to Decorate a Tray with Pressed Flowers using Mod Podge - I hope you enjoyed this simple post and will share it with anyone you know who enjoys doing DIY paint projects.
Visit our other DIY updating projects!


Janet Barclay says
This is so clever and looks easy enough even for me! It's usually easier to just replace worn out items with something new, but I find I'm less interested in doing that as I get older. Giving them new life is not only better for the planet, but it means that money can go towards something else that may be needed.