Recently, I updated my post about how we transformed our small family room into a focal wall with ample storage. I wanted to share with you the update we made because the heater stopped working. Rest in peace. We relocated the heater to the other wall and installed a split unit, which is now vented to the outside. The fresh air in the space is wonderful and helps keep the air cleaner. We are so happy with it, but then we had a huge hole in our stone wall. A huge hole in a stone wall is not ideal. What to do, what to do? Well, we needed to be a little creative. So, here's what we did for our stone wall hole repair DIY project.
Jump to:
Before Stone Wall Hole
We really liked the stone look, but when we purchased it, we didn't have enough left over to finish this big opening. Additionally, we didn't want to buy more because the color might be off, and that area would be very noticeable. This is what we did to correct the problem.

Tip
Being creative in your solutions. Take a little time and do some research to determine what you want for the opening. Check out Pinterest or HomeTalk to get some inspiration.
Instructions
First, we measured the space (width, height, and depth) and created the box using ½-inch pieces of high-quality wood. Since we decided to stay it to match the mantel, we wanted to use a better quality wood. Here's the box we made. The sizes were done to make it easier to hide the hole edges. Giving it a cleaner look.

Products we used
We used ½-inch wood on the back of the box, but you can use ¼-inch wood. Both are stainable, high-quality wood with little grain.
To add the shelves (affiliate), we screwed through the box into the sides of the shelves (affiliate). Since the sides are hidden, you don't see the screws at all.
To attach the front to the box, we decided to use decorative nails to hold the skirt around the box.

Then, we dry fit it into the hole. It worked nicely. We then, took the photo to the home improvement store to match the stain.

Pick a Stain and patch up holes
After, picking up the stain, we patched the nails.

Then, we got to work and stained the box. Doesn't it look great? I added a few coats of the stain to darken it and have it match the mantel.

Installed the box to the opening to cover the hole.
We installed the box with screws to the studs in the hole wall opening. It covers the entire box and we were super excited not to see the hole anymore.
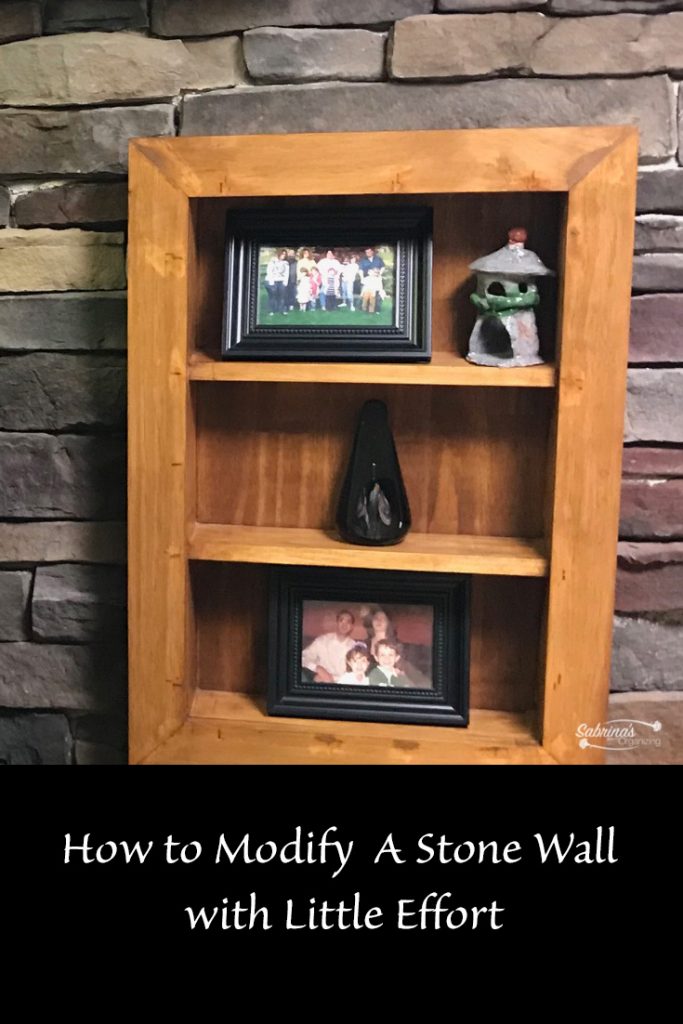
Reveal
This is what our stone wall hole repair DIY project looks like now. It looks perfect and can easily be used to display things to fill up the space. Picture frames, figurines and other things work well on the shelves (affiliate).

Now it's your turn. What do you think? How would you have solved this problem? Please leave a comment below. I would love to hear from you.
Please note the link above is affiliate links through Amazon (affiliate) and at no additional cost to you, I will receive affiliate fees if you click through and decide to make a purchase.
Want some more DIY ideas for your family room? Check out these posts or visit our DIY Projects.
11 Quick Ways to Instantly Make Over Any Room
Interior Stone Wall Transformation in a Small Family Room by Sabrina's Organizing


Leave a Reply