An easy way to organize is to upcycle food jars you already have in your home. Soup cans, yogurt jars, and lots of other things can be used to organize your small things. Today, I am going to show you a cute Oui Jar with Jute DIY Project so you can manage your small things in your home. Follow along and see how easy it is to do this project.
Jump to:
- What inspired me to do this Oui Jar with Jute DIY Project?
- What supplies did I use to make this Oui Jar with Jute DIY Project?
- BEFORE
- How much did it cost to make this Oui Jar with Jute DIY Project?
- How long did it take to make the Oui Jar with Jute DIY Project?
- How did I make this Oui Jar with Jute DIY Project?
- The Big Reveal
What inspired me to do this Oui Jar with Jute DIY Project?
We enjoy the Oui Yogurt since it comes in glass jars instead of plastic ones. Instead of recycling these cute jars, I wanted to repurpose them to organize my small things, like earrings.
Check out my other Oui Yogurt Home Decor DIY project I did earlier.
What supplies did I use to make this Oui Jar with Jute DIY Project?
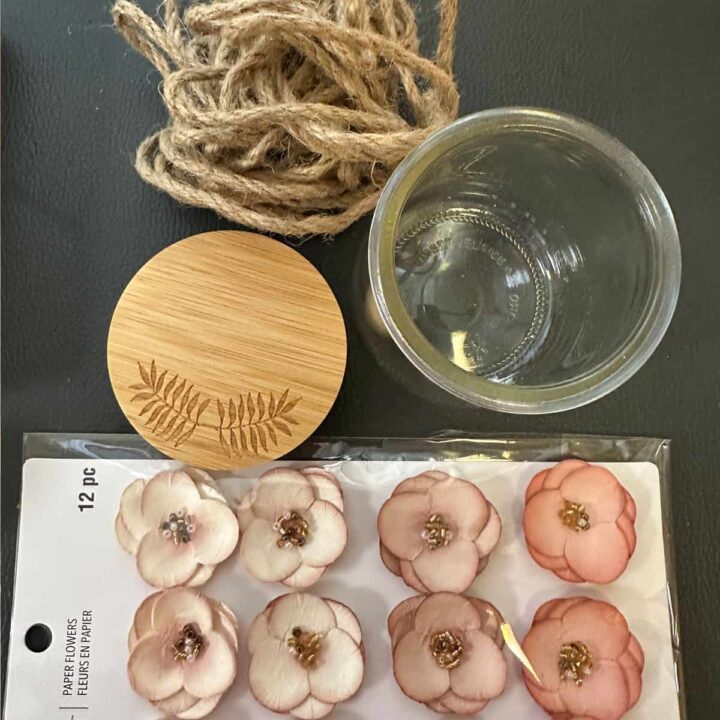
Supplies used:
- 1 Oui Jar - cleaned and dried
- 1 Bamboo Wooden Lids Compatible with Oui Yogurt Jars - these were purchased; I did not make them.
- Jute rope 4 mm - natrual color
- Paper flowers for crafts - 1 inch in size
- Hot Glue Gun (affiliate) and glue sticks
Please note these are affiliate links through Amazon (affiliate), and at no additional cost to you, I will earn an affiliate commission if you decide to make a purchase.
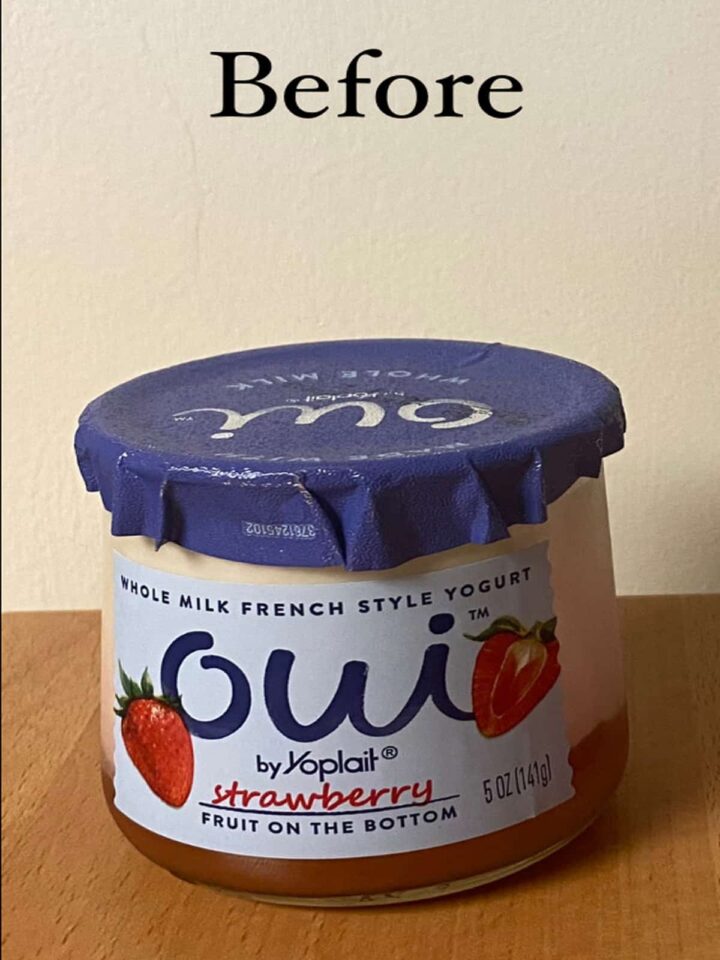
BEFORE
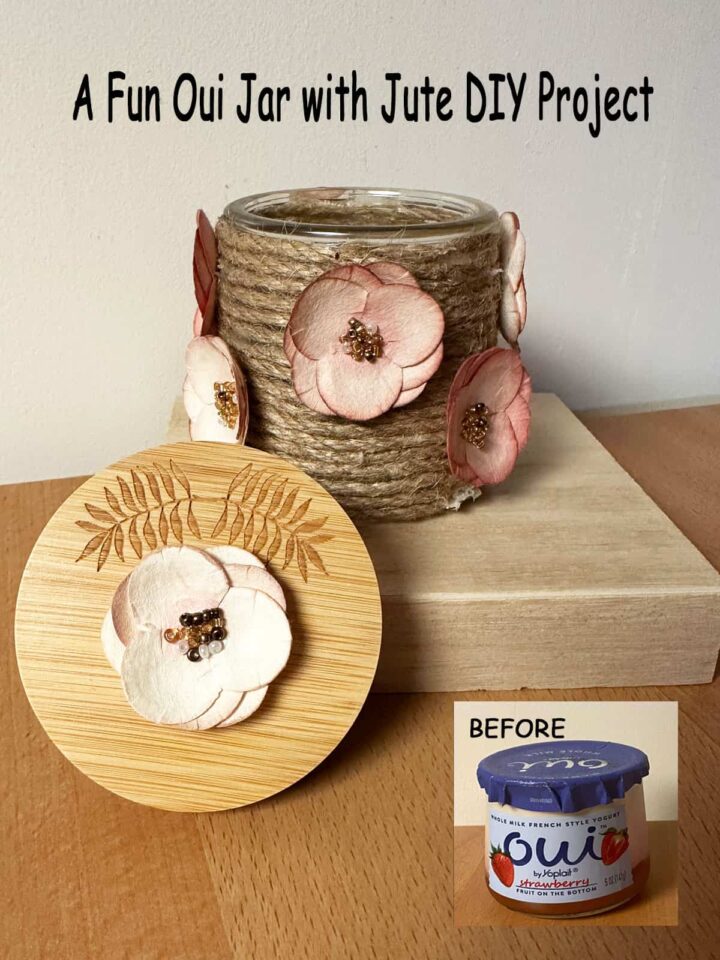
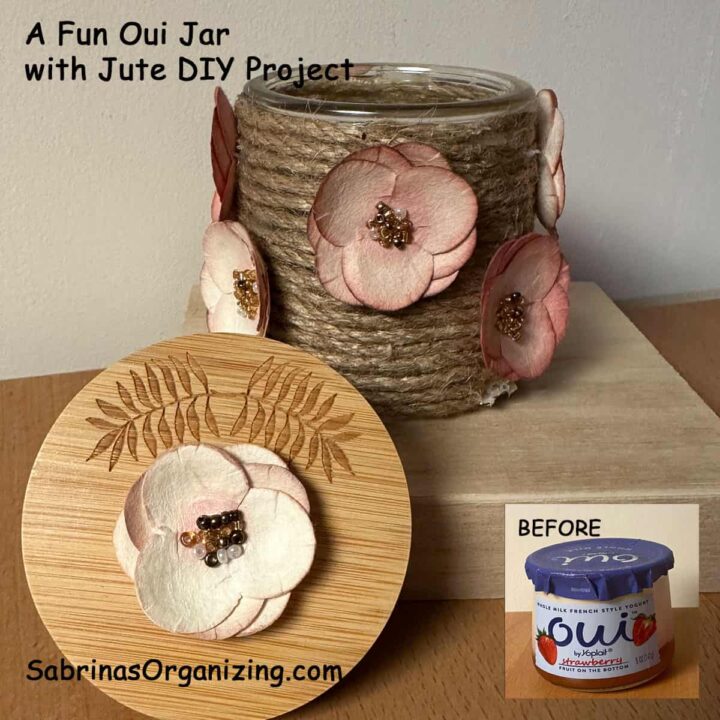
Here is what the jar looked like before I decided to do this DIY craft project.
How much did it cost to make this Oui Jar with Jute DIY Project?
This jar cost me about $3.00 - I already had most of the supplies and just needed to buy the jar.
How long did it take to make the Oui Jar with Jute DIY Project?
This project took me about 1 hour to do because I used a hot glue gun (affiliate).
How did I make this Oui Jar with Jute DIY Project?
First, clean the Oui Jar and make sure it is completely dry. Starting from the top, add a small bead of hot glue and add the "low temperature" hot glue using your glue gun (affiliate).
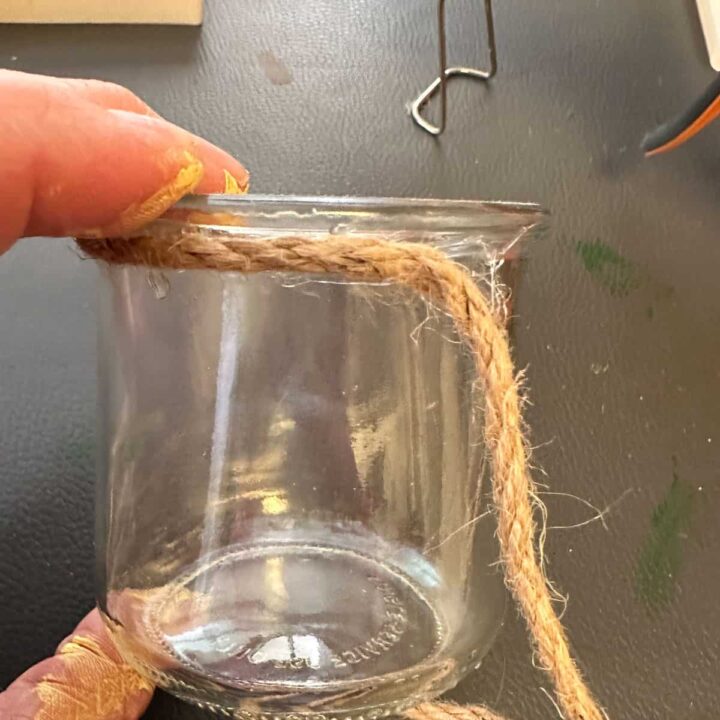
Continue until you get very close to the bottom. Be sure to tighten the rope against the above row as you go around and down the jar. Be sure to add enough at the bottom to cover the end of the jute rope so it doesn't fray.
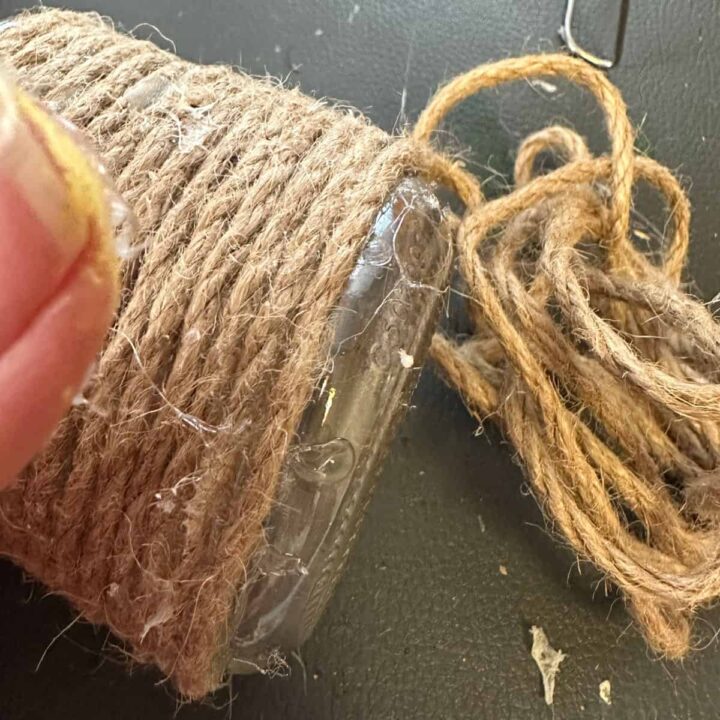
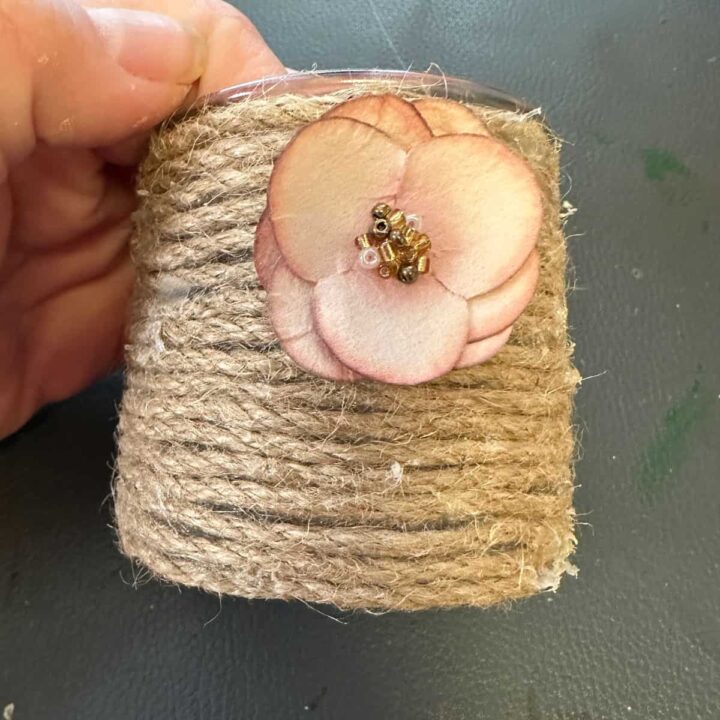
Now, it's time to add the paper flowers. I added a drop of hot glue to the back of the flower and affixed it to the rope. These can be placed in a variety of orders. I decided to do a diagonal pattern over the top of the jute rope rows. I worked my way around the jar.
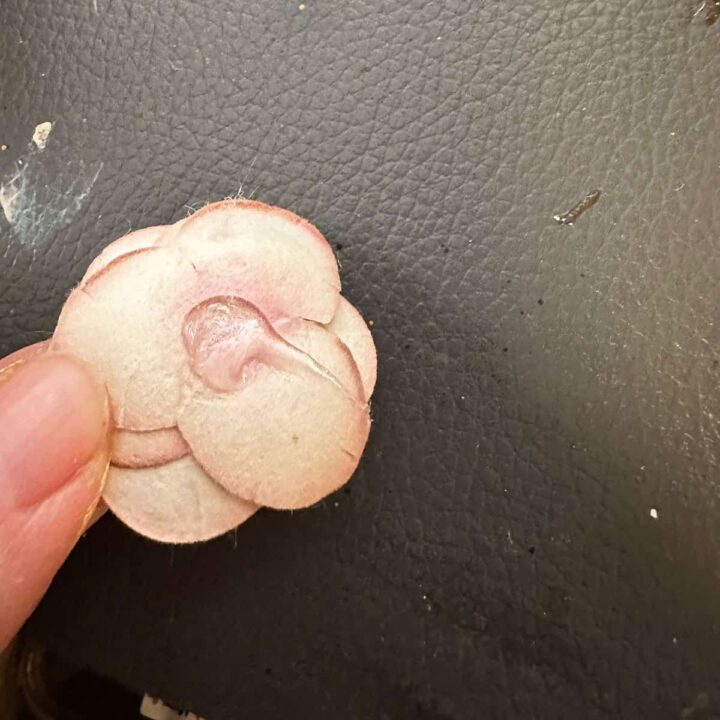
Next, I added a paper flower to the top of the Oui Jar lid.
The Big Reveal
This Oui Jar with Jute DIY Project looks so cute.
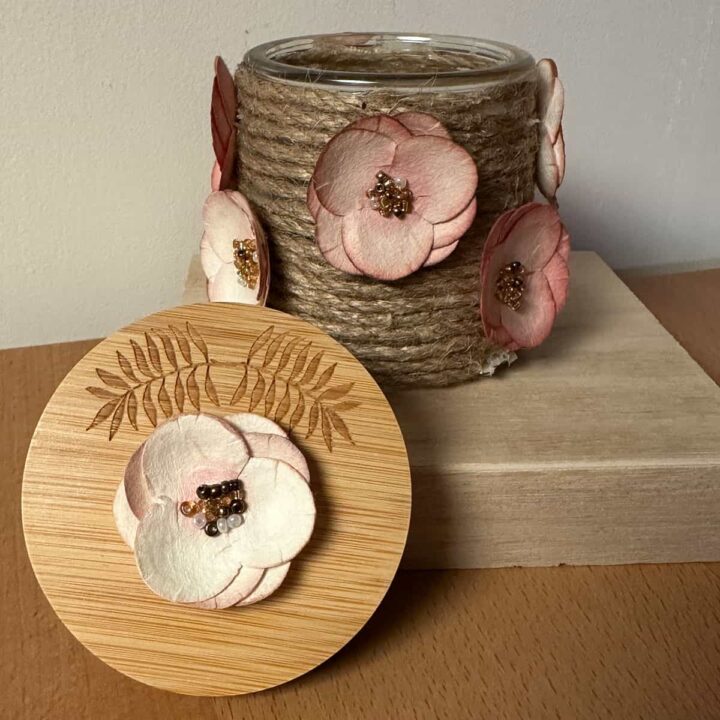
I hope this inspires you to reuse the Oui Jar and use it to get organized. Happy crafting and organizing!
Visit our other DIY Organizing Crafts Projects:
