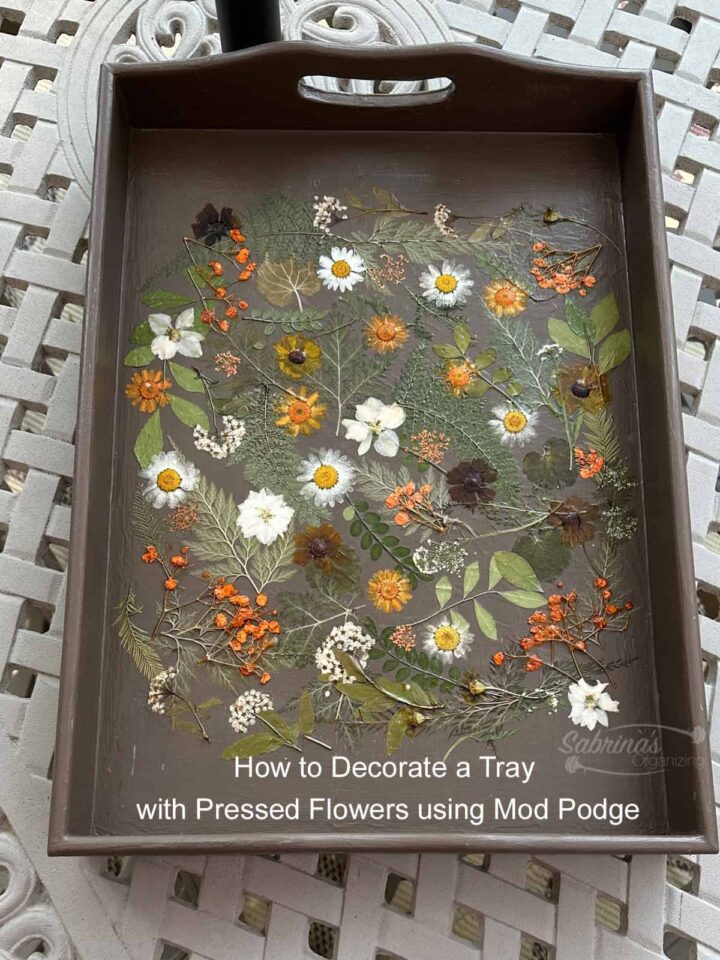
Already-made pressed flowers can be used for many things. I am going to show you a way to use pressed flowers with Mod Podge (affiliate) to upscale your tray. This DIY project is easy with a few different supplies you probably have in your craft area right now.
Jump to:
- What inspired me to do this pressed flowers Mod Podge tray project?
- What supplies did I use to make this pressed flowers Mod Podge tray project?
- How much did it cost to make this project?
- How long did it take to make this tray transformation?
- How did I make this pressed flowers Mod Podge tray DIY project?
- The Big Reveal
- Where to place this DIY Tray to stay organized?
- Here's the video if you want to see the transformation!
What inspired me to do this pressed flowers Mod Podge tray project?
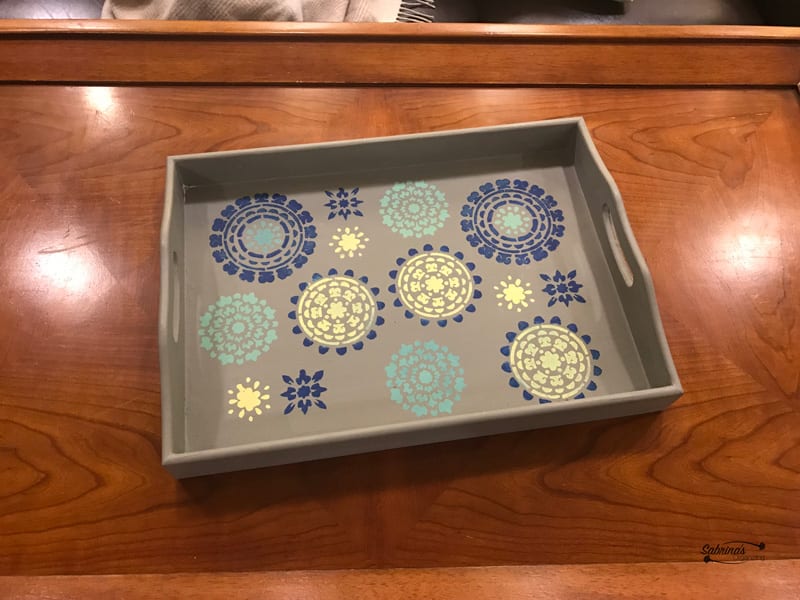
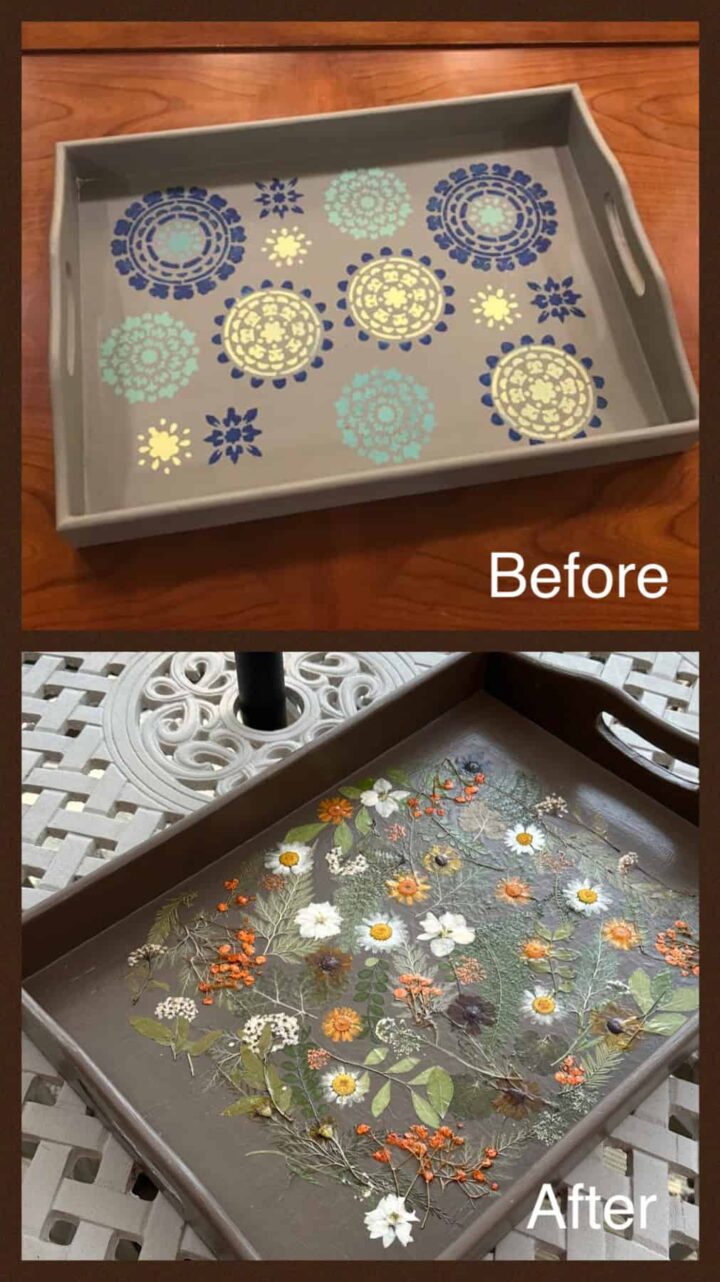
Some years ago, I modified a very outdated lacquer-style tray (click here to see the DIY Project), updating it with gray chalk paint and stencils. Now, it's time to update the tray again, and I decided to use pressed flowers and Mod Podge (affiliate). The tray below is the before picture. It was nice, but I felt it was dated and wanted to escape the color gray.
What supplies did I use to make this pressed flowers Mod Podge tray project?
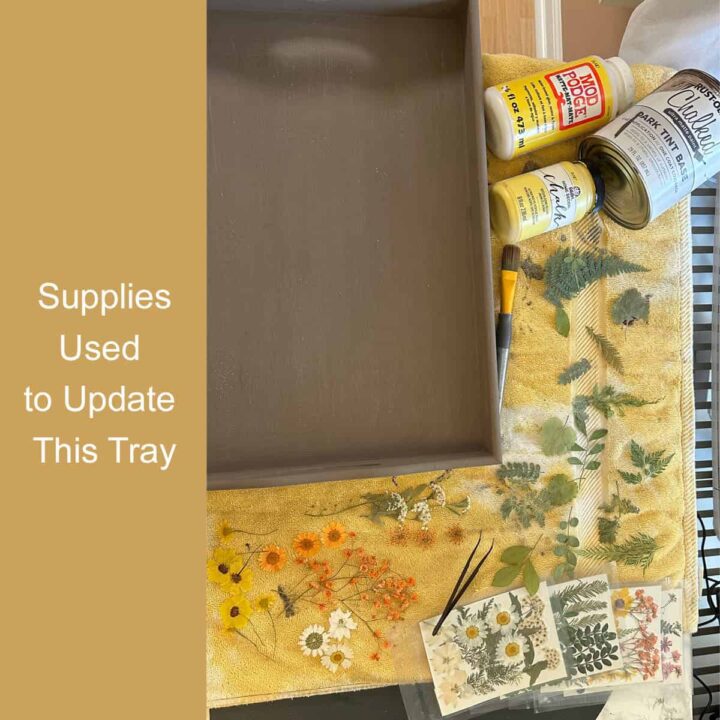
There are only a handful of supplies needed for this DIY tray project.
Supplies used:
- Wood sturdy Tray
- Rustoleum Dark Tint - Cocoa Bean
- FolkArt Home Decor Chalk 36233 Blazing Yellow Matte Paint by Plaid
- Pressed flowers (Nuanchu Pressed Flowers Bulk Dried Flower for Crafts, Dried Flower Leave Natural with Tweezer for Resin Mold Scrapbooking DIY (Fresh Style)- 2 packs
- Mod Podge for attaching the pressed flower and sealing the flowers and chalk paint
- Paintbrush (affiliate)
If you want to make your own pressed flowers, here's a popular post from Better Homes & Gardens.
Please note that these are affiliate links through Amazon (affiliate). If you decide to make a purchase, I will earn an affiliate commission at no additional cost to you.
How much did it cost to make this project?
For this project, the pressed flowers cost $20.00, but I had all the other things in my craft area.
How long did it take to make this tray transformation?
It took me about 12 hours, including drying time.
How did I make this pressed flowers Mod Podge tray DIY project?
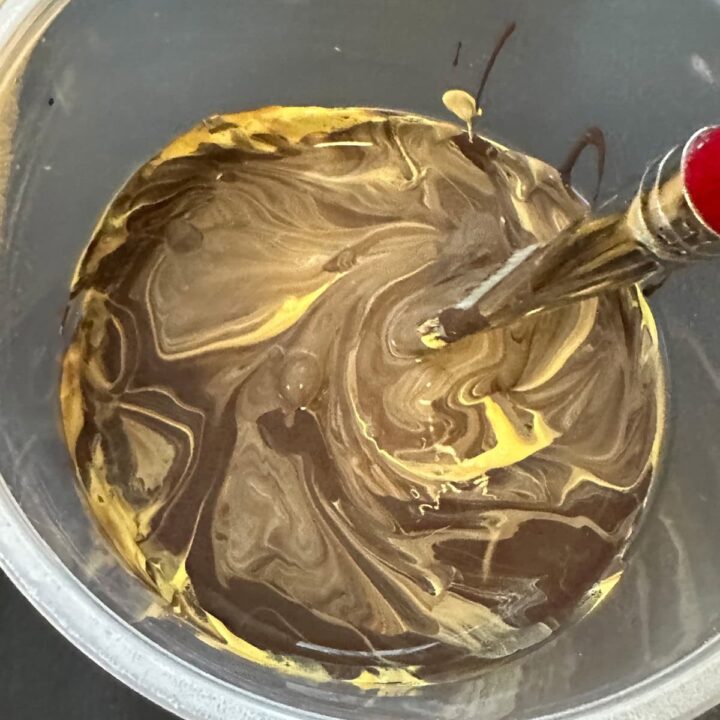
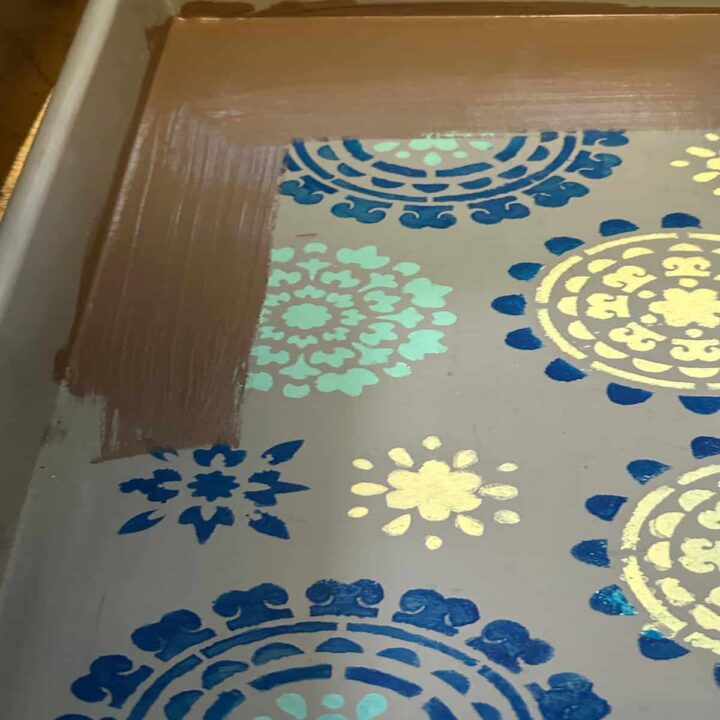
First, I mixed the brown with a little yellow to warm it: 1 part yellow to 3 parts cocoa bean color. I mixed well and started painting the tray. I painted the top and sides while it was on yogurt containers elevated off the table and let them dry completely. Then, I painted the bottom the same cocoa bean color, so it was complete.
Next, as the tray was drying, I grouped the pressed flowers by color on the desk to easily pick and choose the ones I wanted to use.
Now, I started with the Mod Podge (affiliate). With a paintbrush (affiliate), I added a layer in the center of the tray and pressed the green leaves. Then, I worked my way toward the outside of the tray. I let the green leaves dry before laying the flowers on them. This helped them adhere to the tray and not move when I applied more Mod Podge (affiliate) to add the flowers.
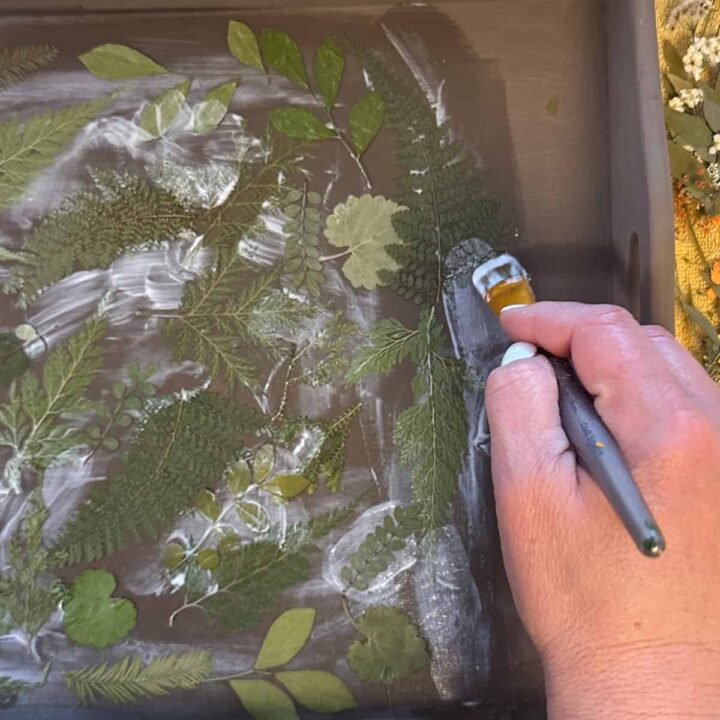
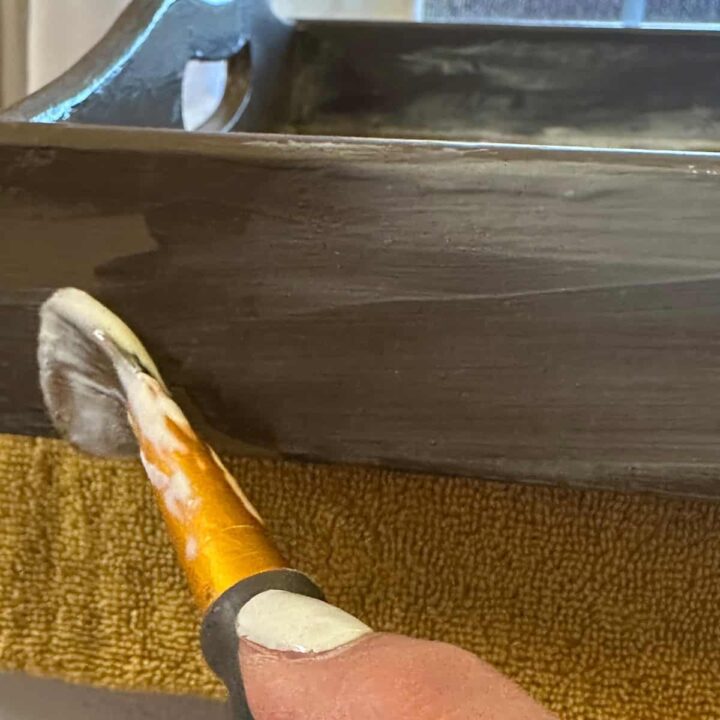
While waiting for the green leaves to dry, I added more Mod Podge (affiliate) around the outside and sides of the tray to give it a final coat of protection for the chalk paint.
Now, I started adding the flowers randomly on top of the greenery, adding a little Mod Podge (affiliate) to help keep them down. Then, as it dried, I added more Mod Podge to seal the sides, bottom, and anywhere I missed and let it dry completely.
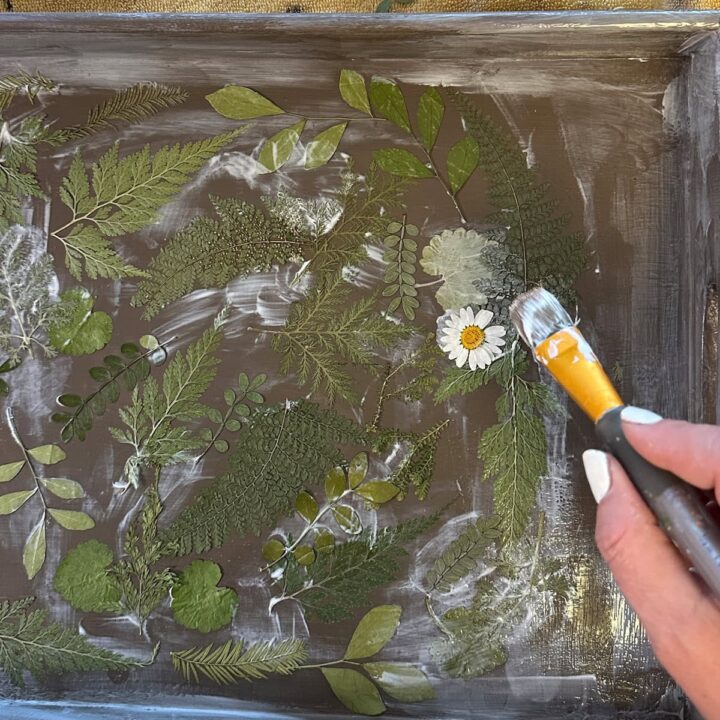
Then, I added an entire layer of Mod Podge to the flowers and greenery, making sure to coat the stems since they were raised slightly. It needed to dry completely-about 2 hours or so.
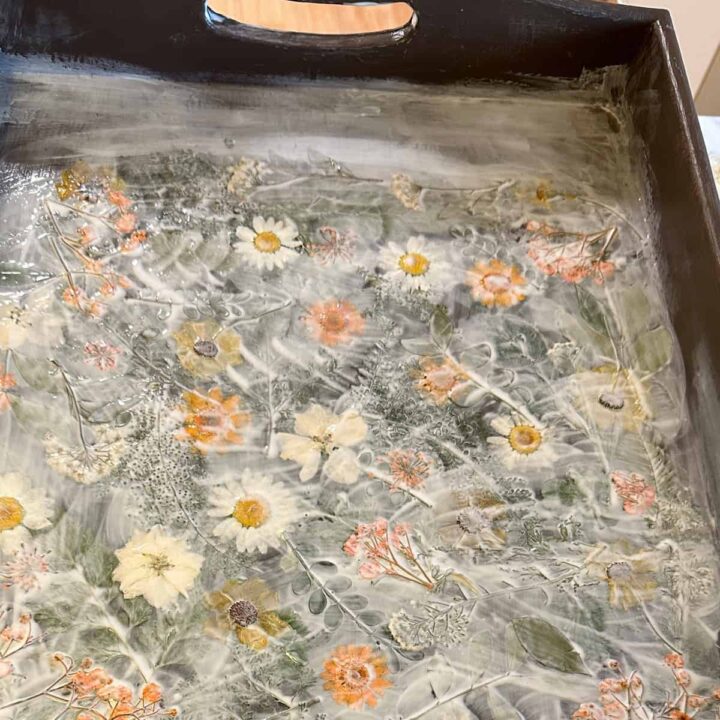
The Big Reveal
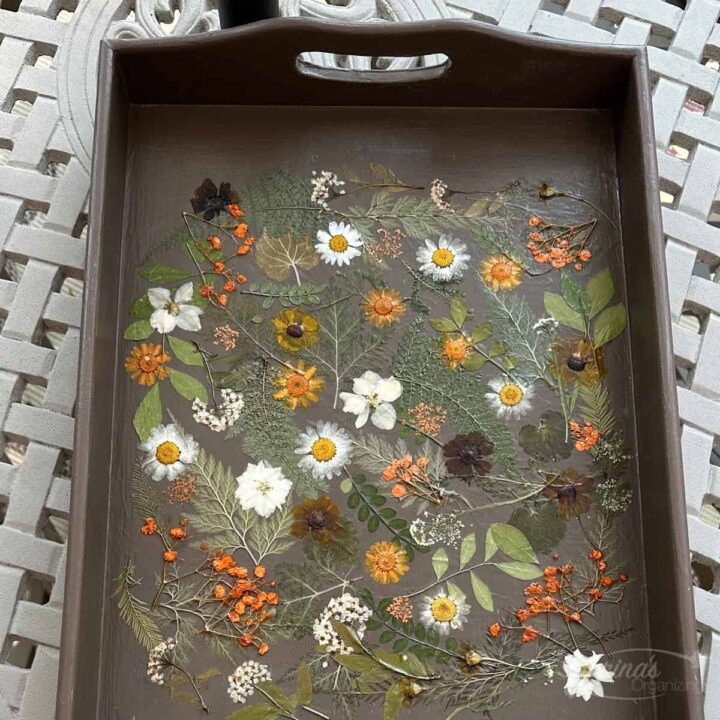
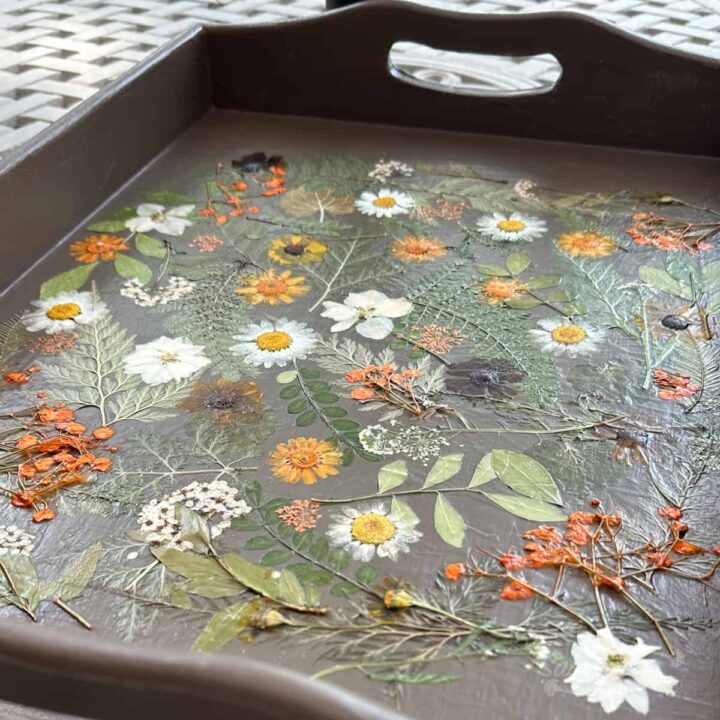
This Pressed flowers Mod Podge tray looks lovely. I love the splash of color and the greenery, which warms the brown tray.
Where to place this DIY Tray to stay organized?
Using a tray like this can contain several unruly items that can add clutter to your home. Below are some areas where you can use this tray to organize your small things.
- Bathroom vanity: Add things like a cotton swab container, Cotton pad container, etc... to make it easier and quicker to clean the surface by moving the tray with everything on it.
- Bedroom: Add all your makeup and hair products to the tray for easy access in the morning. You can also place this tray on top of the dresser or nightstand (affiliate) to hold your frequently used items.
- Kitchen counter: Add things like a cookie jar, vitamin bottles, etc... since they need to be left out anyway. Adding them to the tray will make it easier to clean up the counter by moving the tray.
- Living Room: You can add this tray to the living room table, and it can house your remotes, magazines, etc...
- Home office: Use this tray to hold frequently used items near your desk.
I hope this list of areas to use a tray helps you stay organized in an attractive, useful way. Visit my Organizing Small Things posts for more help on organizing your home.
Here's the video if you want to see the transformation!
I hope this inspires you to update your outdated tray. If you try this DIY project, please share your comments and questions below.
Recent posts - feel free to check it out.



Leave a Reply