If you have visited my blog before, you know I love to do DIY projects. And, as the blog has become more DIY craft-friendly over the year, I found that it has been more critical than ever before to declutter and organize my craft cabinet. So, this post will show how I decluttered and made a well organized craft zone cabinet inside my upcycled armoire, which used to be my father's. Feel free to check out my upcycled armoire project here, from shabby to pretty.
BEFORE CRAFT ZONE CABINET
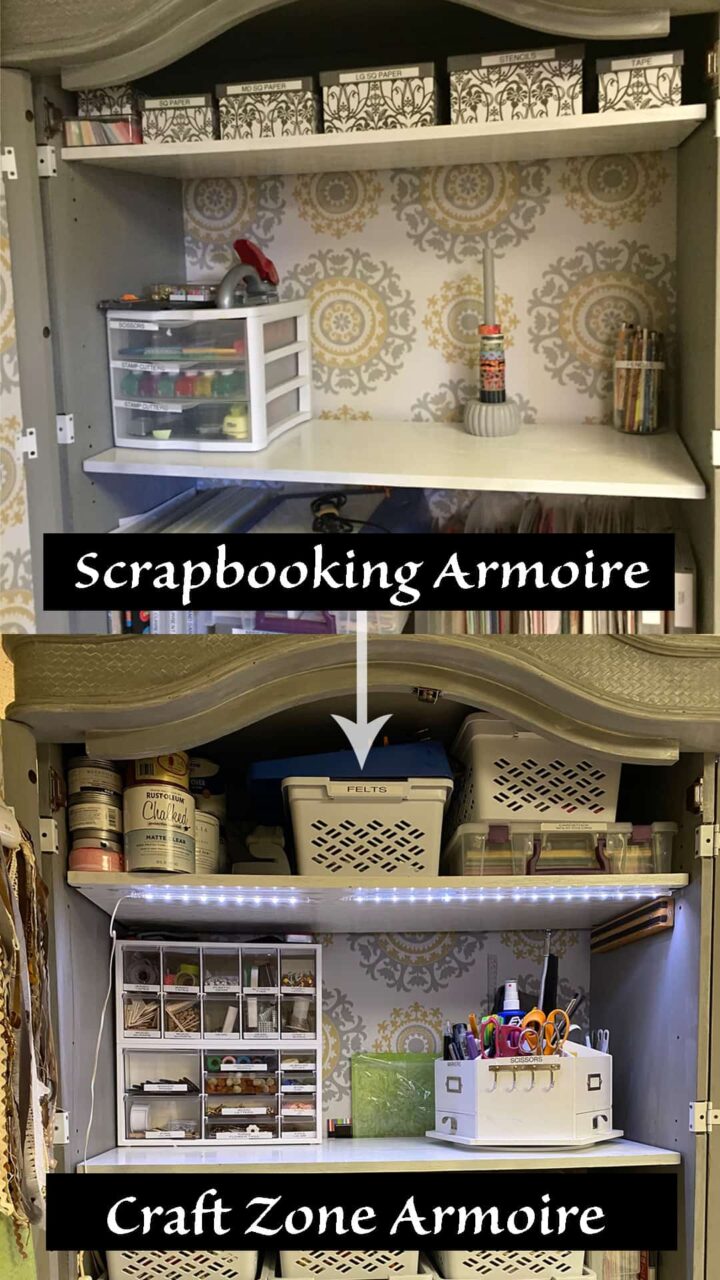
Here is the before scrapbook (affiliate) zone. If you want to learn how I did this one, please visit the post: How to Make a Standing Scrapbooking Station.
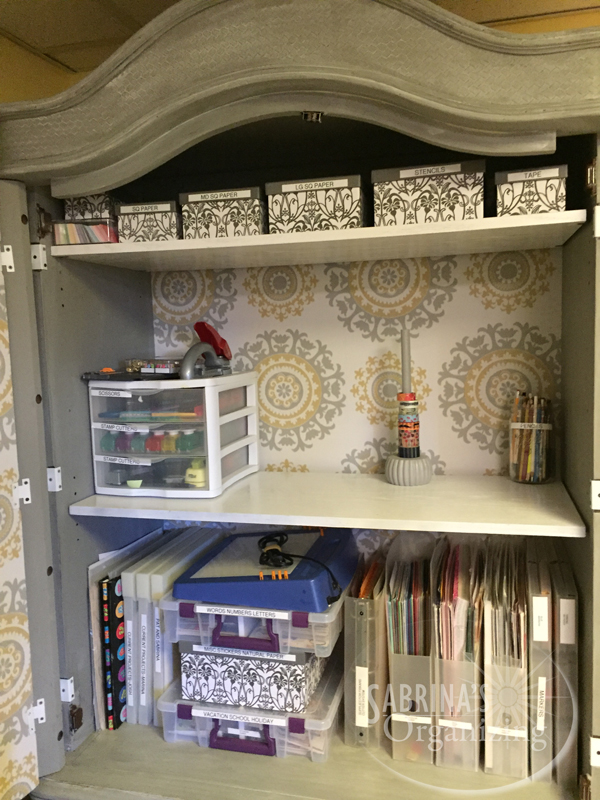
As you can see, it was designed to be a well-organized standing table for making scrapbooks for my kids. But my kids are graduating from college, and I am doing more DIY craft projects. So, this cabinet design has to go.
Jump to:
Supplies used to make this organized craft zone
These items were purchased at a wholesale store (B.J.'s Wholesale Club), where they came in three per pack.
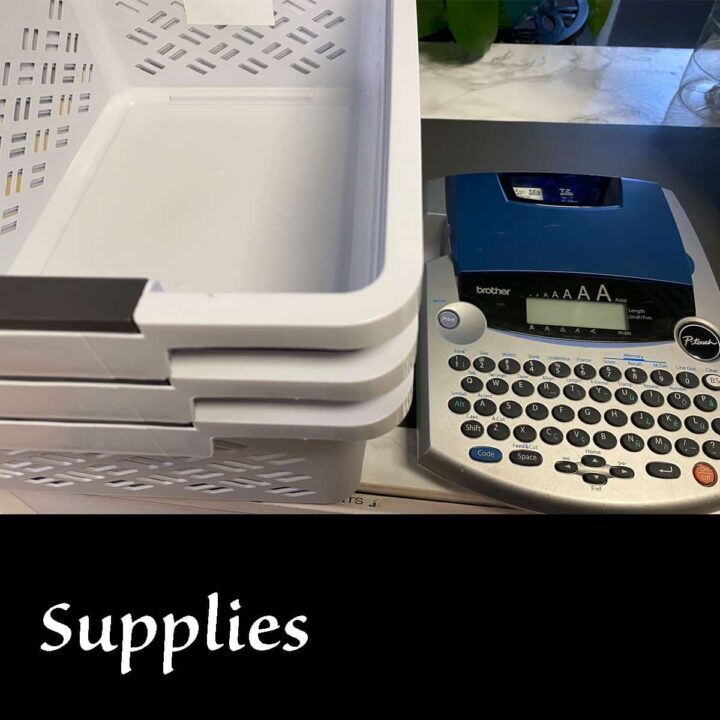
4 - 3 Pack Ezy Storage brickor medium stackable basket size 15x10.6x6.2 inches - fold down clasps for stacking, reinforced design, multipurpose use, BPA free, Food Safe (affiliate), and UV Resistant. **I found this product that is similar on Amazon (affiliate) (affiliate).
1 label maker and Ptouch 16MM black text with white background tape cartridge
*** I am repurposing my other organizing supplies when it was a scrapbooking cabinet.
That's it!
How much did it cost to make this organized craft zone?
Each set of three bins was $9.99, so I spent $39.96. I had the label maker (affiliate) and label (affiliate) cartridges.
How long did it take to declutter this organized craft zone?
It took me about 3 hours to declutter and organize this craft zone because I revisited different areas and labeled the other areas of the organized craft zone.
How do I declutter and transform my armoire into an organized craft zone?
Pull Everything Out and Organize Them by Groups.
Now that I had everything in my armoire out and organized into groups. I had to create categories for this craft zone. Below are the categories I used.
Scrapbooking Stickers - Words, Numbers, Letters, Vacation, School, Holiday
Patterned 12x12 cardstock paper
Solid color 12x12 cardstock paper
Solid color 8 ½x11 cardstock paper
Holiday Accessories
Christmas Accessories
Fabric Ribbon - Christmas
Fabric Ribbon - Other holidays
Glue Gun and adhesives/supplies
Repurpose accessories
Jars
Felts
Vinyl Rolls - other vinyl types, patterned vinyl, and solid vinyl
Fabric
Cricut Iron-on Rolls
Chalk paint
Other small pieces in a drawer organizer (affiliate)
That is a lot of categories. And, what is wonderful, is that all of it fit in the cabinet and drawers.
I organized all my things into groups. Purging as I went along, I was able to get rid of lots of paper that I wasn't going to use at all and other miscellaneous things that were not particularly used.
Please note these are affiliate links through Amazon (affiliate), and at no additional cost, I will earn an affiliate commission if you click through and decide to make a purchase.
Divide the bins and organize them.
Then, I had to figure out what to place in each of these bins. Since the handles popped down, I could easily stack them. But, I couldn't go over the rim of where the handles were because the top bin would not sit correctly.
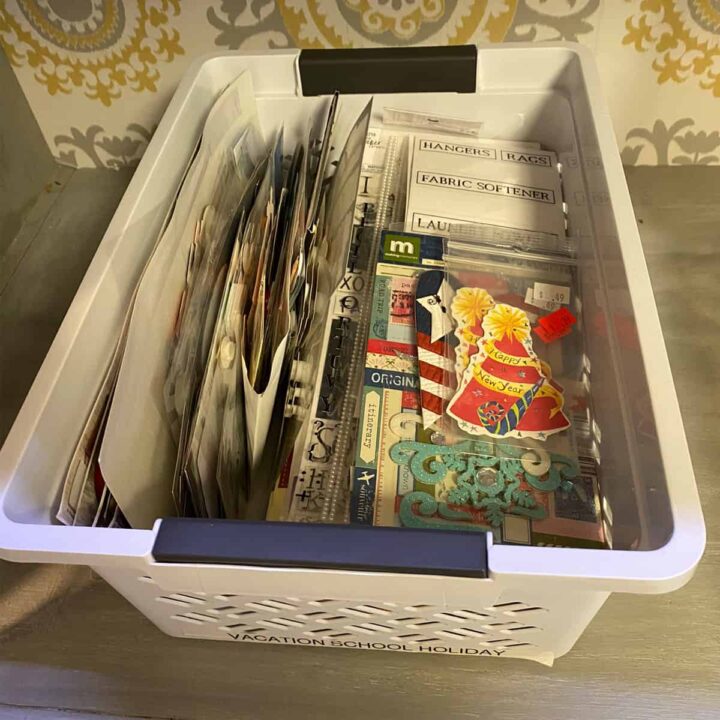
I started with the stickers. I originally had them in separate closed bins, but I couldn't use them. So, instead, I added all of them into one bin.
Organize Cardstock
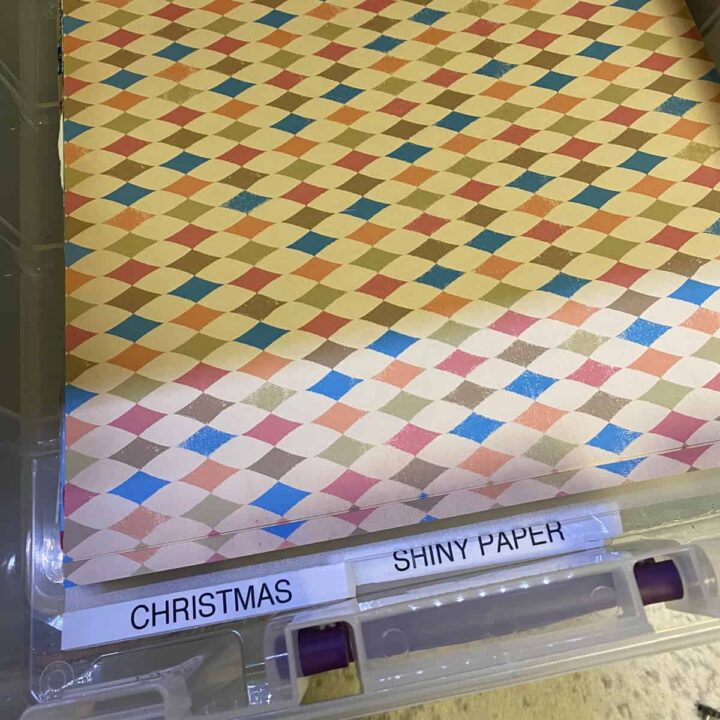
I had made dividers with stickers to organize my scrapbook (affiliate) paper and was able to repurpose the sticker bins to organize my 12x12 scrapbook (affiliate) paper. Since the pile had many dividers, I separated the stack into two bins with locked lids. Both bins were used for stickers before in the scrapbook (affiliate) armoire.
Organize Holiday Accessories to use for Crafting
I then organized my holiday accessories into two bins. One for holiday accessories and the other Christmas Accessories. The holiday accessories hold all my other holidays, Thanksgiving, Easter, etc…
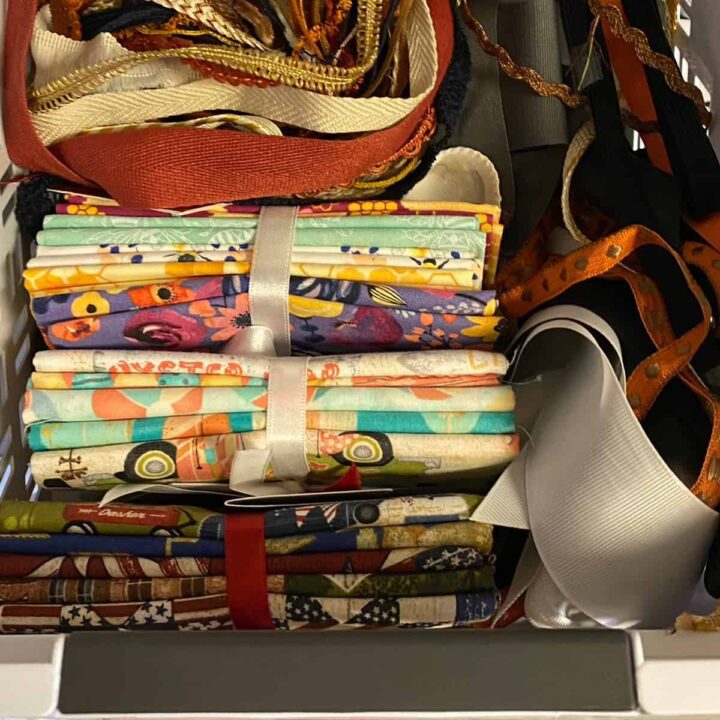
Organize the Ribbon by Holiday
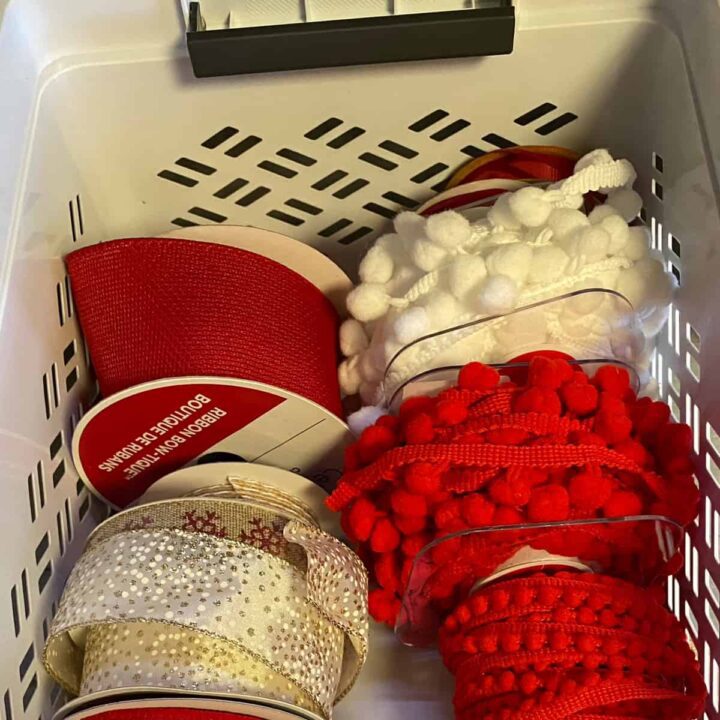
I organized the ribbons (affiliate) into two groups, Christmas and other holidays. Since I had a variety of ribbons (affiliate) for both, I wanted to separate out the colors. So, my Red, Green, and Gold ribbons (affiliate) are in the Fabric Ribbons (affiliate) Christmas bin, and my Other colored ribbons (affiliate) are in the Fabric Ribbons (affiliate) Other Holidays bin.
These ribbons are not the ones I would use for wrapping presents; they are in my Over-the-Door Wrapping Paper Station. Feel free to click through and check that DIY project out!
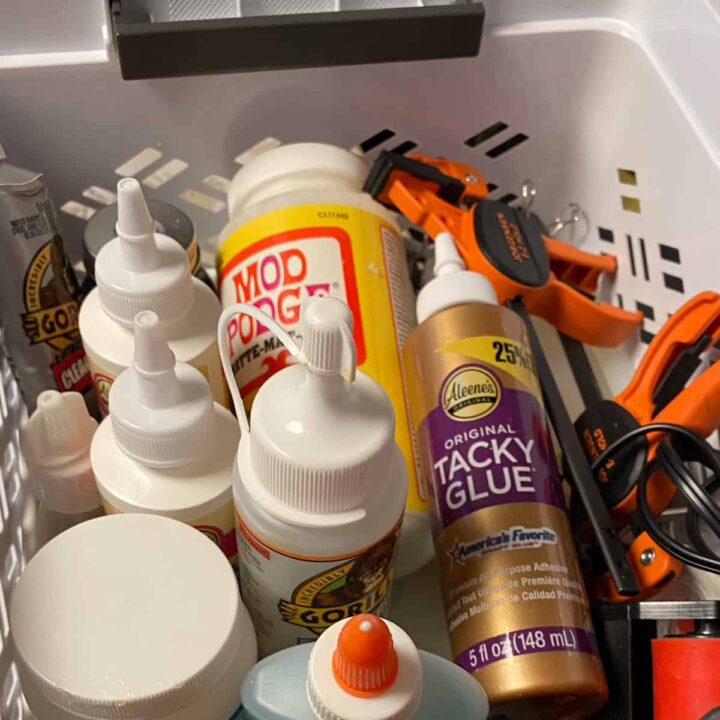
Gather all the adhesives in one place.
All the adhesives for crafting are in one place. It doesn't look pretty, but I can see everything and know where everything is and what I have. I added clamps and binder (affiliate) clips in here as well because I will use them when I glue things together.
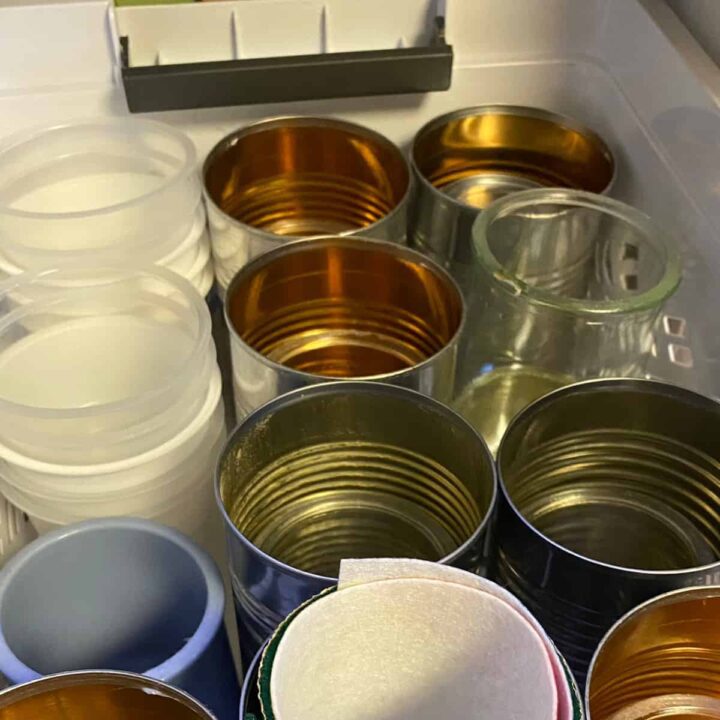
Repurposing Items should be together in a bin or two.
I used three bins to store my repurposing accessories. One bin is exclusively for jars and cans. The other two old the miscellaneous things I like to use to enhance my craft.
Repurpose items and organizers from other zones.
I repurposed my kid's craft carousel for all my pens, scissors, Cricut weeders, etc… Then, I went through and removed any scrapbook (affiliate) accessories, reorganized my drawer organizer (affiliate), and got rid of anything I wouldn't use for crafting. I then went and labeled the different drawers. I never did that before. =)
Note: I left out the ribbons that were not holiday specific since I did not use them to do my upcycling craft projects. I used 3M Command hooks to hold them and my Cricut Pads.
Reveal:
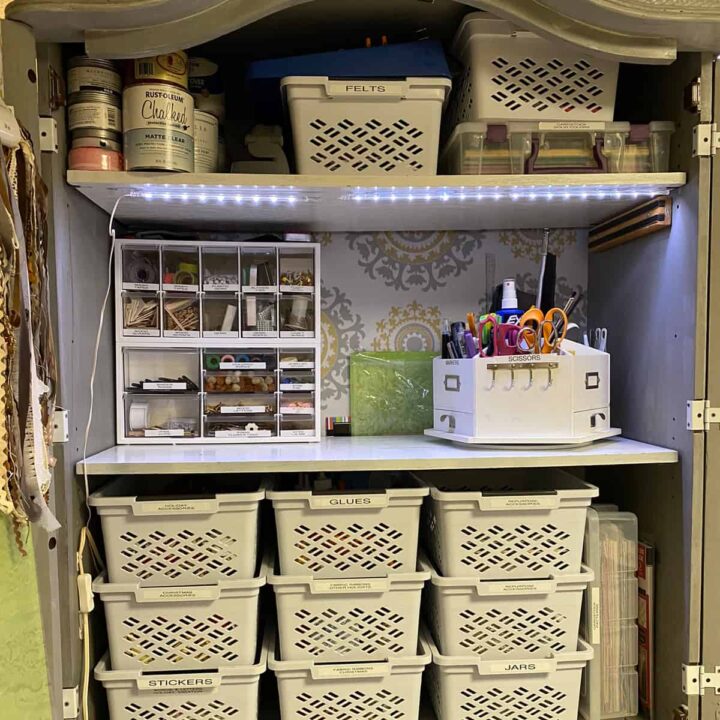
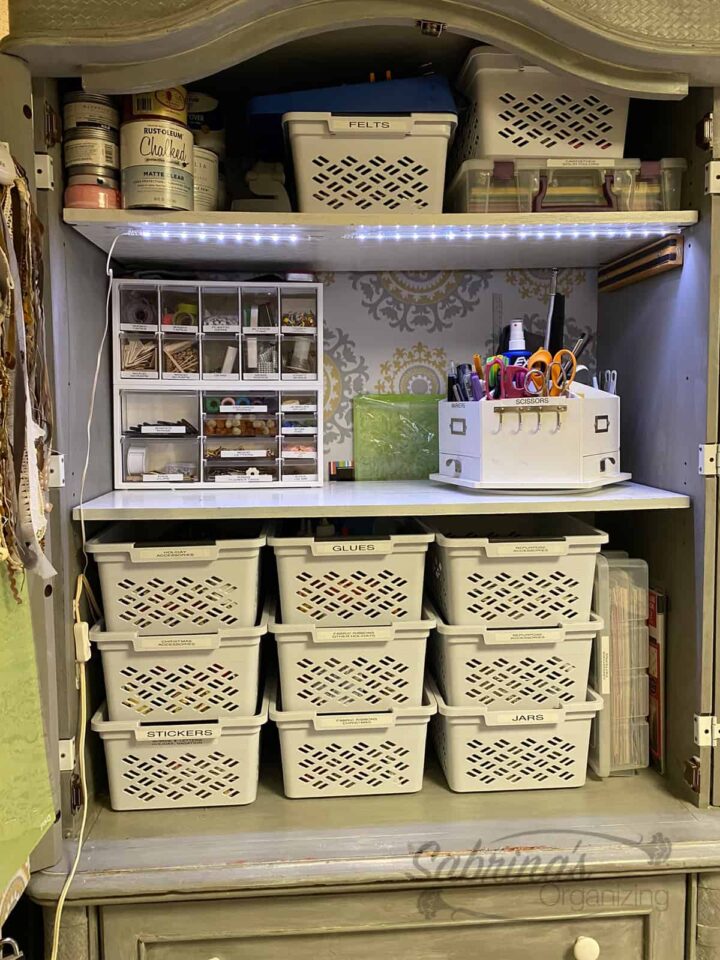
And here is what my new organized craft zone cabinet looks like now! I am so happy with the results. It's clean and organized, And I know everything I have and where to place things when I run out of things. What do you think? Please leave a comment below or share it with others. I would love to hear from you.
Please note these are affiliate links through Amazon (affiliate), and at no additional cost, I will earn an affiliate commission if you click through and decide to make a purchase.
If you want to visit my other DIY Home Organizing Projects, check them out below.

Leave a Reply