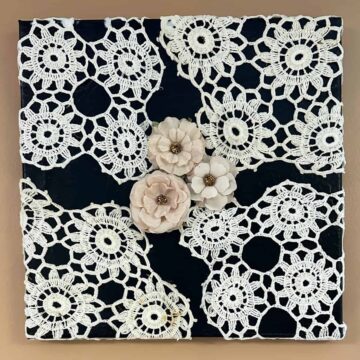
Making doilies was a popular pastime for the first part of the 20th century, and because they were made by hand, several family members would keep remembering their loved ones from years past. Instead of getting rid of these beautiful art pieces, I will show you a simple yet attractive way to make doily wall art. Follow along and create yours today to honor your family members!
Jump to:
- What inspired me to do this doily wall art?
- What supplies did I use to make this doily wall art?
- How much did it cost to make this doily wall art?
- How long did it take to make this project?
- How did I make this doily wall art?
- The Big Reveal
- Tips on making this doily wall art.
- Popular Wall Art DIY Projects:
What inspired me to do this doily wall art?
I picked this runner doily because the pattern was unique and would go well on the canvas, allowing color to seep through and show off the detailed work of this piece. While I had to cut it to fit into three square canvases independently, they held together nicely in the cut areas.
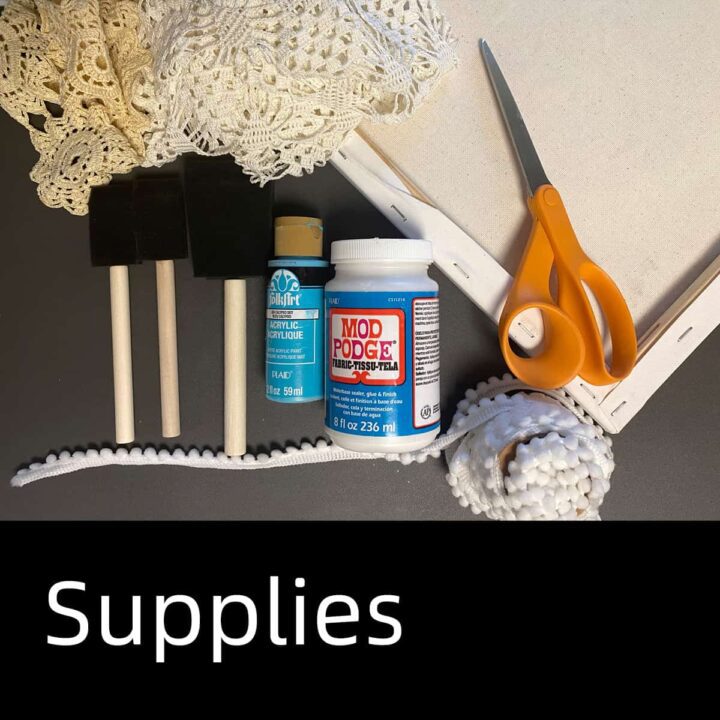
What supplies did I use to make this doily wall art?
The supplies are unique to this project and helped me put it together. The links below are to AMAZON (affiliate); if you click through and buy something on Amazon (affiliate), I will receive a small commission.
3 - 12″ x 12″ canvases
1 Doily runner was given to me by my relative
1 Fabric Doily Square piece
3 - 13 inch cotton ball fabric ribbon
1 FolkArt Calypso Sky (blue) acrylic matte paint
Mod Podge Fabric Waterbase sealer, glue & finish
4 - 1.5 inch x .5 inch plates or 2 - 1.5 inch x 1.5-inch square plates with eight screws to attach together - Optional - if you want to attach them together.
How much did it cost to make this doily wall art?
This project uses repurposed items. From the canvas to the Mod Podge (affiliate) Glue, I pulled everything from my craft room supplies, so the cost was $0.00.
How long did it take to make this project?
It probably took a few days because of the drying type between each step.
How did I make this doily wall art?
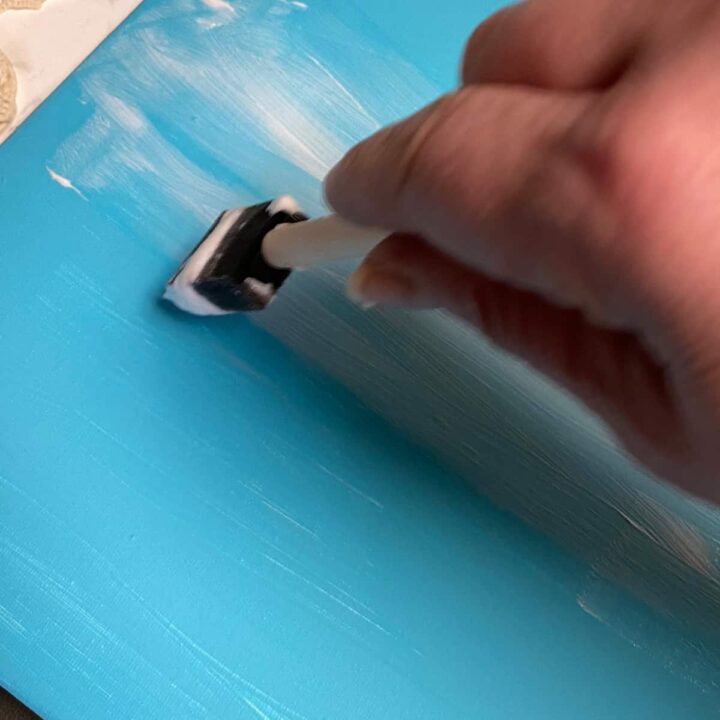
Paint the canvases.
First, I laid out the three square canvases. Then, I painted them with acrylic paint using a disposable brush. I let it dry between coats for about 2 hours and added two coats, which helped remove the streakiness of the paint. I also made sure to paint the sides of the canvases.
Line up where the doily runner will lay and cut.
Then, I added the runner and determined where its edges would fall. Since it was wider than the canvas, I wrapped the doily runner points around the sides. I cut the runner into three pieces to cover the edges to ensure that when they were glued, the edges were hidden by the sides and back. I cut off any excess runner in the center I didn't need.
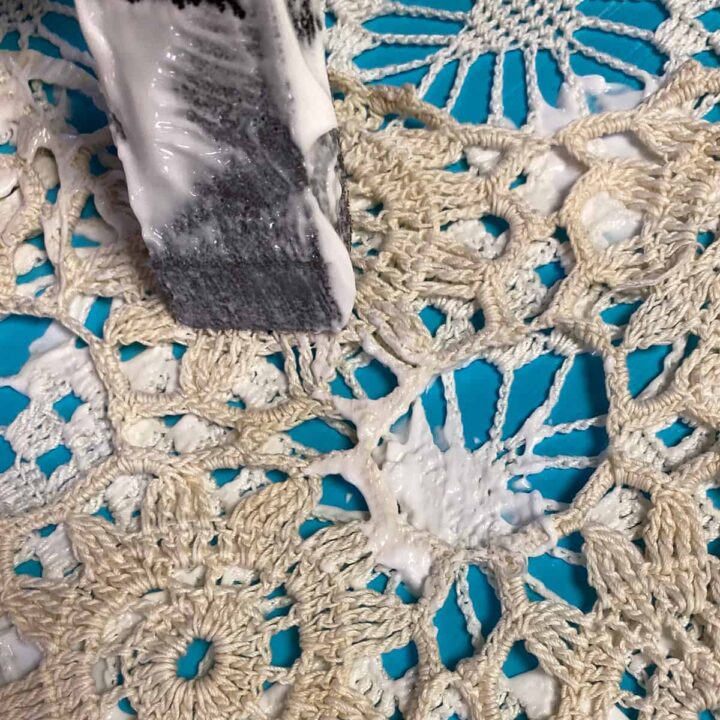
Glue the runner to the painted/dried canvases.
Now, it was time to use the ModPodge glue for fabrics. When I added the runner pieces, I found that the runner spread wider than the canvas. So, I added glue around the edges and back and used a roller to press down the fabric to attach it to the canvas. And I let the doily wall art dry completely.
Glue the runner around the sides of the canvas.
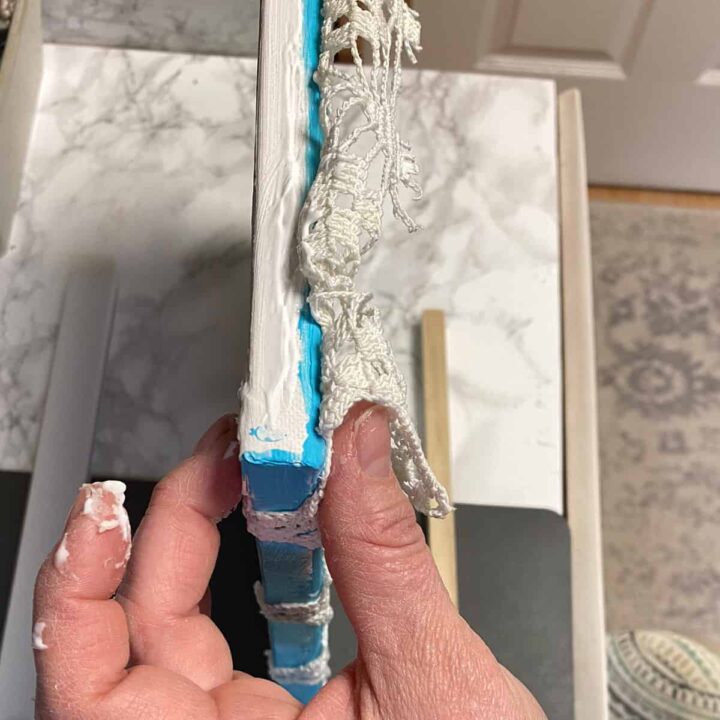
This is what it looked like after it dried.
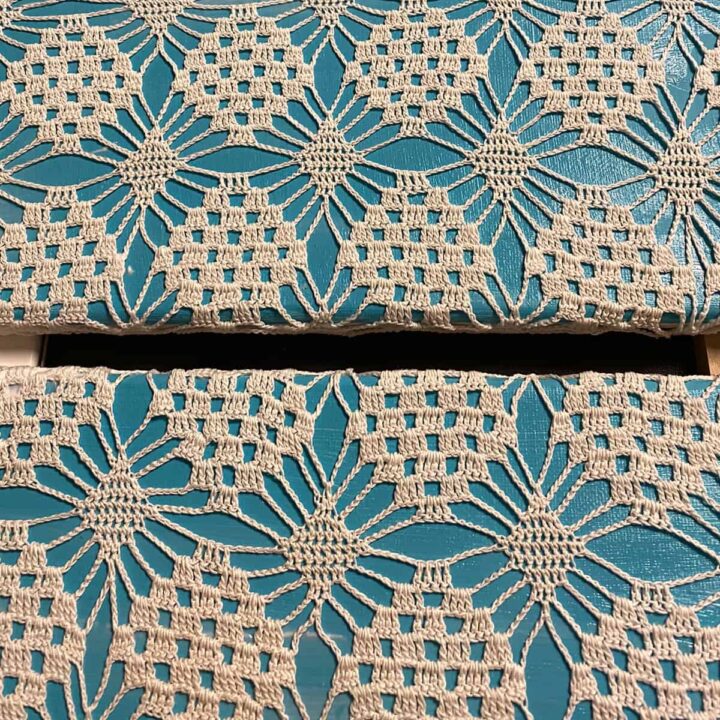
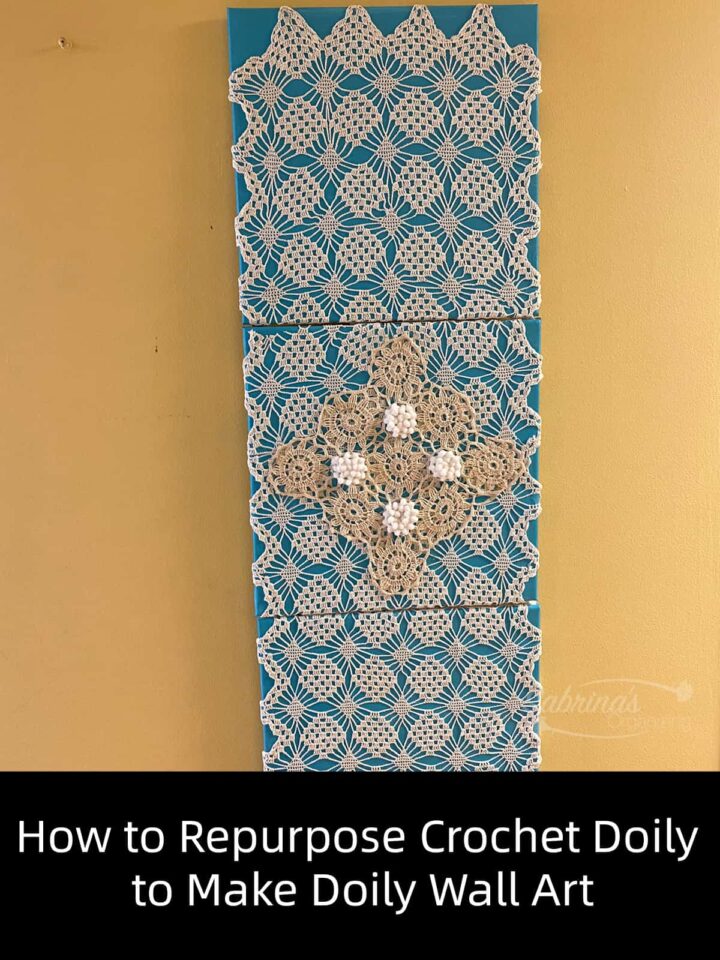
Add the square doily in a triangle shape to the top of the center canvas.
Next, I added the top doily to the other center doily canvas by applying glue to the dried runner doily. Note: don't put too much because it may show more opaque than transparent when it dries.
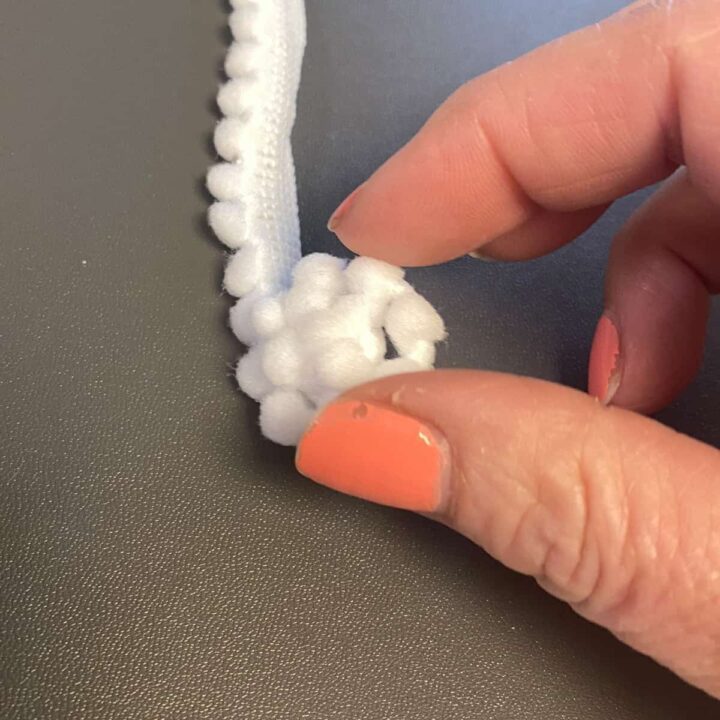
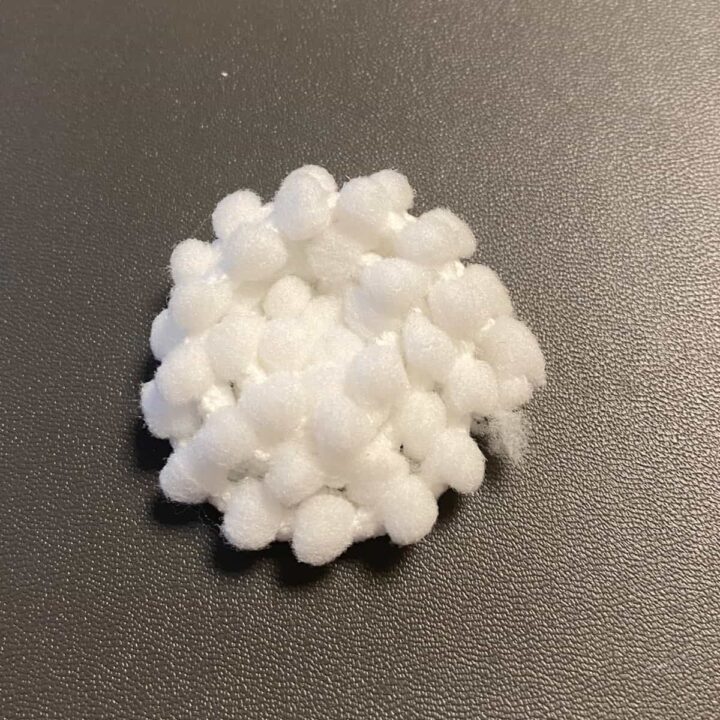
Roll up and glue the cotton ball fabric ribbon.
Then, I rolled up the extra cotton ball ribbon that I used on my soup can and my other soup can upcycling projects and added a bunch of Mod Podge (affiliate) glue to the back of it. Pressing firmly, I added them to the circle opening in the triangle doily (beige). Let it dry completely overnight.
Optional - Attach the brackets to the back of the canvases
I then turned the canvases over and added brackets with screws to hold all three of them together. They could easily be hung separately, but the person I made them for wanted them in one unit.
Note: the bracket worked best in the center to keep the canvases together. It also did bed a bit but wouldn't be noticeable when hung on a wall vertically or horizontally.
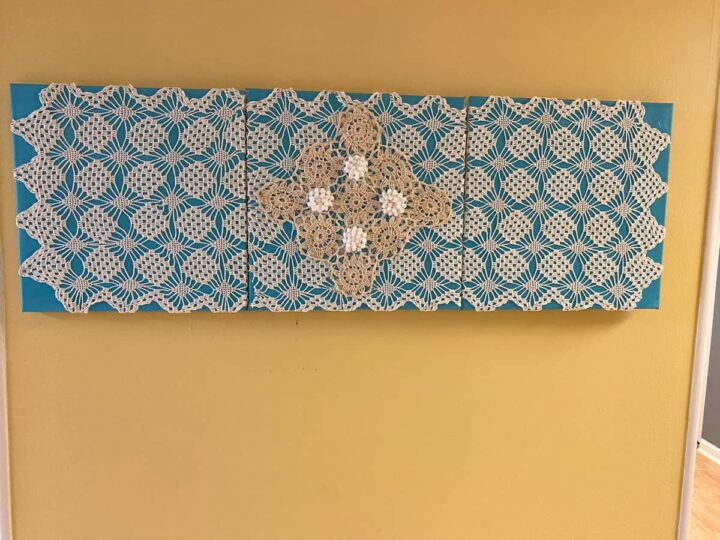
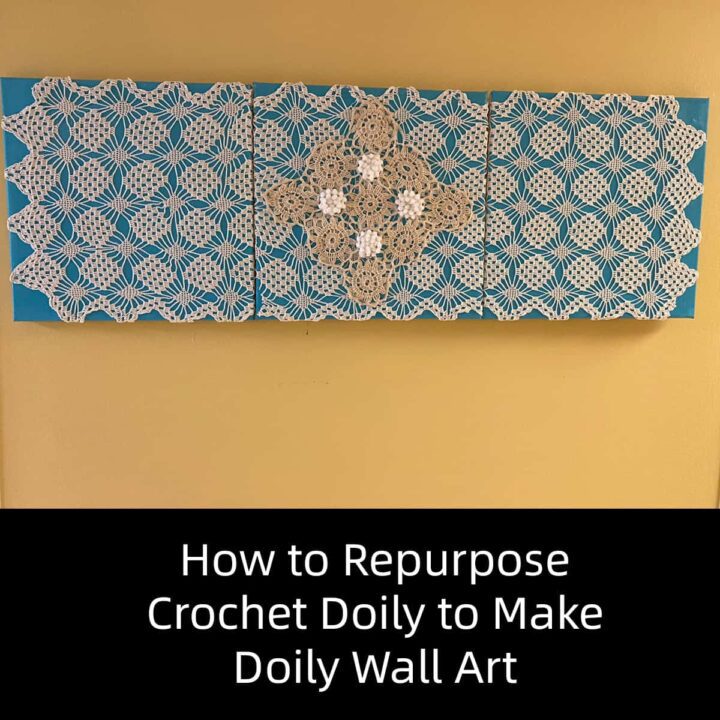
The Big Reveal
This Doily Wall Art looks lovely. I am giving it to my cousin for her birthday. Shh, don't tell! =) It turned out great. I think I may make one for myself too. If I were hanging them in my home, I would hang them in a cluster individually.
Tips on making this doily wall art.
Below are a few tips you need to take into account when doing this easy project.
If you want to attach the three squares together, you can use two metal plates and clamp them together to screw the squares together easily. Remember that it may curve outward a little bit because the fabric is wrapped around the center part of the canvas.
Add the Mod Podge (affiliate) to the entire canvas when adding the doily to it. This will even out the color after it dries. If you do not do this, some areas will have a matte finish, and others will have a shiny finish.
I hope this repurposing DIY doily wall art project inspires you to create new things for your walls from items you already have and honor your family members in the process.
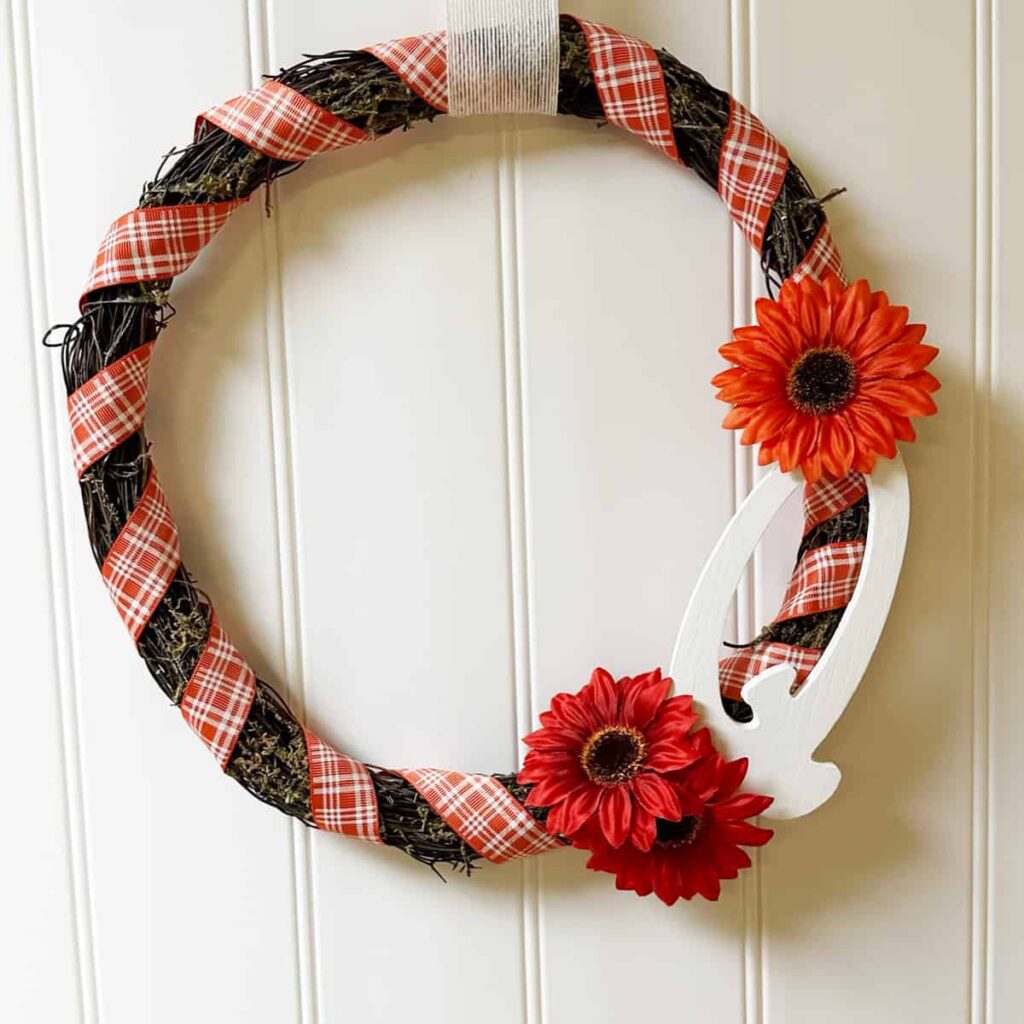
Popular Wall Art DIY Projects:
Visit our other wall art DIY projects to upcycle your unused treasures.


Leave a Reply