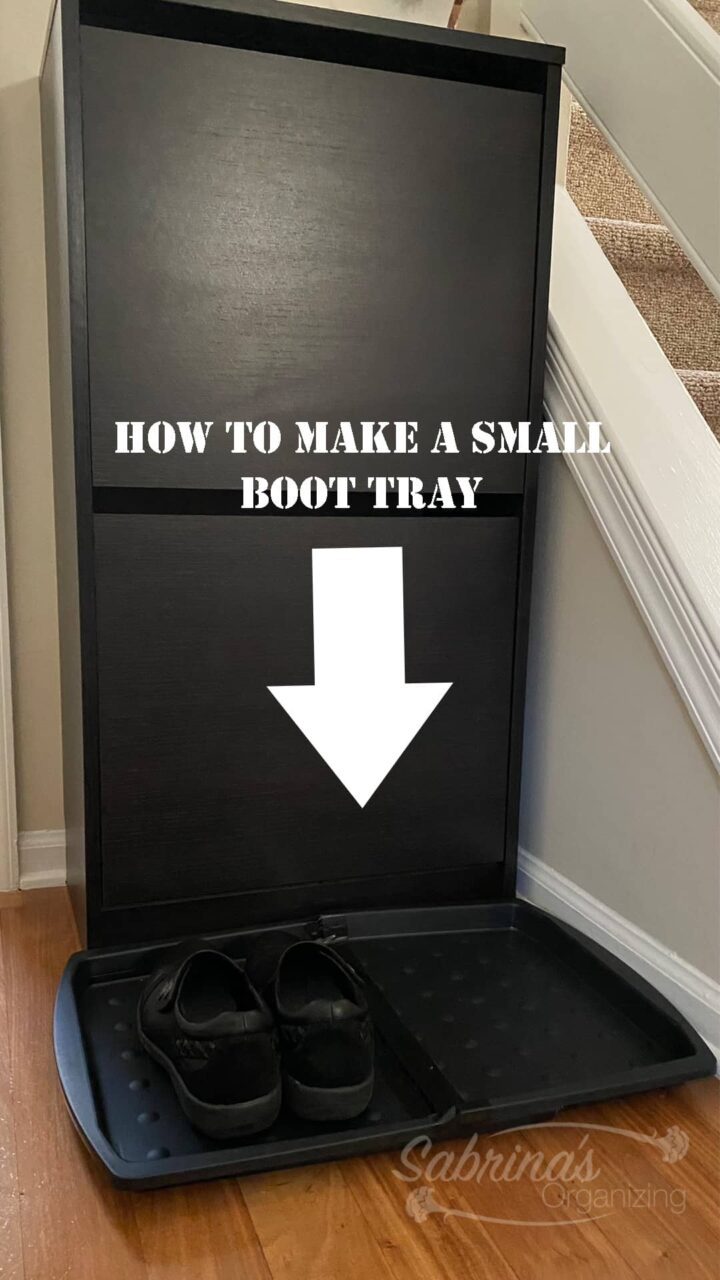
A boot tray contains the dirt and debris we bring into our homes, keeping the clutter and germs at bay. I have a small shoe organizer I purchased from Ikea to organize my shoes (affiliate) in my foyer. But the area is also a housing place for my kids when they remove them when entering the home. In the winter, I found that the hardwood would get wet, so to combat staining, I had to find a small boot tray. I couldn't find one, so I decided to make one myself. So, this post shares how I made a small boot tray.
Jump to:
- What inspired me to do this Small Boot Tray DIY Project?
- What supplies did I use to make this Small Boot Tray DIY Project?
- How much did it cost, and how long did it take to make this Small Boot Tray DIY Project?
- How to Make this Small Boot Tray DIY Project
- The Big Reveal
- Tips on Making this Small Boot Tray DIY Project
- Revised 2025:
- Popular DIY posts:
What inspired me to do this Small Boot Tray DIY Project?
Instead of hunting for a small tray online, I found one at the store and figured I could do something to make my small boot tray. I didn't want to wait for an online order to come in. And, because I wanted it exactly the size I needed, I could customize it perfectly.
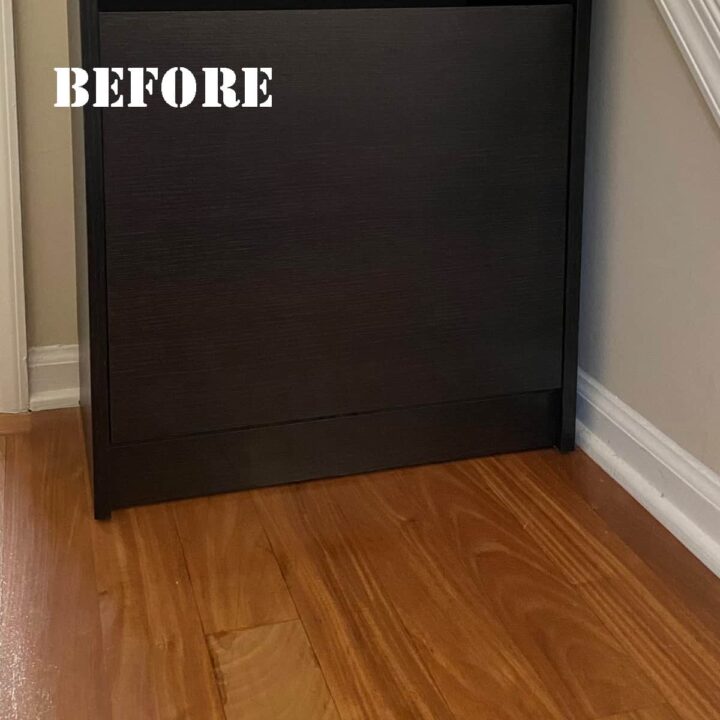
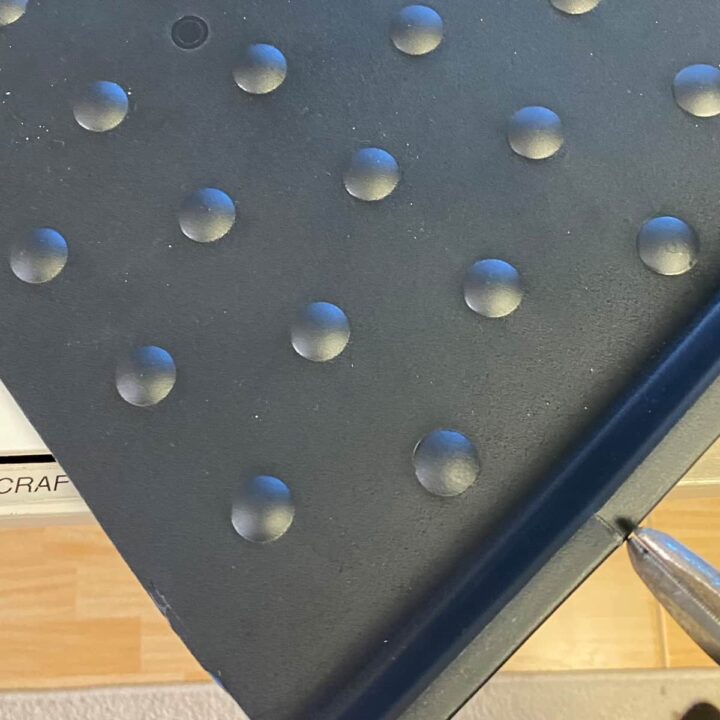
Below is the area where this tray will be housed. It will be in front of the Ikea shoe storage that I have.
What supplies did I use to make this Small Boot Tray DIY Project?
There were very few things I needed for this DIY project. The links below will take you to Amazon (affiliate), where you can buy the items you need for this project. I will receive a small commission if you buy something on Amazon (affiliate) using these links.
Supplies used:
- One rectangular boot tray with no decorative edges - I bought it at Home Depot.
- Snips that can cut metal (affiliate link) - I wanted to use something that could easily go through hard plastic.
- Black Gorilla Tape roll (affiliate link)
- Utility Knife (affiliate link) to cut the back of the tray
Please note these are affiliate links through Amazon (affiliate), and at no additional cost, I will earn an affiliate commission if you click through and decide to make a purchase.

How much did it cost, and how long did it take to make this Small Boot Tray DIY Project?
I had the tools (affiliate) and supplies. So, All I bought was the tray. The tray was $10. It only took me about 15 minutes to make.
How to Make this Small Boot Tray DIY Project
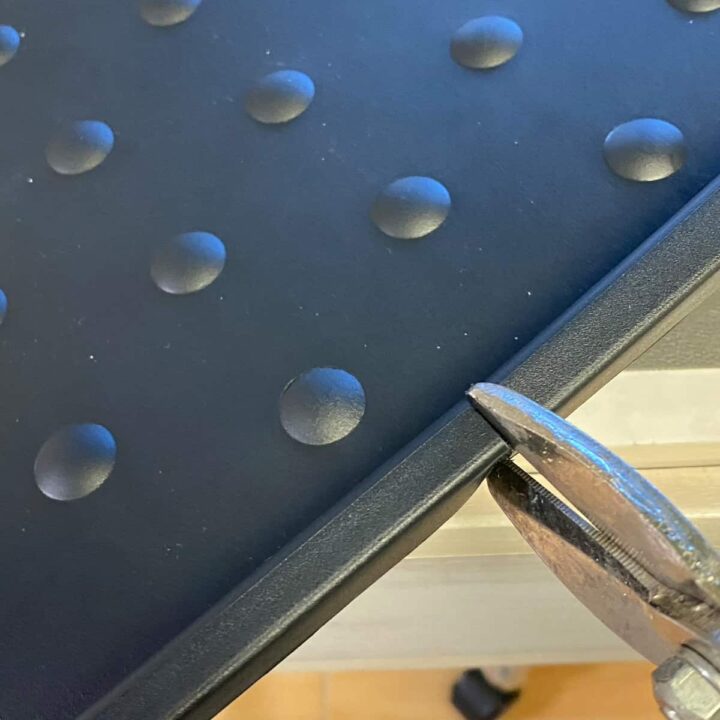
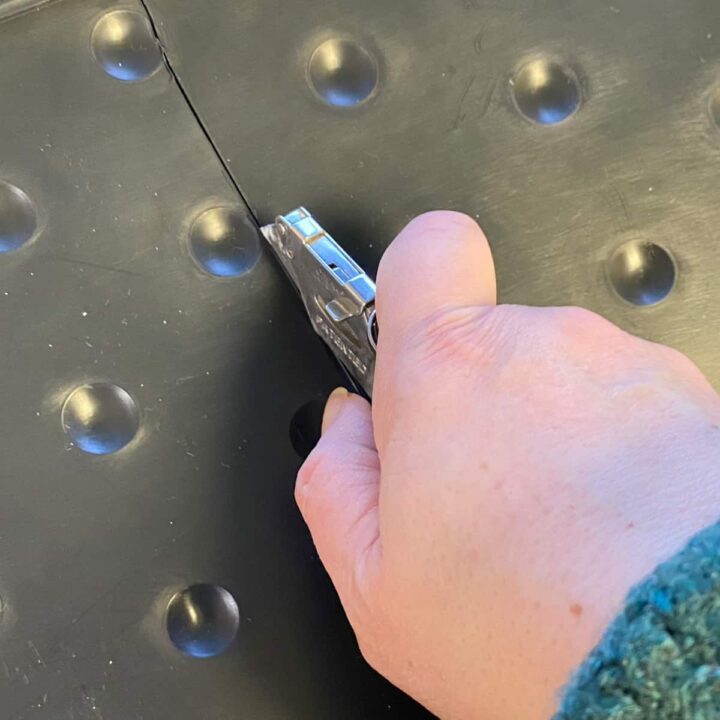
I first measured the width of what I needed. It measured 22 inches wide. First, cut the center of the tray with the snips. When you cut both sides and a little off the bottom, you can easily snap it, creating a straight cut.
Then, I overlapped the two pieces to ensure they lay flat on one another. Since that was still too long, I cut about 4 inches off to ensure it worked with the front of my organizer and didn't interfere with the walking area to the powder room.
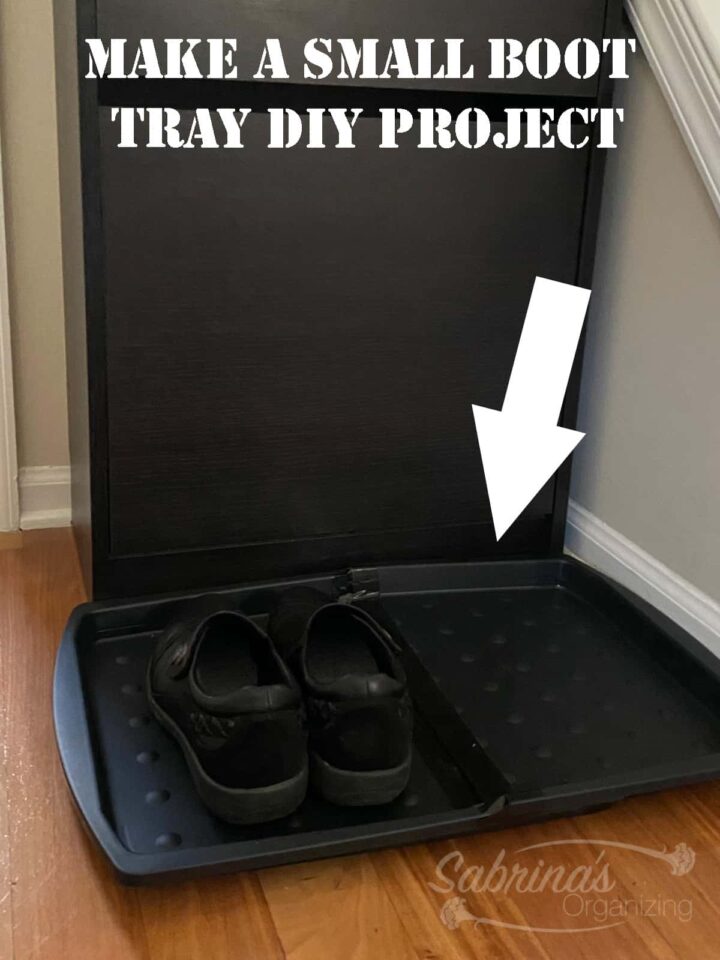
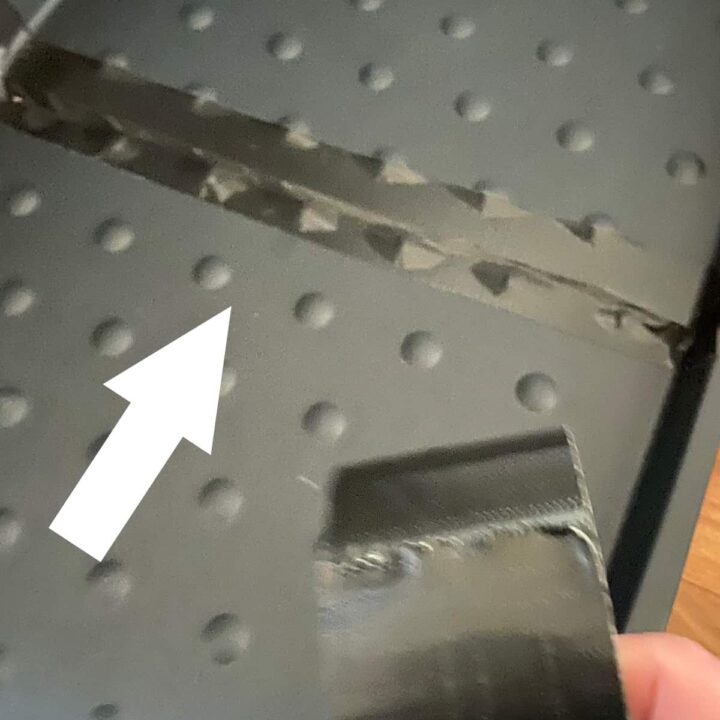
I added the Gorilla Tape to the front and back to adhere the two pieces together. I made sure that I pressed the two pieces together and sealed them with tape. The rim needed to be tight so it sat adequately. If it is a little bent, cut or straighten the bent piece with the snips.
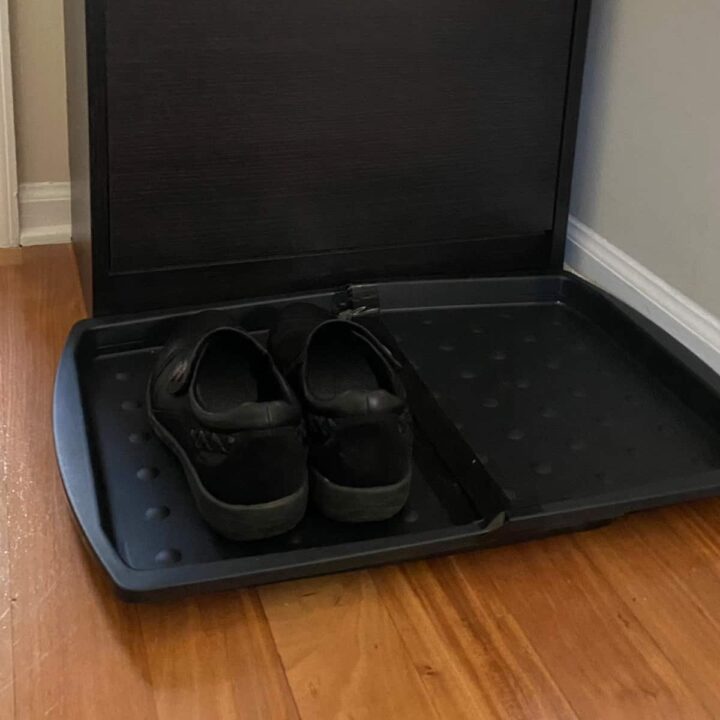
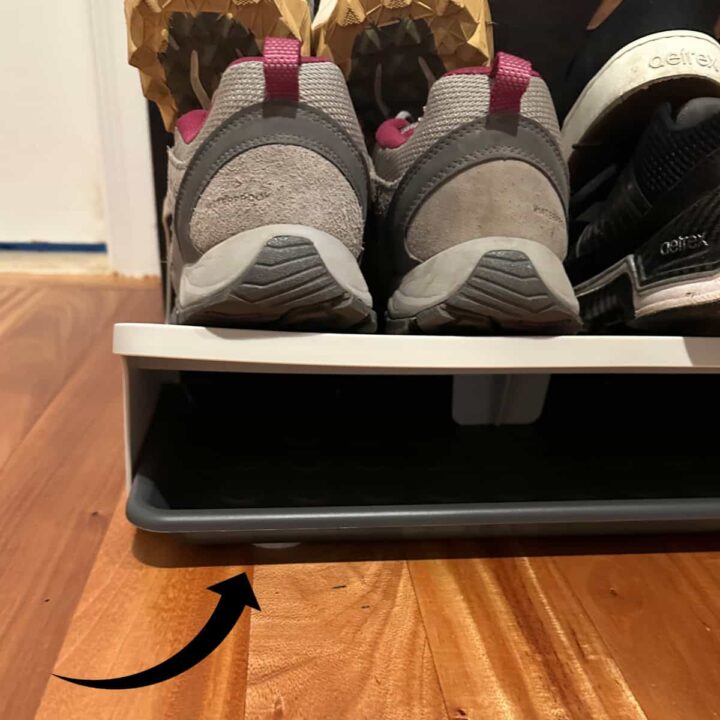
The Big Reveal
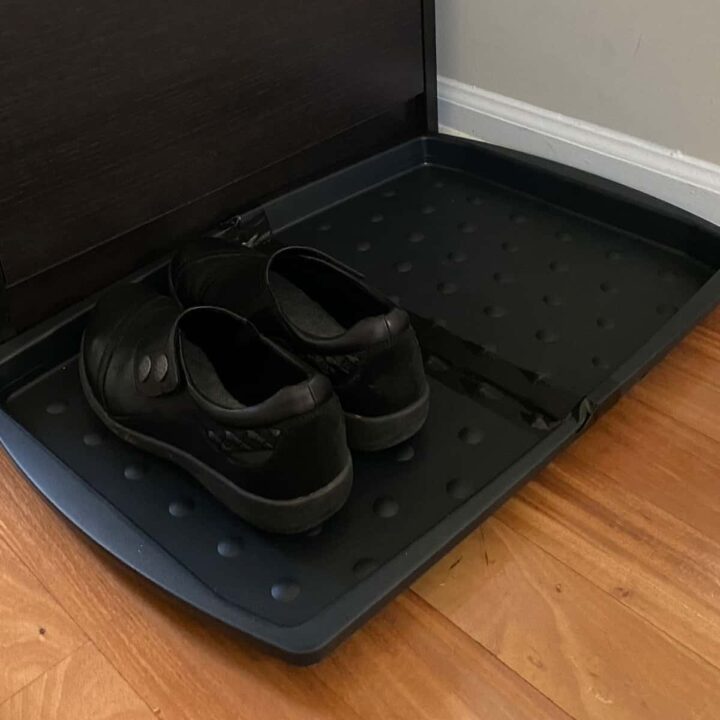
And here is the finished small boot tray I made. I love it. Because I used the black (affiliate) tape, it blended nicely and made the new shoe tray look more complete. The tape is also waterproof to protect the floor.
Tips on Making this Small Boot Tray DIY Project
There are a few tips to make this DIY project.
- Use the same color of Gorilla tape as the tray.
- Measure the space so you know how wide it should be.
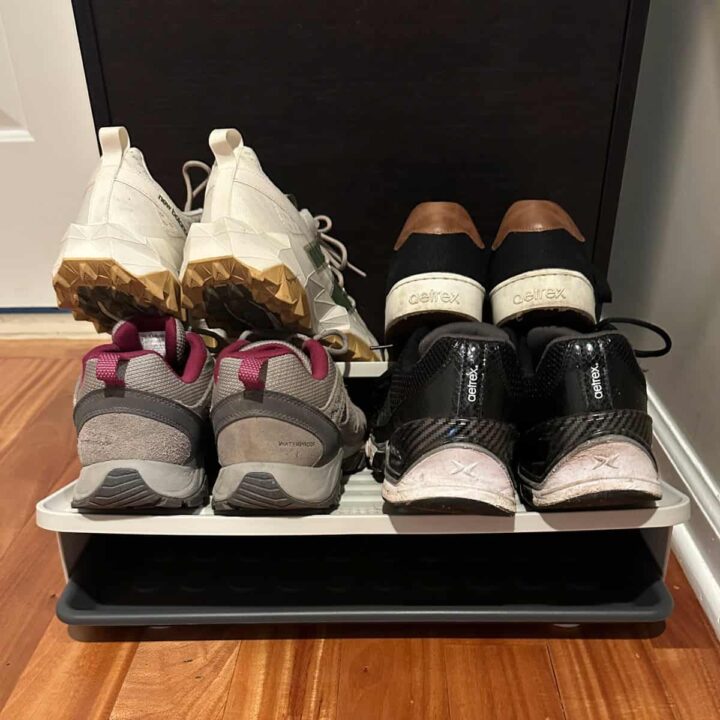
Revised 2025:
Recently, I found a great tiered unit at Home Goods that was the same as my tray above, so I can easily have four pairs of shoes (affiliate) on it without the bottom ones getting squished or dirty. Here the image below. The verison of this unit is not easy to find but there are some that are similar that you can find for your small space.
Below are expandable shoe organizers (affiliate) I found on Amazon (affiliate).
 Buy Now →
Shoe Rack for Closet, Expandable
Buy Now →(affiliate)
I hope this inspires you to transform something into something useful to organize your home. Feel free to leave a comment or question below.
Popular DIY posts:


Please note these are affiliate links through Amazon (affiliate), and at no additional cost, I will earn an affiliate commission if you click through and decide to make a purchase.