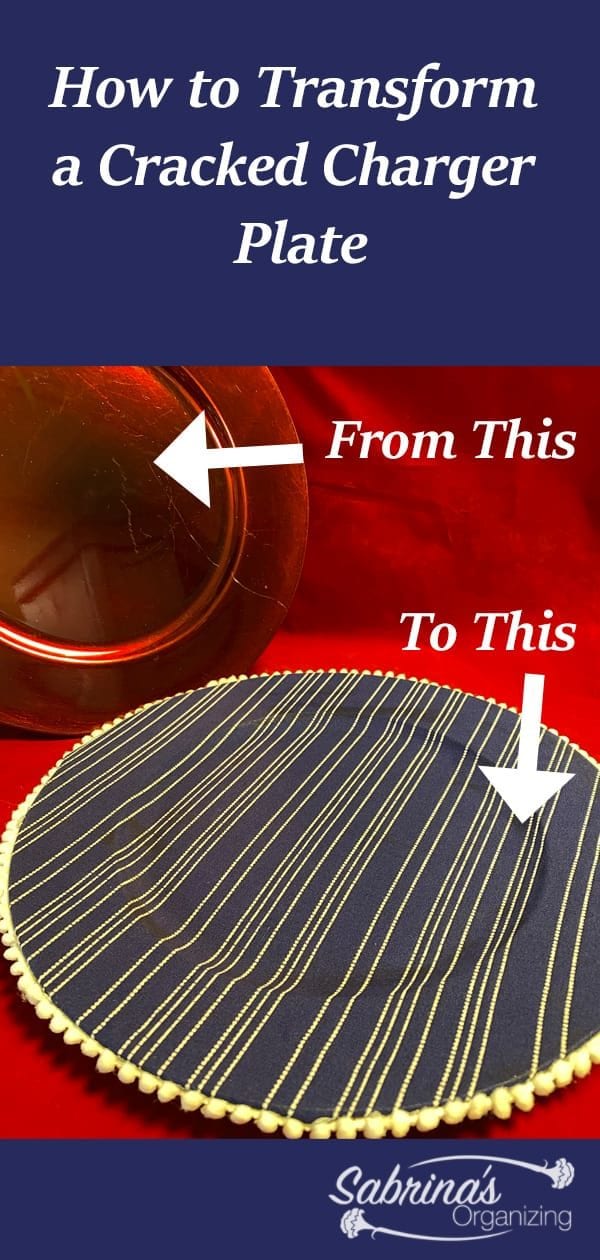
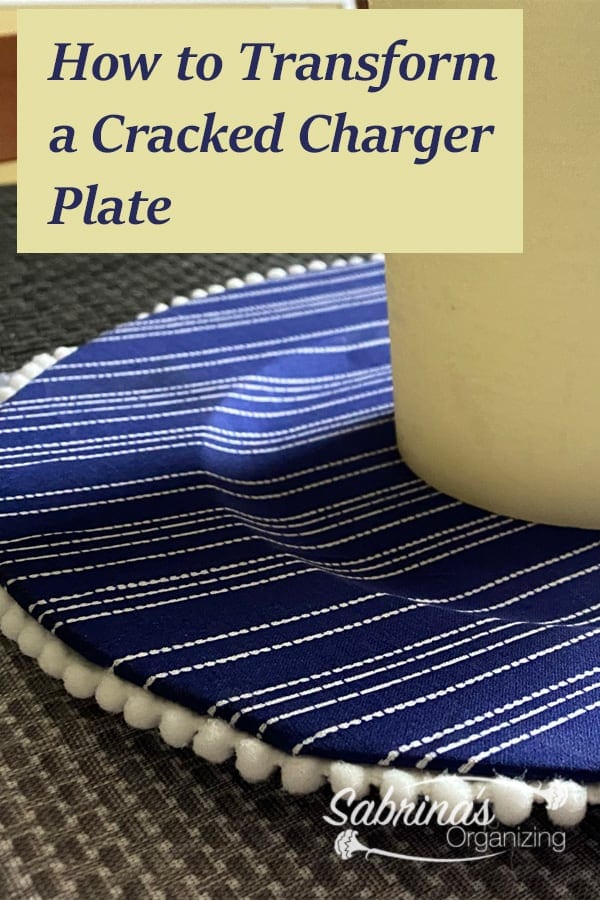
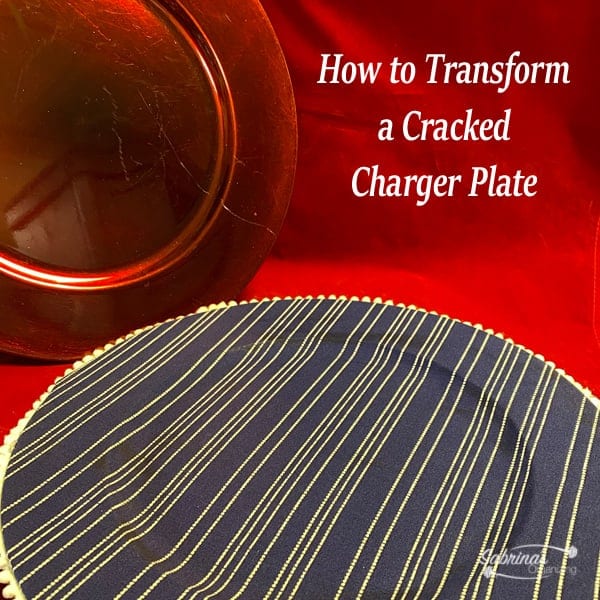
Charger Plates are a great way to decorate the dinner tables for special occasions, like Christmas, New Year's, and Thanksgiving. They became popular in the 1990s. They are also called underplates or chop plates. Read more about them here. Over the years, they can get cracked and easily be destroyed with the heaving fine china that is usually on top of them. They are not used for eating; it says for "decorative purposes only" on most of mine. They are intended to bring a little color and style to your table. Today, I will share how I transformed a cracked charger plate into something new will very few supplies. Come along and see!
Jump to:
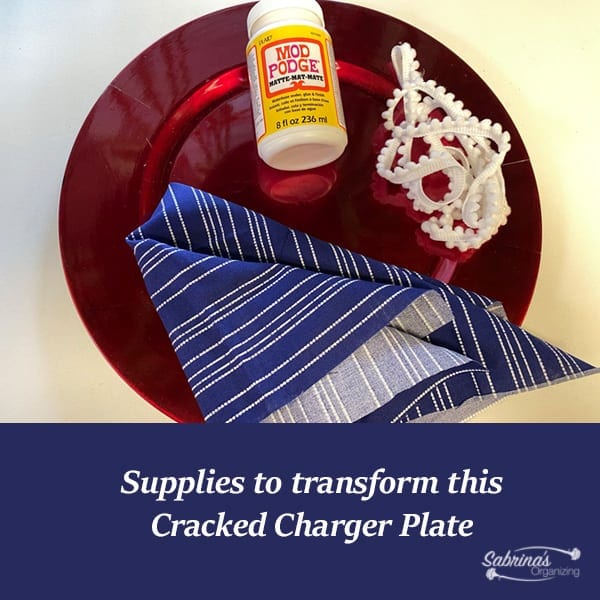
Tools and Supplies needed to make this platter.
Note: The links below are from Amazon (affiliate).com (at no cost to you). I will receive a referral fee if you click through and buy something on Amazon (affiliate).
1 Cracked or Old charger plate
15 inches by 16 inches fabric - Quilt-like thin material works best - this one is from Amazon (affiliate) - it is blue with stars
4 feet 4 inches ribbon with edge to adhere to the plate-knit material
Mog Podge flat finish
Paintbrush to apply the fabric and edging ribbon
Hot Glue Gun and Glue sticks
Now that you have all the supplies measured and cut, follow these easy-to-follow steps to transform this DIY Charger Plate into beautiful home decor (affiliate).
How to create this DIY charger plate into a beautiful home decor piece
Paint the Mod Podge on the front of the charger plate.
Using the paintbrush (affiliate), dip into the Mod Podge (affiliate) and paint the charger's front with the glue. Using strokes back and forth adds a good amount to the entire surface. Be sure to do this quickly; it will dry fast. Then, lay the back of the fabric on to the glue. Press the fabric and smooth out the fabric into the glue. Make sure you get the edges. Let dry.
Then, turn the charger plate over and glue the fabric to the back.
Then, turn the charger plate over. Cut into slits to easily glue the strips flat to the back of the charger. Use the Mod Podge (affiliate) and paint the chargers and the fabric strips so the fabric lays flat. Press and fold the fabric down with your fingers to help keep the charger lying flat when dried. Folding the fabric will create a smoother corner. Let it dry.
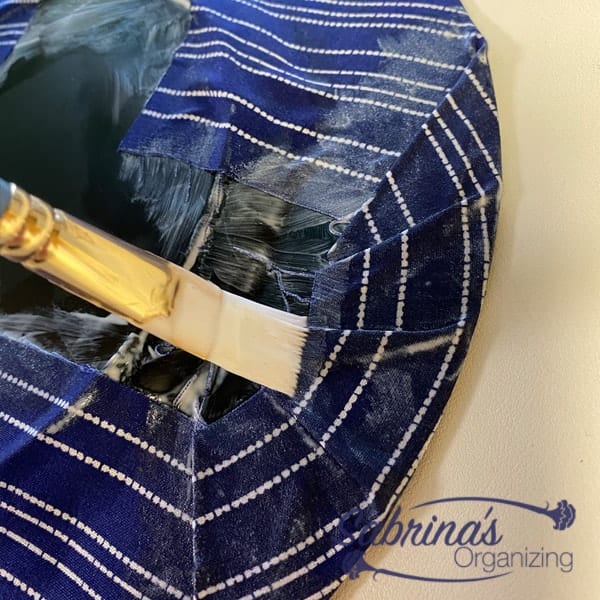
Note: if your fabric is too thick, like upholstery fabric, you may need to cut even more strips and glue each of the strips to the back of the Mod Podge (affiliate) by overlapping them on the back.
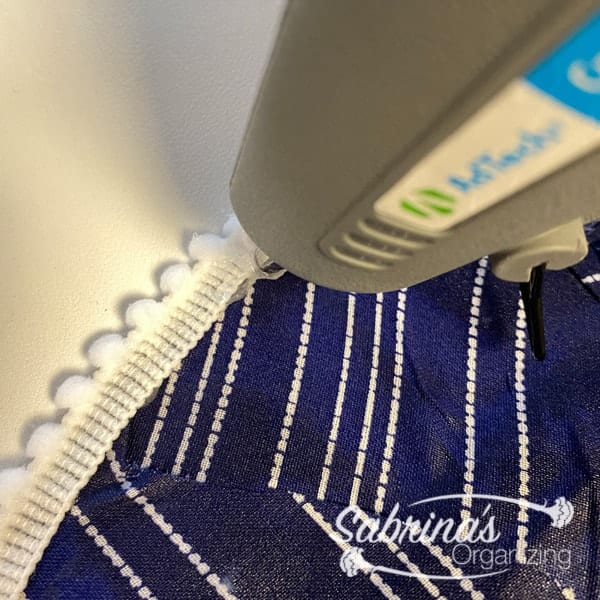
Add the fabric ribbon.
Heat the Hot Glue Gun (affiliate) and add the glue. Run a bead of glue around the back edge of the charger so you can still see the ribbon balls from the front of the plate. Let dry completely.
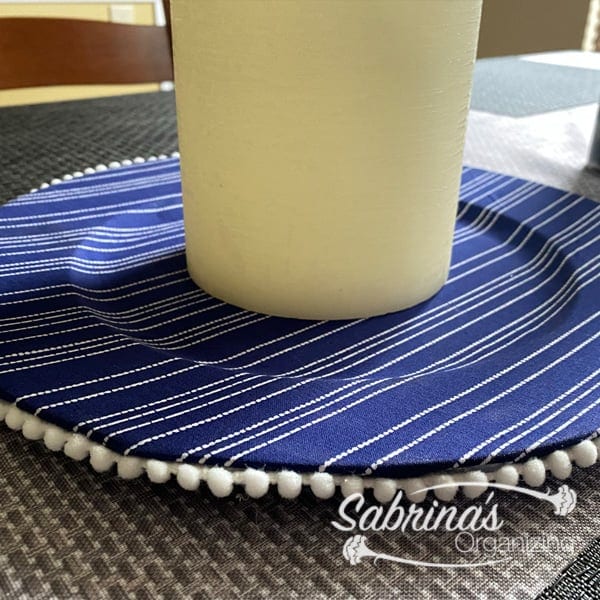
Upcycled Reveal
Here's the finished upcycling charger plate. What do you think? I made two of them. And I am planning on making more when I have some time. I love it!
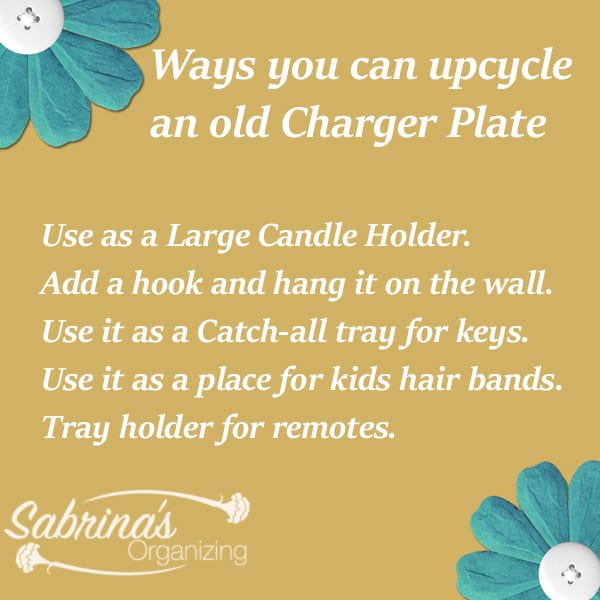
Ways you can use this Home Decor Charger Plate
While I made this charger plate into a decorative platter (affiliate), you can easily do other things with this upcycle craft project. Below are some ways you can upcycle your cracked charger plate.
Use it as a large (affiliate) electronic candle holder.
Get a large (affiliate) platter (affiliate) holder and hang the plates on the wall with various other ones with different fabric patterns.
Use it as a place to hold your remotes for the TV.
Place it near the front door as a catch-all tray for your keys, wallet (affiliate), and other things.
It would be a great place to hold your kids' rubber bands (affiliate) and other hair accessories.
Whatever you want to do with your DIY charger plate craft project, please come back and comment below on how you created your upcycling project. I would love to hear from you.
Above are affiliate links; if you click through and buy something on Amazon (affiliate).com, I will receive referral fees at no additional cost. Happy shopping!