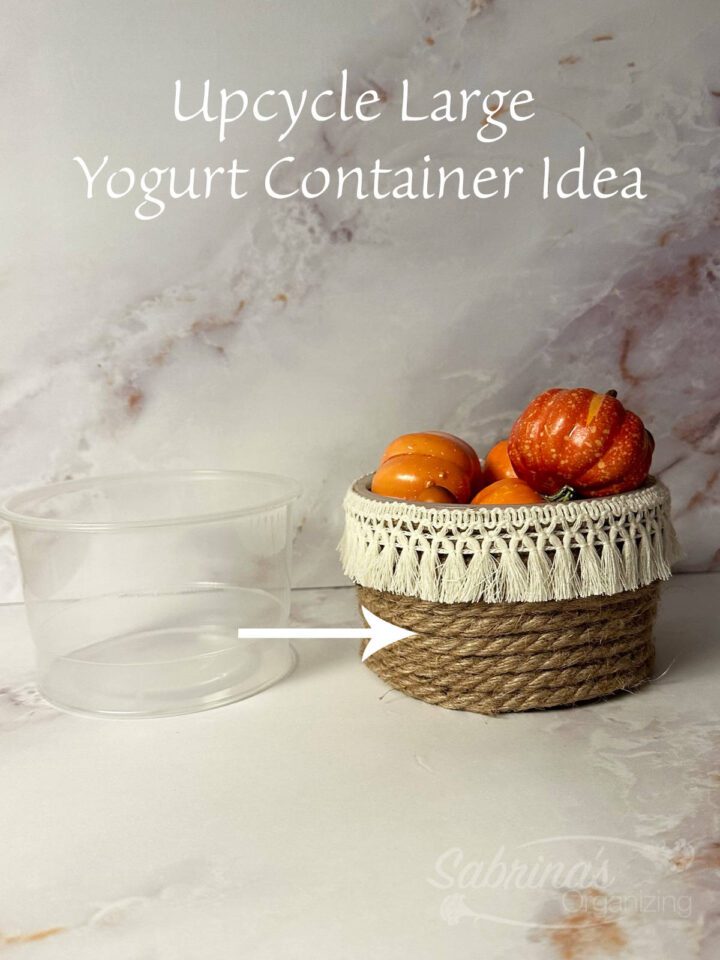
If you haven't visited my blog in a while, you may not know that I love upcycling containers to organize things in my home and clients. Well, here's another one of my upcycling projects to help you get organized. This one involves upcycling a large yogurt container using a Kite Hill Dairy Free yogurt ½-quart container. I did not get paid to use this container and upcycle it.
Jump to:
- What inspired me to upcycle this large yogurt container idea?
- Areas to organize with this 16 oz. Yogurt container.
- What supplies did I use to make this Upcycle Large Yogurt Container Idea?
- How much did it cost to make this Upcycle Large Yogurt Container Idea?
- How long did it take to make this container?
- How did I make this Upcycle Large Yogurt Container Idea?
- The Big Reveal
- Tips on making this yogurt container upcycle idea.
- Recent Upcycle posts:
What inspired me to upcycle this large yogurt container idea?
I have always loved these little containers and thought that using them to organize things like sticky notes (affiliate) and pens on my desk would be fun. The shallow design allows for no mess at the bottom. Yay! I can easily access all the things in them, and I can move these containers around throughout the house to organize different areas of my house.
Areas to organize with this 16 oz. Yogurt container.
This container is great for organizing many areas of the home. Below, I listed the different areas where you can use it.
- Garage (affiliate) - you can use this container to organize small screws, picture hangers, or whatever else you store in the garage (affiliate).
- Bathroom - Since this container is made of plastic and rope, it can easily be used in this room. It's excellent for cotton swabs, small soap storage, or anything else lying around your space.
- Kitchen - This cute container is perfect for storing sticky notes (affiliate) or pens near your kitchen command area.
- Living Room - It can also be handy to hold the remote.
- Home Office - Making one of these containers for your home office is a great way to organize small things on your desk, like paper clips, keys, etc.
This bin is can be placed anywhere in your home. Make one today and get your home more organized.
What supplies did I use to make this Upcycle Large Yogurt Container Idea?
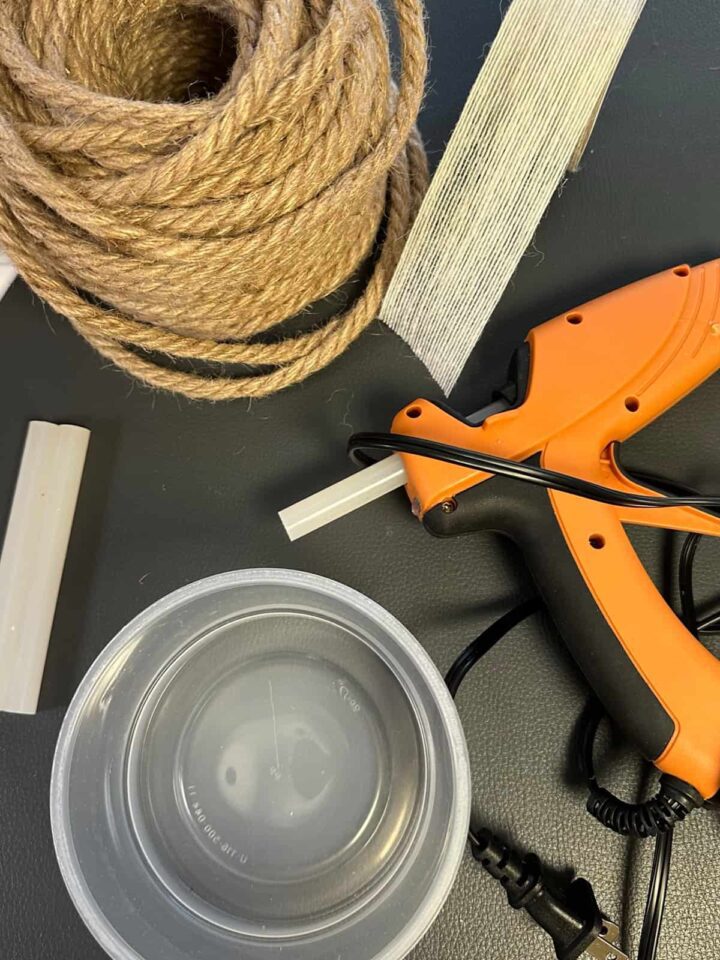
Below are the supplies I used to upcycle this yogurt container.
- 1 - 16 oz Kite Hill Dairy Free Yogurt Container - cleaned and removed the label (affiliate)
- Duel Temperature Hot glue gun and glue sticks - clear
- Natural Jute Rope roll
- Fabric Ribbon beige
- Other accessories (optional) - acorns, small plastic pumpkin, etc...
How much did it cost to make this Upcycle Large Yogurt Container Idea?
It cost me $5.00 to make this upcycle project. I bought the jute rope roll but only used a quarter of it. And I had the hot glue and ribbon from another project.
How long did it take to make this container?
It took me about 1 hour to make this cute container since I used the glue gun (affiliate), and it dried quickly.
How did I make this Upcycle Large Yogurt Container Idea?
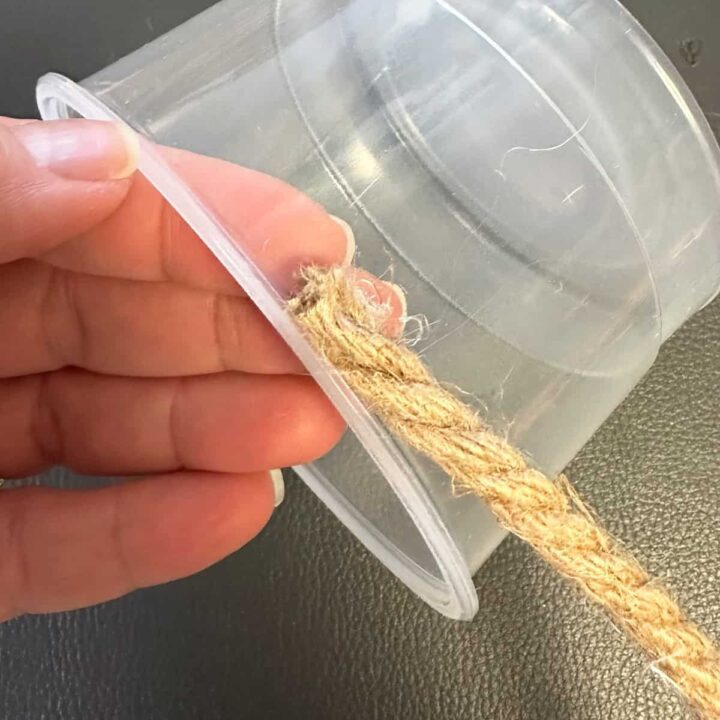
First, I cleaned and dried the yogurt container completely. Then, I used hot glue on a low setting to attach the rope to the container, adding hot glue as I went along. When I went around once, I cut the rope and added it to the opening to close the top edge of the container. This gave me a clean, level line to work off of when adding the next rows of rope.
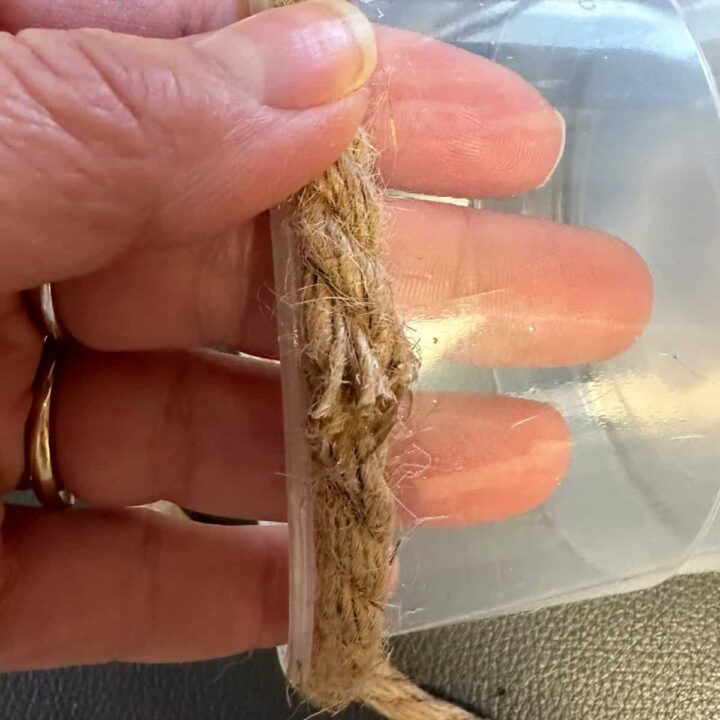
Then, I added the hot glue and rope and continued to move around the plastic container until I got to the bottom. Adding hot glue every inch or so so it will stay affixed to the plastic bin.
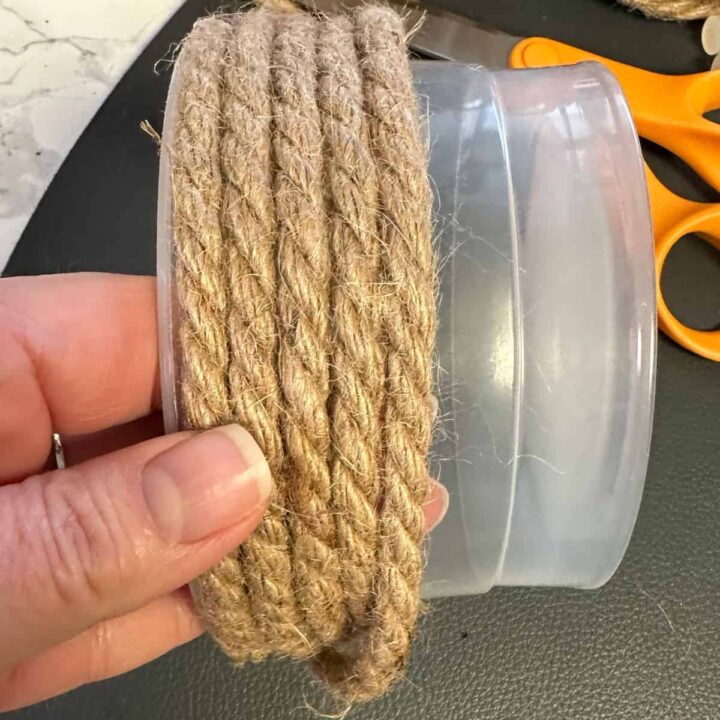
Now, cut the rope and ensure it is hot-glued to the container and the other rope. It should lay flat at the bottom, allowing the container to sit level.
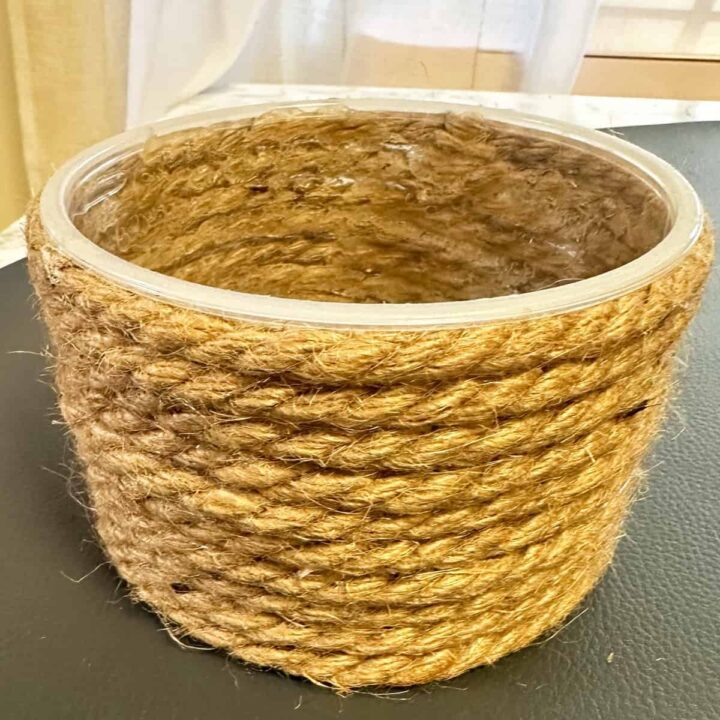
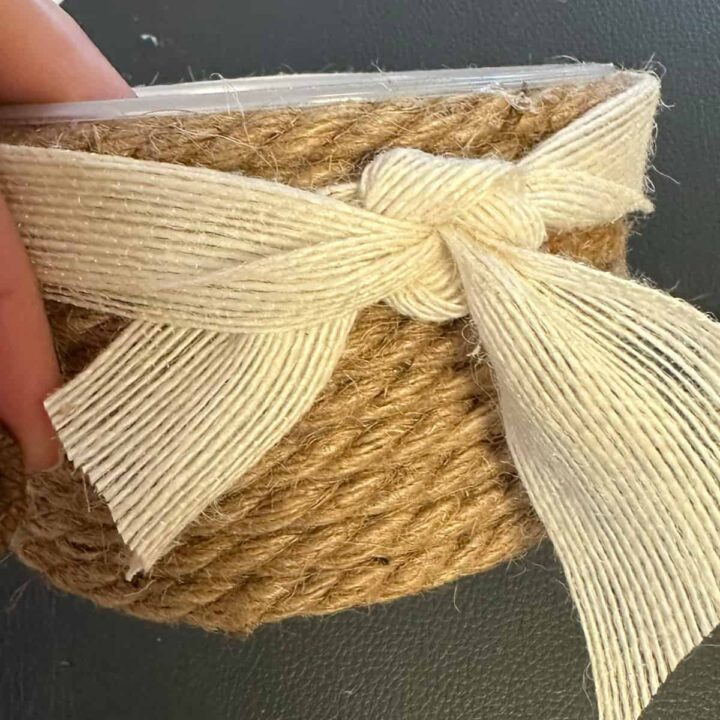
Next is the fun part: add the ribbon of your choice or leave it the way it is. I added a ribbon and knotted it, and added an acorn I found outside to the knot.
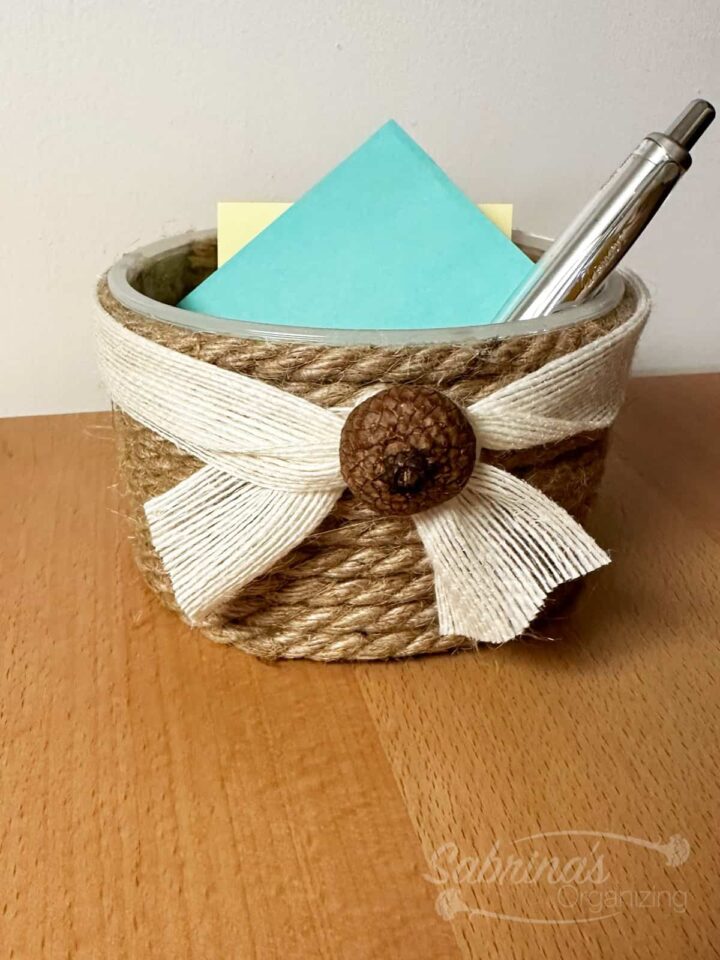
The Big Reveal
And here is what it looks like now with the ribbon and acorn. I also removed the ribbon and added a boho fringe to the edge, too, for a different effect. Cute, right?
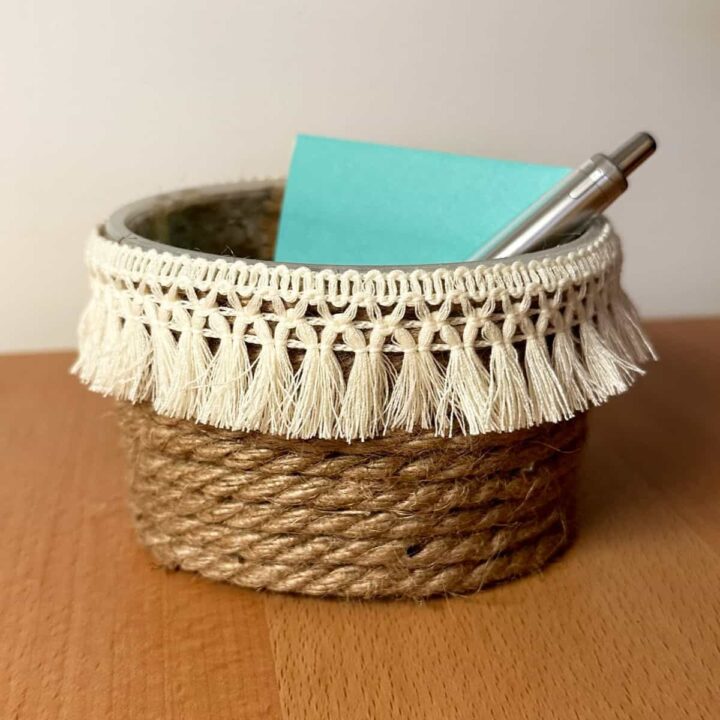

Tips on making this yogurt container upcycle idea.
Here are a few tips when doing this project.
- Be sure to use low heat on your hot glue gun (affiliate). It will melt the plastic if you use high heat.
- Pick a ribbon that is at least ½ inch wide so you can see it.
- Add decorative edging at the bottom and the top, and if you only have a thin ribbon.
I hope you enjoyed seeing how I made this upcycling yogurt container project. Feel free to visit my other upcycling projects below for more ideas.
Recent Upcycle posts:



Leave a Reply