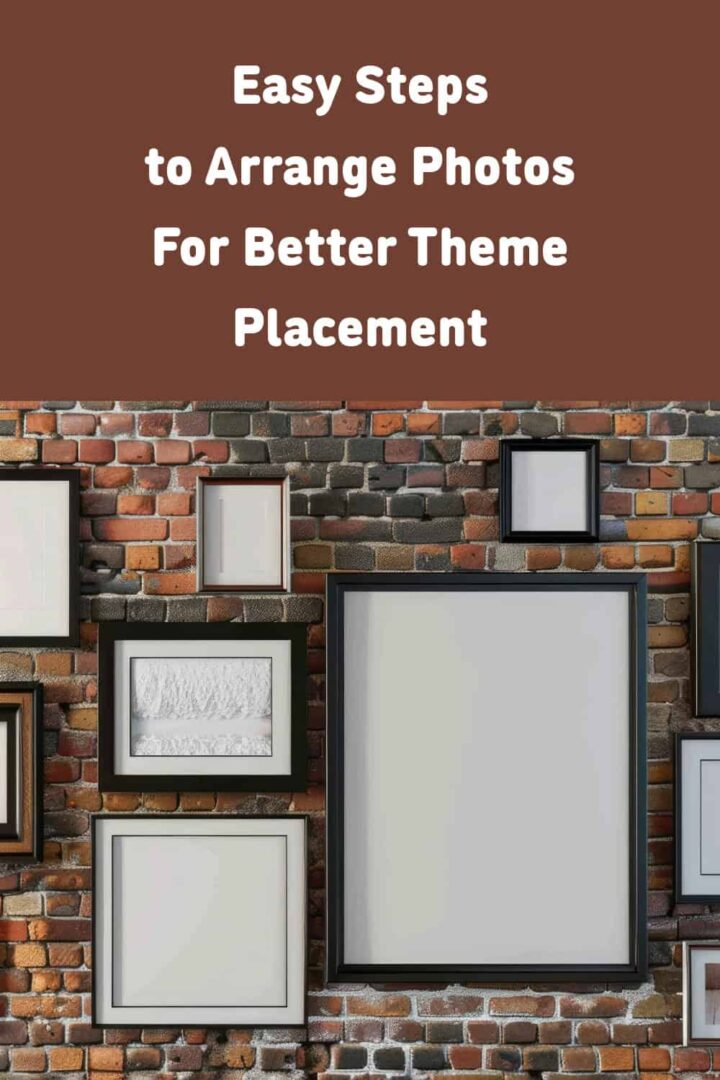
Are you looking for theme ideas for your priceless artwork and photos? Well, I have one post plus several more arranged pictures for you, and I will show you how I did it in my own home. Follow along and see the difference.
Jump to:
- Photo Gallery Themes Ideas
- Reason for changing my artwork around my house
- What did I do to group these collages?
- Our living room transformation
- Step 1: Add templates to the wall the size of the prints you are hanging.
- Step 2: Position the spaces so that the artwork is under the lights.
- Step 3: Work from the middle outward.
- Step 4: Start arranging larger photos and artwork, then mount the smaller prints.
- Update:
- How to Install a DIY Home Picture Hanging System
- Organizing Photos Around Your Home Challenge
- How to Make a Fabulous Photo Wall Collage
- How to Arrange Photos on a Two-Story Staircase Wall
- How to Change Bump Out Windows Design
Photo Gallery Themes Ideas
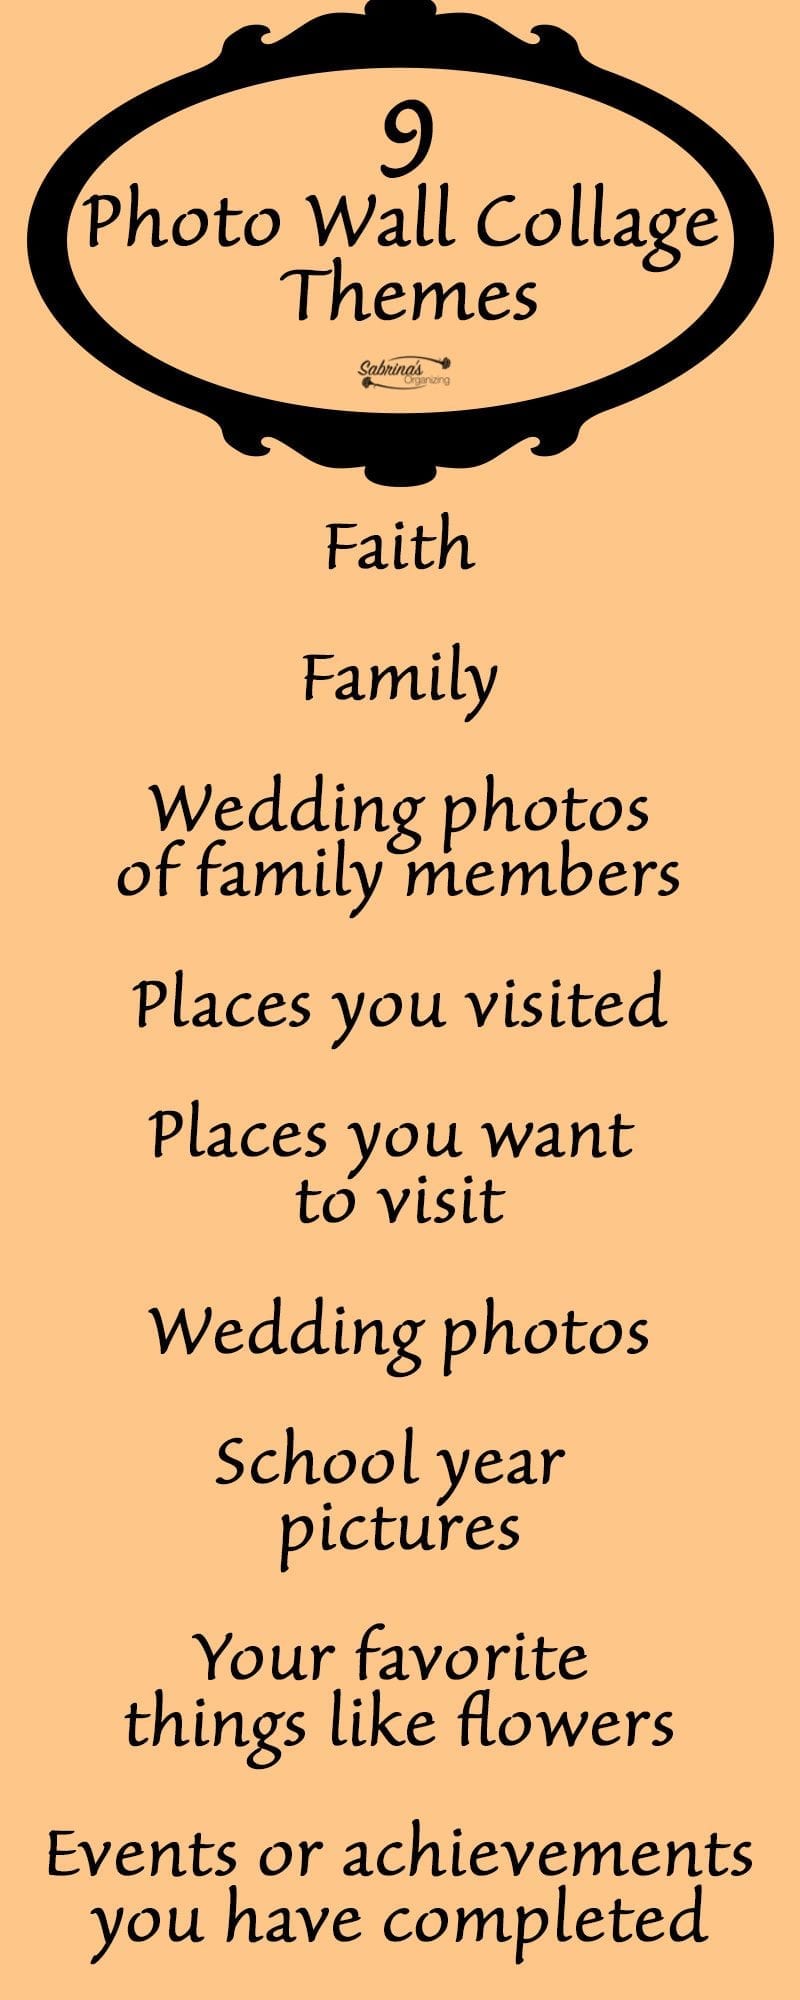
First, let's look at the options for creating photo galleries. There are many more, but these are the ones I used throughout my home. I hope they help you make your themed wall collage. Below are 9 photo wall collage themes.
- Faith Wall
- Family Wall - Extended Family Wall
- Wedding Photos Wall - family members and / or couples wall
- Places You Visited
- Places You Want to Visit
- Favorite Things Wall - Flowers, hobbies, etc...
- Events You Participated in.
- Achievements that you accomplished - ran a marathon, finished a degree, etc...
Reason for changing my artwork around my house
We recently added crown molding to our home and needed to remove the artwork. What a difference a trim crown molding makes! I love it! I can't believe the difference. Since we had the prints, paintings, and photos all down, we decided to arrange photos into groups, like Iris photos (my favorite flower), faith photos (didn't realize I had so many all in my home), and family photos (we are avid photo takers in our home, so there were many to choose from).
What did I do to group these collages?
We started by organizing the prints and artwork by size. Small 8 x 10 (affiliate), 4 x 6 (affiliate), and 5 x 7 size photo frames (affiliate), then, by horizontal and vertical frames. Soon, we had all the prints/photos from the entire house. They were laid out on my bedroom floor. I did not realize how many pictures, prints, and artworks I had until I brought them all together. I also pulled prints/photos that we had stored away because we didn't have a place for them, and accessories like words, stencils, plates, prayers, etc...
We began sorting the photos on our bed to see what worked best together. We started with the largest print and added smaller pictures around it. It took about a few hours to go through 50 photos and prints. After we did this, we took a photo of each arrangement. It helped us see it from a different view and showed us what worked and didn't work. I had a blast doing this, my husband didn't care either way, but he was a trooper and helped out anyway.
Our living room transformation
Then, we started placing our first room wall collage. It was in the living room.
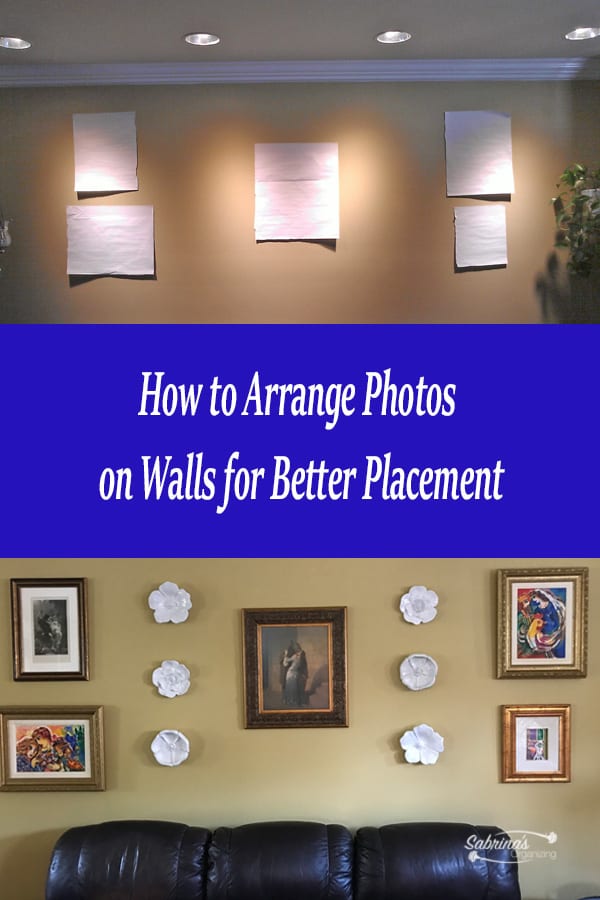
Step 1: Add templates to the wall the size of the prints you are hanging.
Here is a photo of how I laid out the living room wall. One of the many walls I rearranged. I read somewhere that putting up sheets of paper the size of each print helps you figure out the placement, so I did that.
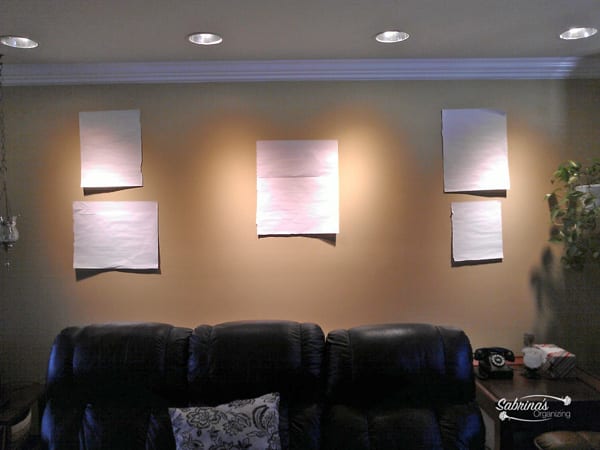
Step 2: Position the spaces so that the artwork is under the lights.
Then, I measured the spacing so that the light was shining on the prints. Since we had 4 lights, the two in the center were adjusted toward each other. Though we didn't realize it at the time, the two lights created a heart shape light on the wall, cool, right? =) I spaced out the papers so that it would fill up the wall.
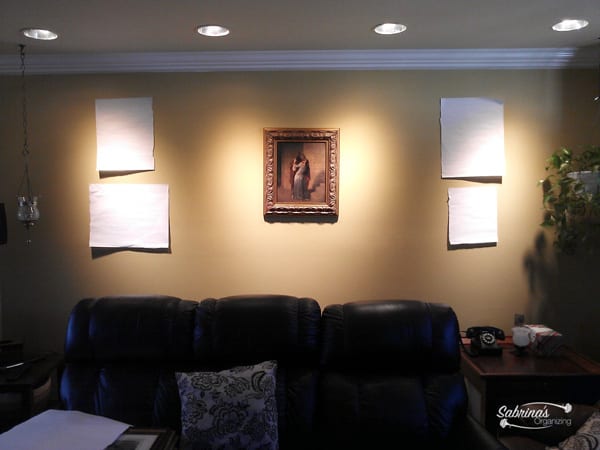
Step 3: Work from the middle outward.
Then, I started with the middle photo. It helped to move the sofa away from the wall so I could use a short ladder.
Step 4: Start arranging larger photos and artwork, then mount the smaller prints.
I added the other larger photos/prints and created a space for the smaller word phrases. I measured the space between each word block and each print to ensure that everything measured the same distance apart.
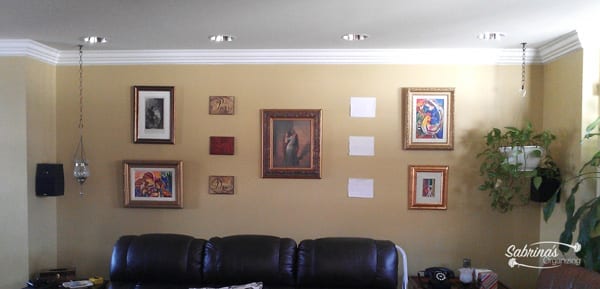
Then, I went to lunch. =) This took about 1.5 hours to do by myself. It would have taken less time if I had help because I had to hang a print up and then, walk about 10 feet away from the prints so I could see the big picture and how they look with each other.
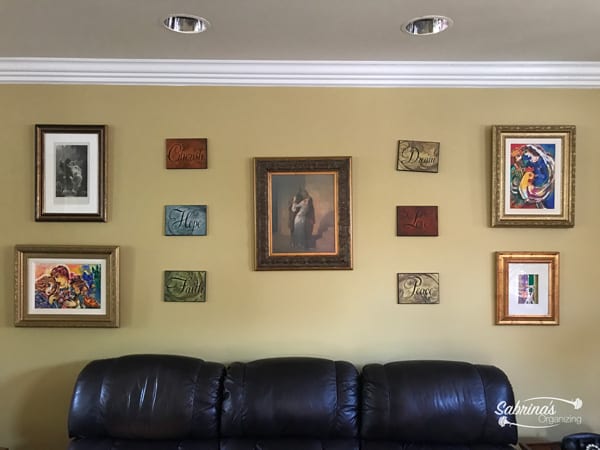
This is the final arranged photos wall. I love it! I think I will add something else soon to create depth. I will post a photo of the change soon. I hope your photo arrangement project goes well.
Update:
While I never could find something to add to the wall, to create depth, I liked the wall over the years. But, in the last year, I felt that the wording and colors of the word blocks became dated. So, I searched for something that would replace the text.
I purchased new decor for the center of the original artwork. Here's how it looks now. I bought it at Ballard Designs. The decor is ceramic and very well made.
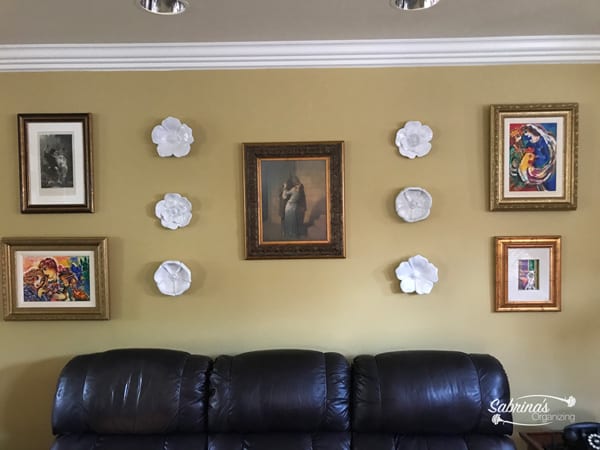
The before-and-after image shows the difference, and boy, do I like it. It brings out my artwork and adds a lighter tone. I hope this helps you arrange photos in your home. Please leave us a comment below if you have any tips to share.

If you want more photo organizing, please visit these posts below from our blog.
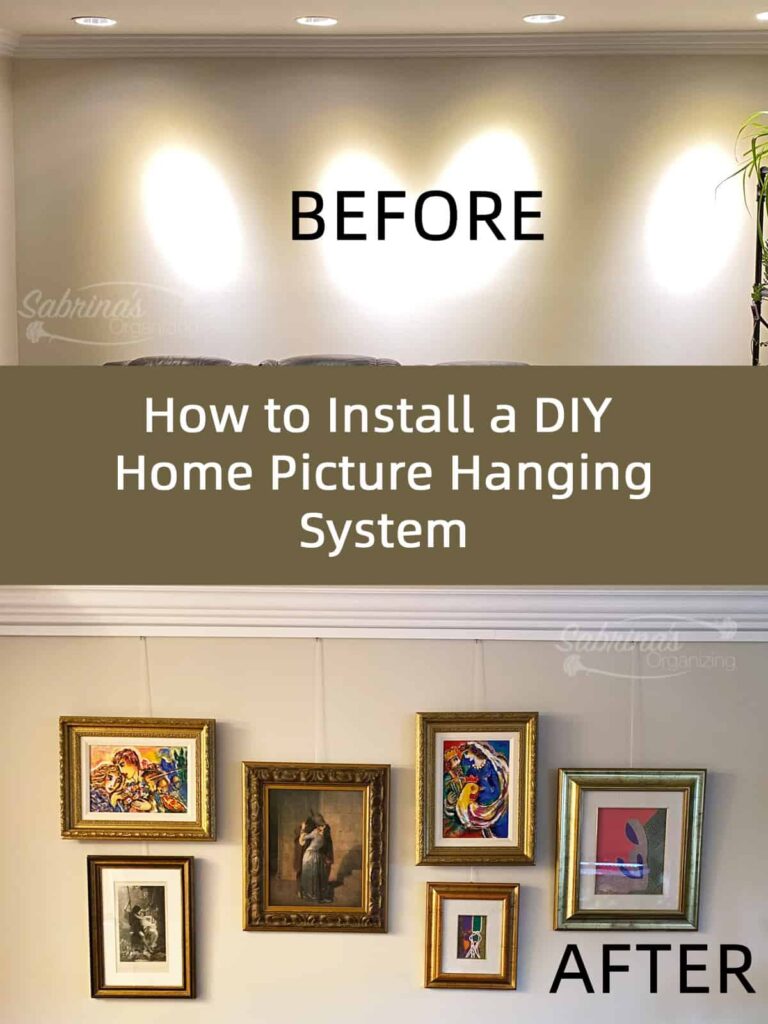
How to Install a DIY Home Picture Hanging System
If you have ever been to an art display in art galleries, the art is hanging from cables to not damage the walls. These gallery walls are super movable and come in different lengths of cable.
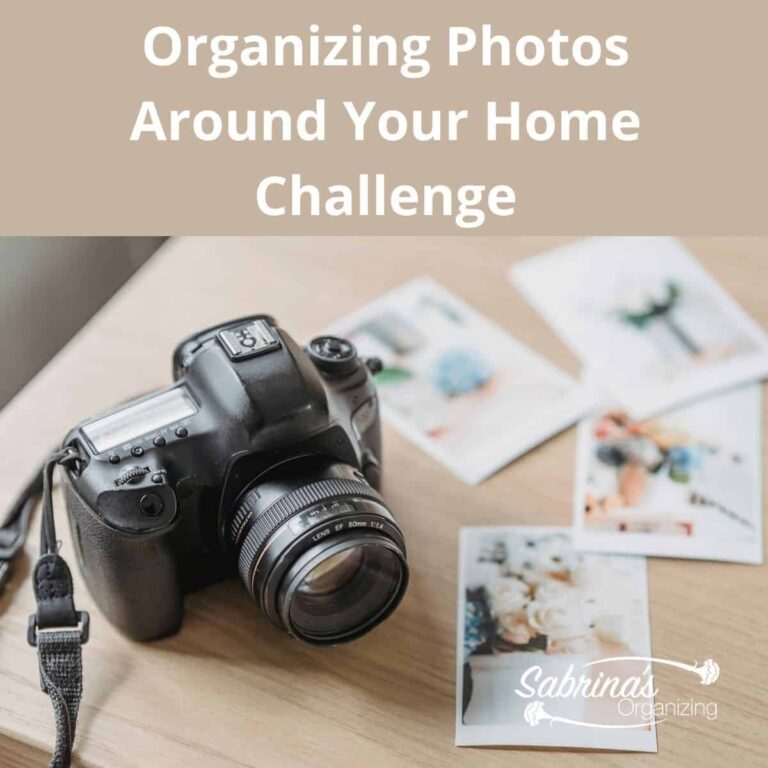
Organizing Photos Around Your Home Challenge
With the school year ending, it's a great time to review your photos for that school year. It is also necessary to review images of your family photos, whether digital files, physical photos, or frames sitting around and not hanging on the walls, which can be done throughout the month.
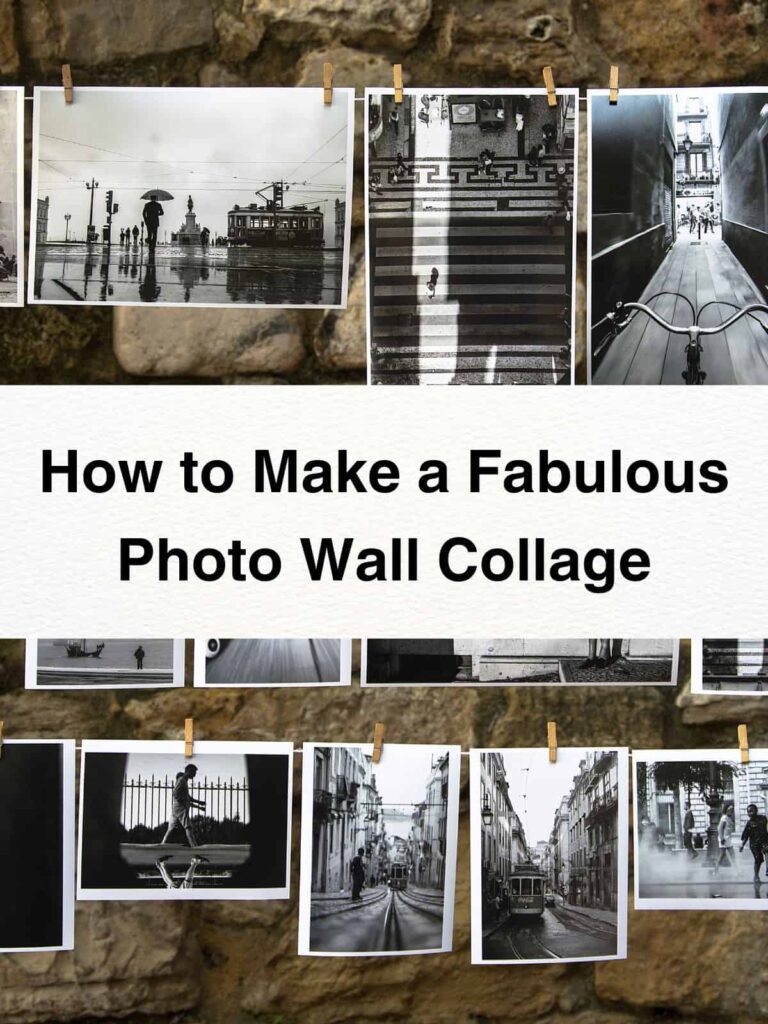
How to Make a Fabulous Photo Wall Collage
Do you have a lot of frames that don't have a home? You are not alone. Many people love to take pictures and take the time to mount them, but they never hang them in their homes. Why waste these perfect pictures and artwork?
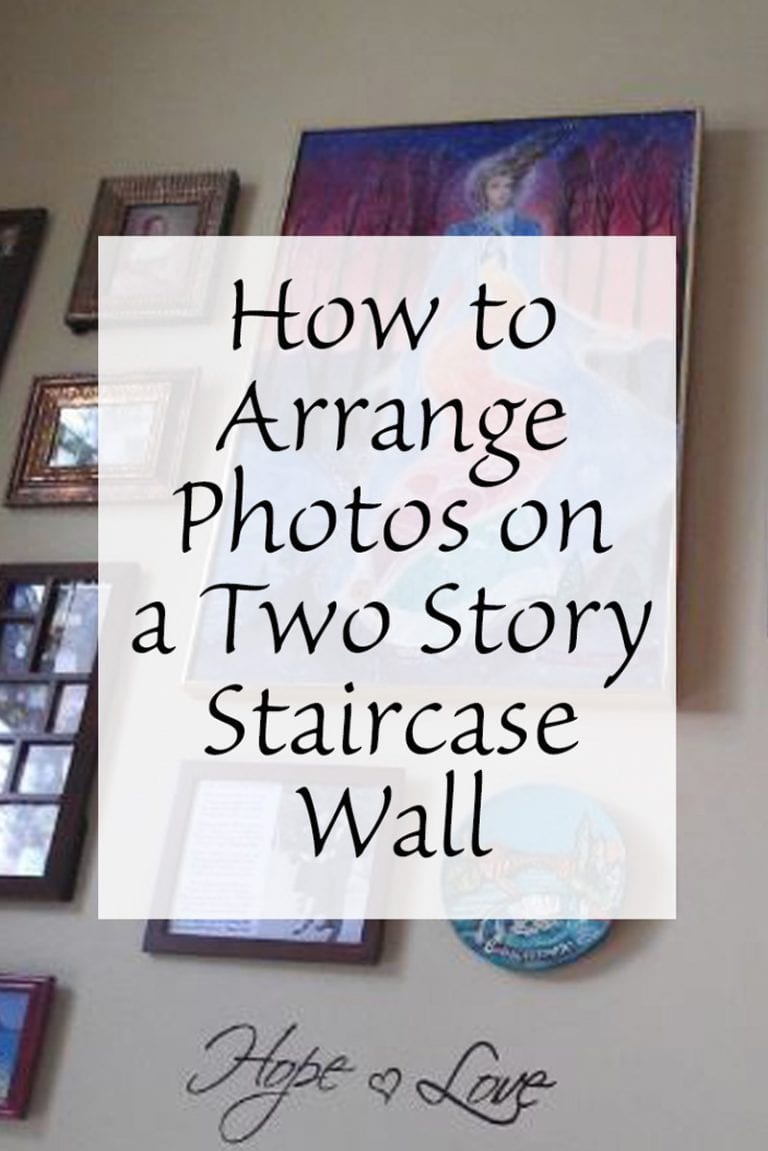
How to Arrange Photos on a Two-Story Staircase Wall
When buying your first home, you may not have all the pictures or artwork for your house. Finding the right photos to display could take years or decades. Or, you may give up altogether and not put anything on your walls.
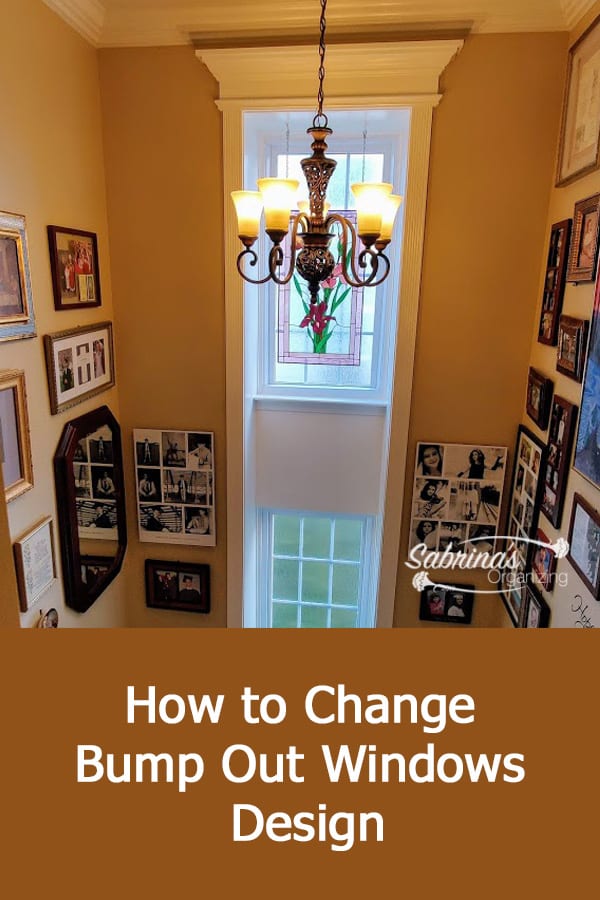
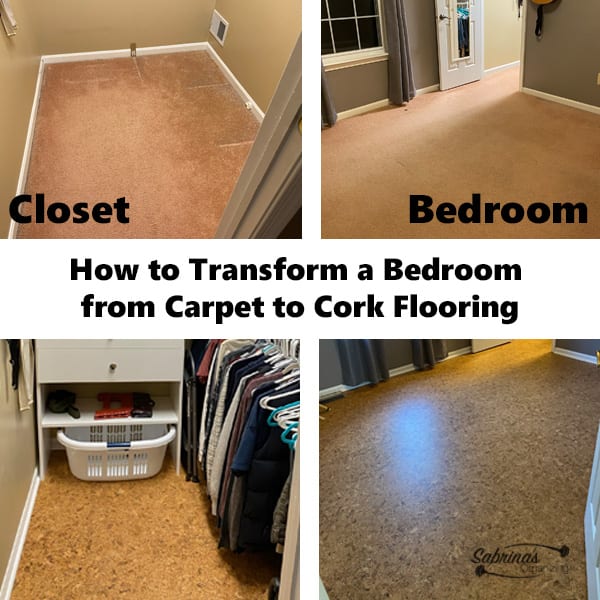
How to Change Bump Out Windows Design
Over the last several years, we have used blinds on our stair bump-out windows. These are two windows stacked on top of each other on the steps. They are snug on each side and have been difficult to design over the years. This post talks about how I transformed the bump-out windows design.
Visit these posts I found online for more wall decor tips.
How to Arrange Pictures on a Wall
Hang A Gallery Wall Like A Pro


0