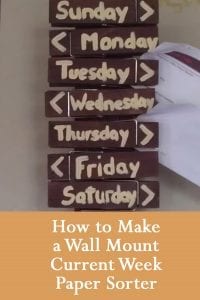
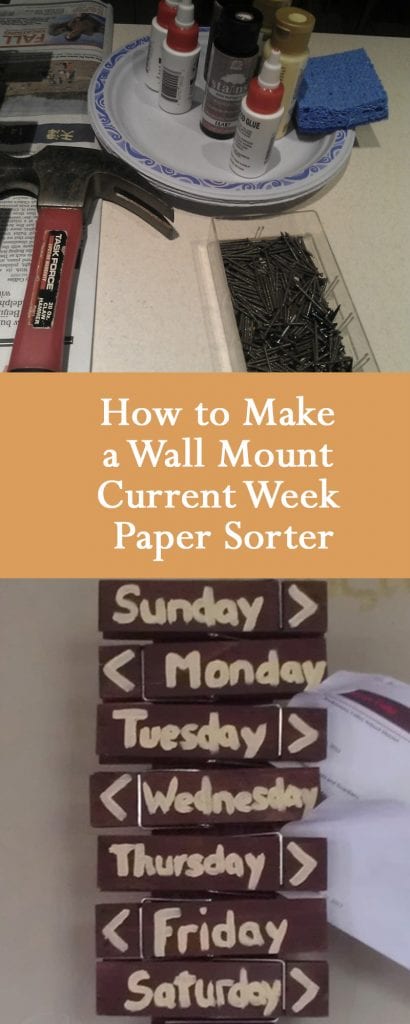
Papers in the kitchen can get unruly quickly, especially with a family of four with two school-age kids. So, each Sunday, I go through my accordion folder (affiliate) and pull papers that correspond to the up-in-coming week. Papers for doctors and papers that describe events or activities for that particular week are placed in order on the counter. No matter how hard I tried, the papers would get disorganized or tossed on the floor accidently. So, I decided to cut the clutter on my counter by creating a current week paper sorter.
Here are the step-by-step instructions on how I made it. This sorter was created before I remodeled our kitchen. I created another version of this one with a magnet hanging board after I remodeled the kitchen. Feel free to check this one out here.
Jump to:
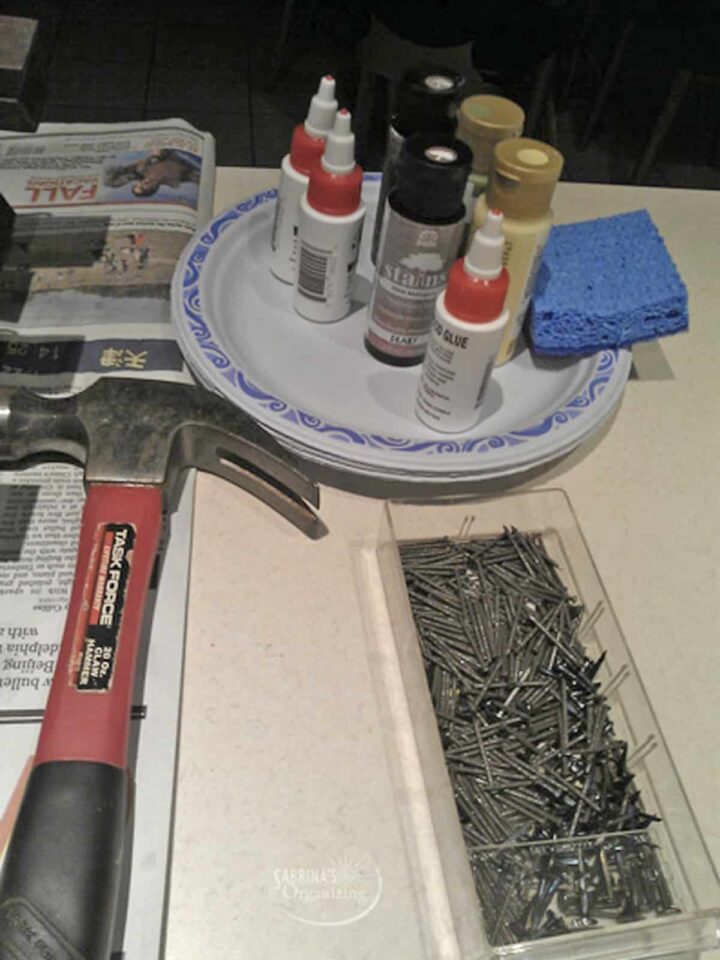
Supplies used for this project:
- 12-inch Giant Clothespin - I found it at my favorite craft store. Buy one medium clothespin for each day of the week.
- seven(7) medium clothespins - You may need to buy more than one 6-pack.
- Yellow acrylic paint
- paintbrushes (affiliate)
- dark stain
- stain rags
- wood glue
- hammer
- finishing nails
How long did it take me to make this current week's paper sorter?
There was a lot of drying time, so it took me about 3 days to do this DIY project.
How much did it cost to do this DIY project?
It cost about $15.00 dollars. I had all the tools (affiliate) and just needed to buy the clothespins.
How to Create a Current Week Paper Sorter
Stain the clothespins
First, I stained a giant clothespin and seven(7) medium clothespins and let them dry completely. This took about 3 hours.
It was easy. I took off the top by sliding the top of the clothespin from the spring. I could stain the entire pin. =)
Write the Days of the week on the Clothespins
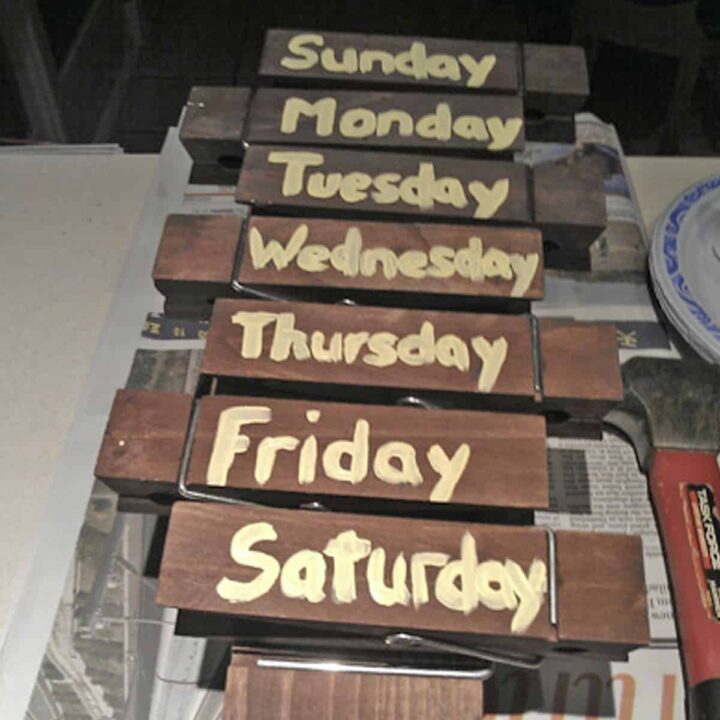
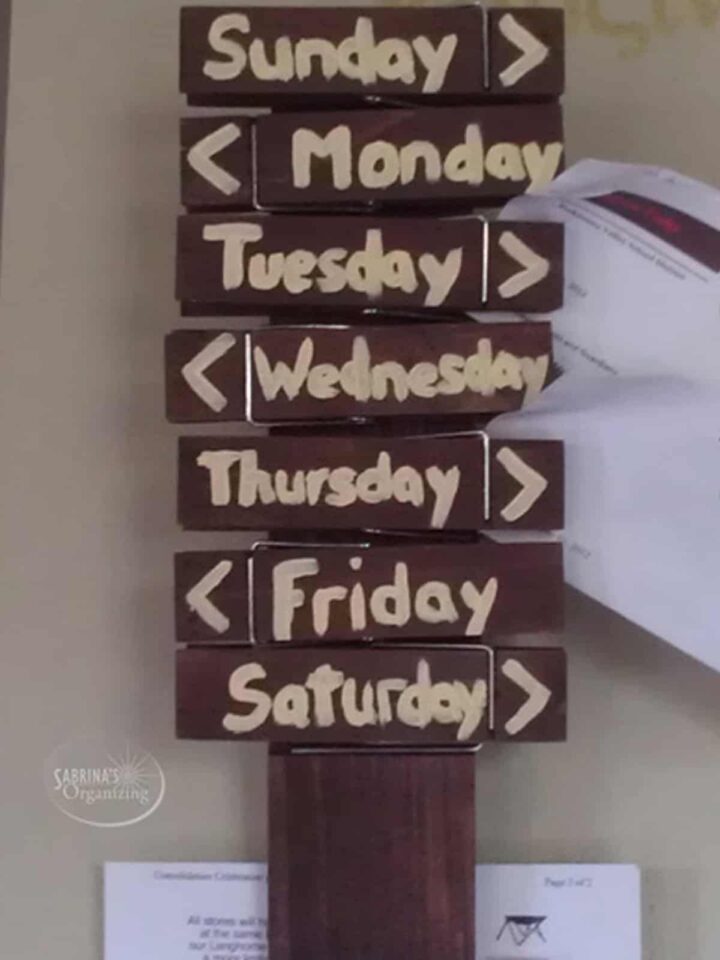
After staining the clothespins, I wrote the day of the week's name on each clothespin with a contrasting bright color of acrylic paint. (You can also use the Cricut (affiliate) labels (affiliate) and make them on a light vinyl color.) - IMPORTANT! This image shows the words but is not intended to do the gluing to the larger clip yet. That is the next step.
Glue the Medium clothespins to the large clothespin
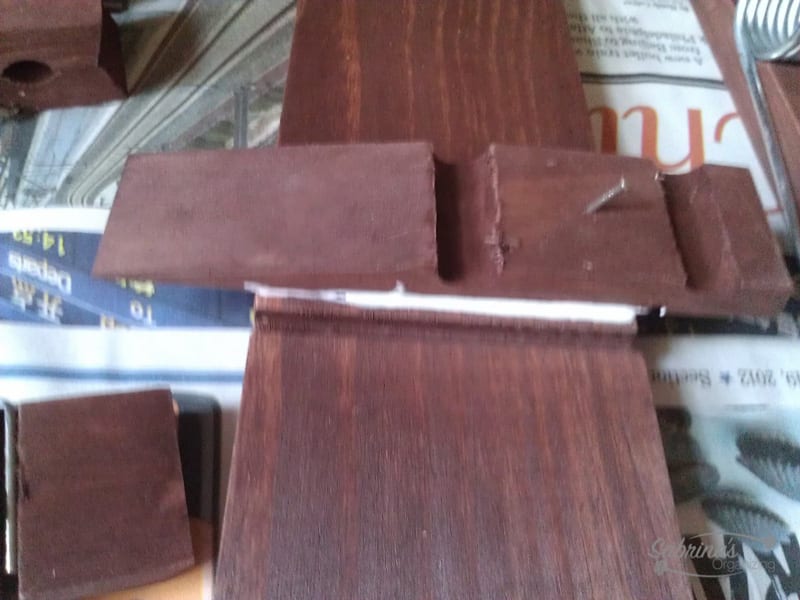
Then, I let it dry and glued/nailed the medium clothespin to the larger clothespin and making sure not to go completely through the large clothespin; I angled the nail. I made sure not to cover the spring for the large clothespin and the medium clothespin as I was gluing. I used the side of a ruler as a spacer between each clothespin. I then clamped the medium clothespin after I glued together the medium clothespin to the larger clothespin. - Sorry, this image is a little blurry. =(
Add the arrows to the direction of where the clothespins open
I then added the arrows to the day because it was harder to notice which way the clothespins opened.
Reveal:
I can use the large clothespin as well as medium ones for each day. If I made another one, I would make sure that the medium clothes pins were a little more zig-zag to allow for more paper-clipping room. I need to trifold the paper so I can see what day it pertains to. But it works, and now my counter is free of paper clutter. Oh, what a happy day!
What do you think? Please leave a comment!
Please note these are affiliate links through Amazon (affiliate), and at no additional cost to you, I will earn affiliate fees if you decide to make a purchase.
Feel free to visit our other DIY projects for more inspiration.





Leave a Reply