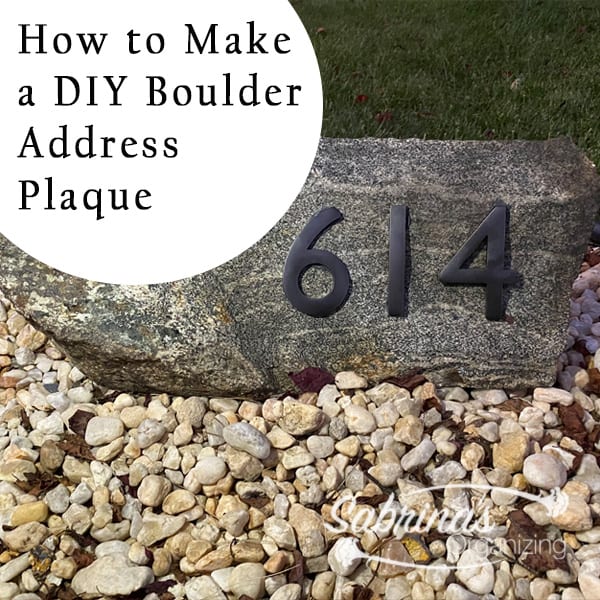
When we visited my brother, he told us about how many large (affiliate) rocks he had on his property. We began to brainstorm what he could do with these rocks after digging them out of the ground. We discussed using them as landscaping in the front yard. And creating a meditation circle for people to sit on when they wanted to be outside. And then we came to the idea of making one of the rocks an address plaque. Follow along and see how I made our DIY rock address plaque after giving us one of the unique boulders on his property.
Jump to:
Key Takeaways
- The article describes how to create a DIY address plaque using a free boulder from a family member.
- Boulders are expensive for landscaping, averaging $116 per ton, making this a cost-effective option.
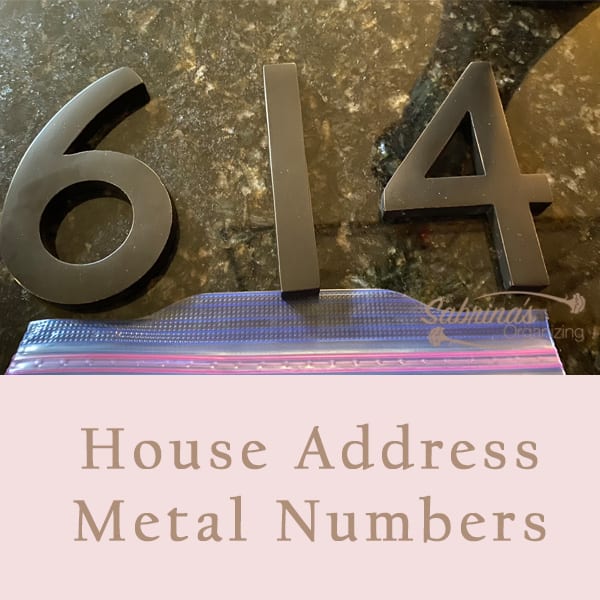
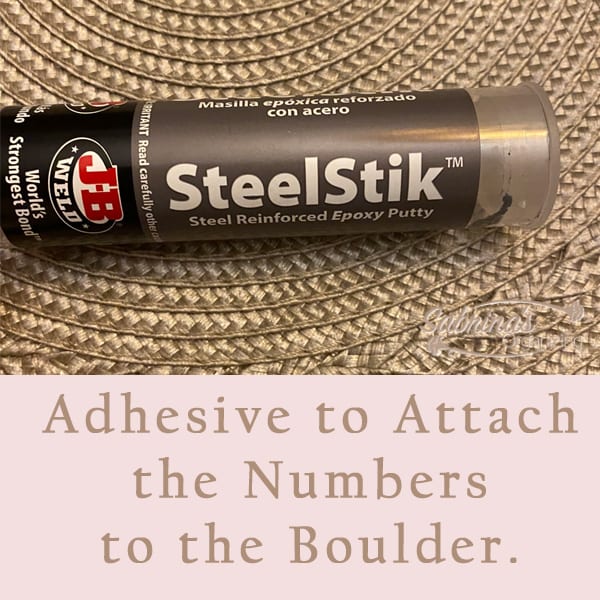
- Key (affiliate) products used for the project include metal house numbers and a strong adhesive epoxy.
- Steps include positioning the boulder, applying adhesive to the metal numbers, and ensuring proper alignment.
- Finally, the finished boulder address plaque serves as a charming addition to the front yard.
How expensive are boulders for landscaping?
I always loved boulders displayed strategically in the landscape. So, after doing some research over the years, I found that boulders are not cheap at all. They average $116 per ton to install in your landscaping. It was way too expensive for most people, so when my brother offered this opportunity, I jumped at the chance to get a free boulder for our front lawn.
Products we used to make this DIY Rock Address plaque
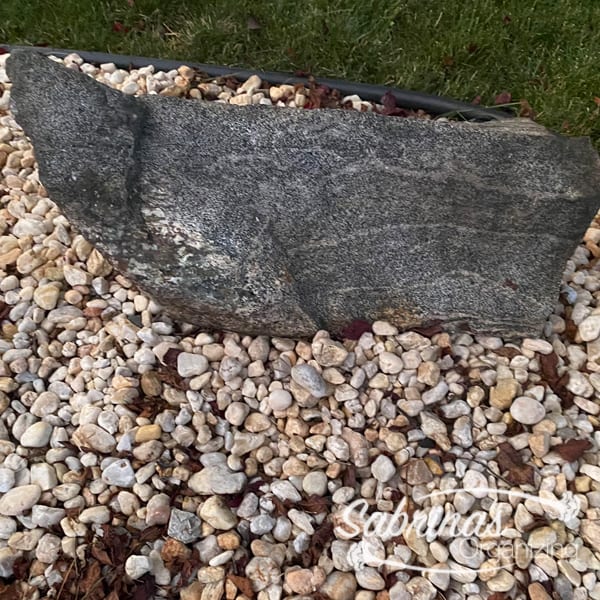
A FREE 2-3 foot long x 1-2 foot high boulder with a flat front
Number 6 -Architectural Mailboxes 3582DC 4 inches Solid Brass Floating House Number, 6, Dark Aged Copper - Amazon (affiliate)
The number 4 - One Architectural Mailboxes 3582DC 4 inches Solid Brass Floating House Number, 4, Dark Aged Copper - Amazon (affiliate)
The Number 1 - Architectural Mailboxes 3582DC 4 inches Solid Brass Floating House Number, 1, Dark Aged Copper - Amazon (affiliate)
J-B Weld 8267 SteelStik Steel Reinforced Epoxy Putty Stick - 2 oz. from Amazon (affiliate)
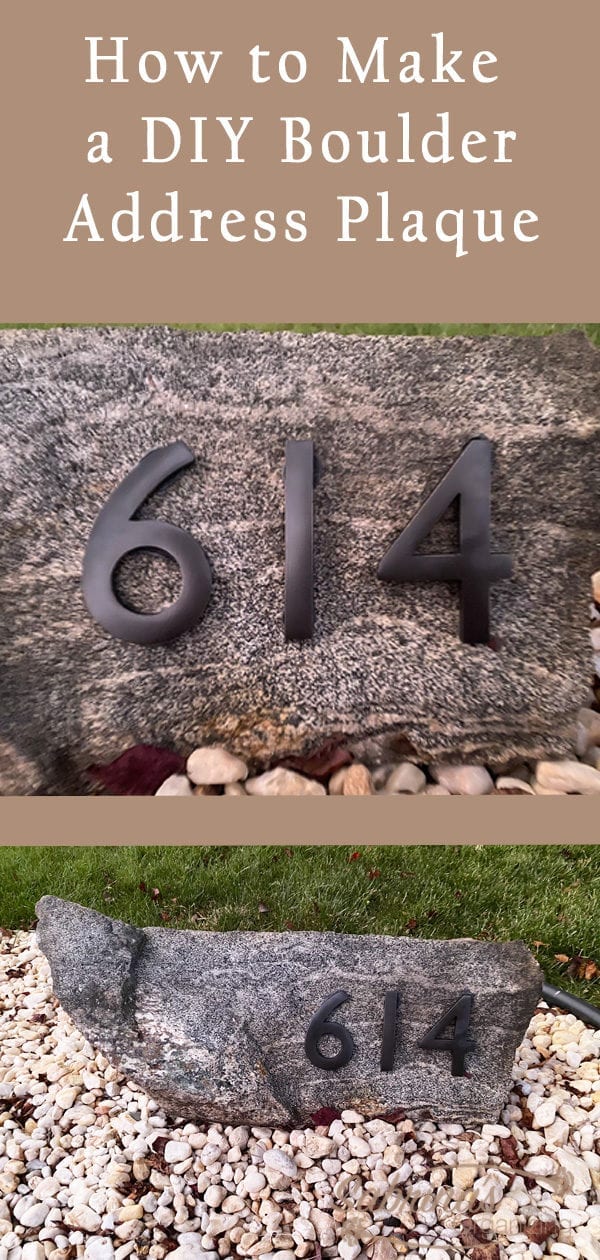
How to make a low-cost DIY Rock Address Plaque?
First, we brought the boulder home. It was about 2-3 feet wide and about a foot tall. We made sure that the boulder's front was flat and angled so that we could easily attach the numbers.
Find a home for your boulder.
We found a place to put it. Position the boulder on the flat surface facing forward so people can see it from the street.
Since it was near a lamppost, I did not need to have a light shine on it. But, if you want it, you can add a spotlight solar-powered light (affiliate) in front of it. Below are some I found on Amazon (affiliate).
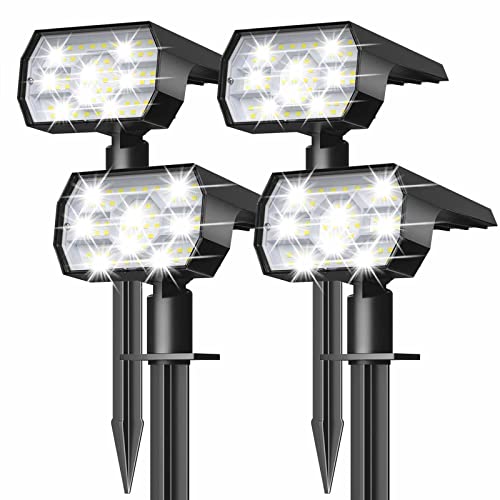
Solar Lights Outdoor Waterproof IP68, 56 LED - 4 Pack (Cool White)
Buy Now →
Solar Spotlights Outdoor, IP67 Waterproof Solar Spot Lights, 2-in-1 6500K 6 pk
Buy Now →(affiliate)
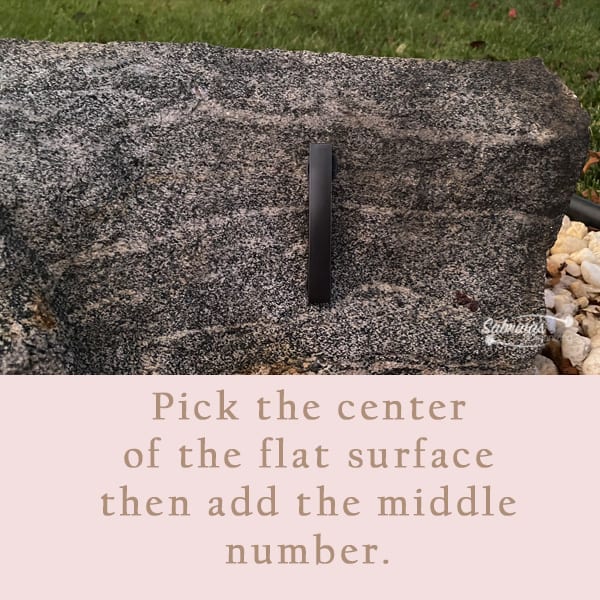
Add the adhesive to the back of the middle metal number.
Center the middle number so you have room on either side for the remaining numbers. The adhesive is a putty consistency, so you must roll it around to adhere to the metal number. Try not to add too much, or it will be noticeable on either side of the metal number. Follow the instructions on the container. Hold it in place for a few minutes. We did not need to tape it in place. It adhered fairly quickly.
Continue adding the numbers with the adhesive. Line up the tops and bottoms of the numbers to ensure they look straight from a distance. If your stone is taller, you can angle the numbers or place them vertically.
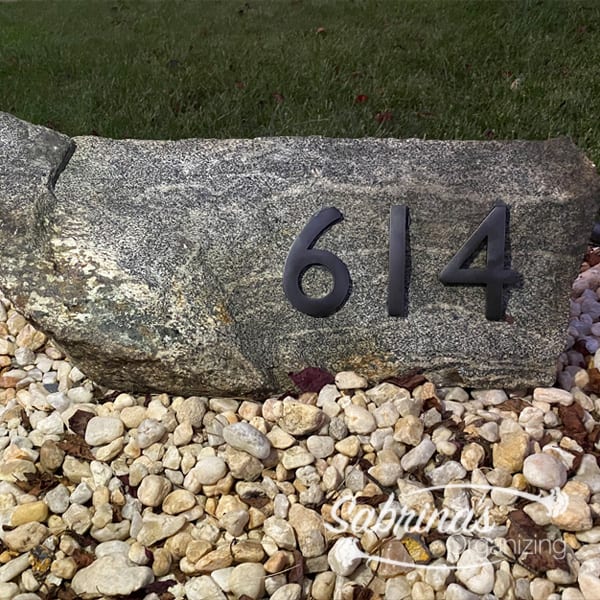
Reveal
Here's the finished boulder address plaque. What do you think? We love it. It's great for our brightly lit front. Would you try this in front of your home? Please leave a comment below on what you think of this project. If you have other ideas on landscaping with boulders, please share them in the comment section. I would love to hear from you.
Feel free to visit our other DIY curb appeal improvements below.
HOW TO MAKE A BEAUTIFUL OUTSIDE PORCH STORAGE BIN
HOW TO UPDATE A DIY FRONT PORCH STORAGE BOX
CREATE A FALL WREATH THE QUICK, CHEAP, AND EASY WAY
EASY DIY HOLIDAY WREATH WITH FRESH HERBS TUTORIAL


Laura says
We did this last year and added a $10 solar up light for night time.
Sabrina Quairoli says
Great idea! I love that. Thanks for stopping by and commenting.