When you receive packages, where does your delivery people place the boxes (affiliate)? Do they leave them out in the open for everyone to see? Here's a way to hide your smaller packages without neighbors knowing when you receive a package. Follow along and see how I transformed this porch storage bin.
Jump to:
First, I started by asking around to see if anyone had a bin I could have. And, lucky for me, my sister-in-law, had one that fit perfectly. Yay! It fit perfectly on my porch. It wasn't too big.
If you are looking for a larger bin for your larger porch, you may want to consider making your own with some wood and a nail gun. Make sure you can see through it, or people will know there are packages in it. I found this video that explains how to make a planter box. But instead of putting planters in there, you would use it as a hidden package box. You don't need to drill (affiliate) holes in the bottom.
Now that you decided on what size box you want, now it is time to decorate it.
Pick the paint color to add to porch storage bin.
First, you need acrylic paint in any color you want. I picked yellow and white, so it stood out with my dark box. And, don't forget the stippling brush. It has a flat bristle end, and when you apply the paint onto the opening of the stencil, it will trace out the numbers.
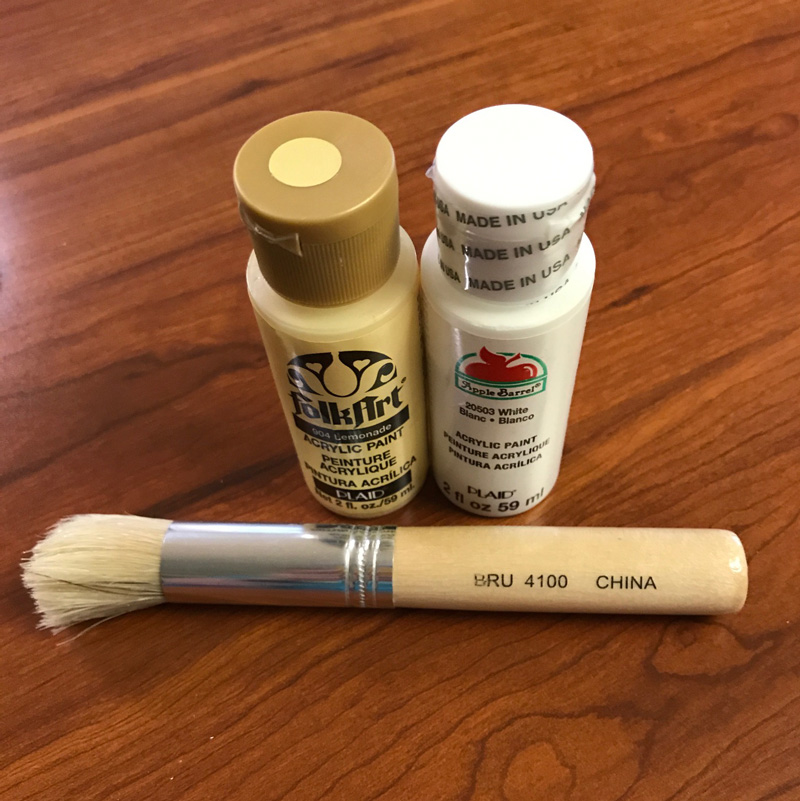
Find the right size number stencil.
I decided to get number stencils that represent my address. But you can write your name or just your first letter on it. I poured out a small amount of white paint onto a paper plate. Then dabbed the brush into the paint lightly. Then, laying the stencil on the area, I patted the stencil number gently until it filled in the entire number. I then moved the stencil and did the next two numbers.
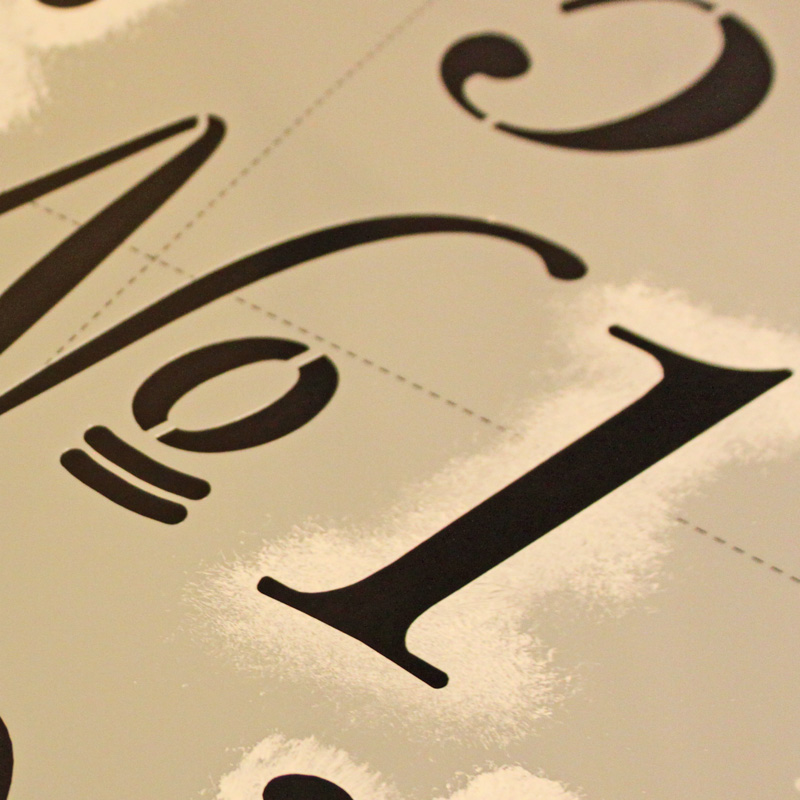
Add the flower stencil on porch storage bin.
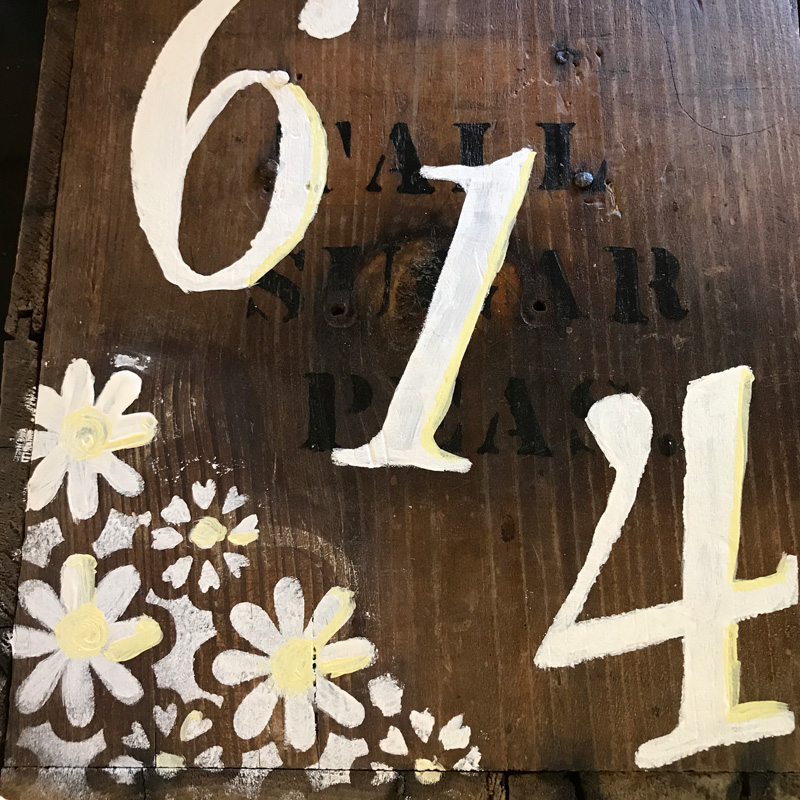
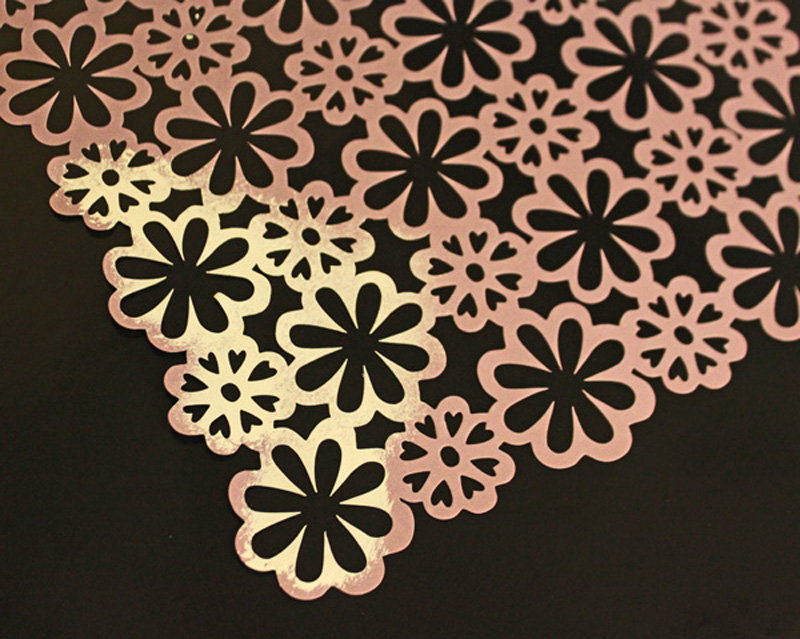
I then moved on to the flowers. I had this stencil with my scrapbooking supplies, so I decided to use it. You can find an actual plastic stencil if you wish. I laid the flower stencil on the corner and dabbed a small amount on the flowers until it filled in the flowers. Then I removed the stencil right away.
Paint the second color.
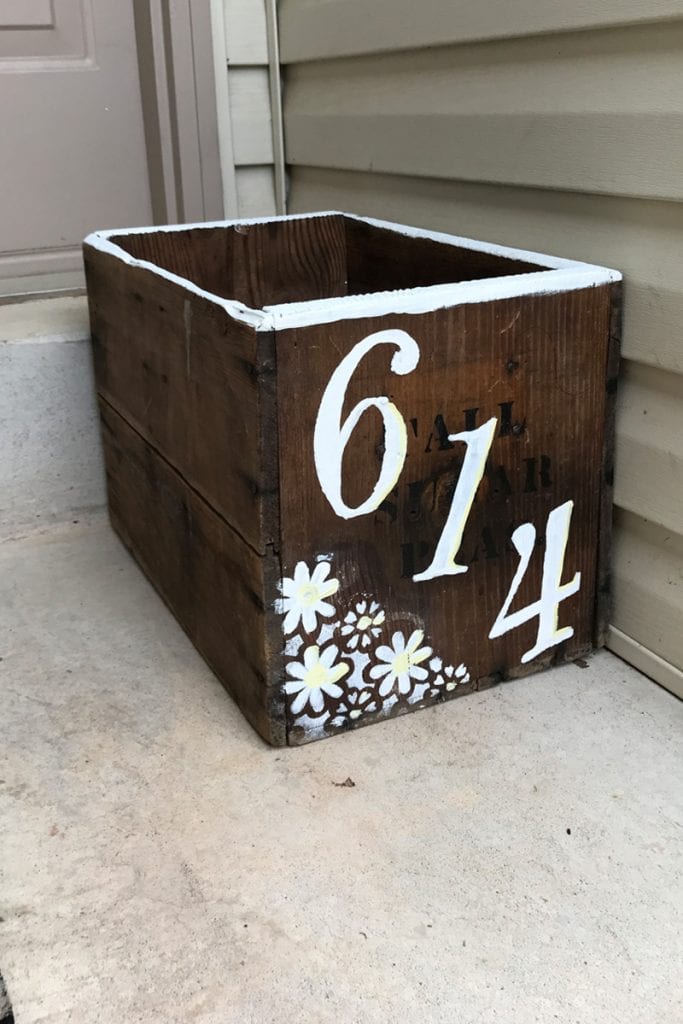
Here it is after these two steps. I waited until it dried and then traced the white with some yellow just for depth. You can't see it very clearly from far away, but it looks cool close up. I also didn't mind that the other areas around the flowers seeped through. It gave the piece character and made it unique and not perfect.
Add paint to the top edge.
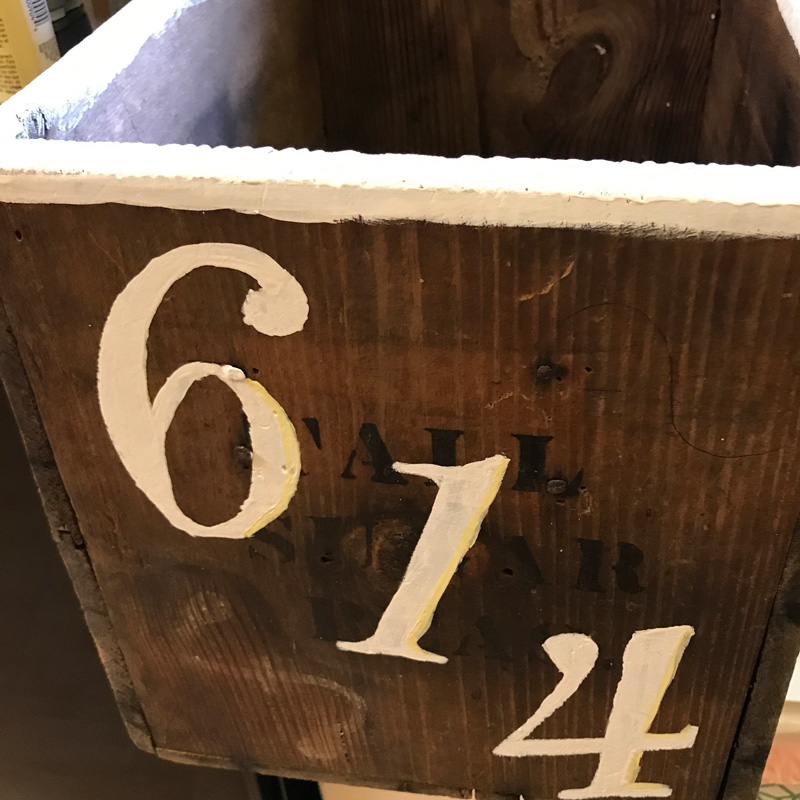
Then, I decided the top was missing some color, so I freehand painted the top end of the box and let it dry. The white made the top edge pop.
The package bin transformation
And, after porch storage bin dried, here is the box in its rightful place. What do you think? It fit perfectly on our small porch and didn't interfere with the door at all.
Well, there you have it. This easy project took me a total of 1 hour not including drying time. And, it looks cute from the street. Do you have a bin on your porch? Did you decorate it? Please share your thoughts on this DIY project below. I would love to hear from you.


Seana Turner says
Love this idea... it is important to have a place where "left" items are not easily seen from the street. This came out so beautifully, and you really could use any material and style that fit with your decor. I can see this idea becoming a common item for sale at Walmart - a "security bin." Terrific!
Diane Quintana says
Great Idea! I'm definitely going to try this project. My front door and porch are easily visible from the street. I love how you showed us step by step pictures. Thank you for sharing this project.
Elyse says
This is a smart idea. Where our house sits we have a good amount of wind. I sometimes find smaller packages have blown into the bushes. Something like this could help solve that problem. Thanks!
Linda Samuels says
Clever solution to the "loose" packages problem. We have a situation as you described...no place for deliverers to leave packages. As you said, they just sit outside in full view waiting for us to arrive home. While I've considered added a bench with storage below, I never thought of a container as you've done. You've given me something else to consider. Nice job, Sabrina, creating something unique and practical.