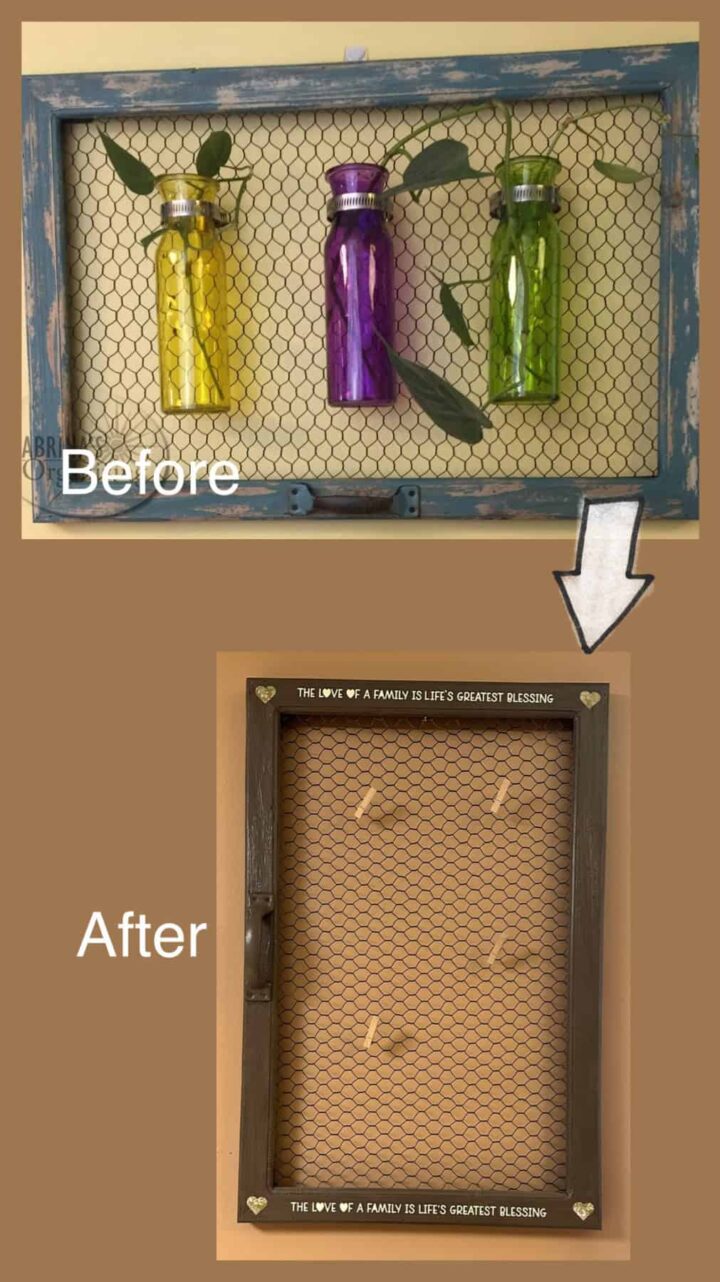
A DIY Photo Board is a great way to show how much you love your young adult when they go to college in their first year away from home. It reminds them of all the people who love them while it is displayed in their dorm room. Today, I will show you a simple and easy to make DIY Photo Board you can do just by upcycling another DIY project. I am repurposing my propagation wall mount planter in my post: DIY BEAUTIFUL WALL PLANTER EASY AND AFFORDABLE. Follow along and do these easy step-by-step instructions.
Jump to:
- What inspired me to do this DIY Photo Board?
- What supplies did I use to make this DIY Photo Board?
- How much did it cost to make this DIY Photo Board?
- How long did it take to make a DIY Photo Board?
- How did I make this DIY Photo Board?
- The Big Reveal
- What material should be used for the photo board?
- What to hang on this DIY Photo board?
What inspired me to do this DIY Photo Board?
My daughter is going away to Med School out of state, and I wanted to create something with family photos to remind her that she is loved and that we are so proud of her and what she has accomplished. So, I figured something visual on her wall would remind her that we all support and love her. So, I decided to make this DIY photo board for her.
What supplies did I use to make this DIY Photo Board?
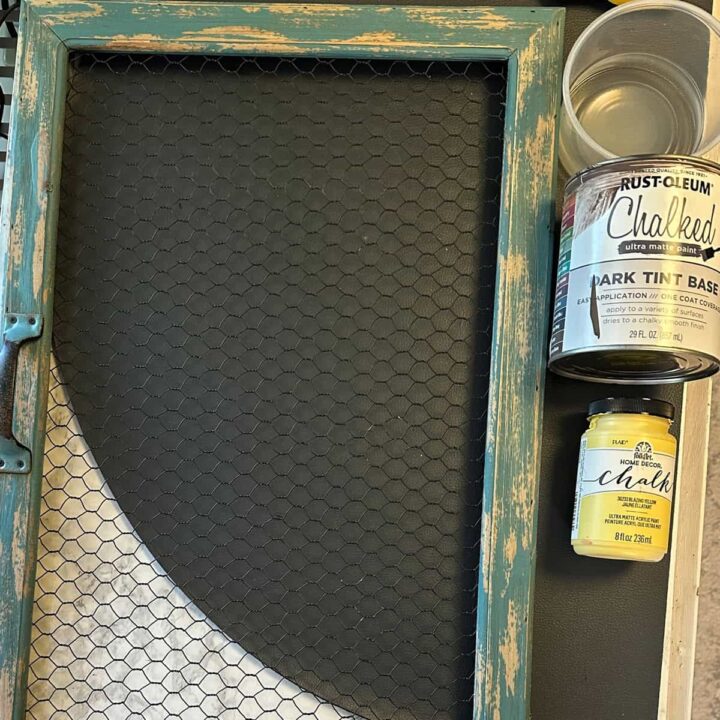
The supplies are pretty simple. I used my picture frame with chicken wire from my other project and upcycled it.
- Picture frame with chicken wire - This one is a sample of one on Amazon (affiliate)
- Rust-oleum Dark Tint Base Cocoa Bean
- FolkArt Home Decor Chalk 36233 Blazing Yellow Matte Paint by Plaid
- Paintbrush ¾ inch
- Fine grit sandpaper
- Cream Cricut Vinyl Removable
- Hunter Green Floral Cricut Vinyl removable for the hearts
- Cricut Explorer Air 2 machine
- Cricut weeding tools
- Mod Podge to seal the entire frame.
- Printed Photos
- Mini clothespins, as many as you want
Please note that these are affiliate links through Amazon (affiliate). If you decide to purchase, I will earn an affiliate commission at no additional cost.
Note: this photo doesn't have the vinyl in it because I had to purchase that after I made this photo.
How much did it cost to make this DIY Photo Board?
The whole thing costs me about $10.00 to update my chicken wire and frame.
How long did it take to make a DIY Photo Board?
It took me about 8 hours, including drying time.
How did I make this DIY Photo Board?
First, I mixed the cocoa bean and the yellow to make a warm brown.
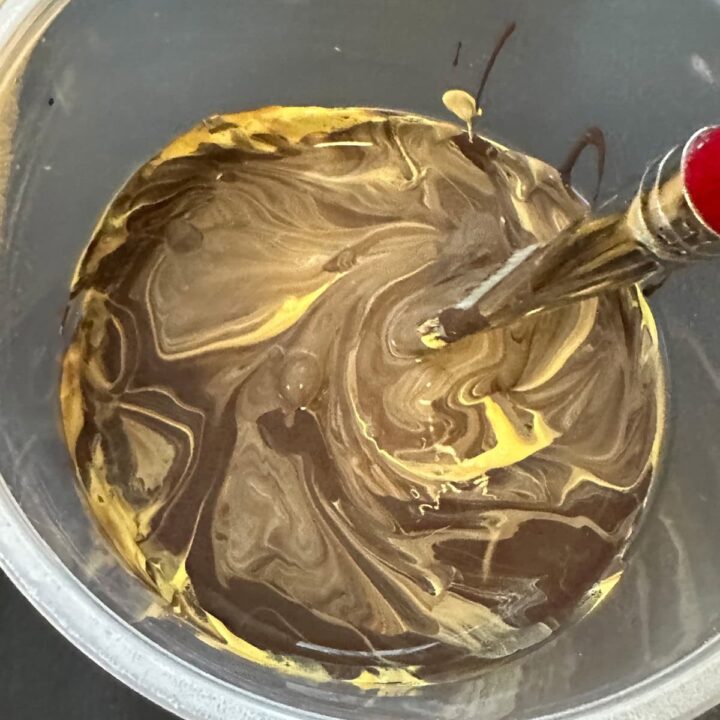
Then, I painted it onto the frame and let it dry for an hour. Next, I applied the next coat and let it dry completely.
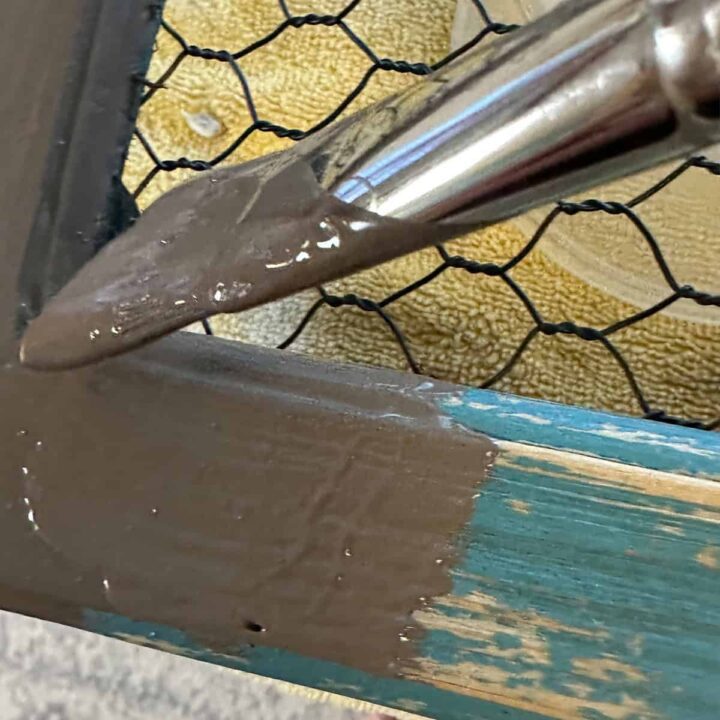
Now, I took fine-grit sandpaper and rubbed it gently on the wood to remove some chalk paint and allow the grain to show through.
Cut the vinyl on two separate sheets
Next, I used my Cricut and printed out the saying. Here is my link on Cricut so you can cut it out yourself. This page has both the hearts and the wording on it. You must cut the different pieces of vinyl and then weed the excess off.
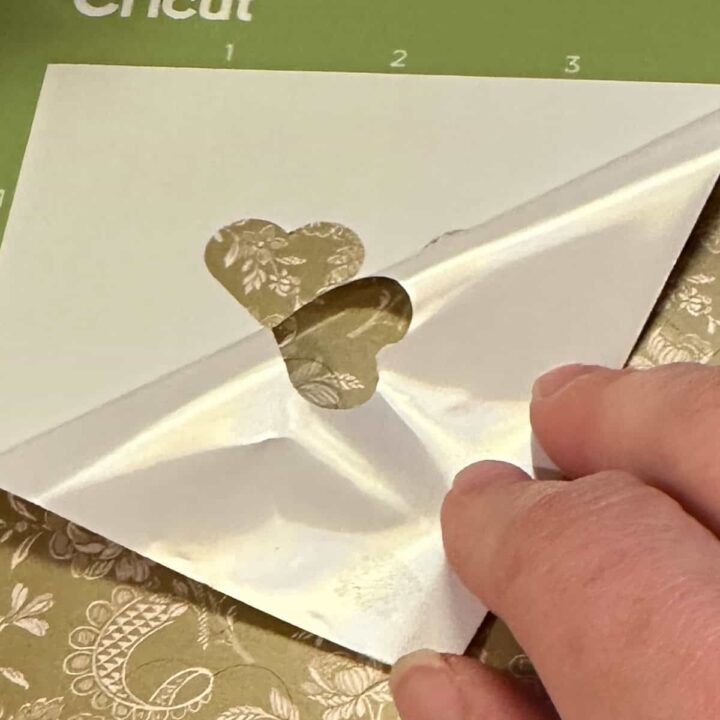
For the words "The Love of a Family is Life's Greatest Blessing," use the transfer paper, remove the vinyl, and add it to the top and bottom of the frame.
For the hearts, use the transfer paper and place them on each corner of the frame.
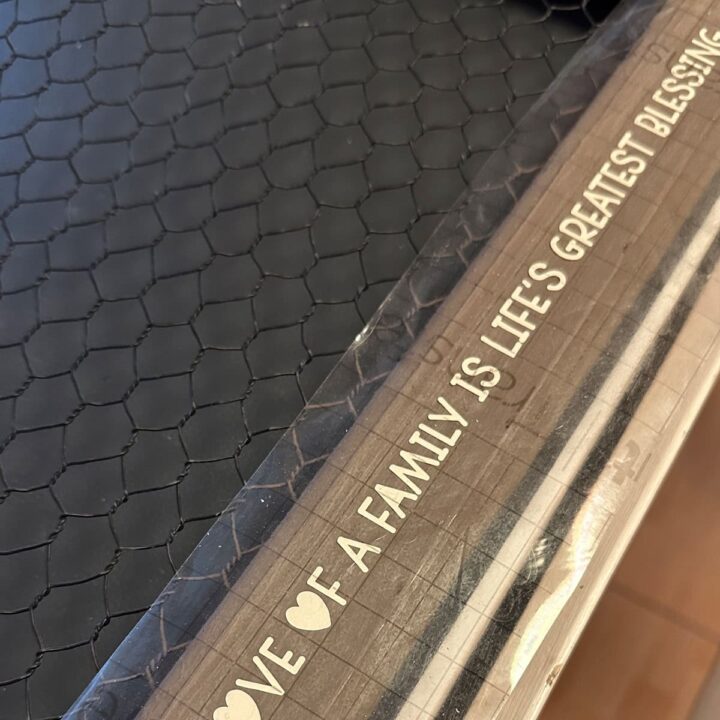
Now, let it dry for about 24 hours, add the Mod Podge (affiliate) to the top and sides of the entire frame, and let it dry completely.
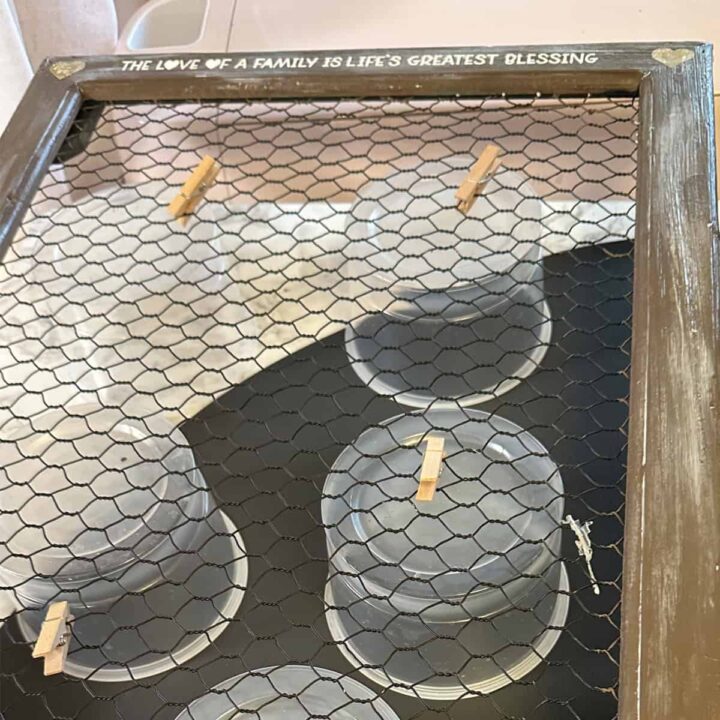
The Big Reveal
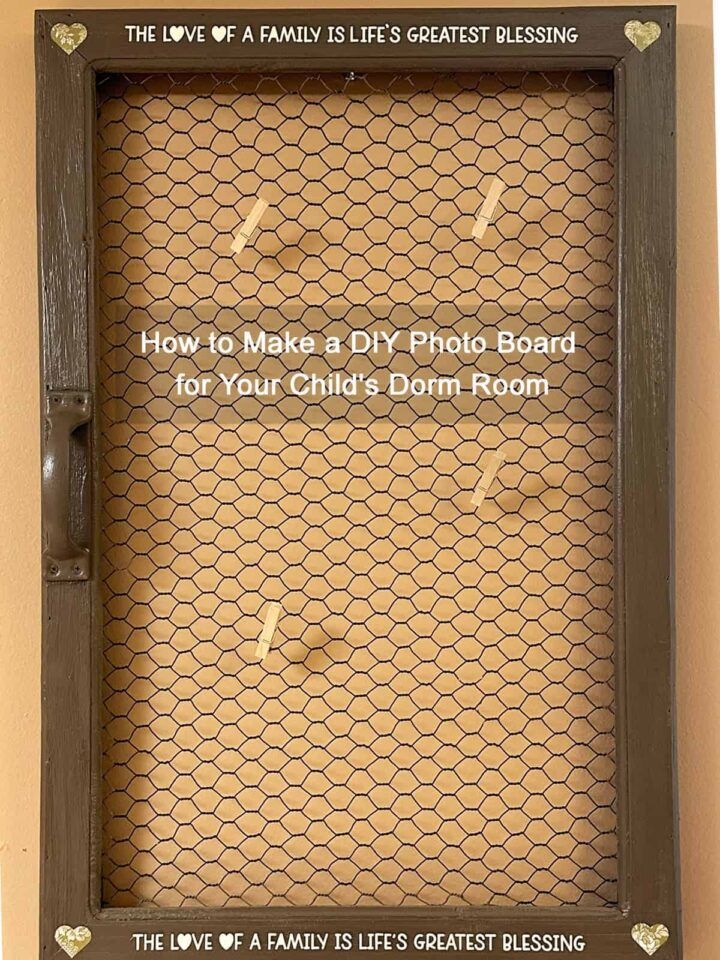
This DIY Photo Board looks lovely. I love how the Mod Podge (affiliate) made it satin and dressed it from the chalk paint color. I used mini clothespins to hold the pictures.
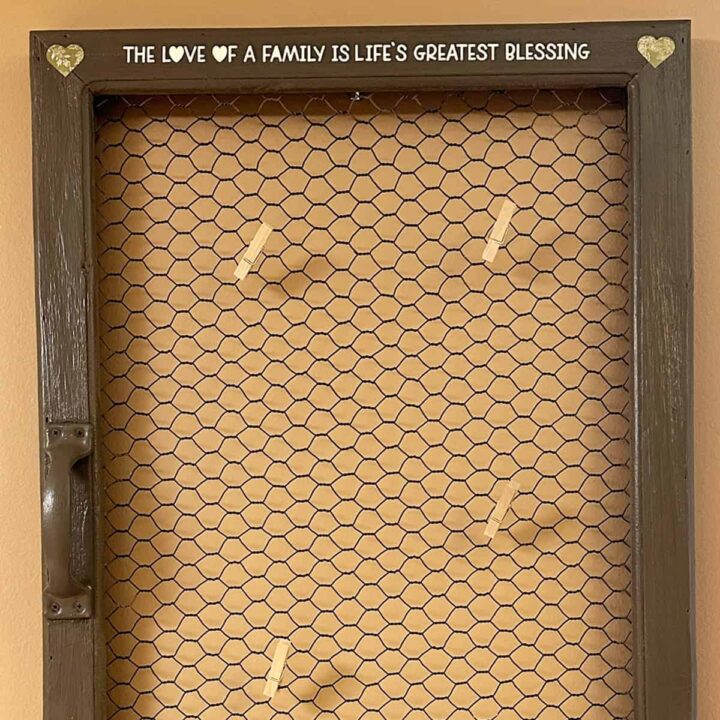
Feel free to check out my video!
What material should be used for the photo board?
There are various options to use for the background of your photo board. Below is a list of ones you may want to use instead of the one I used.
- A nice flat piece of wood would work as a stable surface.
- You can use hanging jute twine and wrap it around cardboard for a stable surface.
- You can get some finished wood at the home improvement store and make your own.
- Canvas material wrapped in wood to keep it stable is a good background for a photo board.
- Use a Markerboard and tape photos on it.
What to hang on this DIY Photo board?
If you don't have a kid going away to college, you can make this for yourself and add various things to this photo board. Below are just some of them.
- Photos of friends
- Pictures of family members
- Pictures of pets (past and present)
- Magnets with sayings on them
- Piece of art
- Stickers you love
I hope this DIY Photo Board gives you ideas for a customized creative DIY photo board project. If you try this DIY, please come back and leave a comment on how your DIY project turned out. I would to hear from you.
Visit my other college success posts!




Leave a Reply