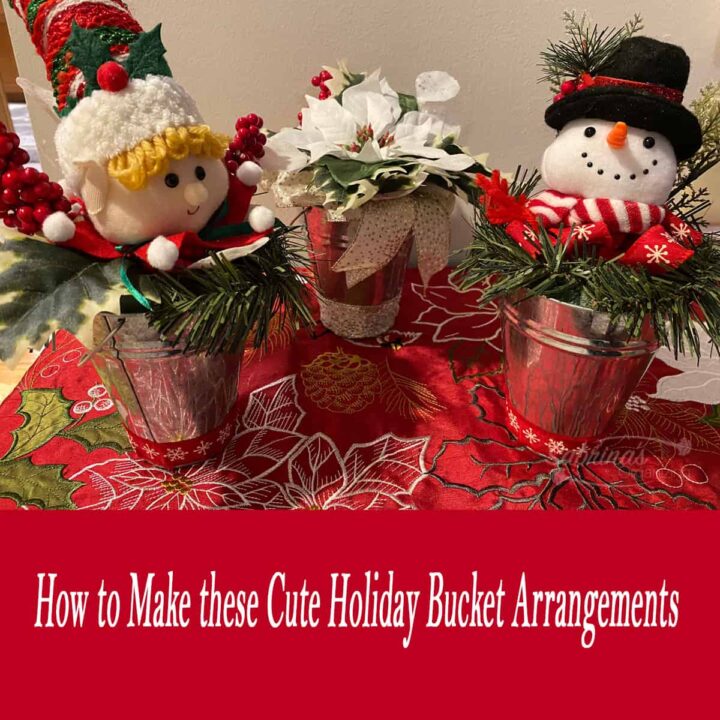
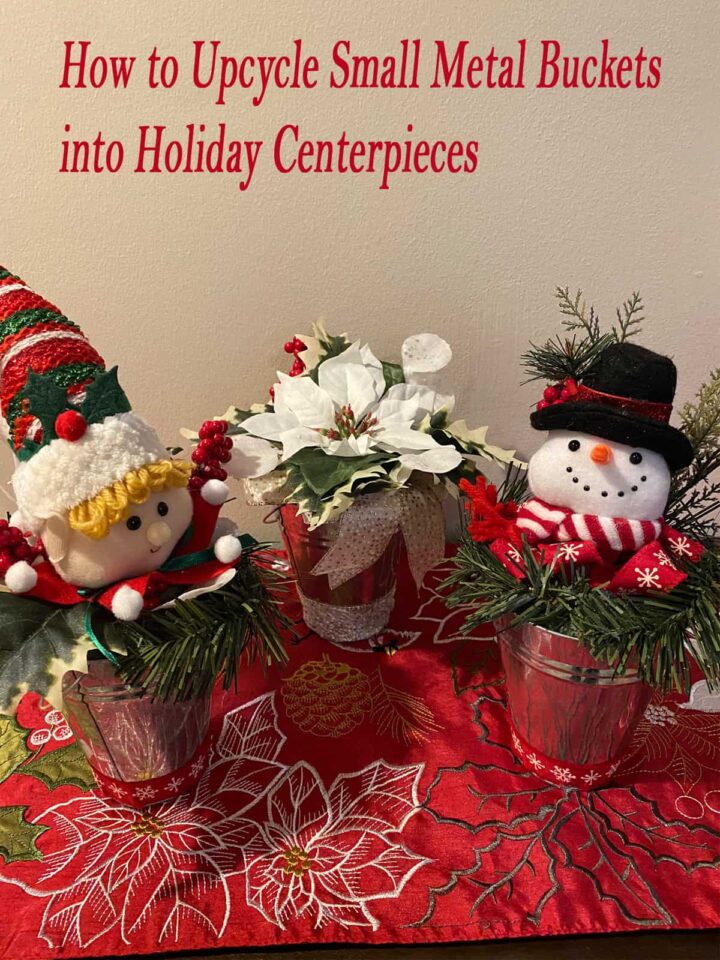
I purchased these small galvanized metal buckets years ago for a party I was hosting and found them very useful. However, after I stopped hosting the parties, I didn't know what to do with them. So, I started doing upcycling craft projects with these small buckets. Here's how I upcycled small metal buckets into cute holiday-themed centerpieces. Feel free to check out all three below.
The three themes for the Upcycle Small Metal Buckets projects are an Elf-Face, a white poinsettia, and a Snowman Face. All three use the same small metal buckets since I had so many of them. Feel free to check out my HOW TO MAKE THREE DIY SMALL AUTUMN BOUQUETS using the same metal buckets.
Jump to:
Key Takeaways
- The article shares creative ways to Upcycle Small Metal Buckets into holiday-themed centerpieces.
- Three projects include an Elf-Face, a Poinsettia Centerpiece, and a Snowman Centerpiece.
- Each project provides a detailed list of supplies, costs, and time needed to create.
- Instructions for making each centerpiece emphasize using floral foam and securing decorations with pins and hot glue.
- The author encourages readers to try these projects and share their favorites in the comments.
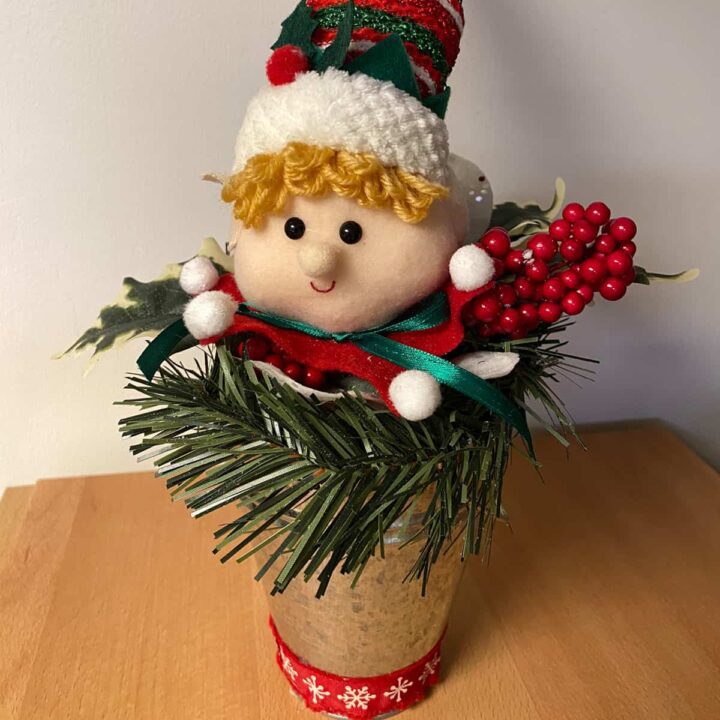
Upcycle Small Metal Bucket into Elf Face Arrangement
The first upcycle small metal bucket project featured a cute Elf Face I found at Michaels. Here is how I made it.

What supplies did I use to make this elf-face metal bucket?
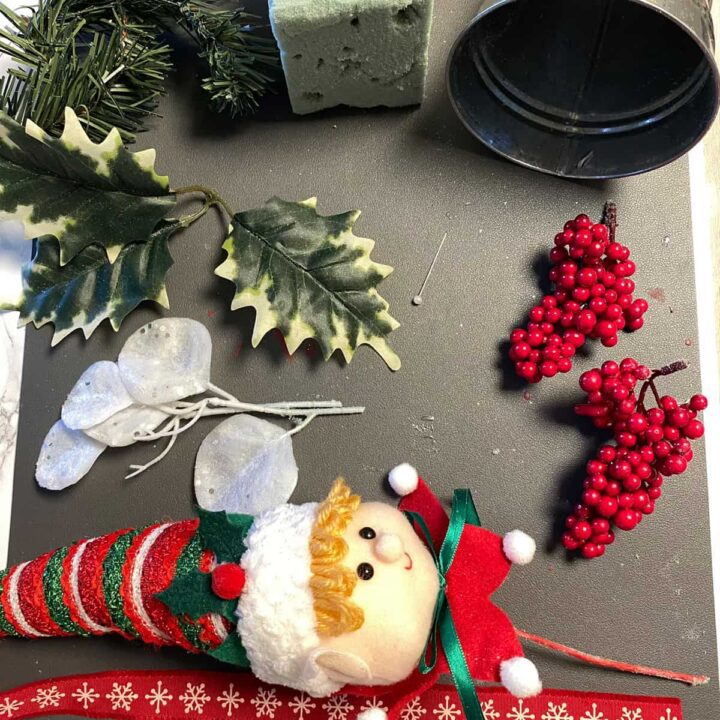
For this Elf-face metal bouquet, below are the supplies I used:
- 1 metal galvanized small basket
- Floral Foam
- Elf face with a stick - I found this at Michaels.
- Snowflake Ribbon
- Hot glue gun and glue stick
- Plastic leaves
- Fake berries
- White leaves
- Faux pinecone
- Pins
How much did it cost to make this elf-face metal bucket?
This project cost me about 10 dollars to make. Most of the things I had, but the elf-face was about 4 dollars, and the leaves and other things were used on most of these buckets.
How long did it take me to make this elf-face metal bucket?
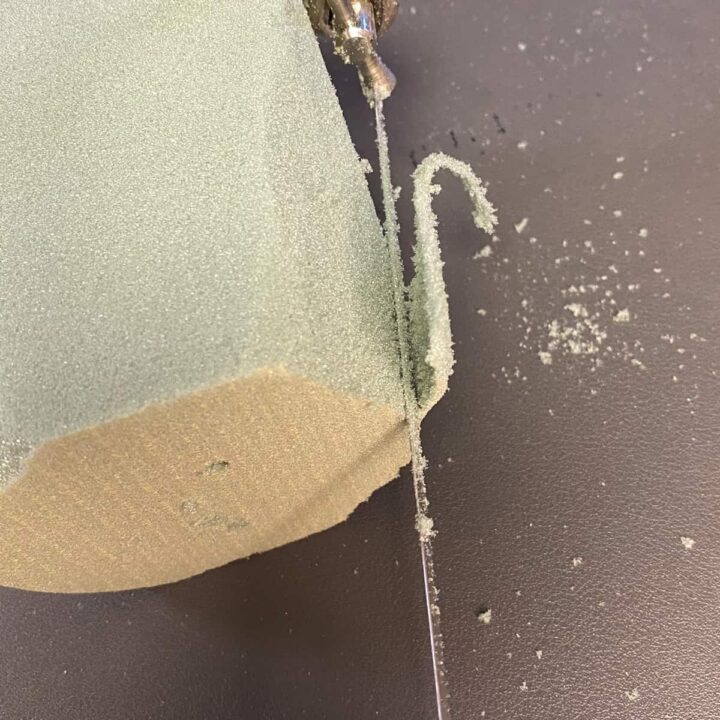
To make this one, it only took me about 30 minutes. It was a super quick project and was a little messy with the floral foam because I had to cut it down to make it fit into my galvanized buckets.
How did I make this elf-face metal bucket?
First, I cut down the sides of the floral foam and made sure it fit inside the bucket. This was going to be my base.
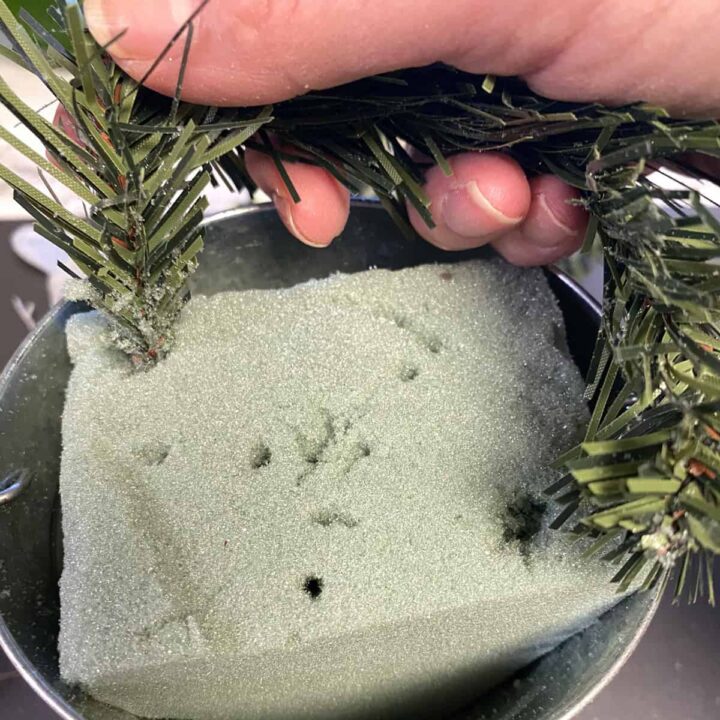
Then, I took the pine needles and wrapped them around the top of the bucket.
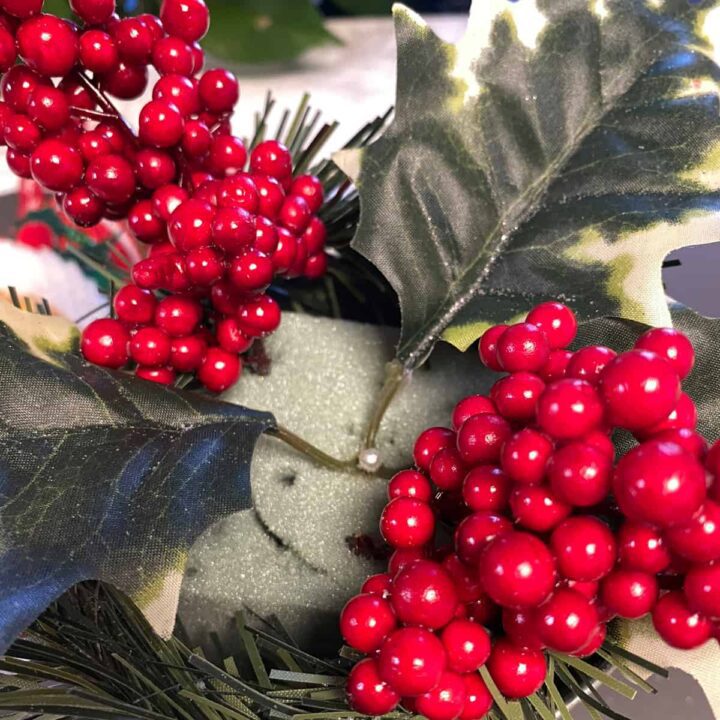
Now, I added the leaves and the berries. Using a pin, I ran the pin into the foam to hold the leaves in place. For the berries, I placed them directly into the foam.
Next, I added the white flowers and the elf face with a stick that went into the foam. I made sure that the stick was short enough. If it wasn't, I cut it down. I then added the ribbon with the hot glue gun (affiliate) to the bottom of the metal bucket.
The Big Reveal
This elf-face metal bucket is so adorable. What a fun project to do to decorate my home! What do you think?
Upcycle Small Metal Bucket into Poinsettia Centerpiece
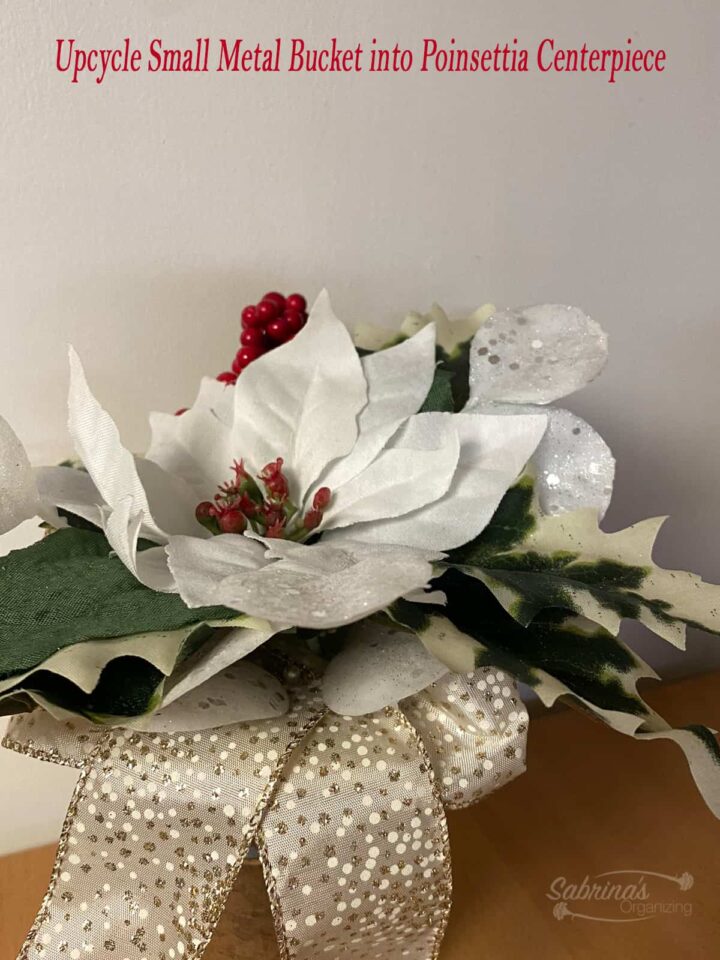
The second one is pretty formal. I used fancy ribbons (affiliate) with lots of flowers and leaves.
What supplies did I use to make this Poinsettia Centerpiece metal bucket?
The next one is a Poinsettia Centerpiece for my foyer table. Here are the supplies I used to make it.
- 1 metal galvanized small basket
- Floral Foam
- Faux Poinsettia white flower
- Silver, gold, and white 1-inch ribbon
- Hot glue gun and glue stick
- Plastic leaves
- Fake berries
- White leaves
- Faux pine needles
- Pins

How much did it cost to make this Poinsettia Centerpiece metal bucket?
I had most of the things except for the foam and the poinsettia. So, it costs about five dollars to make. To save money, I purchased a poinsettia bouquet on sale and cut it down to use one of the poinsettia flowers.
How long did it take me to make this Poinsettia Centerpiece metal bucket?
This bucket bouquet only took me about 15 minutes to make.
How did I make this Poinsettia Centerpiece metal bucket?
First, I cut the sides of the floral foam and ensured it fit inside the bucket. This was going to be my base.
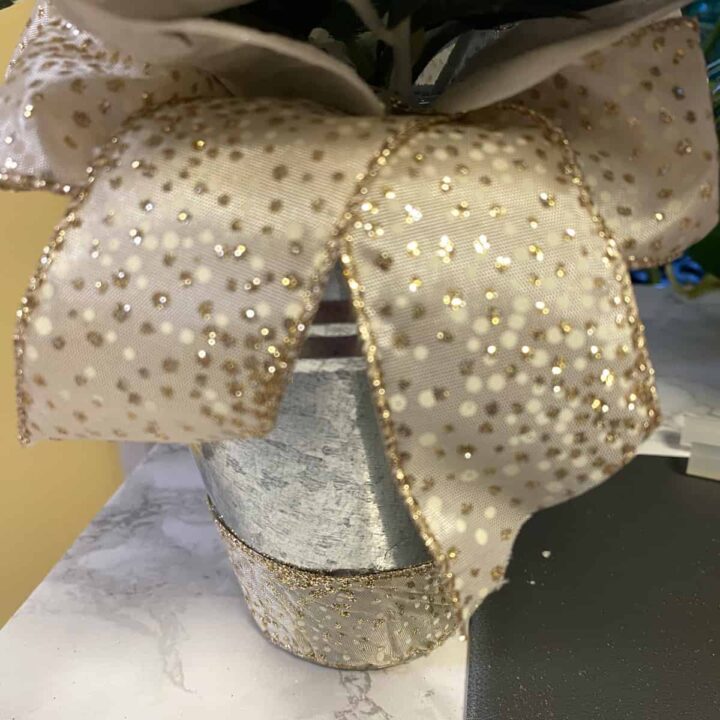
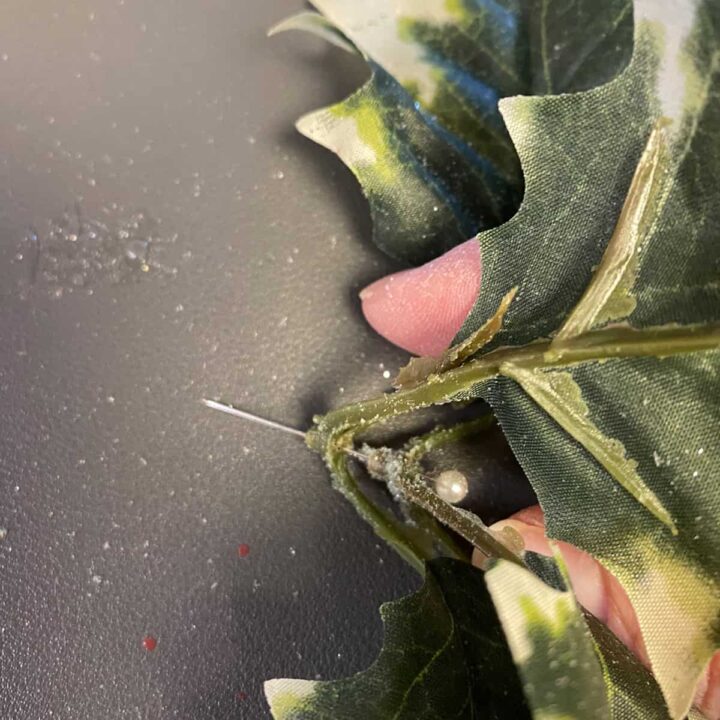
Then, I attached one piece of ribbon around the edges using pins. I pressed them through the fabric and into the foam, looping the ribbon as I went around the top of the bucket.
Now, I added the white leaves and pressed them into the foam.

Next, I added the leaves using the pin to keep them secure.
Then, I added the poinsettia to the foam in the center of the bucket. I ensured the stem wasn't too long for the depth of the bucket.
I then added hot glue and affixed the ribbon to the bottom edge of the bucket.
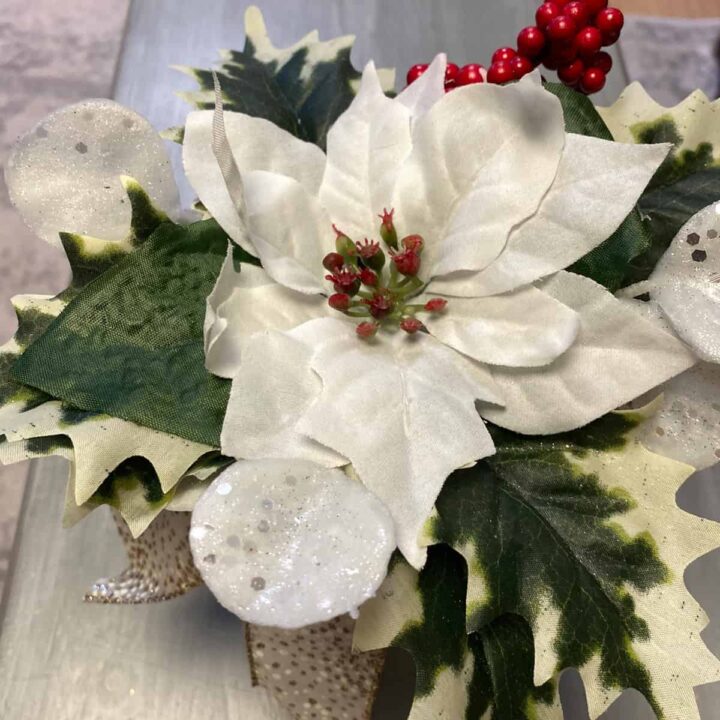
The Big Reveal
This Poinsettia Centerpiece metal bucket looks lovely. I'm really happy with how this one turned out. It is so pretty and elegant for my entryway table.
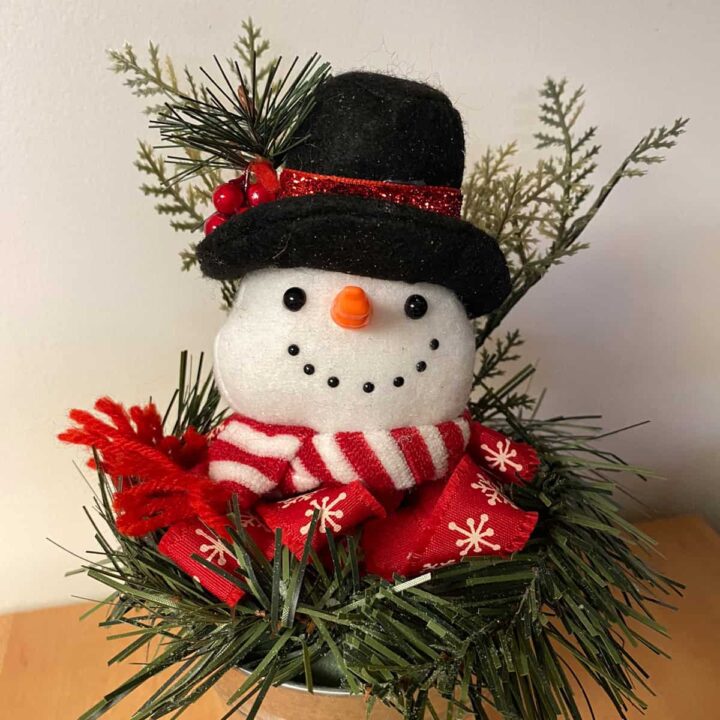
Upcycle Small Metal Bucket into A Snowman Centerpiece
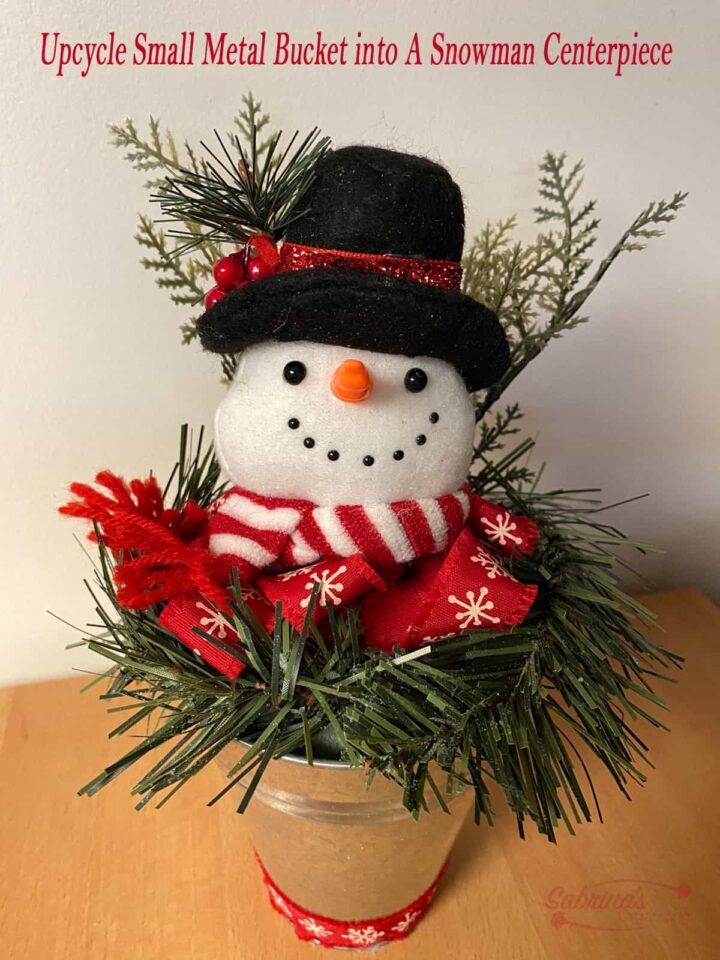
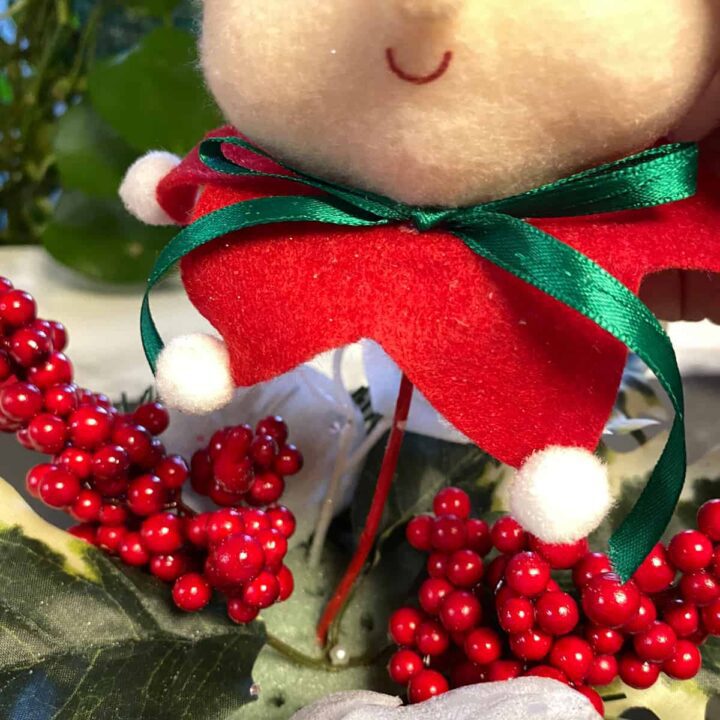
The last one features a snowman in the center of the bucket.
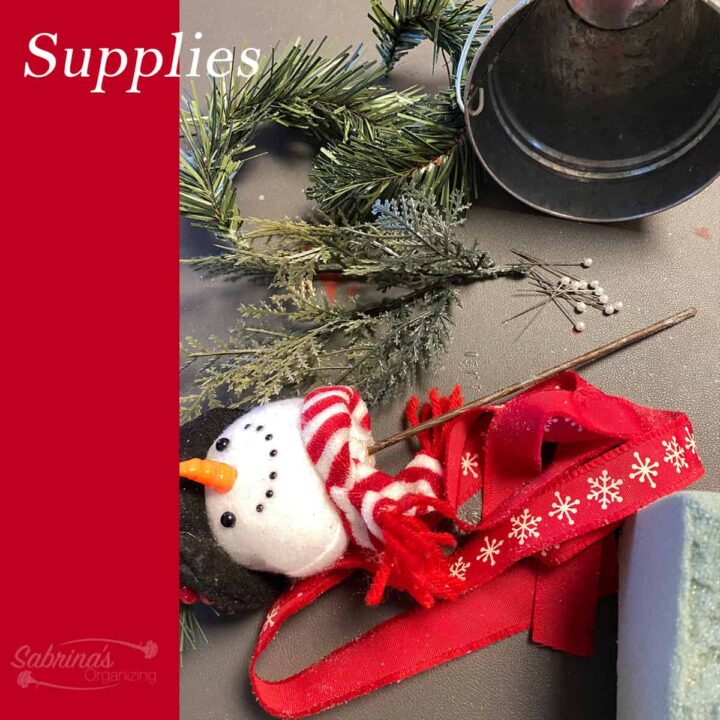
What supplies did I use to make this Snowman Centerpiece metal bucket?
This centerpiece metal bucket for a holiday uses similar things.
- 1 metal galvanized small basket
- Floral Foam
- Snowman with a stick - I found this at Michaels.
- Snowflake ribbon
- Hot glue gun and glue stick
- Faux leaves
- Faux pine needles
- Pins
How much did it cost to make this Snowman Centerpiece metal bucket?
This only cost about seven dollars because I needed the ribbon and the snowman head.
How long did it take me to make this Snowman Centerpiece metal bucket?
This took me about 15 minutes to make. It was super easy and quick.
How did I make this Snowman Centerpiece metal bucket?
First, I cut the sides of the floral foam and ensured it fit inside the bucket. This was going to be my base and was where everything would be pressed to make the bouquet.
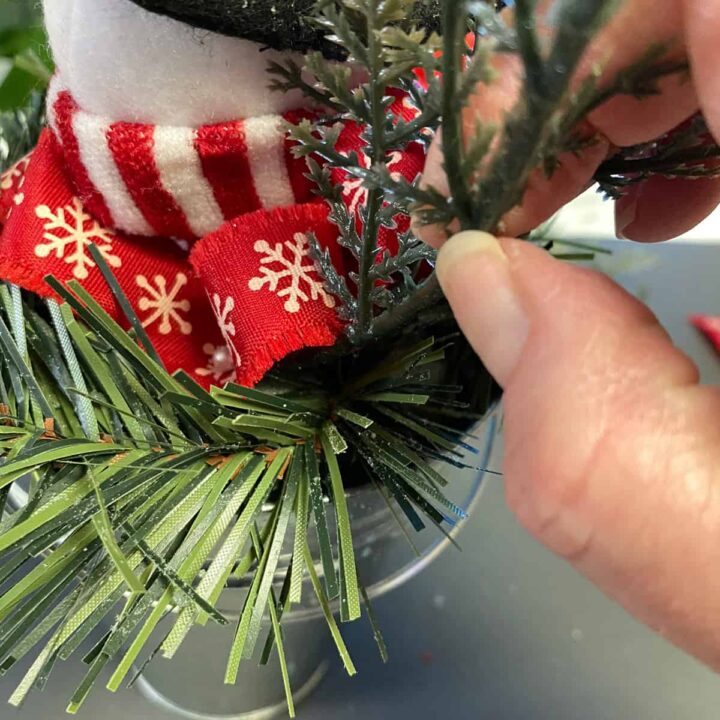
Then, I added the pine needles around the outside of the bucket. It had a wire, so it stayed nicely around the edge. I made sure that the other end was securely inside the bucket.
Now, I added the ribbon with the pins being sure to loop it, so it covered the foam. Then I added the hot glue to the bottom of the tin to affix the ribbon.

Next, I added the other fake leaves and the snowman.
The Big Reveal
This Snowman bucket is super cute.
Feel free to check out ALL three transformations on my YouTube Channel!
I hope this post inspires you to make these upcycle your small metal buckets!
Is there one that is your favorite? Please leave a comment below! I would love to hear from you.
Feel free to check out our other Holiday Home Decor and Upcycling Projects: