Having an area to read or meditate in a home office is super special. Sitting down and enjoying reading, meditating, and spending quiet time is helpful for your mind and spirit. Today, I am going to share a DIY Tutorial to help you do just that. Follow along and see how to change a built-in desk area into a seating nook. Let's make your home office a special space, not just for work.
Jump to:
- What inspired me to Change from a Built-in Desk Area into a Seating Nook?
- What supplies did I use to make this DIY Project?
- How much did it cost to make this new seating nook area?
- How long did it take to Change this area from a Built-in Desk Area into a Seating Nook?
- BEFORE Desk Area
- How did I make this Seating Nook?
- Assemble the chair
- Assemble the kitchen cart
- Add baseboard molding and corner round
- The Big Reveal
- Tips on Changing a Built-in Desk Area into a Seating Nook
- Recent DIY Projects:
What inspired me to Change from a Built-in Desk Area into a Seating Nook?
This desk area is my husband's home office. He had two desks, one for work and one for home. Over time, he only used the home desk for his espresso maker and supplies, so it became a catch-all place for everything that wasn't put away. Ugh.
He realized this and said that he wanted to turn it into a more usable space, like a seating nook. So, we decided to make this a special space just for him.
What supplies did I use to make this DIY Project?
Below are all the supplies I used to make this seating nook area.
- Ikea POANG chair cushion
- Ikea POANG Airchair - birch veneer
- 2 Ikea floating shelves (affiliate) with birch veneer (already installed)
- Ikea KUNGSFORS Kitchen Cart
- Ikea KUNGSFORS Container, stainless steel, 4 ¾x10 ⅜ "
- Ikea KUNGSFORS Hook, stainless steel
- Area Rug Gray 4 feet by 3 feet (Amazon (affiliate) Affiliate), not the same rug (affiliate).
- 9/16 inch base molding and ½ inch corner round to replace the area - purchased at Lowe's
- White gloss paint
- Paintbrushes (Amazon (affiliate) Affiliate)
- Miter saw (Amazon (affiliate) Affiliate)
- Caulk - white (Amazon (affiliate) Affiliate)
- Spackle (Amazon (affiliate) Affiliate)
- Gray paint for touch-ups on the wall
- Drop cloths (affiliate)
- screwdriver (affiliate)
Please note these are affiliate links through Amazon (affiliate), and at no additional cost to you, I will earn an affiliate commission if you decide to make a purchase.
How much did it cost to make this new seating nook area?
Since we needed several items to finish up this area, we spent $500.00.
How long did it take to Change this area from a Built-in Desk Area into a Seating Nook?
This project took us about three days to complete. When we repaired the wall, added the baseboard molding and corner round, and then painted them, there was a lot of drying time.
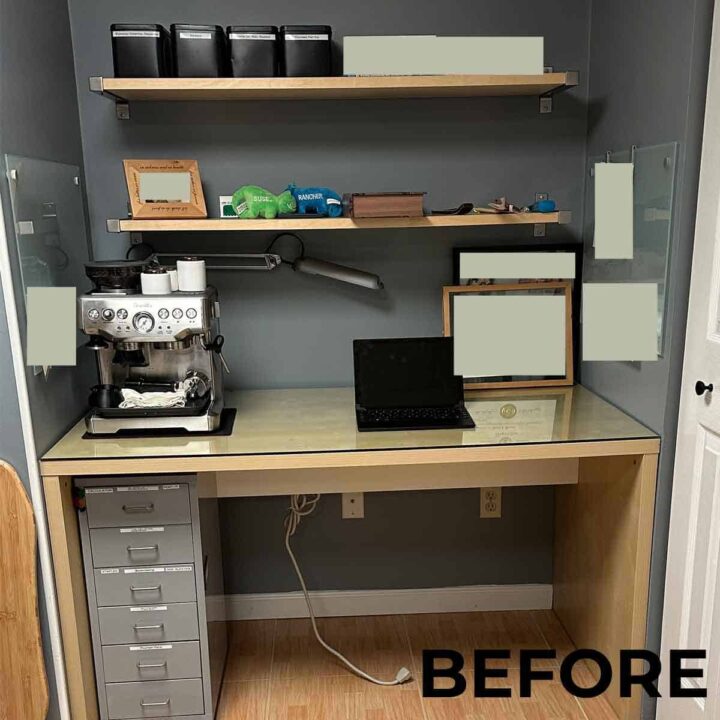
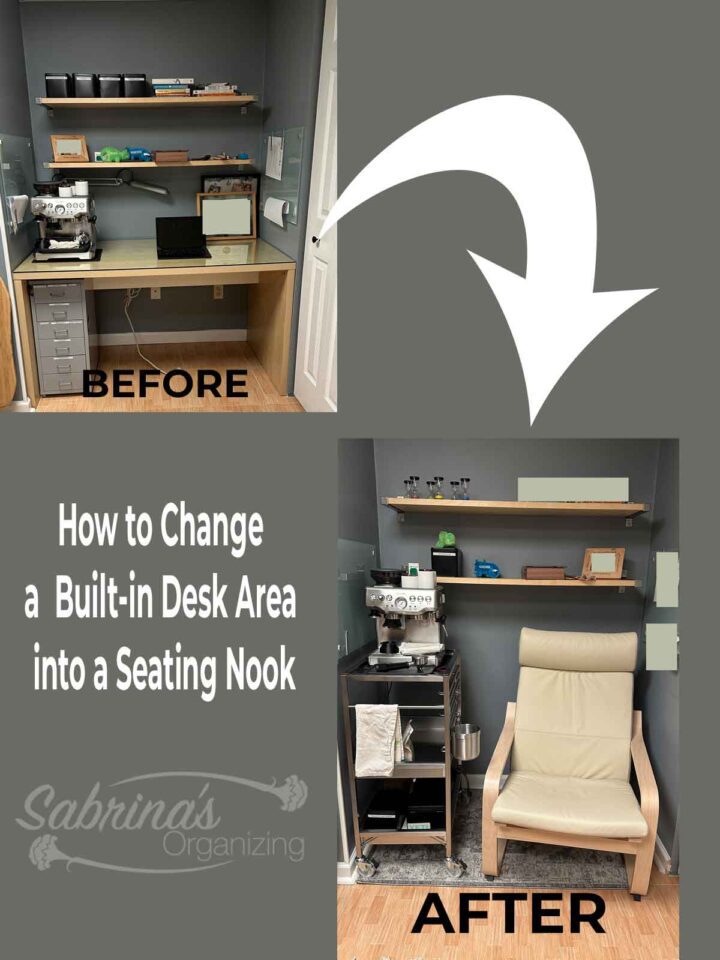
BEFORE Desk Area
The desk area was very effective when my husband used it; he had it well organized with a removable cart with drawers that had wheels. As you can see, he didn't have a chair (affiliate) in the space since he had one at his work desk, which was to the left of the desk nook. The desk was found at IKEA years ago and fit perfectly in this space. It fit perfectly because we built the space for two Ikea wardrobe cabinets years before.
We decided to leave the shelves (affiliate) since they were high enough for the chair (affiliate) to be underneath.
How did I make this Seating Nook?
Remove the desk.
First, we had to take out the desk from the area. This desk will be used in my son's room, who is working from home and needs a bigger desk. We first needed to remove the piece of glass from the top of the desk. Then, we went under the desk and unscrewed the fasteners so that we could remove the desk.
Taking off the top and then the side legs, we had to slide these pieces out gently and not destroy the walls during the process.
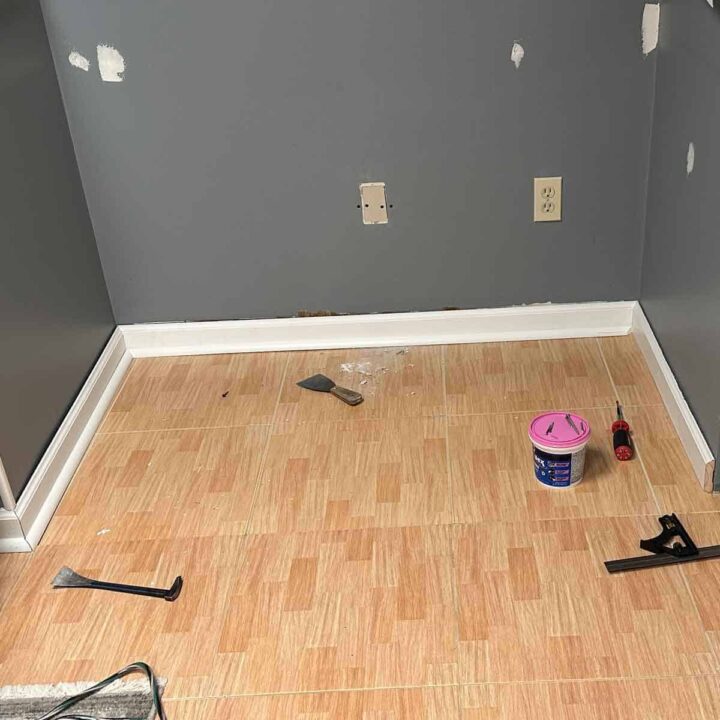
Then, we removed the few pieces of baseboard that were there, touched up the wall, and painted it.
Now, we had to assemble the chairs and the kitchen cart. The kitchen cart was going to be used to hold the Espresso maker and the supplies needed for it.
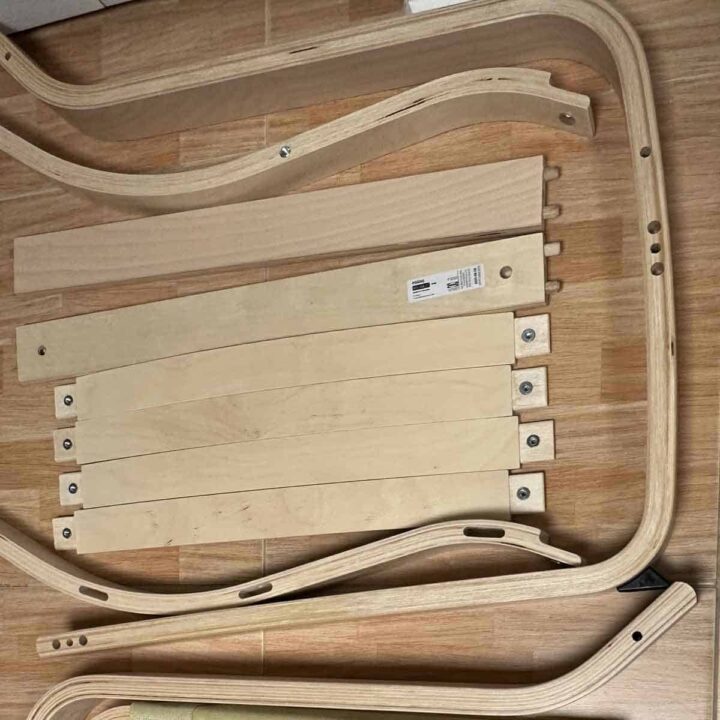
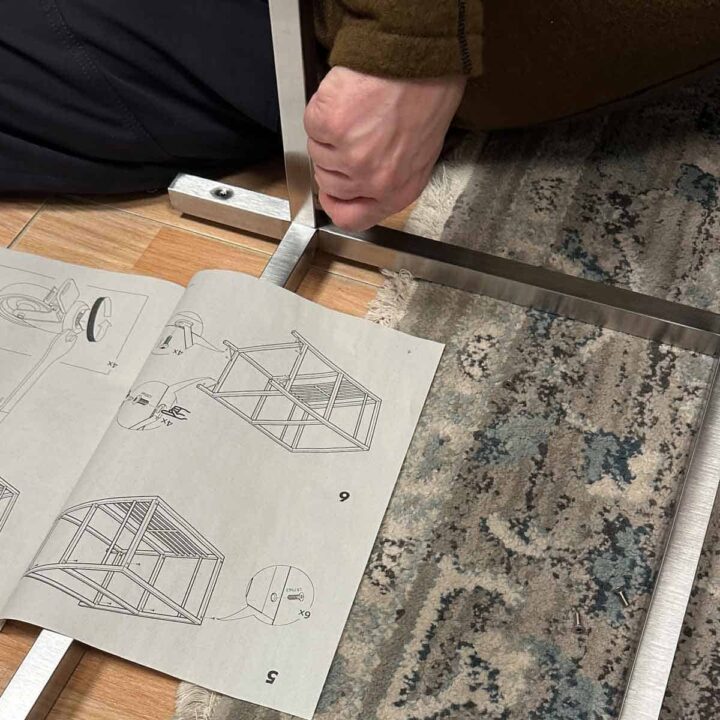
Assemble the chair
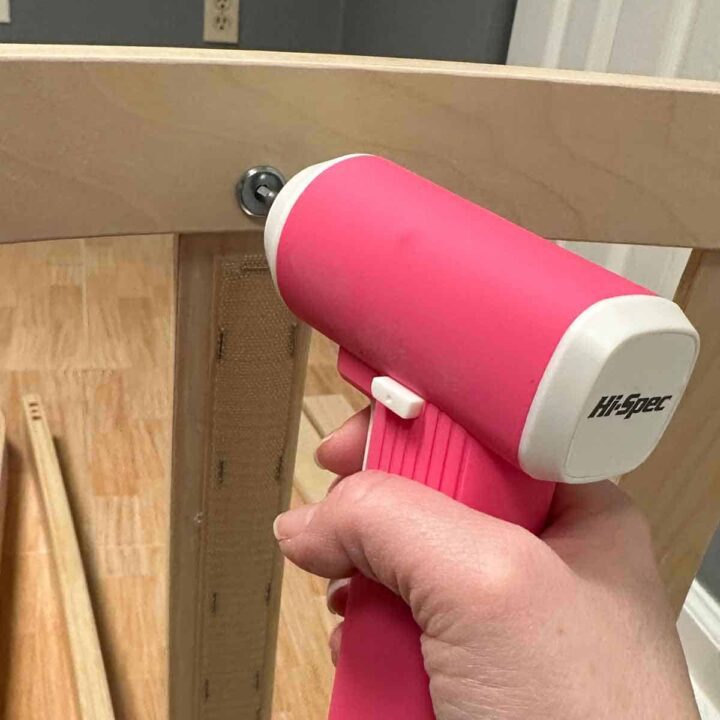
We started with the chair (affiliate). The instructions were pretty easy, and it went together in about half an hour. We divided all the supplies we needed so we could easily find them on the floor and followed the instructions.
I used an electric screwdriver (affiliate) to help me make this process go faster.
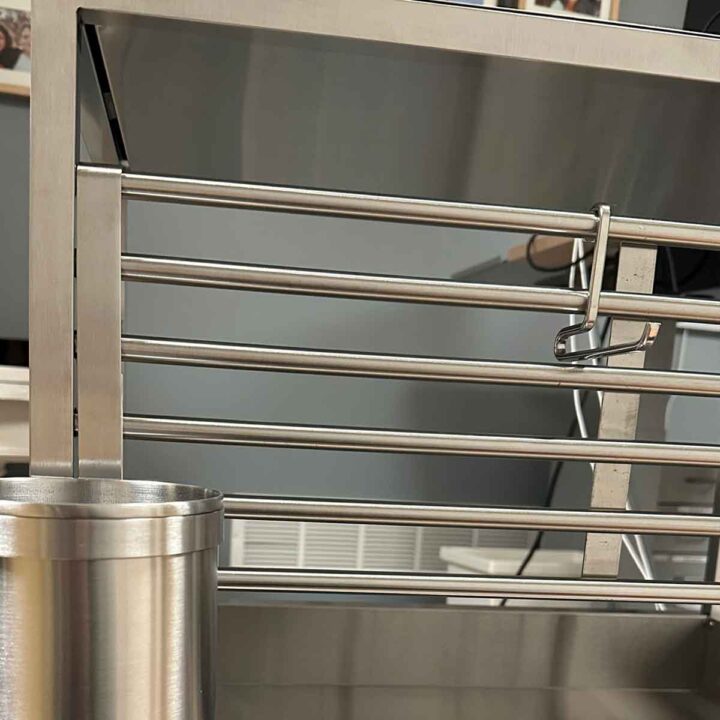
Assemble the kitchen cart
This stainless steel kitchen cart was pretty easy and very sturdy. We did the same thing where we laid out all the pieces and followed the instructions, adding the corner pieces and the wheels.
Then, we added the accessory bin for espresso trash and hooks for tea towels.
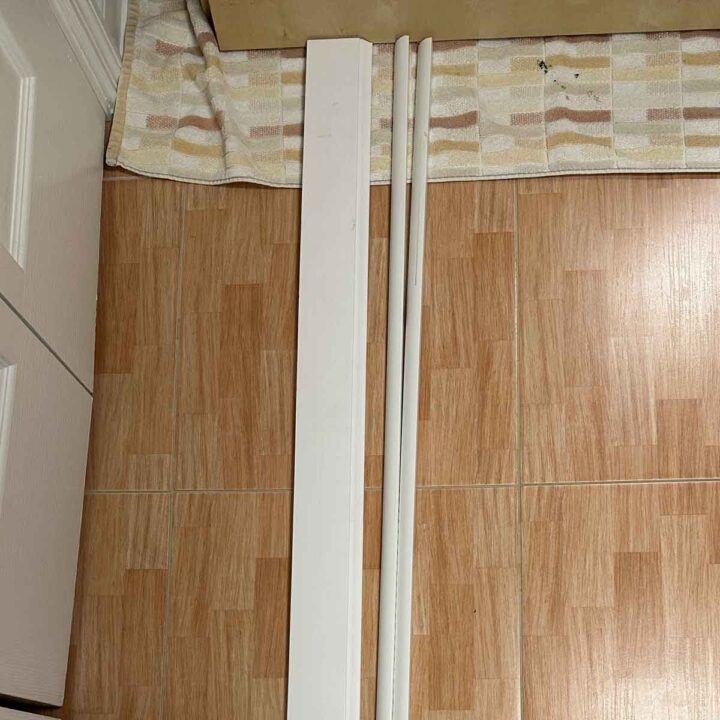
Add baseboard molding and corner round
Next, we added the baseboard molding and the corner round. Setting up the miter saw (affiliate) outside, we cut the pieces at a 45-degree angle depending on the direction of where we needed it. Nailed them to the wall (first the molding, then the corner round) and then caulked it with paint. Let it dry for at least 3 hours. Then, I added white paint to finish it off. Let it dry again, and then add another layer of paint.
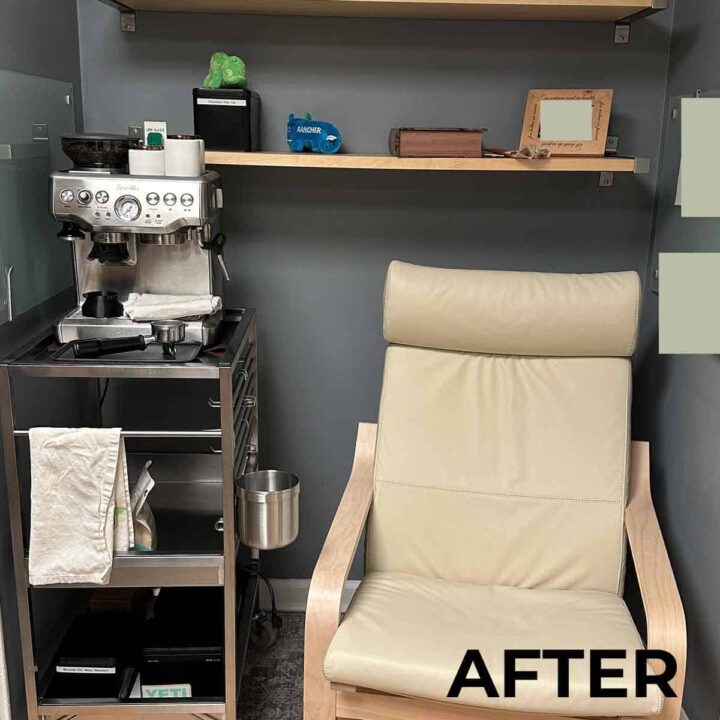
The Big Reveal
This is what our Change a Built-in Desk Area into a Seating Nook project looks like now. It is lovely. And my husband is using it. It also gives me a seat when I am in his office. Yay. Please let me know if you have any questions in the comments below. I would love to hear from you.
Tips on Changing a Built-in Desk Area into a Seating Nook
Do your homework!
The first tip I have is to make sure you find the right things that fit your nook. Since it was such a small space, we had to make sure the chair (affiliate) was not too large so that it would not take up the space for the espresso maker.
Measure Measure Measure
Another tip is to measure the seating area and answer these questions. Then, write them down so you don't forget. Some questions you may have are:
- How wide is the space?
- How tall can my chair (affiliate) be?
- How deep can my chair (affiliate) be so that it doesn't come into the room too much?
- Can I have shelves (affiliate) above the chair? How high should they be?
All these questions and measurements need to be determined before you go out and buy anything. I hope you try this project for your small, awkward corner. Please leave any questions you may have below.
Recent DIY Projects:


Leave a Reply