Recently, people were asking me about my do-it-yourself vanity. You see, I share this vanity with my teenage daughter. She has her side, and I have mine. Guess which side is mine? I think my side of the drawer tends to be more organized than hers.
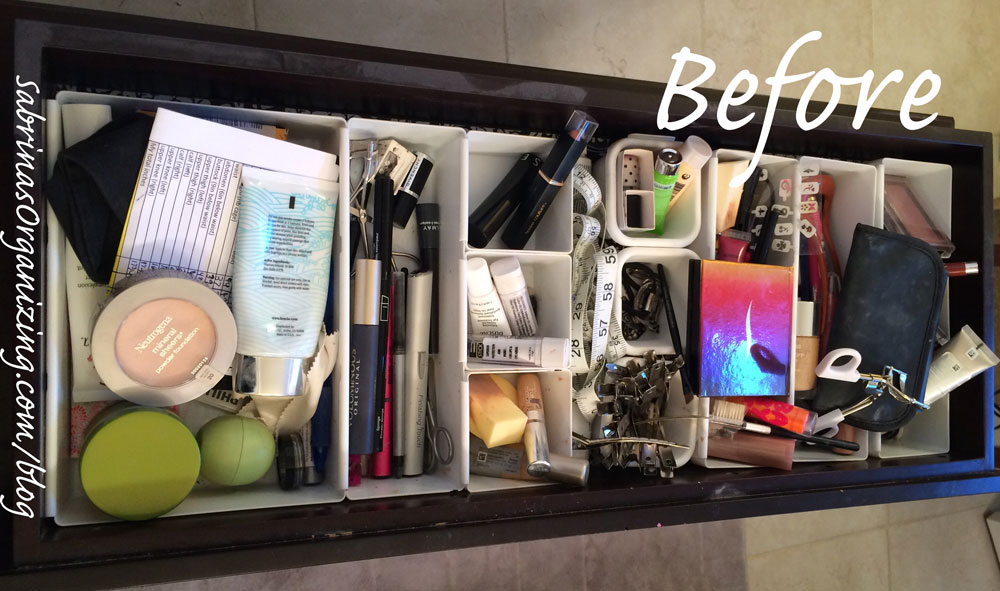
When we started sharing a vanity, this is how it looked. I used white drawer organizers (affiliate) that I purchased at the container store. They fit OK, but there was about an inch of unused space in the back. And, you know, how much I don't like wasted space. So, this wouldn't do.
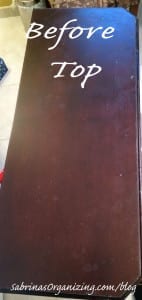
Oh, by the way, I also used a decorative adhesive shelf liner (affiliate) for the top since the cherry top was a little too shabby for my liking. Here is the before picture of the top.
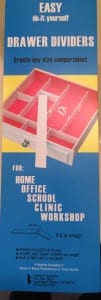
I went to one of my favorite places, The Container Store, and purchased these Lifestyle Systems dividers 3" high. This product comes with adhesive ends that you need to attach to the sides of the drawers. You then, slide the divider into place to finish. Now, I know I must sound old, but, they have been around for more than 10 years and have used them for a while. They are my favorite organizing product to customize drawers. If you follow my posts, you will already know that I am all about making things work in my smaller house. I used them in my kitchen drawers post recently.
Here is how I set up the vanity drawer.
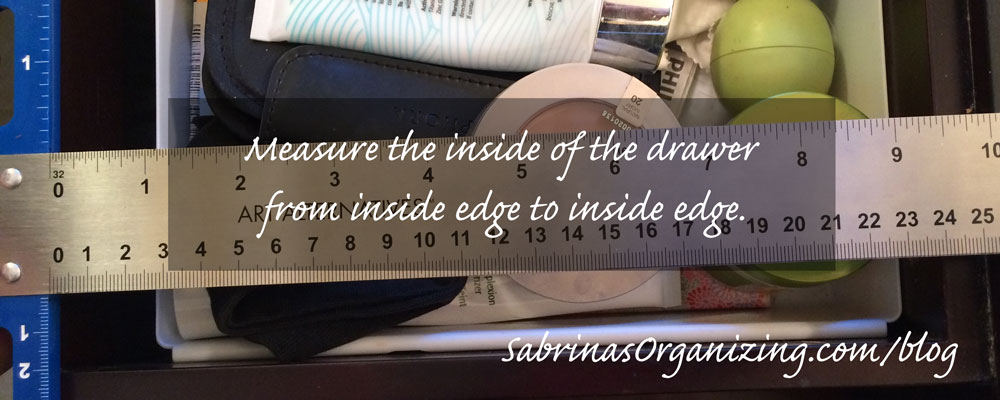
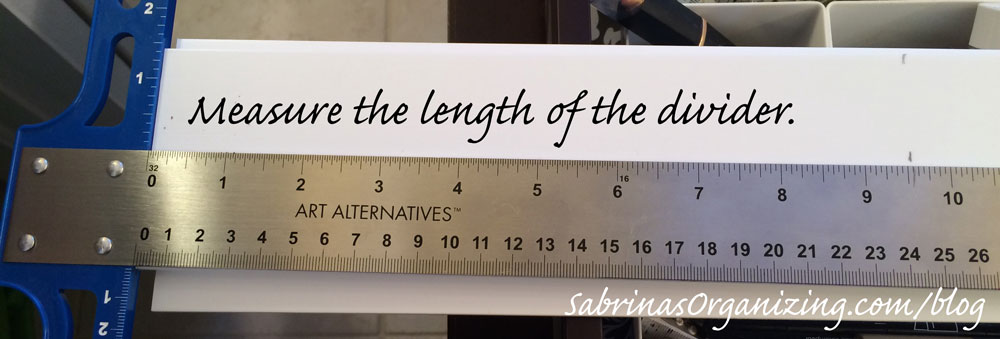
First, I measured the inside of the drawer. Since I was planning on dividing them like I did when I had the drawer organizers (affiliate), I measured the inside of the drawer only and took about ¼ inch off the measurement.
Then, I used my ruler and marked it on the dividers with a pencil.
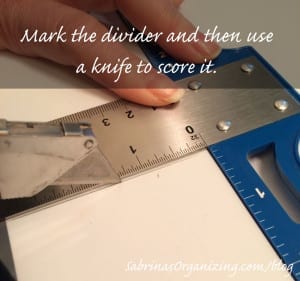
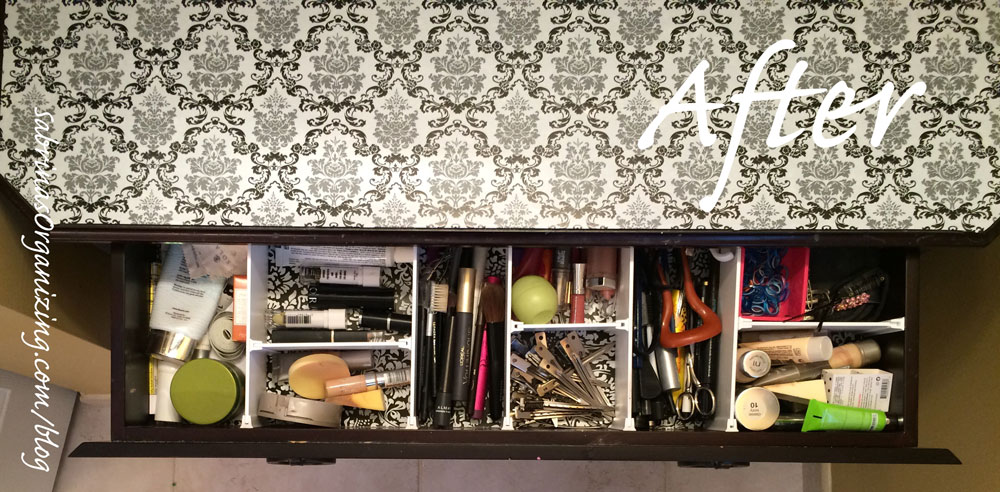
I then marked the dividers and used a knife to score it. I scored it twice and then "snap". I snapped into a clean edge. That's it. Awesome, right! If only every organizing product was this easy. =) I then placed all the cut items into the drawer and arranged them with the end pieces. I didn't adhere to them yet. When I determined what I wanted to do, I then removed the adhesive ends. It took about an hour to cut, arrange, and adhere. Here is the finished product.
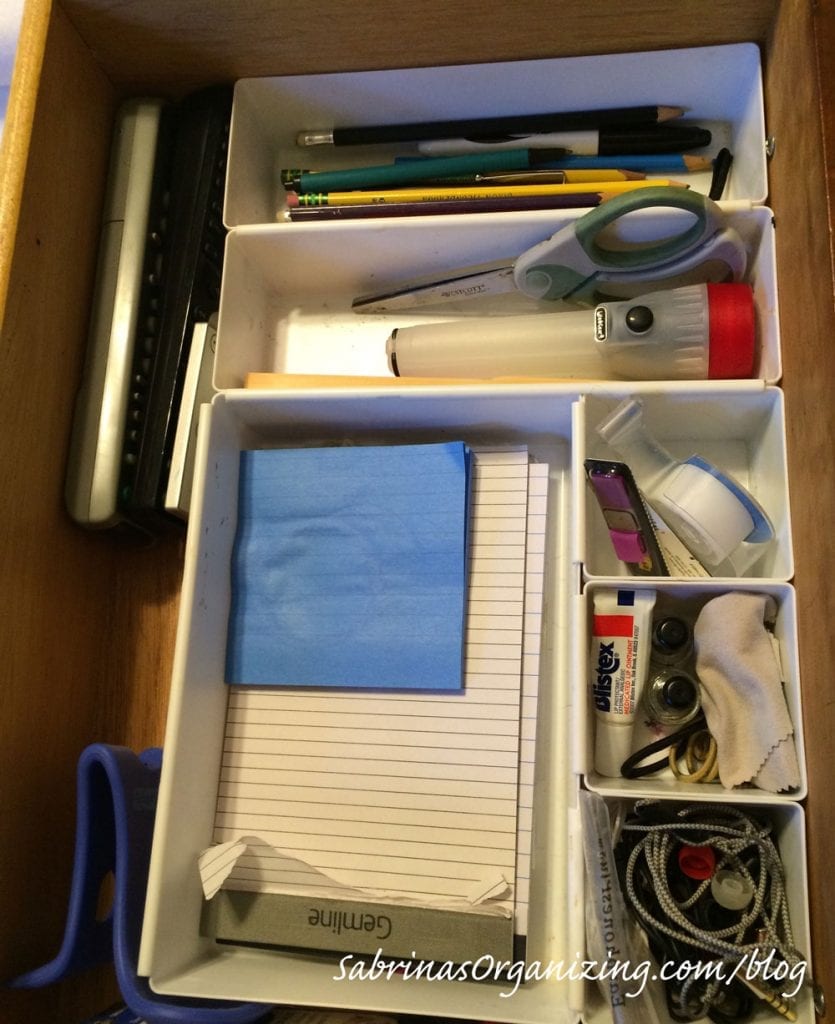
If you were wondering what I did with the drawer organizers (affiliate) from the before picture, well here you go.
I hope this inspires you to organize a space by using a little creativity. Please share your favorite creative organizing project.

Ellen Delap says
Love this DIY post!
Sarah Soboleski says
Looks great Sabrina! I think most POs have a "hate wasted space" gene! I'm sure the vanity is functioning much more efficiently for you and your daughter now.
Sabrina says
Yes, totally agree, Sarah! We are actually able to keep it more organized.
Autumn Leopold says
Yay Sabrina! So happy you showed us this! Excellent way to use that space! Is the vanity itself built in or a piece you picked up somewhere?
Sabrina says
Thanks Autumn! It is free standing. I was looking for something that wasn't deeper than the wall to the left of the unit. Best place to check is discount stores like (Marshalls, Homegoods, TJMaxx, and Tuesday Morning) if you have them in the area.
Jill Robson says
Love it, I have been thinking I need to revisit my bathroom make up drawer. The containers I have don't fit snuggly, I use the not slip mat, but is never really holds things for long. You have inspired me.