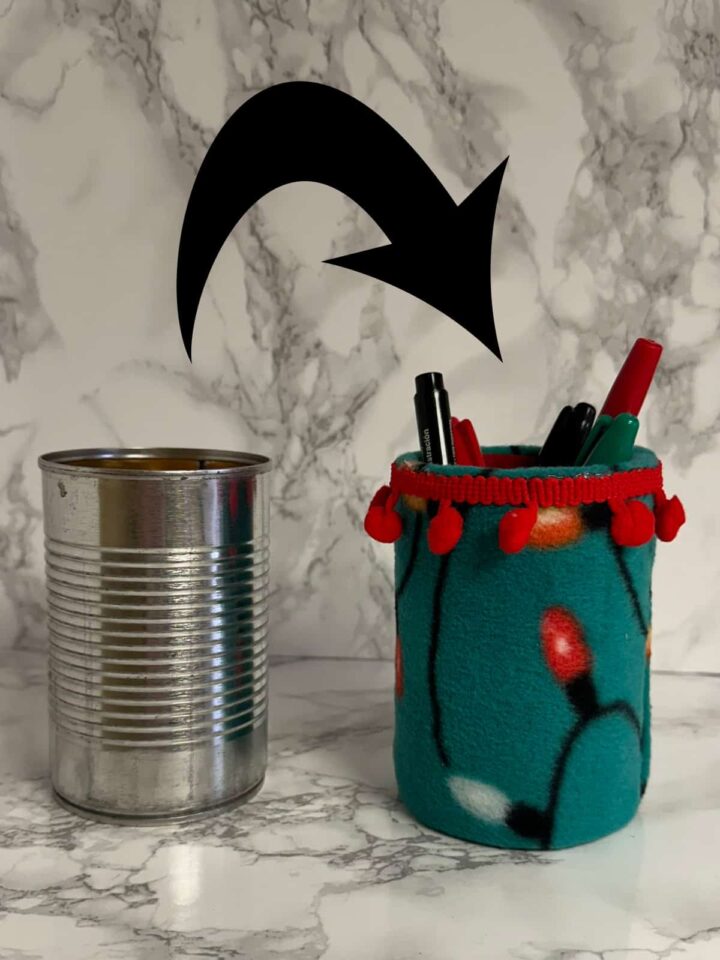
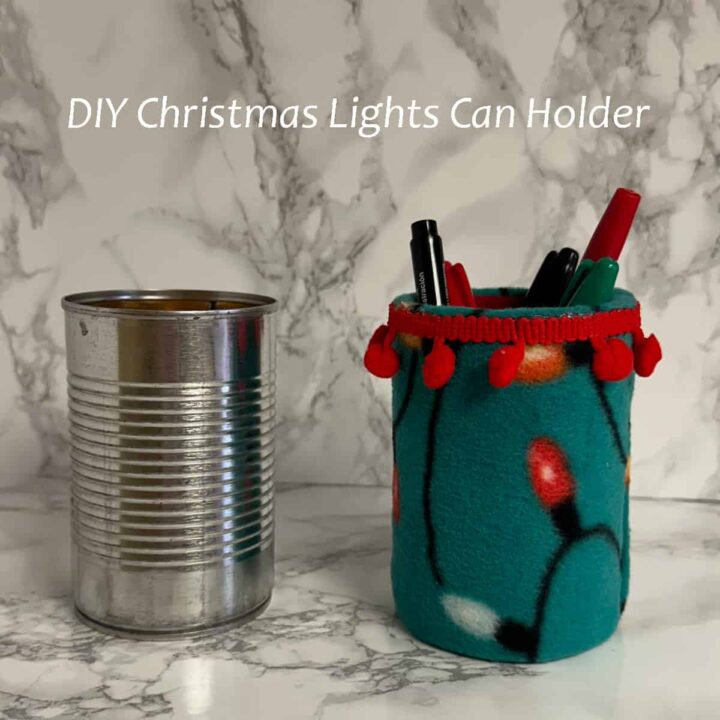
Felt is fun to use to make blankets, clothing, and even home decor. It is a durable product and can easily be hot glued to things like soup tin cans. Check out how I made this DIY Christmas Lights Can Holder to give my office desk a place for storage AND a little Christmas flare. Follow along and see the transformation from a simple soup can.
Jump to:
- What inspired me to do this DIY Christmas Lights Can Holder?
- What supplies did I use to make this DIY Christmas Lights Can Holder?
- How much did it cost to make this DIY Christmas Lights Can Holder?
- How long did it take to make this DIY Christmas Lights Can Holder?
- How did I make this DIY Christmas Lights Can Holder?
- The Big Reveal
- Tips on making this DIY Christmas Lights Can Holder
What inspired me to do this DIY Christmas Lights Can Holder?
I love upcycling soup cans. They are super durable and easy to use to help me get organized. I can even use them as a candy (affiliate) cane holder. I bought some felt and figured I would try updating the soup can.
What supplies did I use to make this DIY Christmas Lights Can Holder?
The supplies and tools (affiliate) are pretty easy.
Supplies used:
- Soup Can - cleaned and dried
- Felt - Christmas Lights theme - purchased at Joann's Fabric
- Glue gun and glue sticks
- Fabric Scissors
- Fabric Ribbon with balls attached large - red.
- Self-stick Felt For the inside of the can (optional) – red
How much did it cost to make this DIY Christmas Lights Can Holder?
The cost of this project was about three dollars.
How long did it take to make this DIY Christmas Lights Can Holder?
It only took about 1 hour to make this Christmas Lights Can Holder, and it was so easy that I am using it in my office right now.
How did I make this DIY Christmas Lights Can Holder?
First, clean the can and dry it completely.
I measured the felt with the can, added about 1 inch, and cut a piece of felt. Add hot glue to the tin can and add hot glue while pressing the felt fabric down to the can, I worked my way around.
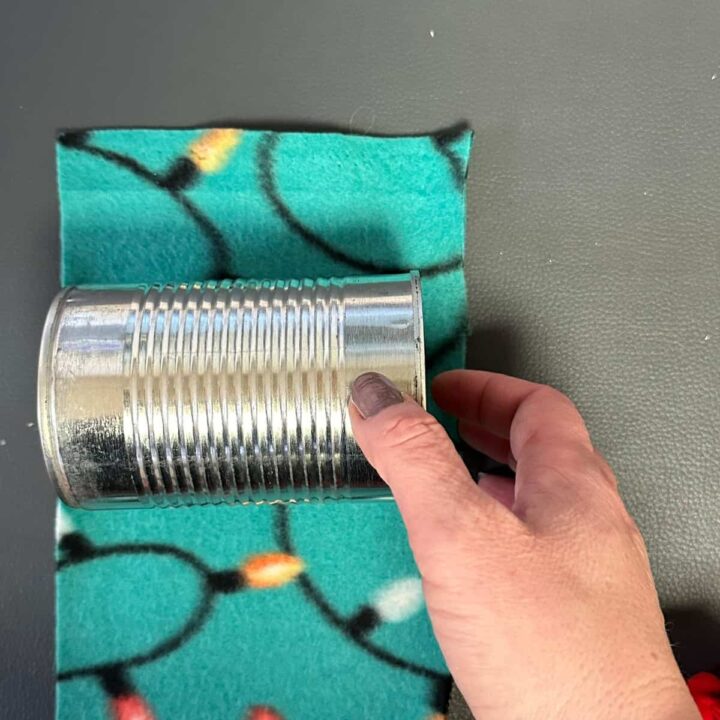
Then, fold the felt end a bit and hot glue the folded section together, then hot glue to the fabric adhered to the can.
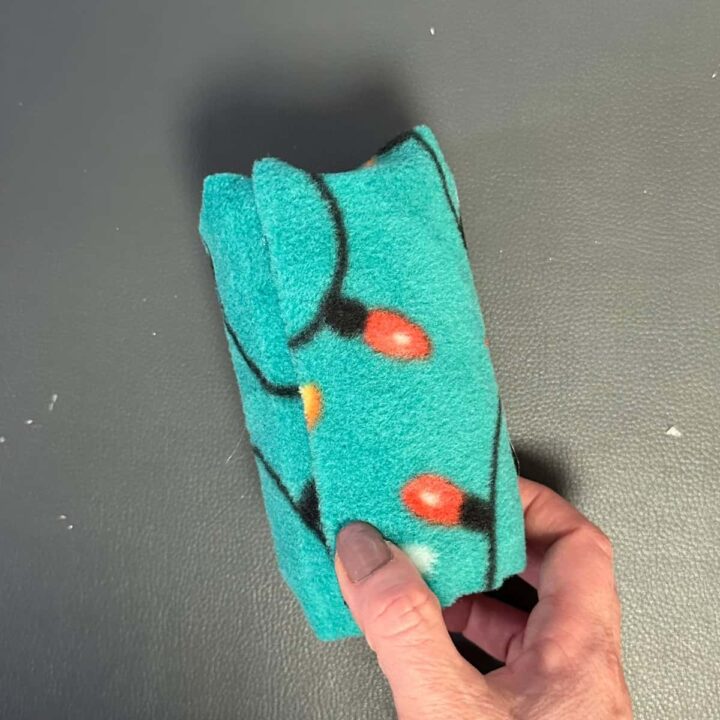
Now, add hot glue and fold the fabric over into the inside and the bottom of the can. Make sure the felt is even on the bottom so the can is level.
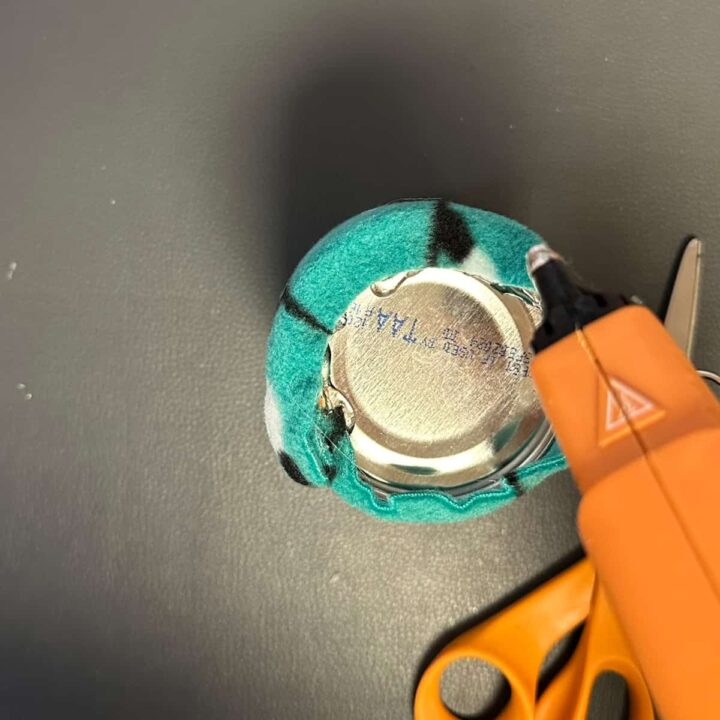
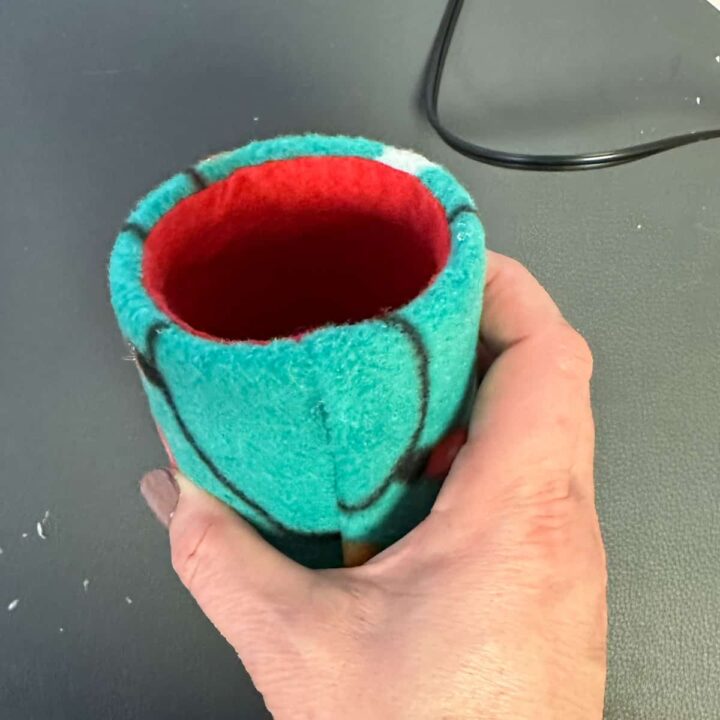
Next, add the red felt to the inside. To do this, roll the red with the back on the outside and remove the liner to expose the sticky side. Be sure to press firmly around the inside of the can to make sure it is completely attached to the inside of the can. This is how it looks after it is done.
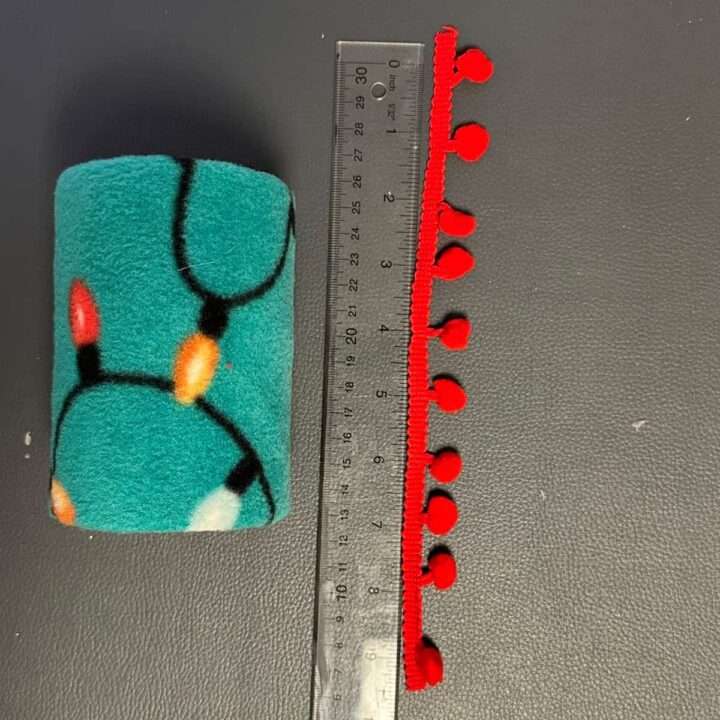
Now, cut the ribbon about 9 ½ inches and start where the seam is using the hot glue, then press the ribbon around the top of the can and overlap the ends.
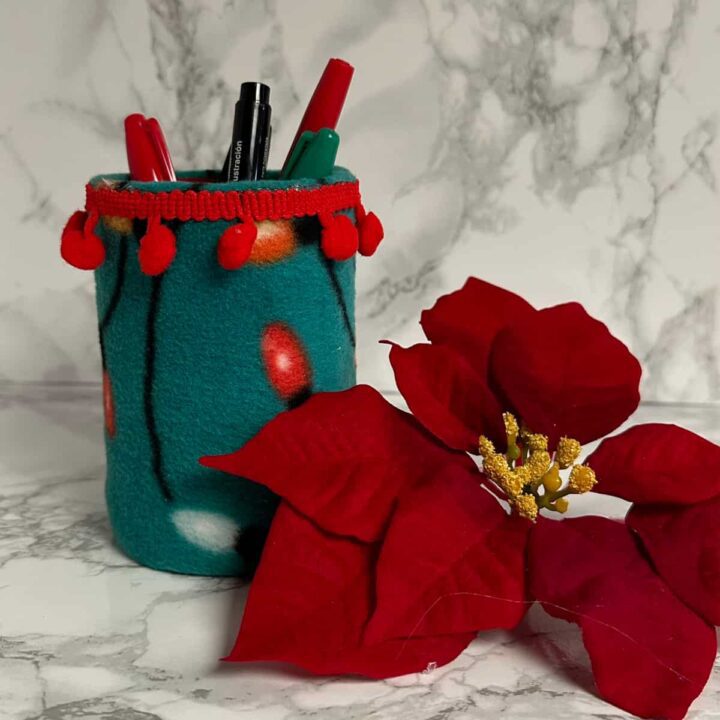
The Big Reveal
This DIY Christmas Lights Can Holder looks lovely.
Tips on making this DIY Christmas Lights Can Holder
There are a few tips you will need to know when doing this project.
- To create a clean edge, you can fold the felt easily, but be sure to add hot glue to the felt and press firmly to make a crease, then hot glue the back of the crease to the can's fabric.
- Depending on the type of ribbon you use and the size of the can you are using, the 9.5 inches works for a 15 oz can.
Well, there you have it. That’s it for this DIY project. I hope this post inspires you to upcycle your used and cleaned cans.
Visit our other can upcycling projects!




Leave a Reply