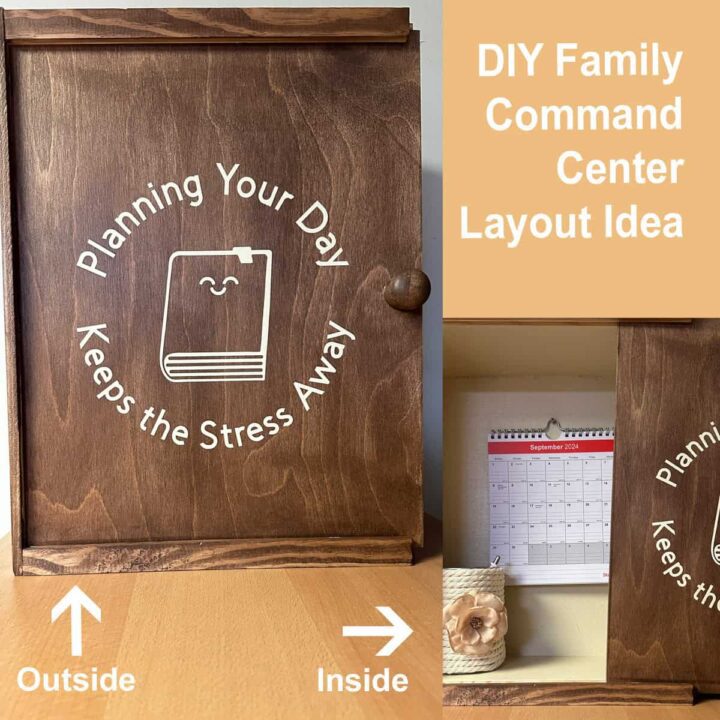
I received a cute wooden gift box with a sliding lid a few years ago for Christmas and found it so well built that I didn't want to part with it. It was from William Sonoma and had a variety of gourmet snacks in it. Because it was enclosed and easy to slide, I thought it would be perfect for hiding my family planner and other things in the common area of my home. But, it would not be easy to see the calendar if the sliding door were closed. Follow below and see how I made this DIY Family Command Center (affiliate) Layout Idea to organize my things without creating a huge eye sore in my small home.
Jump to:
- What inspired me to do this DIY Family Command Center Layout Idea?
- What supplies did I use to make this DIY Family Command Center Layout Idea?
- How much did making this DIY Family Command Center Layout Idea cost?
- How long did making a DIY Family Command Center Layout Idea take?
- How did I make this DIY Family Command Center Layout Idea?
- The Big Reveal
- Where to place this DIY Family Command Center?
- Things to place inside this family command center box
- Tips on making this DIY Family Command Center Layout Idea
What inspired me to do this DIY Family Command Center Layout Idea?
I wanted to hide my planner from visitors, so I made this to cover it up, but I needed to remind family members to look inside each day. =)
What supplies did I use to make this DIY Family Command Center Layout Idea?
These supplies were things I had around my house and in my craft area.
- Wood Box with a sliding front
- Furniture (affiliate) Clinic Wood Stain Dark Oak finish
- Stain brush
- Rags
- Chalk Paint Cream color for the inside
- Transfer Tape to move the Cricut vinyl to the sliding door
- Link for the Cricut vinyl design
- Mod Podge (affiliate) Matte finish for coating the box and lid
- Paint brushes
- Small ½-inch long screw or nail to hang the planner
- A small monthly calendar (7x8 inches or 8 x 11 inches)
Please note these are affiliate links through Amazon (affiliate), and at no additional cost to you, I will earn a small commission if you decide to make a purchase on Amazon (affiliate).
How much did making this DIY Family Command Center Layout Idea cost?
This project cost me $10.00 to make. The cost of the extra paint, brushes, etc.… was zero dollars because I had them all in my craft area.
How long did making a DIY Family Command Center Layout Idea take?
This project took me about 24 hours, including drying time between coats of paint and stain.
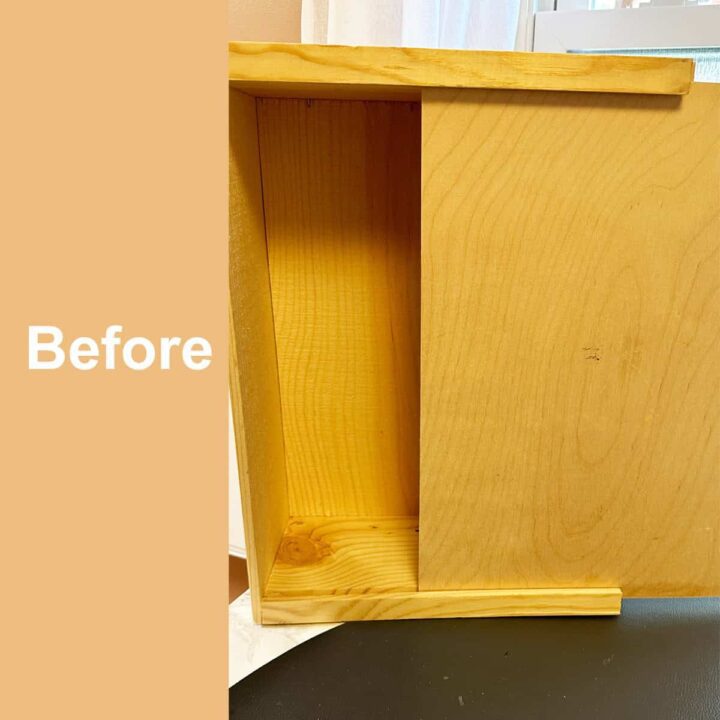
Here is what the box looked like before I updated it.
How did I make this DIY Family Command Center Layout Idea?
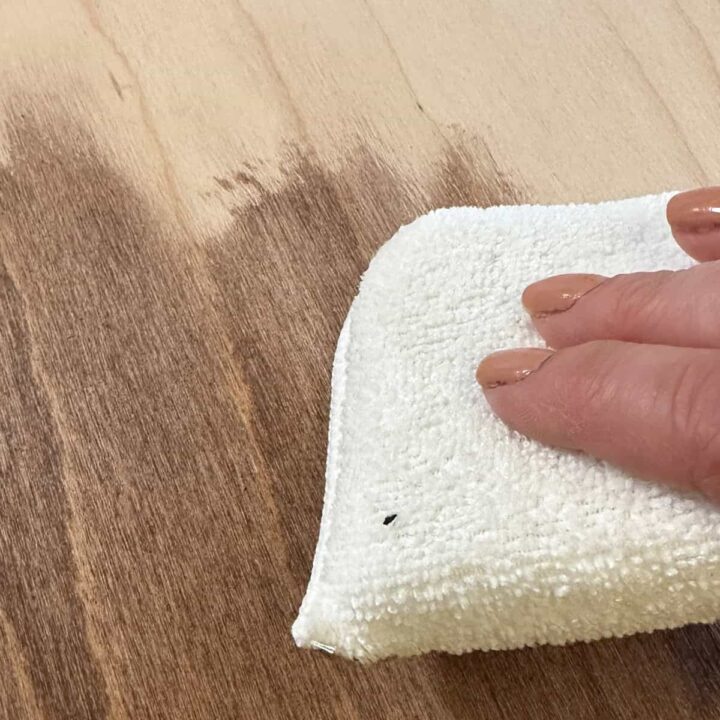
First, I stained the wood on the door front and sides, the top and bottom, and the back with a dark brown stain and a cloth sponge. Then, I removed the excess stain with a cloth. It ended up being too light, so I added another coat and removed the excess.
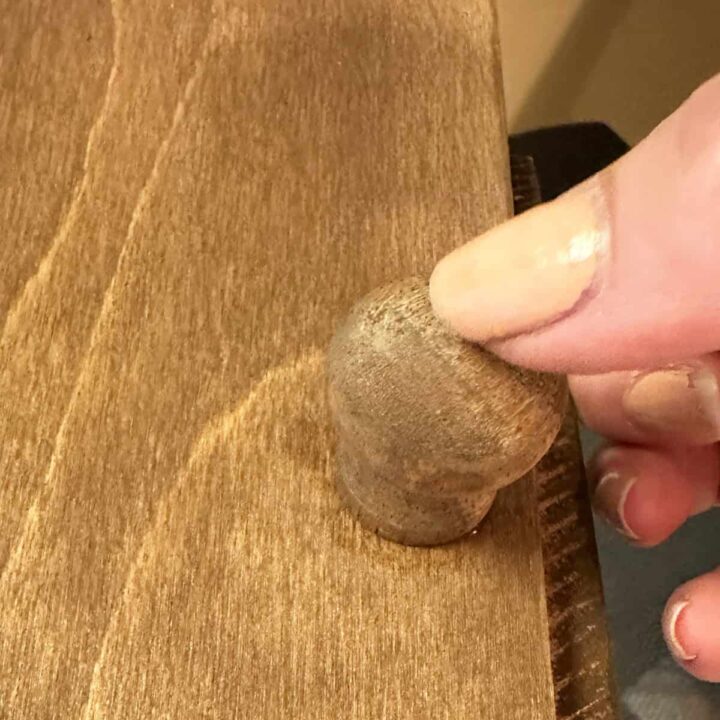
Then, I added a wood knob to this box for easy sliding. So, to do this, I needed to stain the knob too. A double coat made it dark enough to match the cover. And let it dry for a little bit (1-2 hours)


Then, using Gorilla Glue, I added a dab of it to the door and then added the knob. And, let this door knob dry.
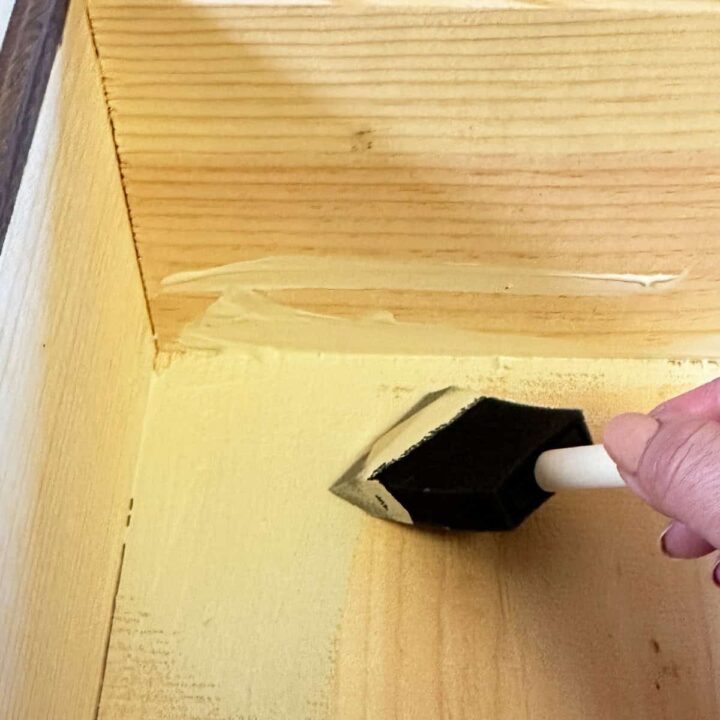
Now, I used chalk paint (creme) for a lighter color and covered the inside sides and back. Painted it once and then let it dry. Then, I painted it again so the wood grain was not noticeable.
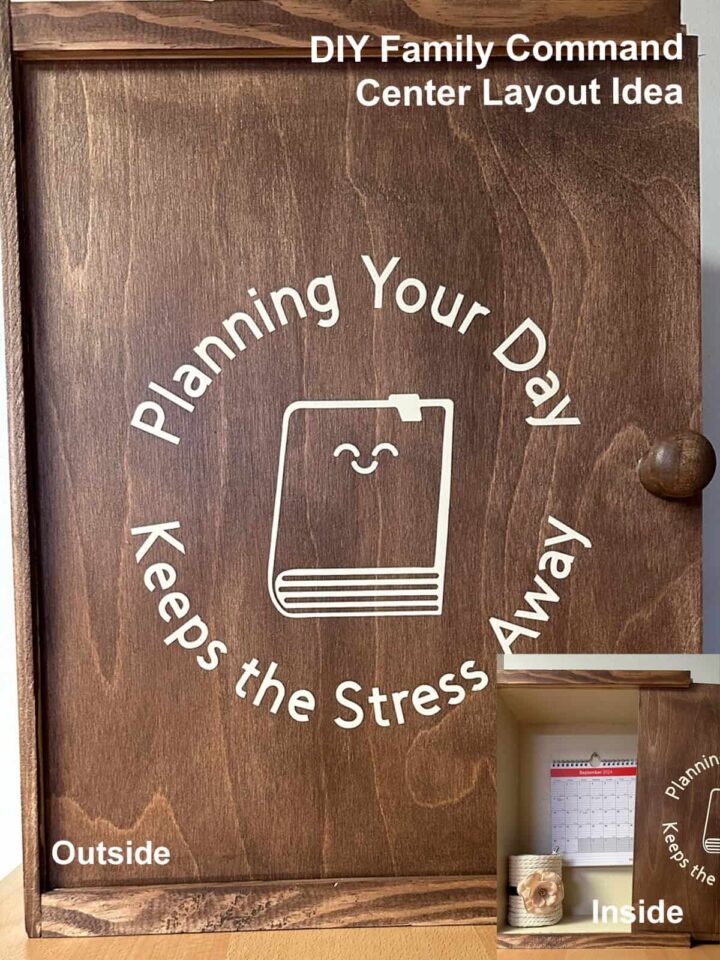
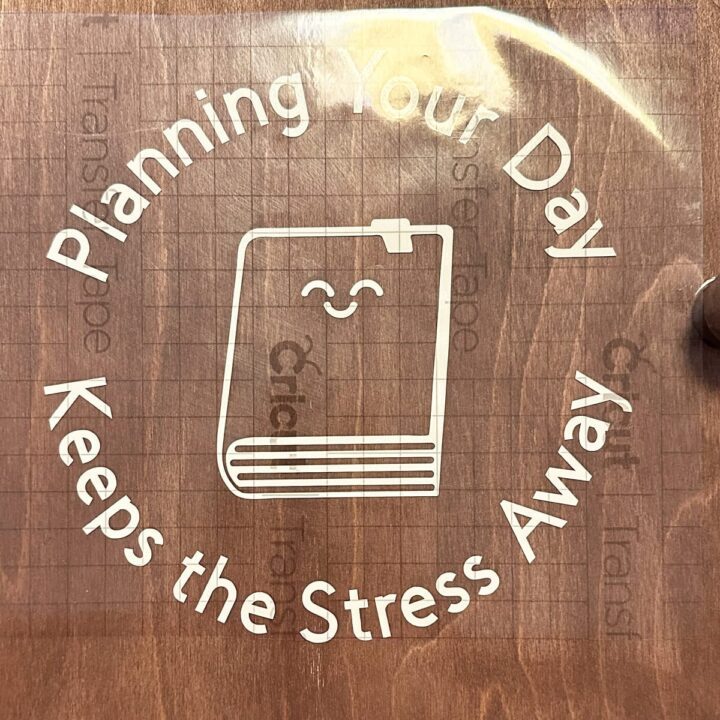
Next, I went and picked out a quote (affiliate) (I made it up): "Planning Your Day Keeps the Stress Away." And cut it out with my Cricut Maker (affiliate). Here is the Link for the Cricut vinyl design. And transferred it to the center part of the door.
At the Cricut Shop, you can find Cricut machine bundles to heat presses, infusible ink & blanks, supplies, and tools, making any DIY inspiration possible. From sale items to specific products, you can find it all!
What are you waiting for? Visit their shop to see what is on Sale Today!

Using Mod Podge (affiliate) glue, I coated the inside and outside of the box over the vinyl and let it dry completely.

Then, I added a small ¼-inch nail and my little calendar to the inside of the box. I also added my upcycled tin can project to hold my pen. What's great about this box is that there is enough room to place my cell phone inside it, too.
The Big Reveal
What do you think of this functional family command center (affiliate)? It's great for busy families like mine and yours. Great for the whole family!
Where to place this DIY Family Command Center?
This box can be displayed in a variety of areas of the home. Below are areas where you can place this box to hide your personal calendar.
Things to place inside this family command center box
There are a variety of things you can place inside this box. Below are just some of the things that can be stored in the family command center (affiliate) box.
- Chore chart
- Calendar
- Sports activity calendar
- List of dates for after-school activities
- Digital calendars
- Tablets (affiliate) that hold the digital calendar
Tips on making this DIY Family Command Center Layout Idea
There are a few tips to help you make this all your own.
- Sometimes, the wood used on these boxes (affiliate) does not have the exact grain, so if you find that the color doesn't match when you stain it, some areas will need to be stained more than others.
I hope this DIY project shows you how to help you stay on top of your family activities in a fun, upcycling way. Please leave a comment or question below if you need more information.
Popular DIY posts:
Below are some great DIY projects to help you organize your home and office.
