Making gift card (affiliate) holders is more fun for teenagers and me. They aren't youngsters anymore, and the kid baskets are not cutting it. I like giving out gift cards (affiliate) so they can enjoy what they want while enjoying a few sweets. So, today, I will share a way to make a spring gift (affiliate) for Teenagers. Here's how I made them.
Jump to:
Gather mason jars with lids
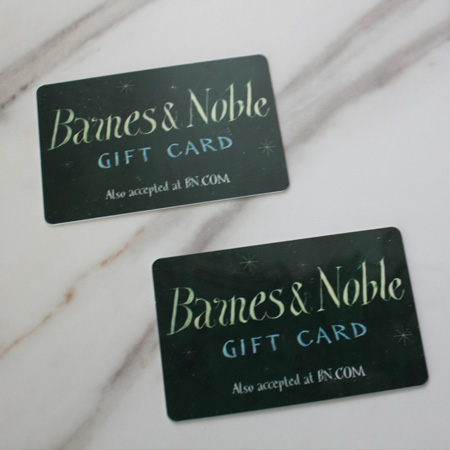
First, I purchased food-acceptable mason jars (affiliate) with attached screw top lids. If you find the two-part lid, you can hot glue the pieces together to make one solid lid. Look for the label (affiliate) at the bottom of the glass or the packaging that states that you can use it for food. The jars have a 2-inch opening to fit the gift card (affiliate). I had to remove the wrapper from the gift card (affiliate), so I wrote the amount of the gift card (affiliate) on the back of the card.
Add jelly beans and candy
I added the jelly beans first to coat the bottom. But you can use any candy (affiliate) you wish. I recommend prewrapped candy (affiliate) and candy (affiliate) that doesn't have strong scents like peppermint and cinnamon (affiliate). My kids are big fans of Reese's® Peanut Butter Easter Eggs Chocolate Candy, and regular jelly beans. So that is what I used. It was easy to fit 6 Reese's® vertically around the gift card (affiliate). This gave me just enough room to close the jar with ease.
Decorating the Lids of the Spring Gift for Teenagers
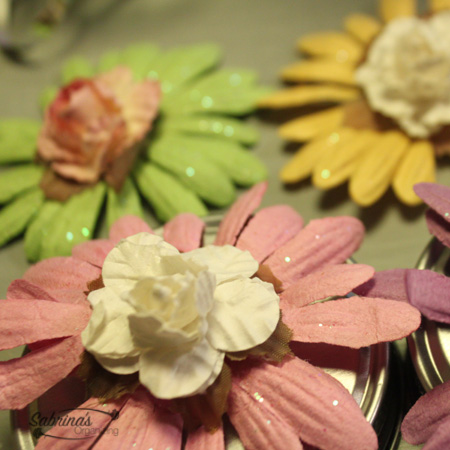
Then, I used fabric flowers we had left over in our home. These flowers were from the flower headbands my daughter would make with her friends years ago. Any flower will do; however, be sure it's flat, and you can easily hot glue it to the lid.
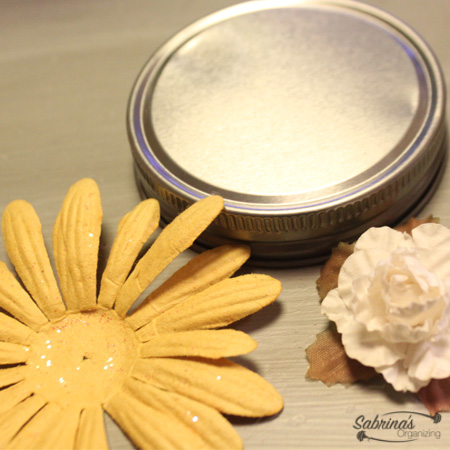
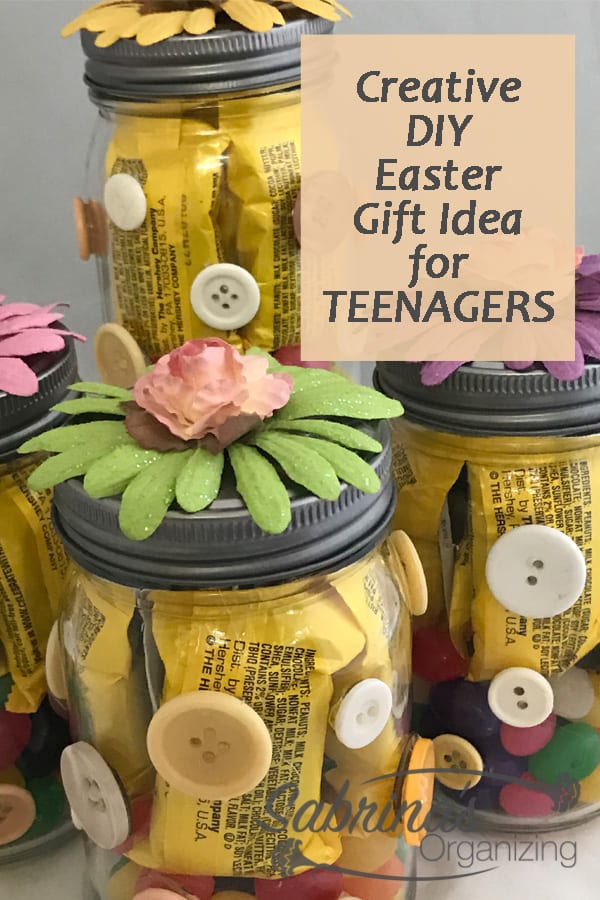
I hot-glued the two flowers together. And this is what it looks like. Cute, right?
Decorate the glass jar sides
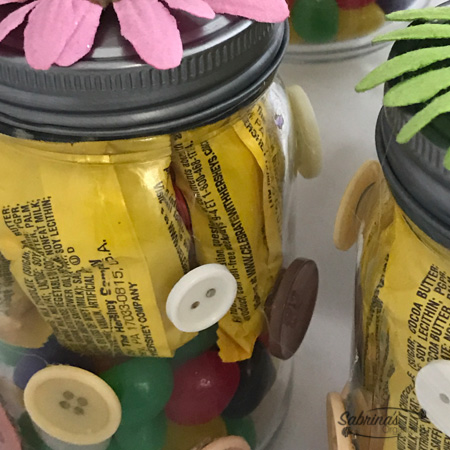
To add a little something to the glass jar itself, I decided to add leftover buttons I had. I used about 16 buttons of all different sizes on each jar. I picked light-colored ones to match the flowers at the top.
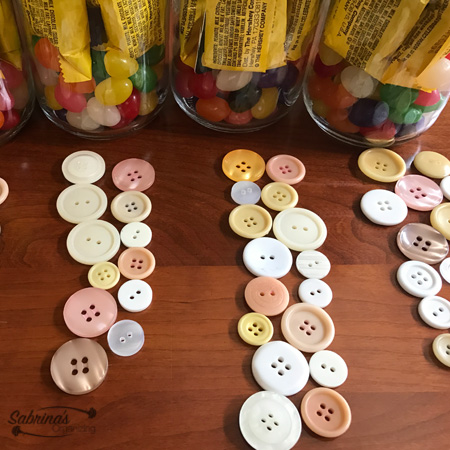
Any button will do. If you want more colorful buttons, you can pick more vibrant flowers as well. Just a dab of hot glue on the back of each of the buttons and affix it to the mason jar (affiliate) glass. So, easy to add; however, watch that you don't put too much glue near the holes because you will get burned.
The Finished Gift for Teenagers
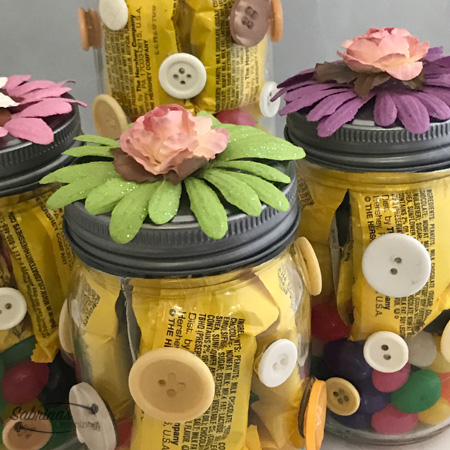
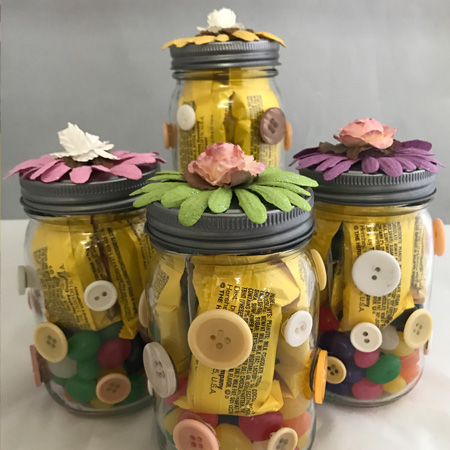
And here's the final gift (affiliate) idea. What do you think? I love the cute flowers on top, and the button just adds something to the jar.
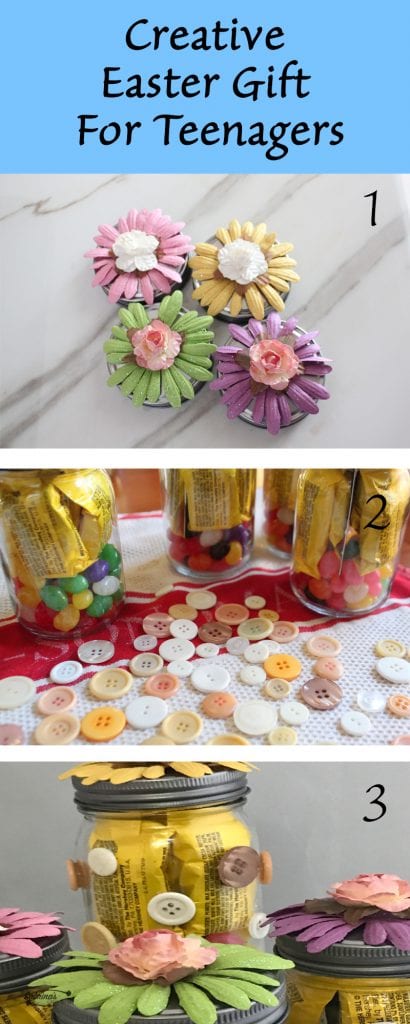
I decided to create a printable instruction for your convenience. Feel free to print it.
Feel free to visit our other DIY handmade gift posts!





Leave a Reply