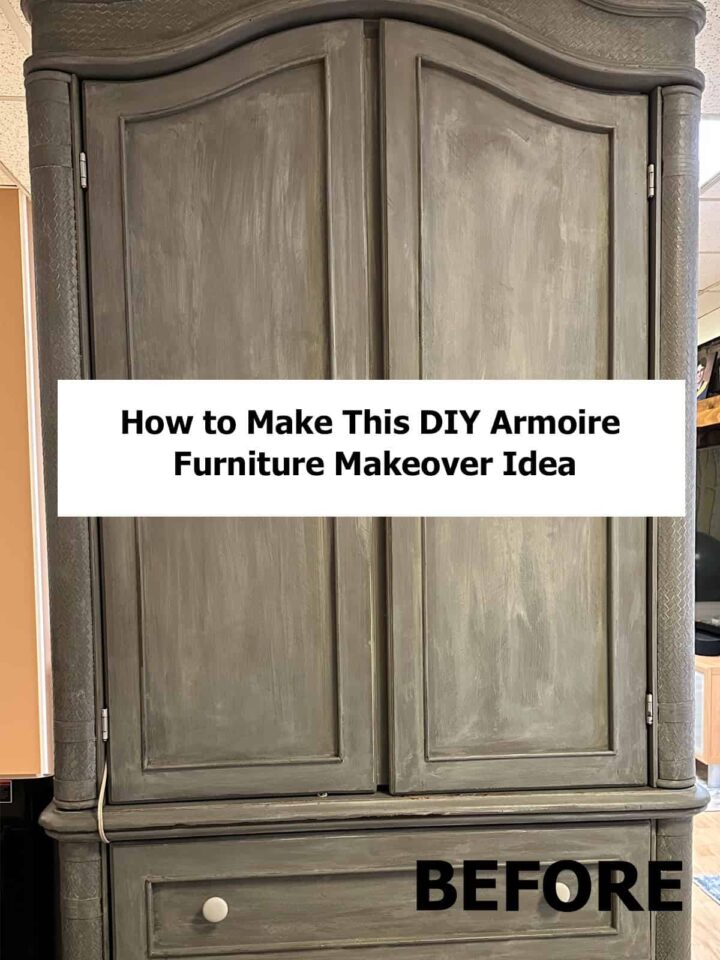
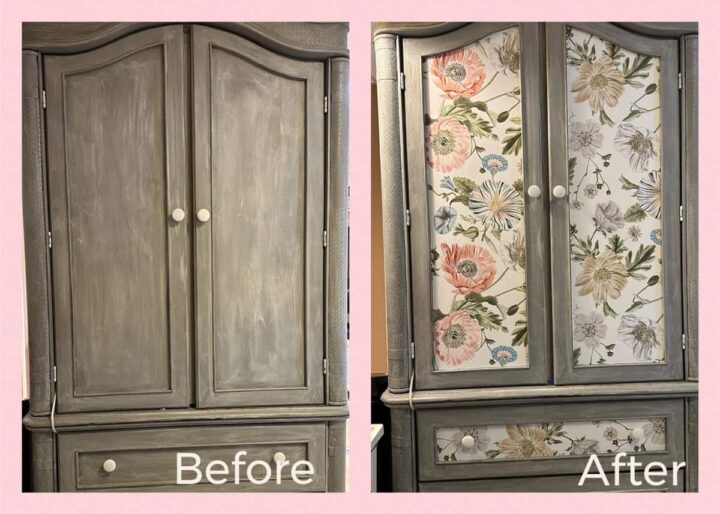
I am a big fan of self-adhesive wallpaper. It can easily be removed and reapplied or changed out whenever I want. I wanted to update my old armoire and found a gorgeous, affordable peel-and-stick wallpaper (affiliate). Check out how I updated this DIY Armoire Makeover Idea to give it a little pattern. This armoire is over 18+ years old.
Jump to:
- What inspired me to do this DIY Armoire Makeover Idea?
- Chalk Paint Armoire DIY Project Tutorial
- How to Create an Attractive Armoire Room Divider
- How to Make a Standing Scrapbooking Station
- What supplies did I use to make this DIY Armoire Makeover Idea?
- How much did it cost to make this DIY Armoire Makeover Idea?
- How long did it take to make a DIY Armoire Makeover Idea?
- How did I make this DIY Armoire Makeover Idea?
- The Big Reveal
- Tips on making this DIY Armoire Makeover Idea project
What inspired me to do this DIY Armoire Makeover Idea?
I updated this masculine-looking armoire I inherited from my father and wanted to create a feminine version for my craft and scrapbook (affiliate) items. I used chalk paint and glaze, but now it looks blah. So, here is how I updated it with a little more color and less grey. Feel free to check out the posts below on how the armoire has evolved.
Chalk Paint Armoire DIY Project Tutorial
If you want to do a Chalk paint armoire paint makeover DIY, this project will be a labor of love. Check out my tips and see how I transformed this unit.
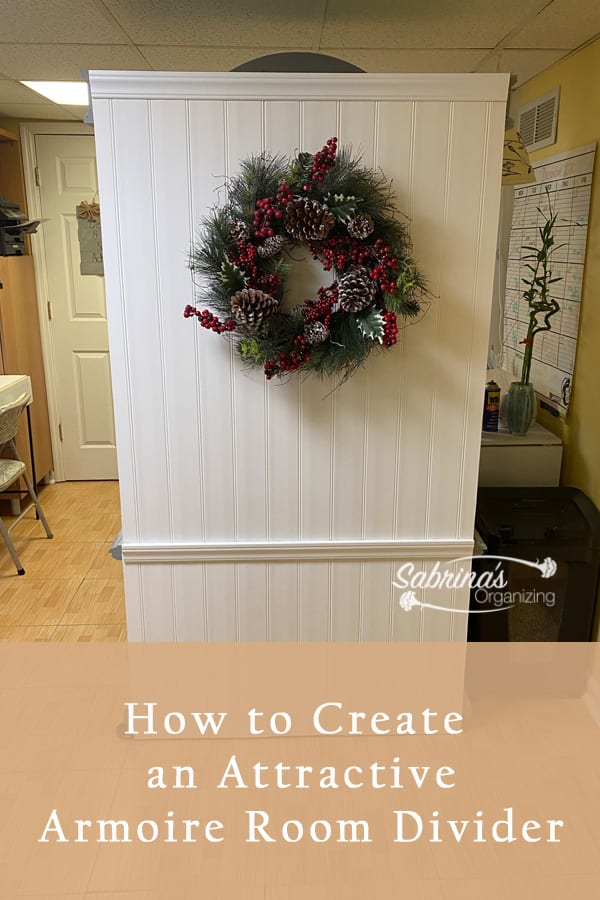
How to Create an Attractive Armoire Room Divider
Are you looking to divide a room with a room divider? Why not use an Armoire? Here's how to make an armoire room divider. Try it today!
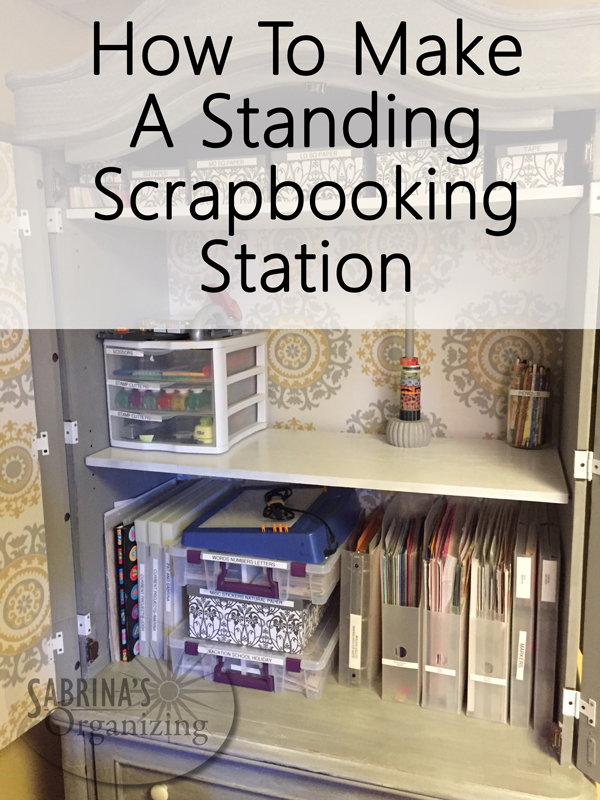
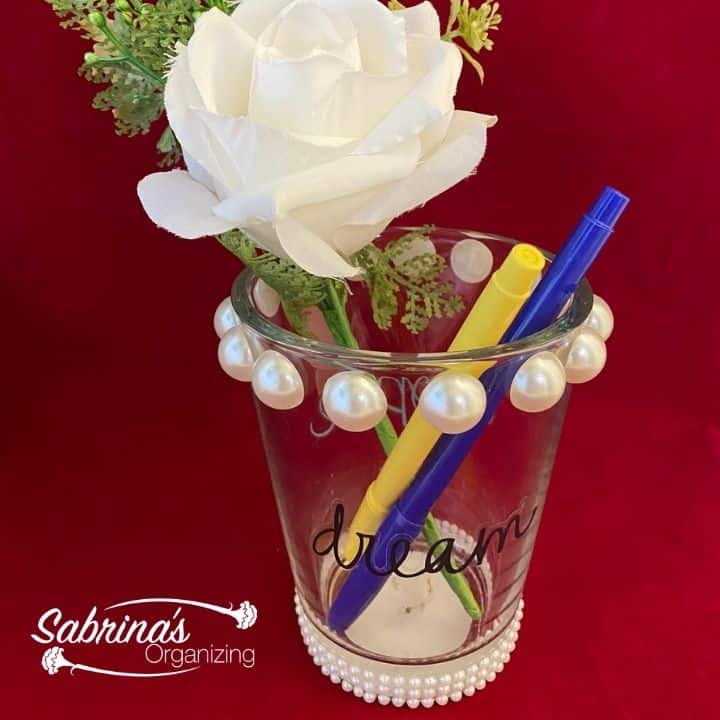
How to Make a Standing Scrapbooking Station
A standing scrapbooking station is useful for quick scrapbooking sessions. Here is how I made my station to save me time and money.
What supplies did I use to make this DIY Armoire Makeover Idea?
The products are easy to find and use. Below are the supplies I used.
- Scotch Tape
- Copy paper 8 ½ x 11 sheets
- Scissors
- Self-adhesive Wallpaper - RoomMates 30.75-sq ft Pink Vinyl Floral Self-adhesive Peel and Stick Wallpaper
- ⅛ inch cord rope in white or yellow to match (Optional)-here is an option I found on Amazon (affiliate).
Please note that these are affiliate links through Amazon (affiliate). If you decide to make a purchase, I will earn an affiliate commission at no additional cost to you.
How much did it cost to make this DIY Armoire Makeover Idea?
This makeover cost only $25.00, and I had leftover wallpaper. The other supplies I had from other DIY projects.
How long did it take to make a DIY Armoire Makeover Idea?
This project took me a total of 2 hours to do.
How did I make this DIY Armoire Makeover Idea?
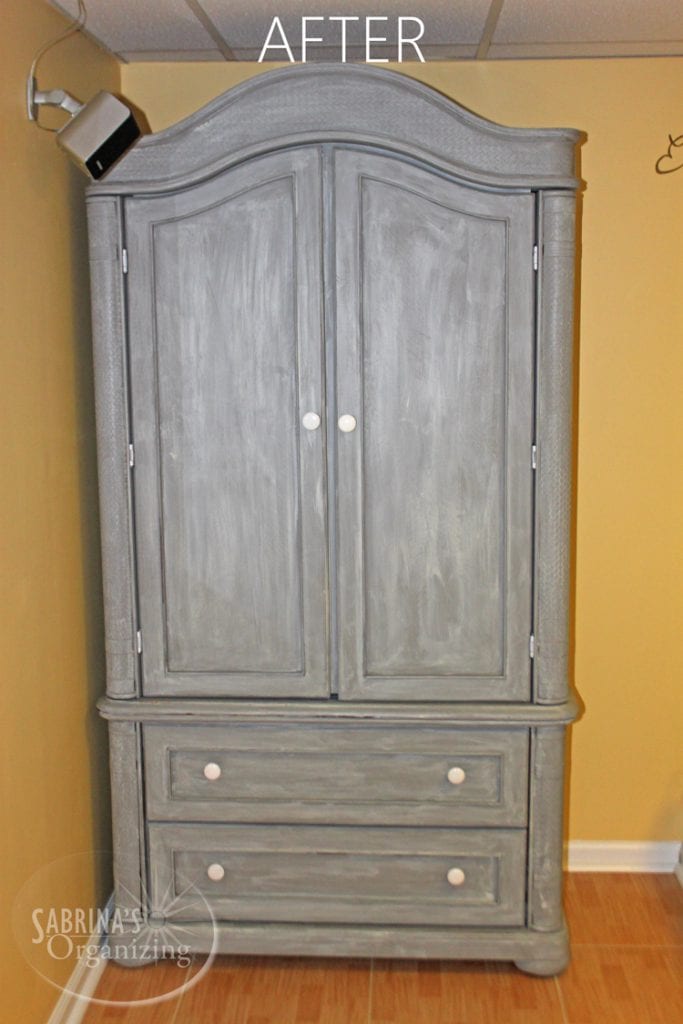
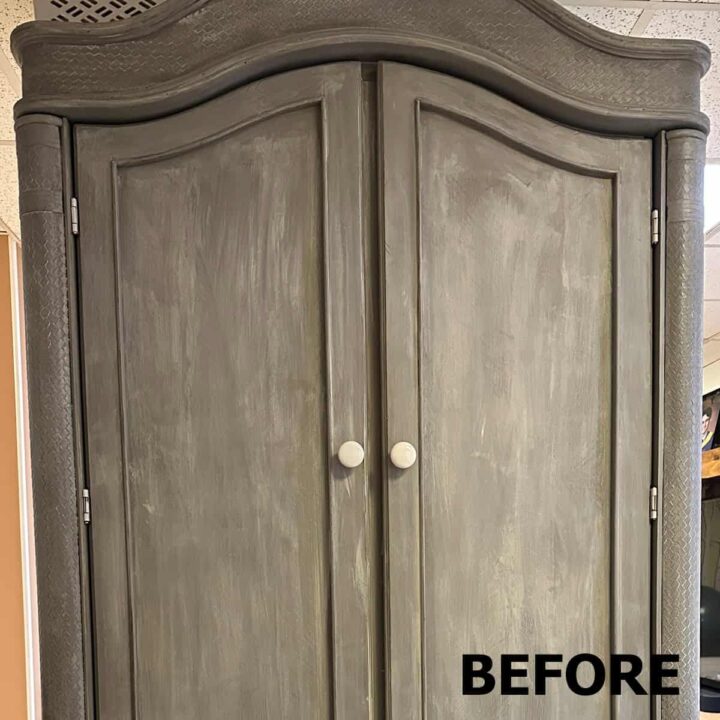
Here is the image of the cabinet from before. I couldn't get the entire door and drawers in the picture. Feel free to check the posts above to see the complete front of this armoire.
First, Tape together two by two pieces of 8 ½ x 11-inch sheets of copy paper.
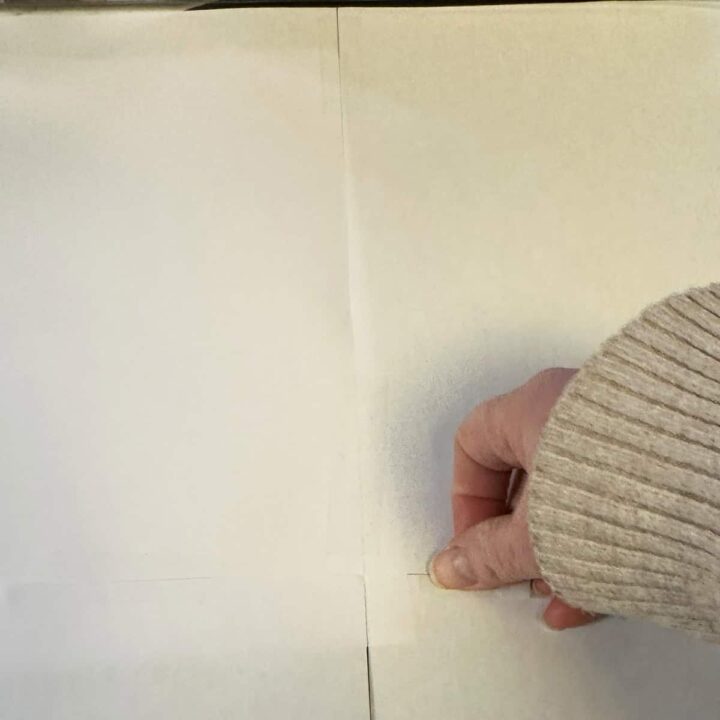
Then, tape the sheets to the inlay of the cabinet door. Press to create the pattern around the inlay of the doors. Fold the excess papers and tape the pieces to the inside.

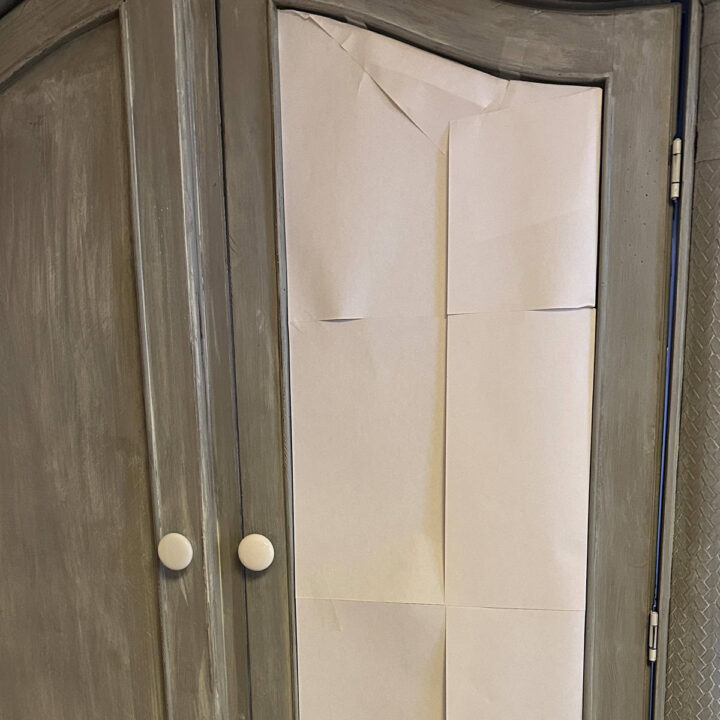
When done, the paper now looks like a template of the inlay paper. You can easily use this template for the other side by just turning this around.
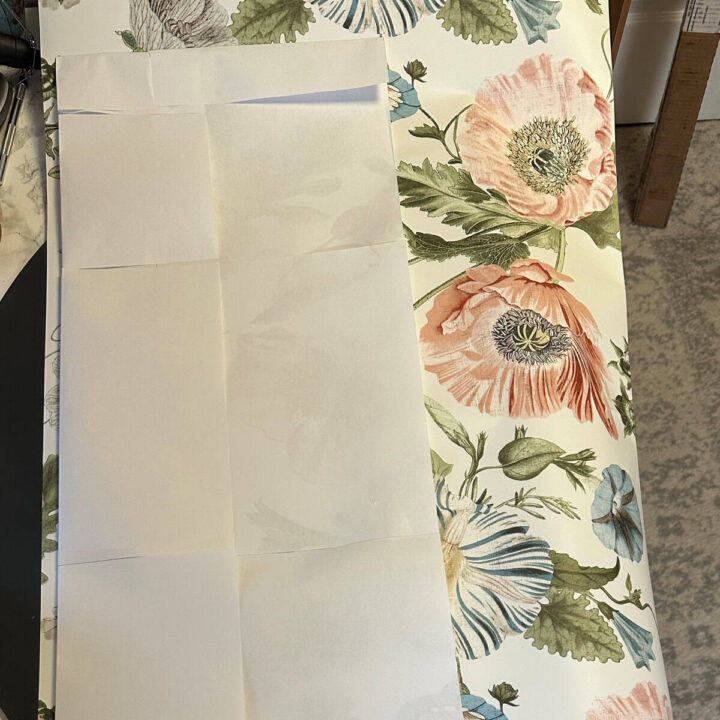
Next, lay the template on top of the self-adhesive wallpaper using the wallpaper laid out on a surface. Using scissors (affiliate), cut off the excess so it is more than ½ inch bigger around the template. Be sure to create a curved edge as well.
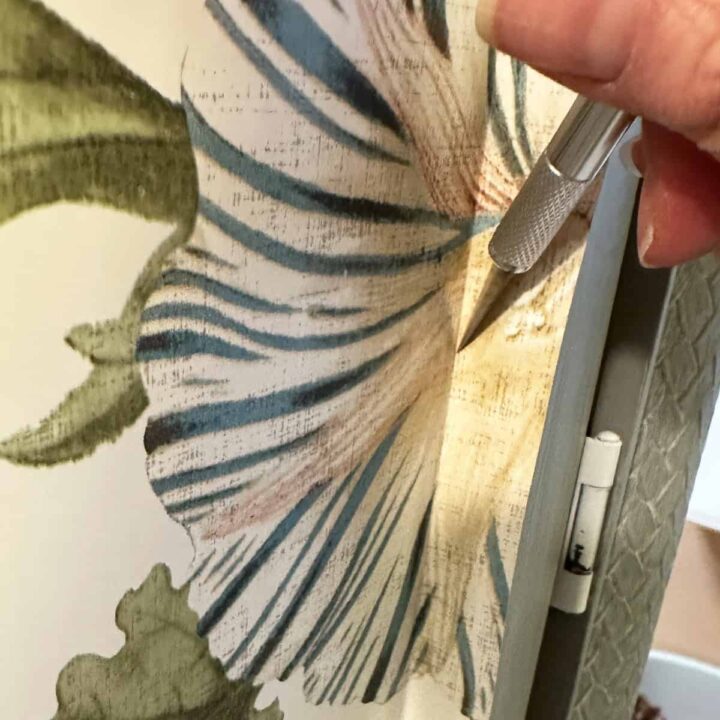
Apply the cut pieces to the inlay and cut off the excess using an X-acto knife (affiliate).
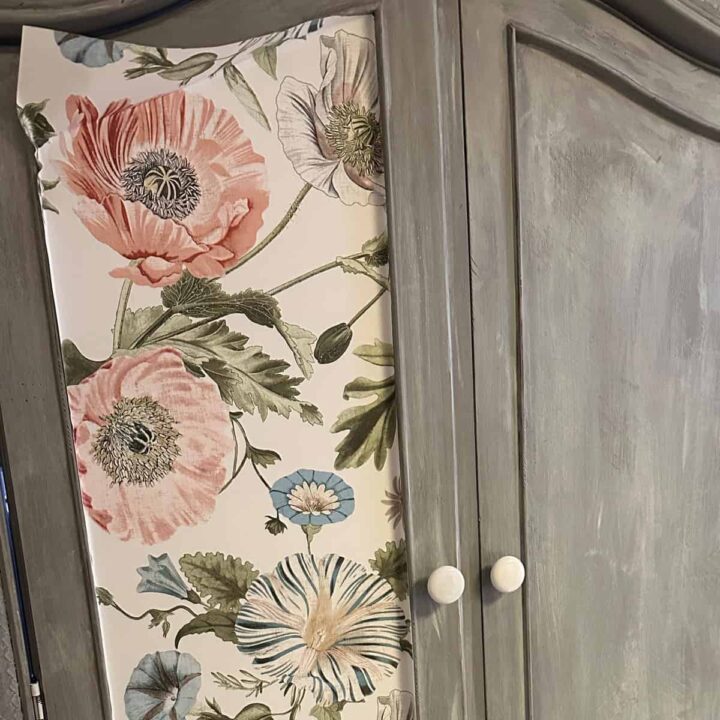
Remove the air bubbles with a scraper.
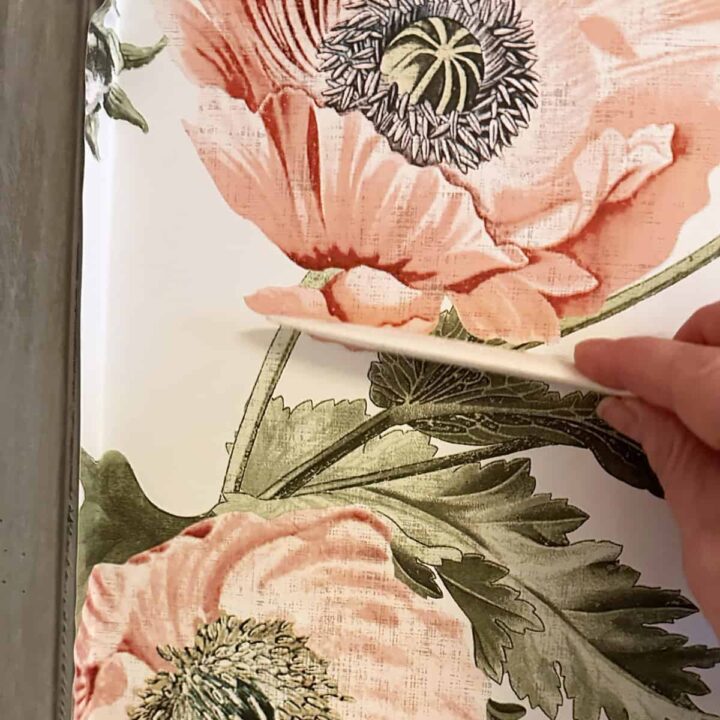
Then, use the Exacto knife (affiliate) and cut out the excess wallpaper. Then, do the other door inlay.
Remove the knobs for the two drawers.
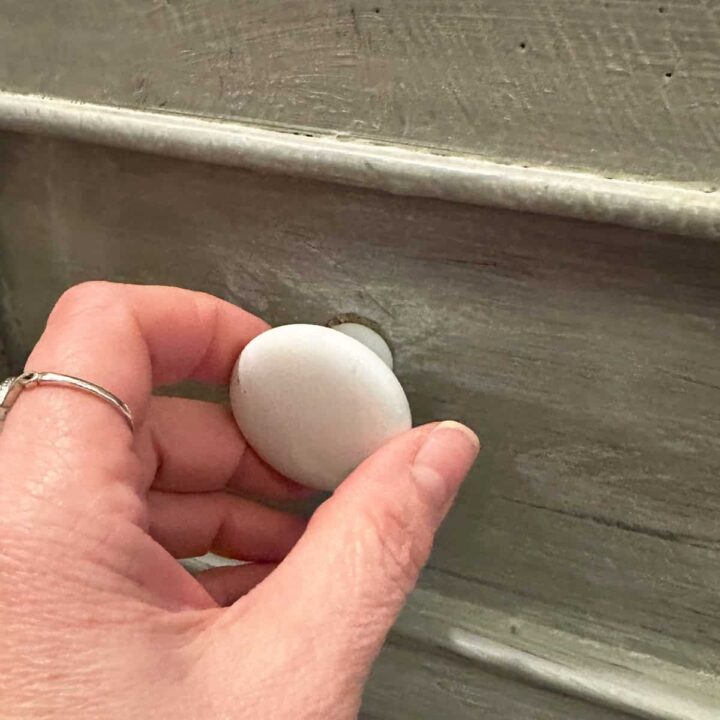
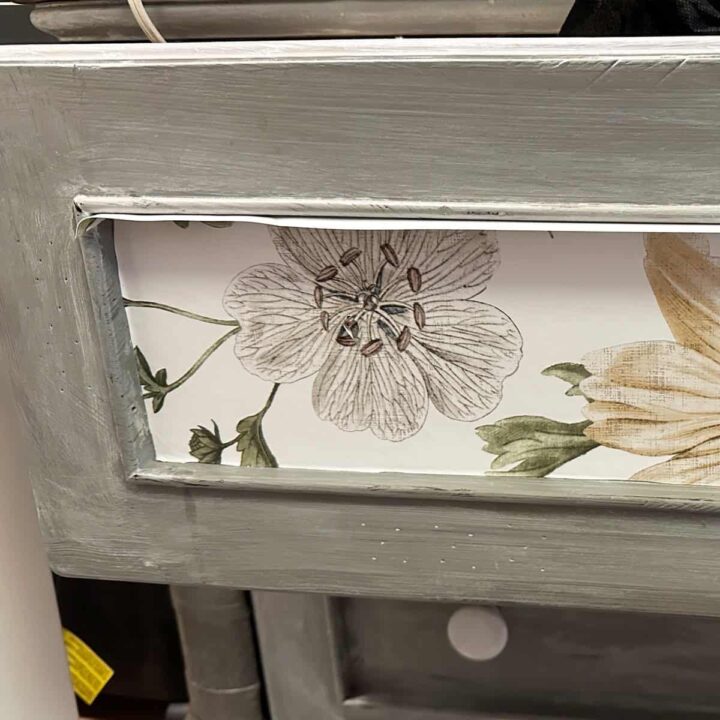
In the front inlay of the drawers, cut a ½ inch wider strip of wallpaper and adhere to the inlay area. Use the Exacto knife (affiliate) to cut the excess off the drawers. Then, add the knobs back to the drawers.
Optional: Add a ⅛-inch rope and glue it to the wallpaper around the inside edge of the doors and drawers.
The Big Reveal
This DIY Armoire Makeover Idea project looks lovely. It brings in a splash of coilor.
Tips on making this DIY Armoire Makeover Idea project
Below are some tips to help you with this project.
- Copier paper is best, as it allows you to fold and crease it when the design is unique.
- When using hot glue for the rope, use a low heat setting.
- Make sure you cut more than ½ inch of wallpaper around the entire template so if you need to adjust the wallpaper to fit inside, you have some excess wallpaper to move around.
I hope this DIY project helps you love your armoire again. Please leave comments or questions below. Come back each week to see the other DIY recipes and home organization posts to help you organize your life.
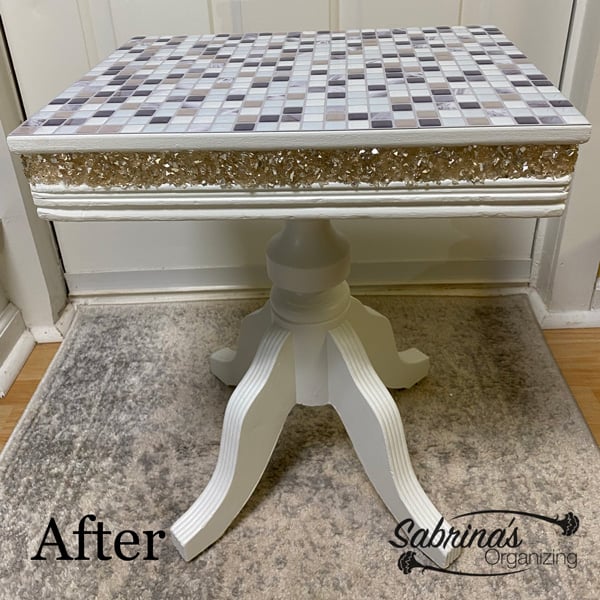
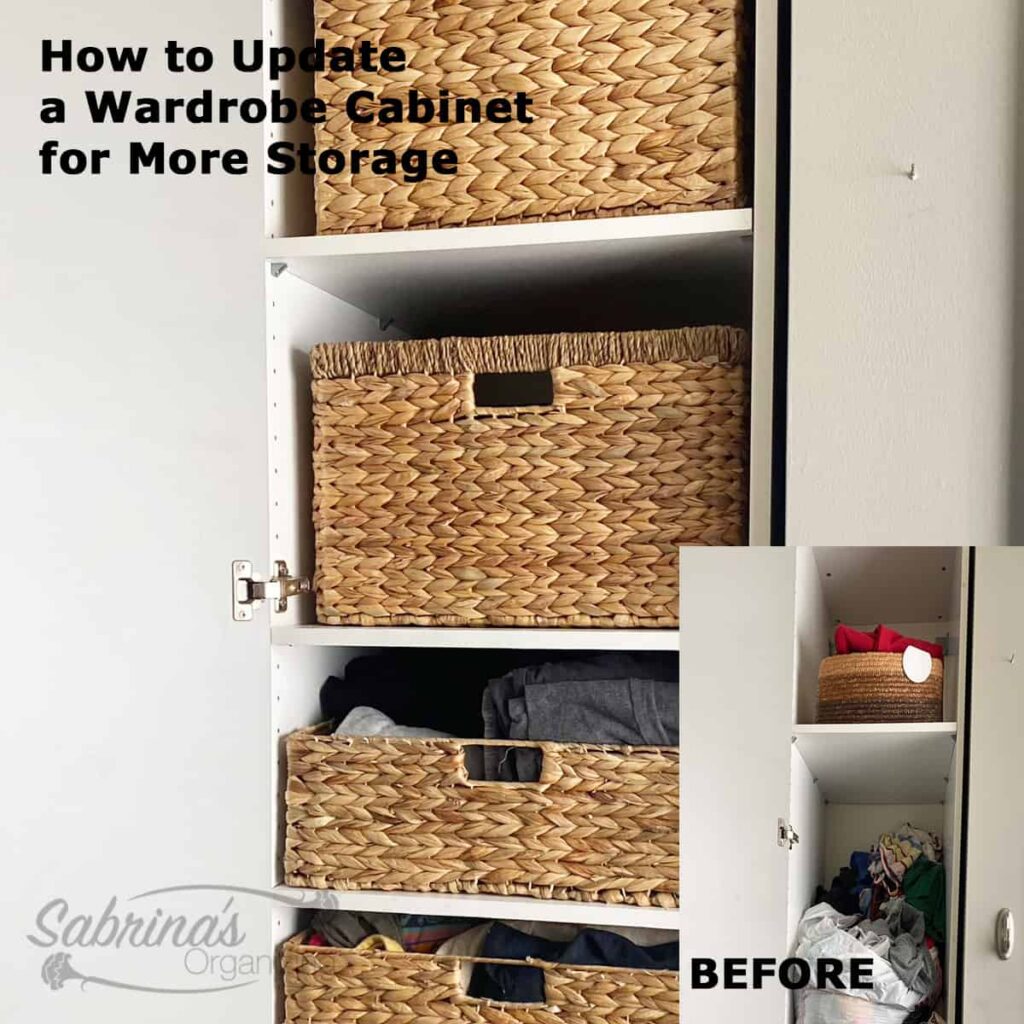
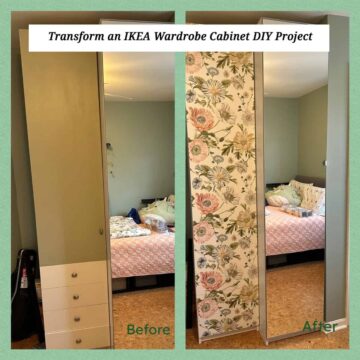
Below are other furniture makeover DIY projects.
Feel free to check them out and get inspired. I would appreciate it if you shared this tutorial with different DIY groups to increase the visibility of these posts. Many thanks for considering my request.