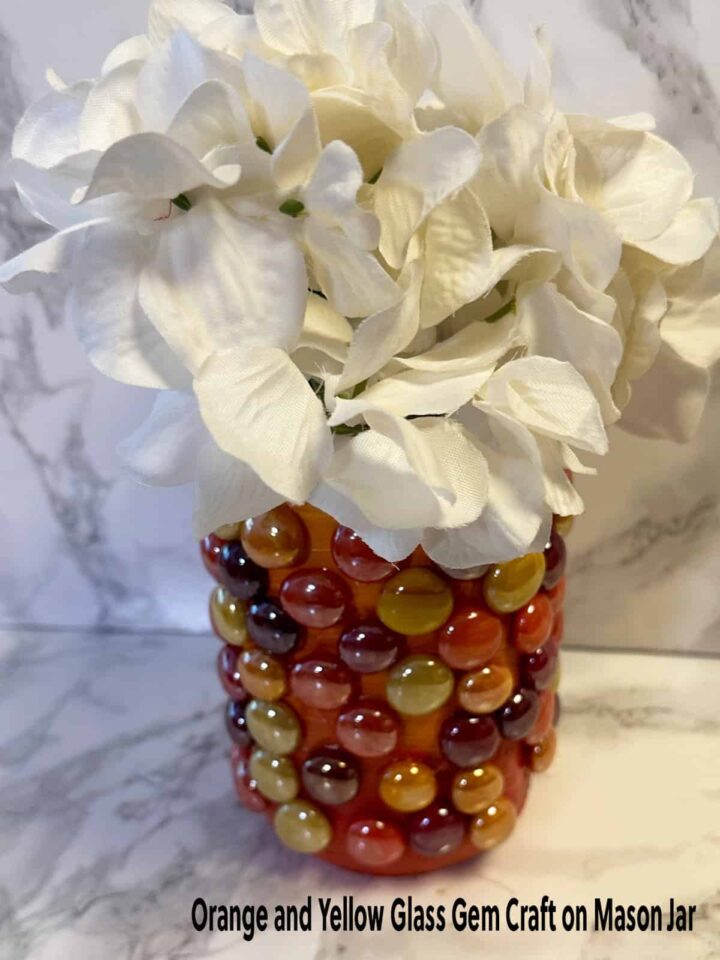
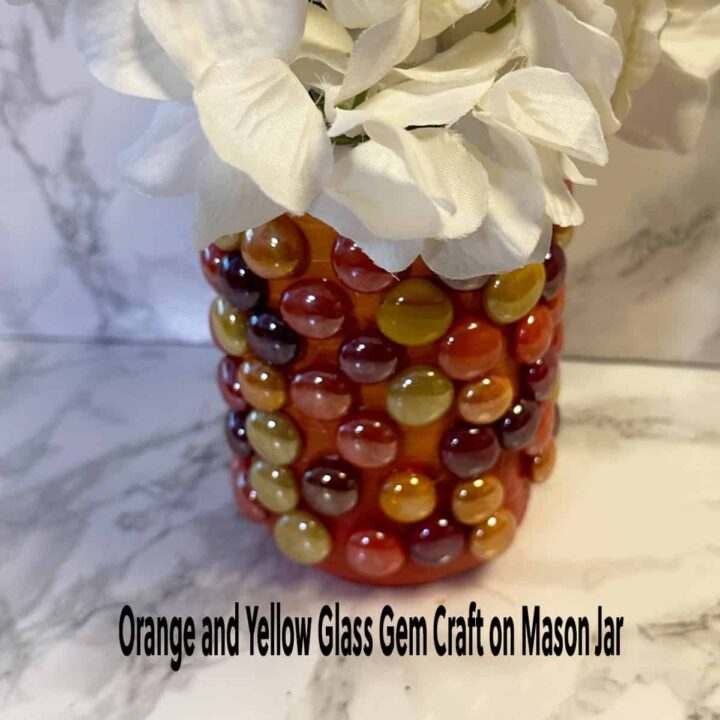
Mason Jars are great for upcycling craft projects. I particularly like to use them with electric tea lights to create a mood in the home. These mason jars (affiliate) can also be used for storing pens, pencils, and scissors. I used several acrylic paints and flat glass gems in orange and yellow from another project. Check out this Orange and Yellow Glass Gem (affiliate) Craft on Mason Jar (affiliate) craft project.
Jump to:
- What inspired me to do this Yellow Glass Gem Craft on a Mason Jar?
- What supplies did I use to make this orange and Yellow Glass Gem Craft on Mason Jar?
- How much did it cost to make this Orange and Yellow Glass Gem Craft on a Mason Jar?
- How long did it take to make this project?
- How did I make this craft project?
- The Big Reveal
- Tips on making this Orange and Yellow Glass Gem Craft on Mason Jar
What inspired me to do this Yellow Glass Gem Craft on a Mason Jar?
I had this orange and yellow glass gem (affiliate) container in my craft area that I wanted to use for a craft project. They were too heavy for canvas, so I have been holding on to them for a while. When I was decluttering my glass jar area, I found a mason jar (affiliate) that was not in use, and it would be great to use it for a fun storage/silk flower project. So, I was off the races. Here is how I made it.
What supplies did I use to make this orange and Yellow Glass Gem Craft on Mason Jar?
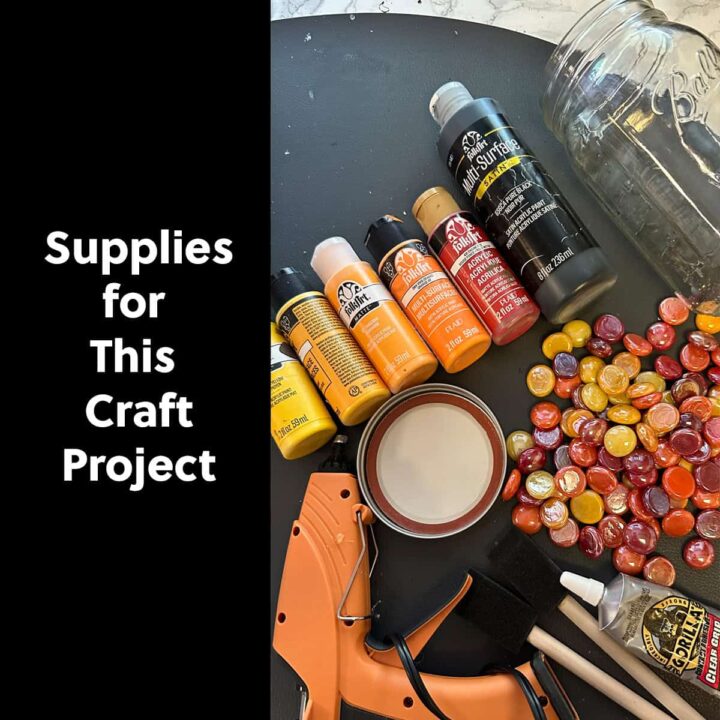
These simple products are super easy to add and glue to the mason jar (affiliate).
Supplies used:
- One wide-mouth mason jar (affiliate)
- Orange and Yellow 1 Jar of Orange Gem Value Pack By Ashland™ (affiliate): I could only find an orange variation option from Ashland.
- Acrylic Paints: Medium Yellow, orange, engine red, etc.. I used 6 colors.
- Sponge paint brushes (several)
- Gorilla Contact Adhesive Clear Grip (affiliate) - Bonds with Metal, Glass, Fabric, Wood, Ceramic, Leather, Paper, Plastic, and more.
- Optional: mason jar (affiliate) lid with black acrylic paint (affiliate).
- Optional: Hot Glue gun (affiliate) and glue to adhere the metal sides of the lid to the top of the lid.
- Optional: Washi Tape (affiliate) with flowers that match the oranges and yellows.
Please note these are affiliate links through Amazon (affiliate), and at no additional cost to you, I will earn an affiliate commission if you decide to make a purchase.
How much did it cost to make this Orange and Yellow Glass Gem Craft on a Mason Jar?
This project cost me very little, $5.00 for the mix of paints. I ended up using the rest of the paints for other projects.
How long did it take to make this project?
It took me about 12 hours to make with drying time for the paints.
How did I make this craft project?
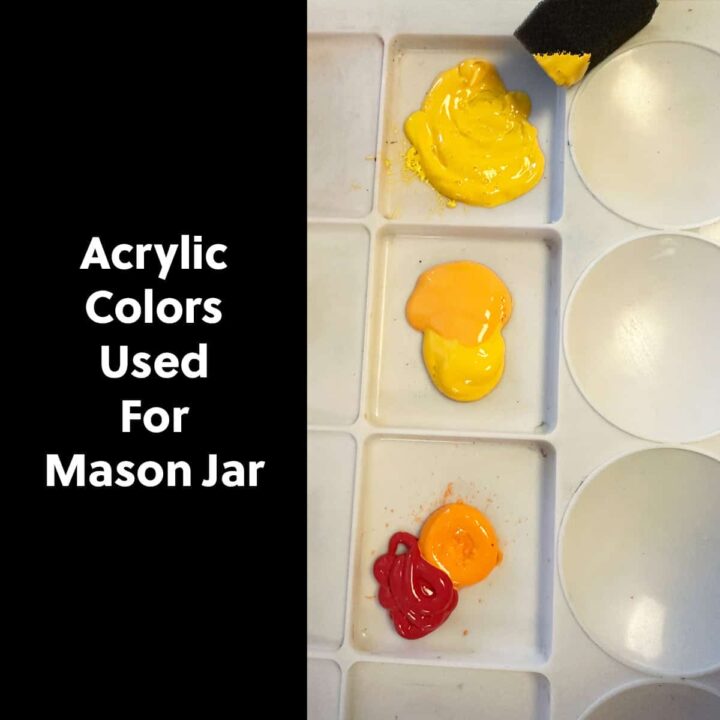
First, line up a dab of the different colors of yellow to red on your palette.
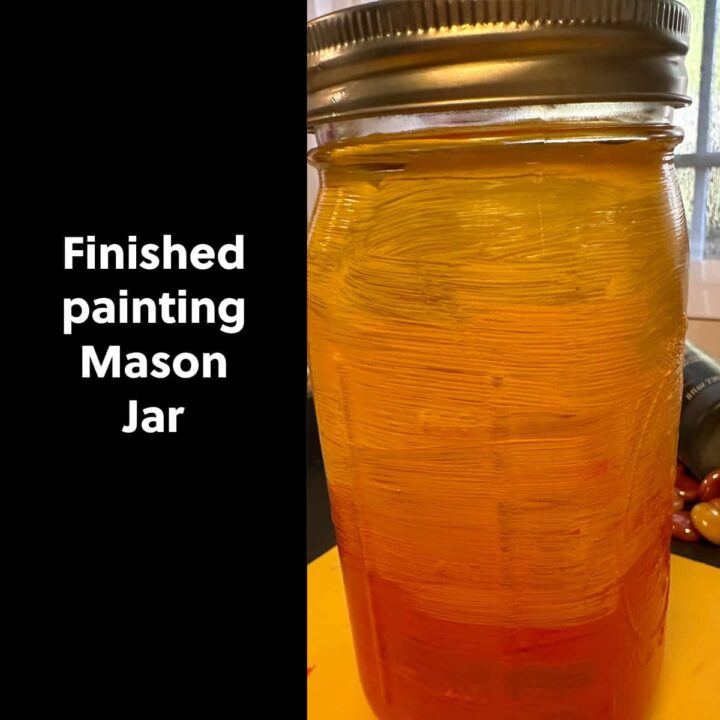
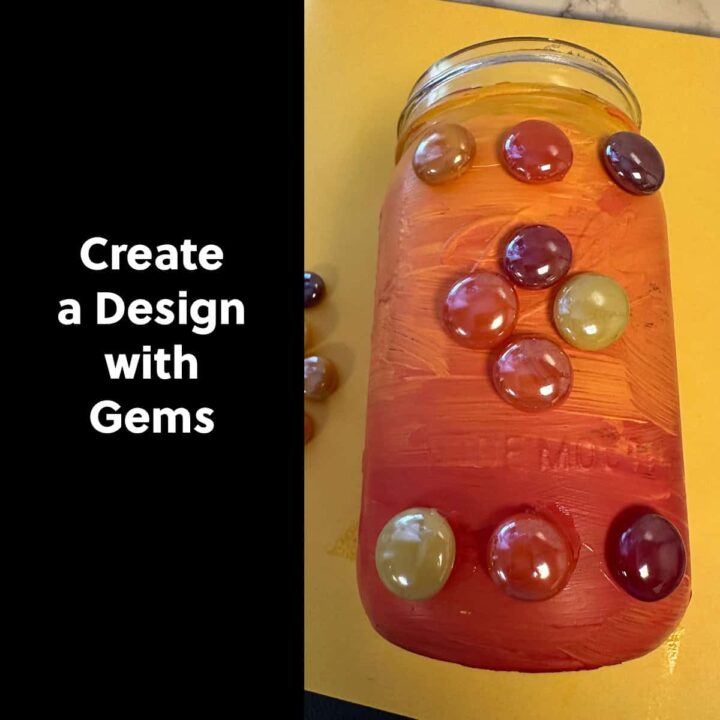
With a brush, paint the lighter yellow at the top of the mason jar (affiliate) and work your way down to the red color near the bottom of the jar. It will look like this. Then, let dry. You will not need a second coat.
Pick a pattern or not.
Then, figure out your pattern if you want. Or if you have enough gems, you can fill out the entire jar. I laid my mason jar on its side. With plenty of gems, I started using the clear Gorilla glue to the back of the gems and added them to the mason jar in rows, letting it dry and set for about 10 minutes, then continuing around the jar. I did one side at a time. I waited a day, then did the other side. I waited another day and did the next side. And, lastly, I did the last side.
You can also add the gorilla glue and gems to the jar. Hold it there for a second or two so it doesn't slide.
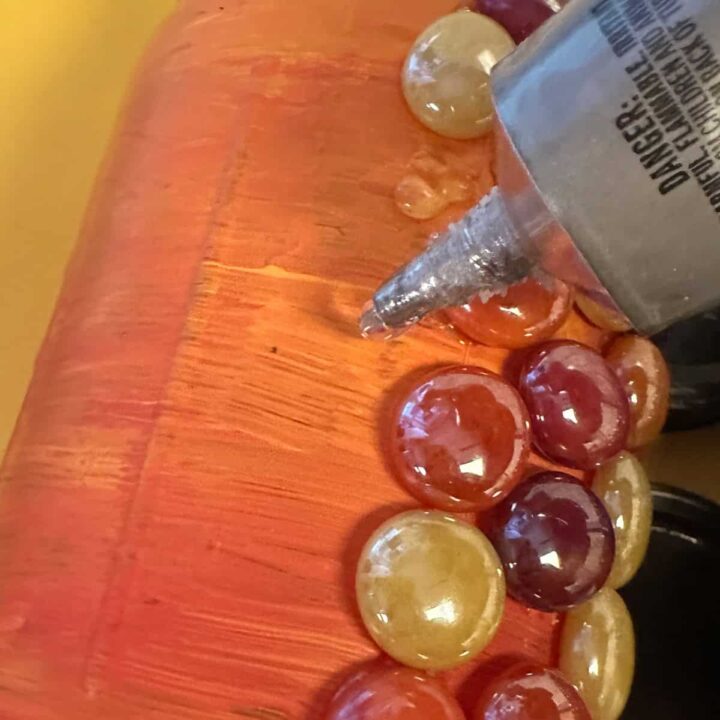
Note: not all the gems line up easily, so there are spots that may be exposed. This is why I painted the jar beforehand.
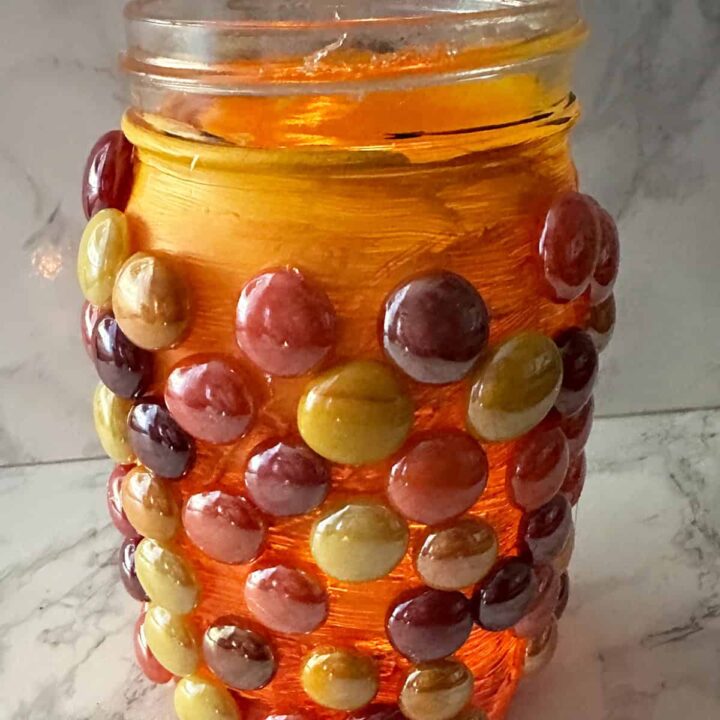
Optional: if you want to use the mason jar lid, you must glue them together BEFORE painting them with black acrylic paint. Add a bead of glue with the clear gorilla glue around the inside edge of the mason jar lid. Then, add the middle middle inside and press down. Wait for it to dry for an hour, then paint it black with a sponge paintbrush. Let dry, and paint a second coat. Then, place it aside.
If you want to add Washi Tape (affiliate) to the edges of the lid, you can do that, too.
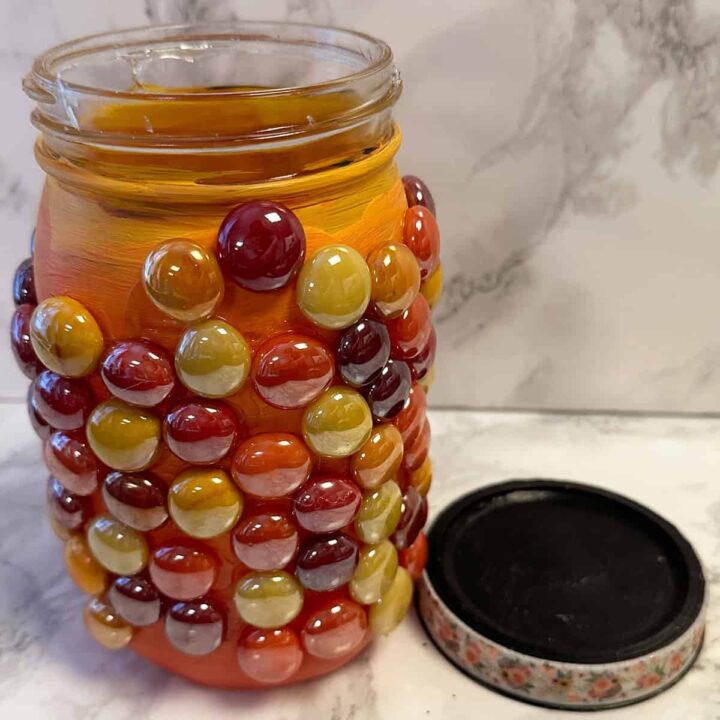
The Big Reveal
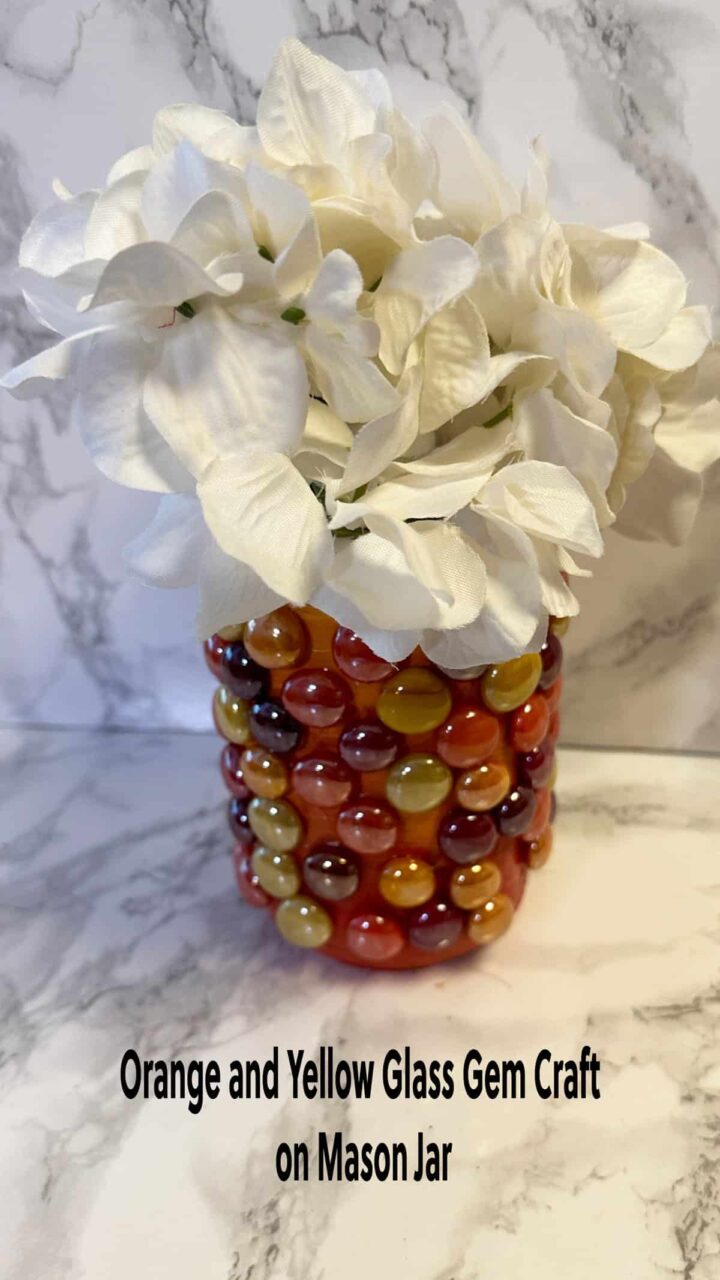
Here is the finished orange and yellow glass gem (affiliate) craft on a Mason Jar. I particularly like using it to store small items on my desk and craft area. It can also be used for floating candles (affiliate) in water and solar light. You can even create them with smaller mason jars (affiliate) and use them for party favors. It's a perfect addition to a gift for teenagers. This mason jar can also be stored in the bathroom to hold cotton balls.
Tips on making this Orange and Yellow Glass Gem Craft on Mason Jar
Below are some additional tips.
If you find that the acrylic paint creates lines, you do more than two coats of paint.
To get the blended look, paint the different oranges, yellows, and reds while the other colors are still wet. This will blend better and make fewer lines between the colors.
I hope this post and these steps inspire you to make this orange and yellow mason jar craft project.
Below are some of my post recent painting projects. Feel free to check them out.
